


DOLLAR TREE WOODEN LINK CHAIN
This post may contain affiliate links. Click {{ HERE}} for full disclosure.
Hometalk Recommends
Before I share my craft, I wanted to thank Donna, Modern on Monticello for helping Sara with this month’s Creative Craft Blog Hop. Our group comes to you each month to share step by step creative crafts with you, at the bottom of my page, I will share each participant’s link to their craft.
To view all of my creative crafts you can view it here CREATIVE CRAFT.

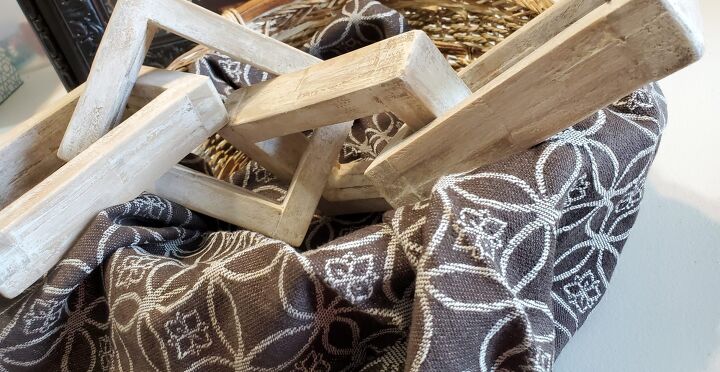
Today, I am so excited to be sharing what I created for you with a Dollar Tree toy!! I took two tumbling block games from Dollar Tree, wood glue and wood filler to create a home decor piece to style in our home. With my step-by-step tutorial you will be able to make the piece for your home too.
How to Make a Wooden Link Chain
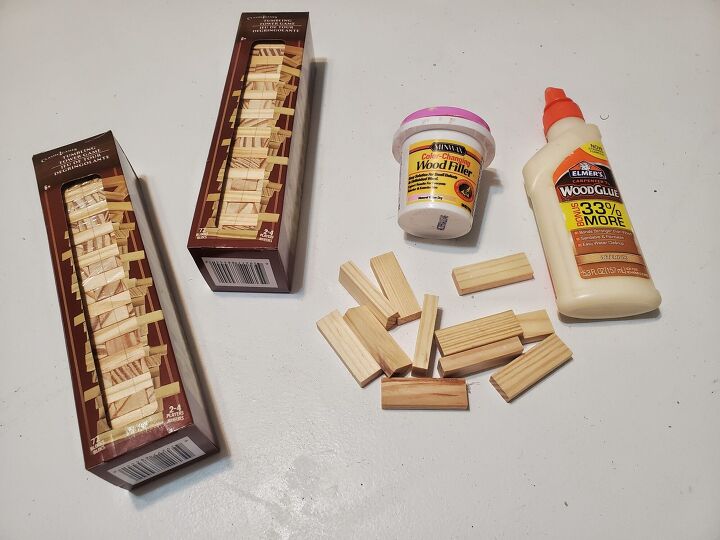
Supplies you need:
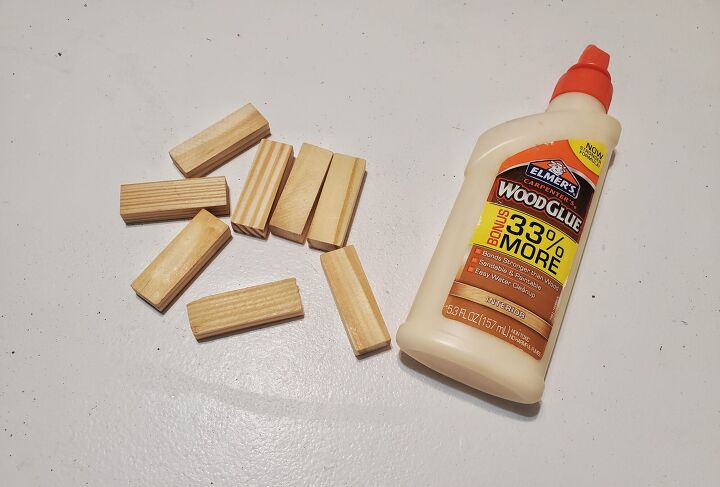
- 2 Tumbling block games from Dollar Tree
- Wood glue
- Wood filler
- Hand sander
- Stain & paint
You will only need 96 pieces to make a 4-link chain.
With the 96 pieces, connect two blocks together to form one longer piece. You will end with 48 pieces.
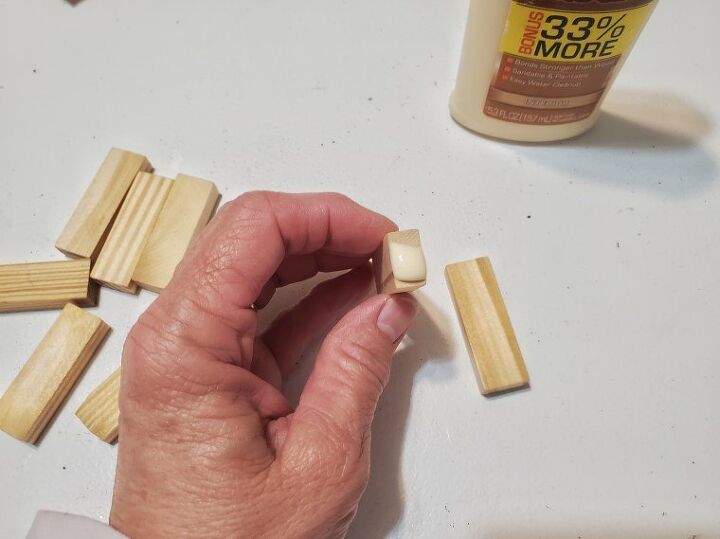
Let the glue set for an hour.

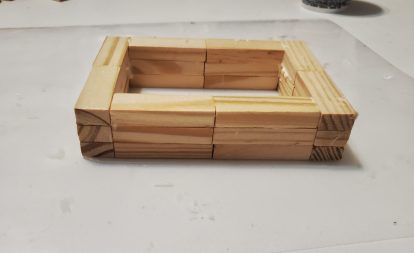
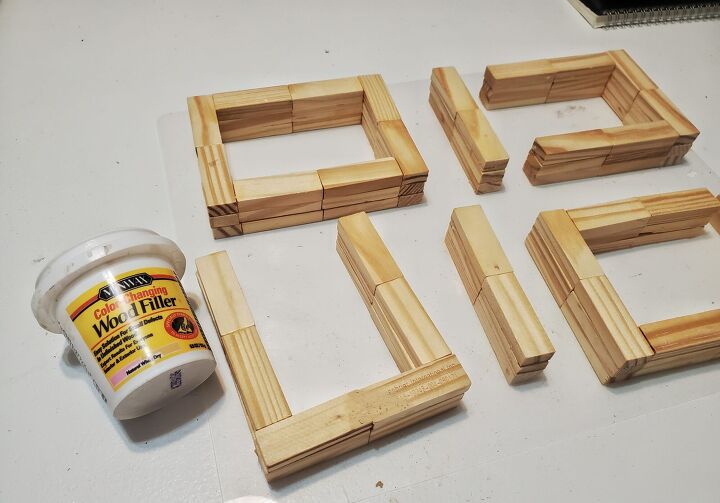
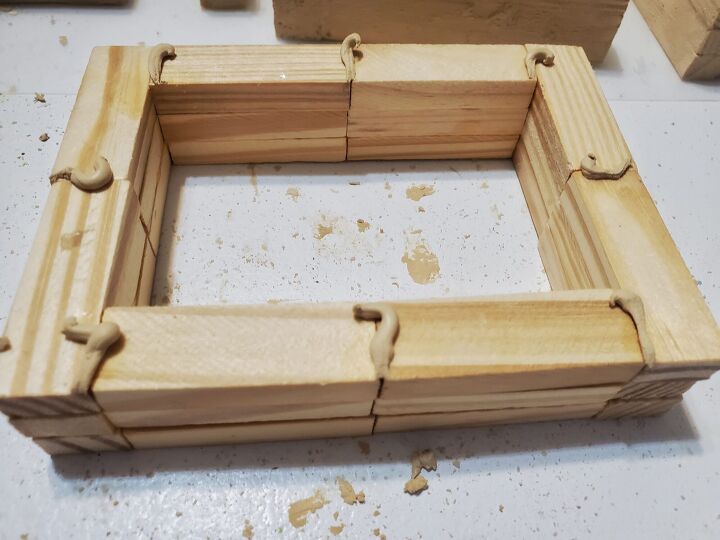
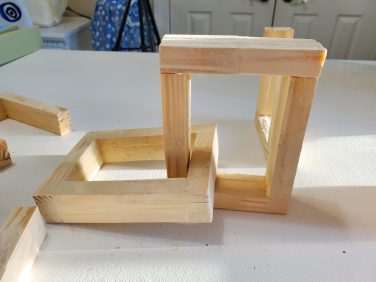
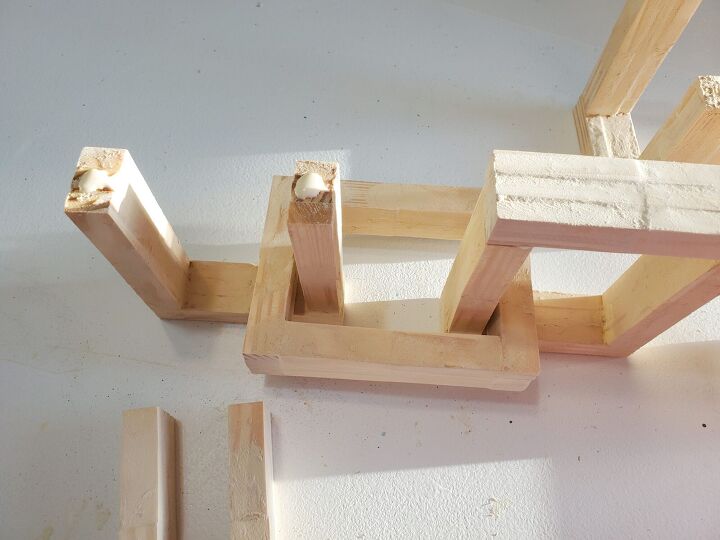
One Wooden ClosedLink
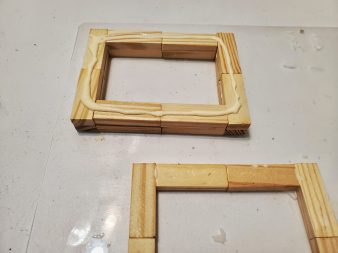
- Taking 12 sections to create 3 squares. Gluing the ends together, let glue set.
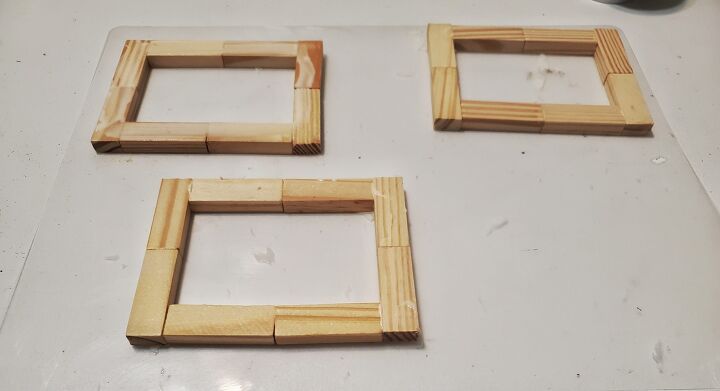
- Layer the three squares together, gluing one on top of the other, let glue set.
Connecting Links
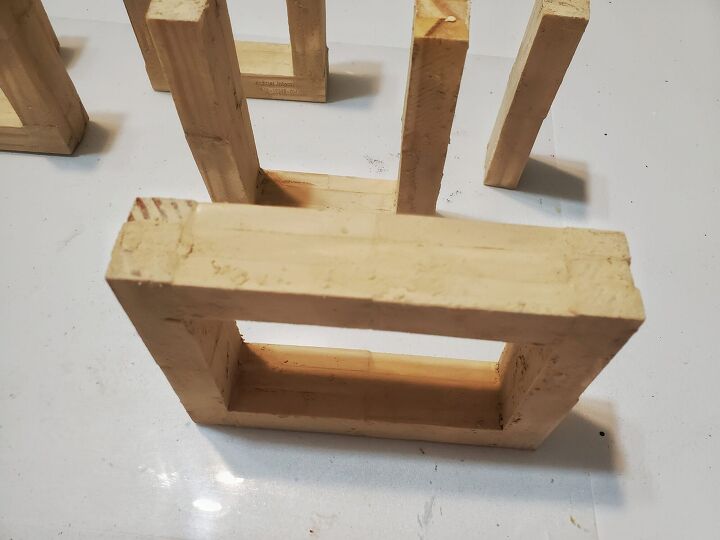
- With 27 sections make 9 U-shape pieces, let glue set.
- Glue 3 u-shape sections on top of each other.
- With the last 9 sections layer three together creating 3 single pieces.
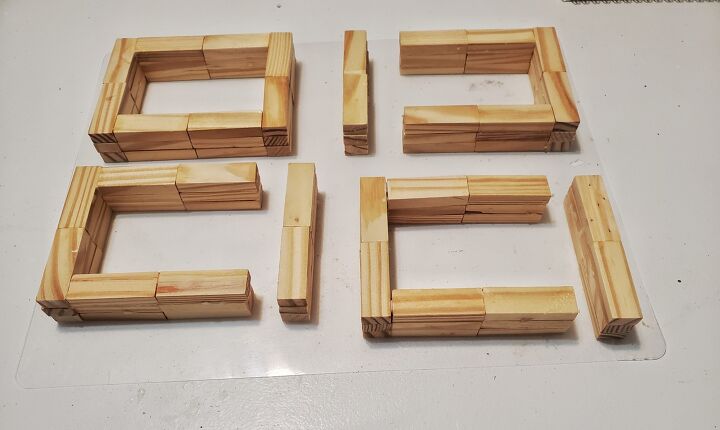
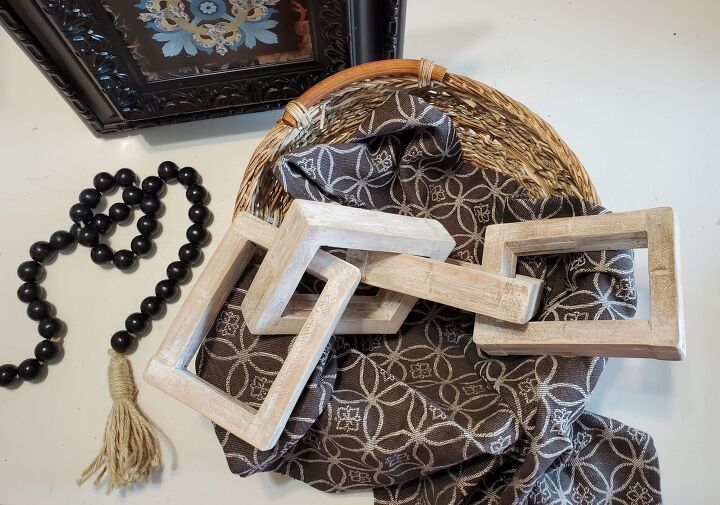
You should have:
- one wooden link
- three one opened end links
- three single sections
Let your pieces sit for at least 12 hours.
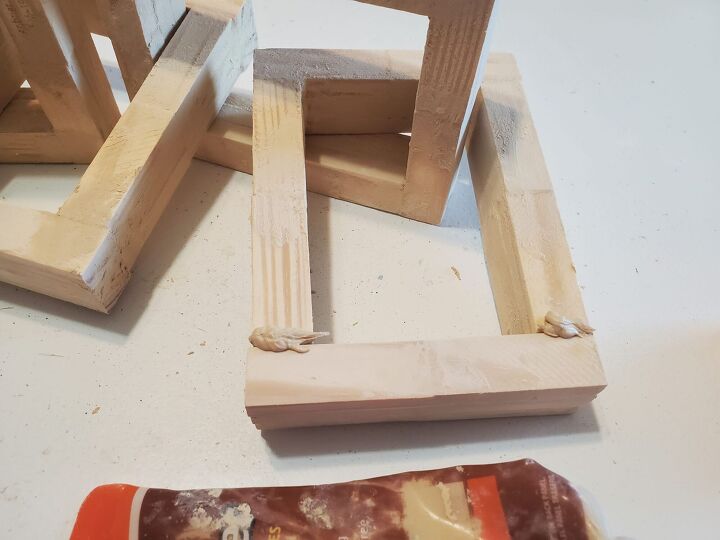
Prep your links
Add wood filler to each space where it was glued together, spread evenly filling all the cervices.
Let the wood filler dry completely then sand with 120 grit sandpaper.
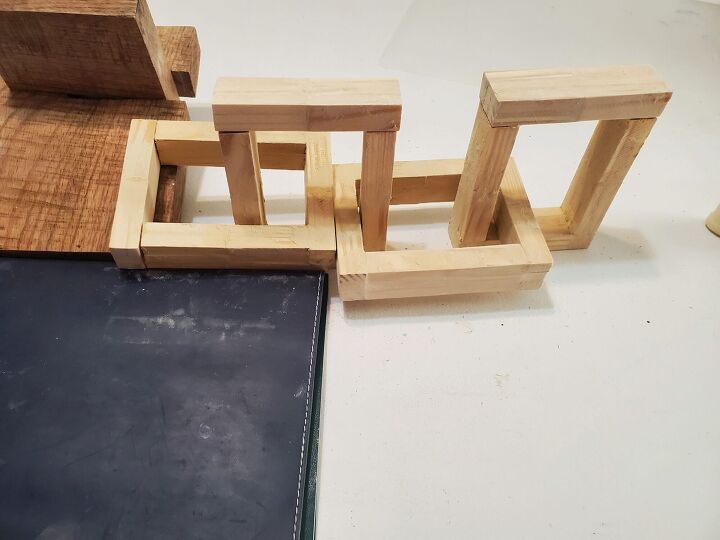
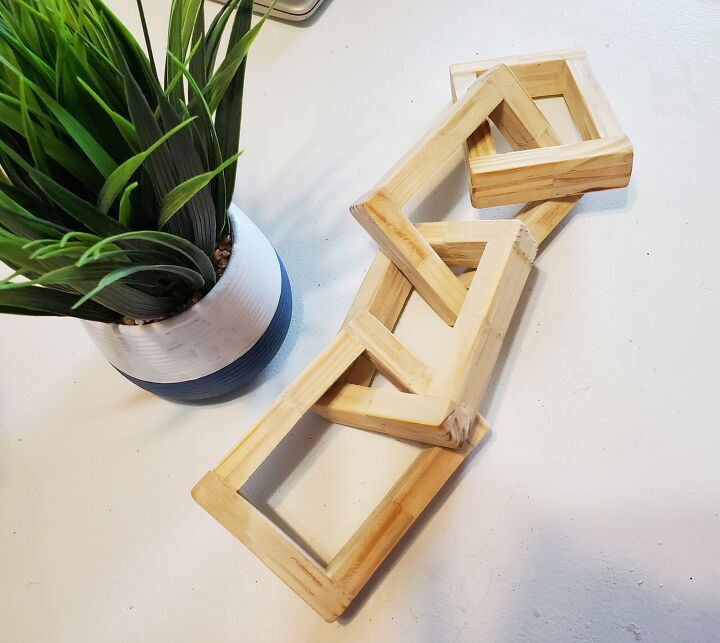
Creating the Chain Link
- Slipping one opened end link into the one full closed link
- Add glue to each end of an open link
- Add a single piece to close the link
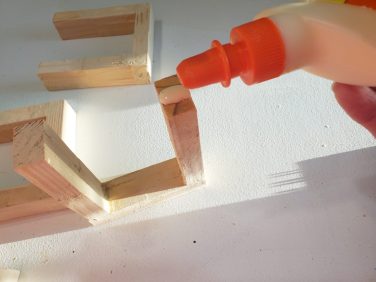
- Do the same to the other side.
- the next link, slip it through one of the end links, laying it flat, making sure you keep it level. Glue the single piece to it.
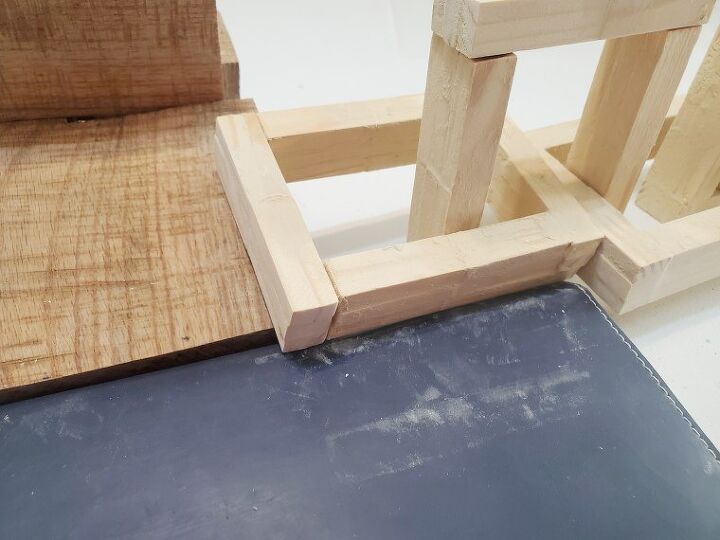
- Let the glue set.
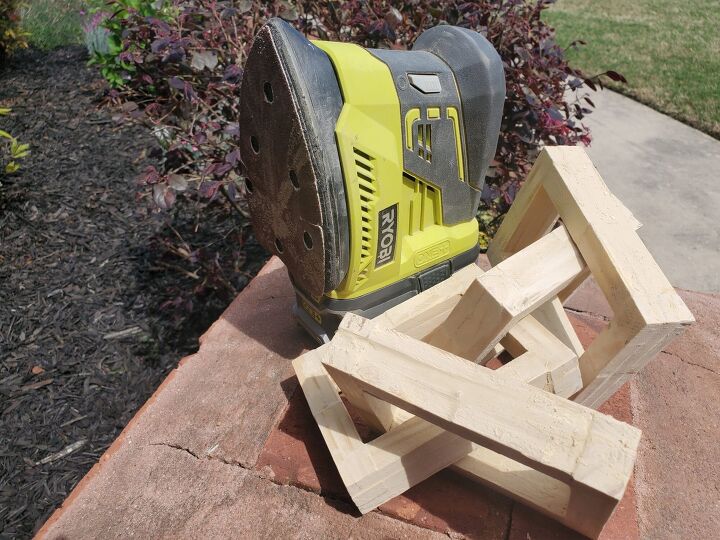
- Fill in all the crevices with wood filler, let dry.
- Sand your wooden links with 120 grit sandpaper. I am using a handheld sander, finishing the parts I can’t reach by hand.
- Wipe down your chain with a clean damp cloth.

You can leave your wooden link chain as is.
Or you can stain your chain.
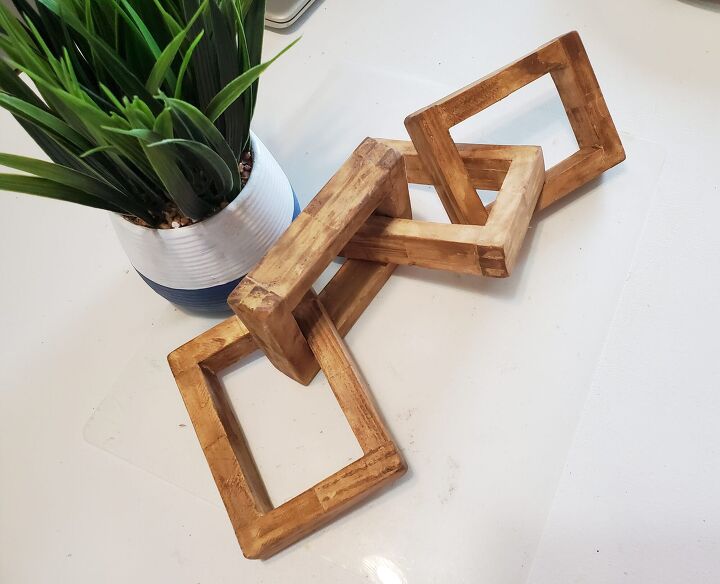
Or you can stain it and dry brush paint to it.
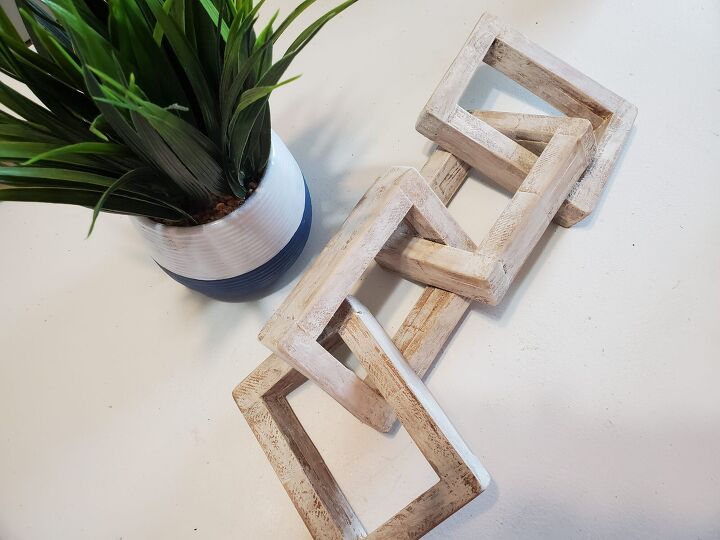
I love how this turned out and especially the price!
Resources for this project:
See all materials


Comments
Join the conversation
-
I really like that. Just have to figure out where to put it.
-
So different. Love it!


Frequently asked questions
Have a question about this project?