


Make Your Own Pom Pom Rug

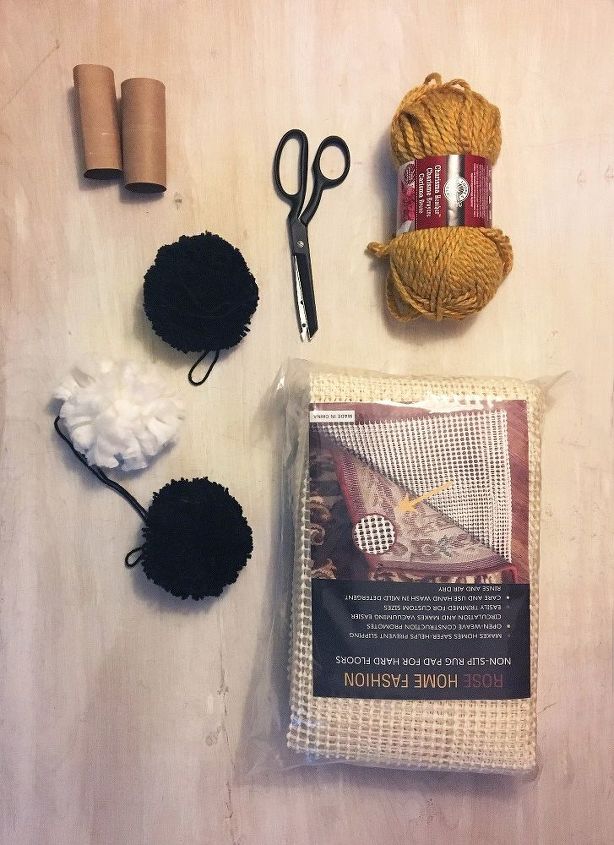
5 Materials
$60
2 Hours
Easy
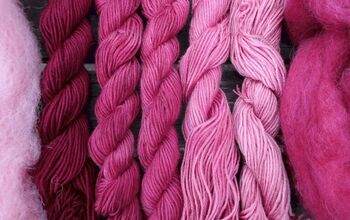
Picking out rugs is sooooo hard for an indecisive like me, so I thought I would go ahead and make one.... turns out that was just as hard to decide on. Nonetheless, I made a fun and fluffy pom pom rug and thought I would share my experience. It is great, because you can customize the colors and textures of the rug as well as the size and shape! With some pre-made pom poms, a bit of yarn for some custom ones, and a rug mat you are in business to make this great pom pom rug! We want to help you DIY, so some of the materials in this post are linked to sellers. Just so you know, Hometalk may collect a small share of sales from the links on this page.
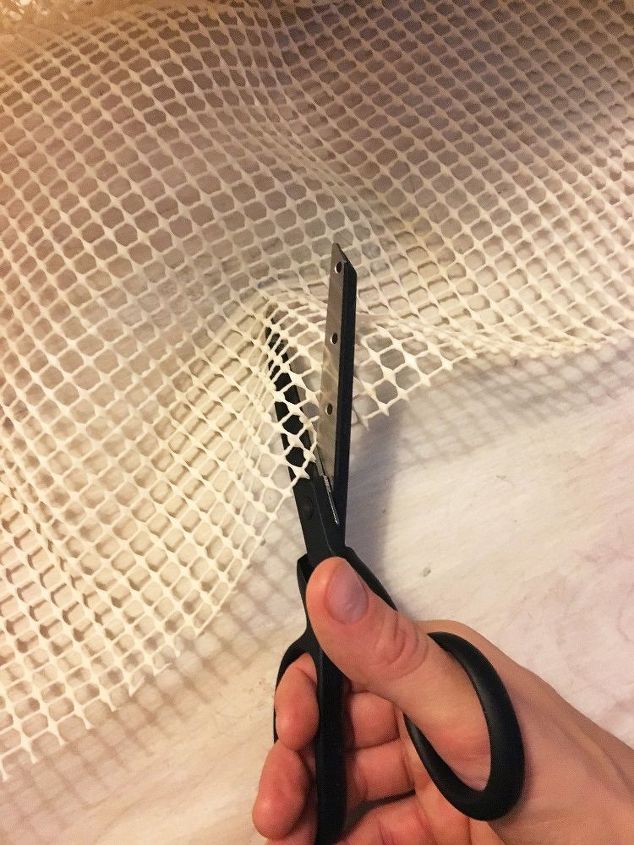
STEP 1: Cut the shape of your rug Cut your rug mat to the size of the rug you want to create. You can also cut it in a shape if you want! You can even make a hexagon rug if you so wish! (Come to think of it I should have done that!) Set this aside for now.
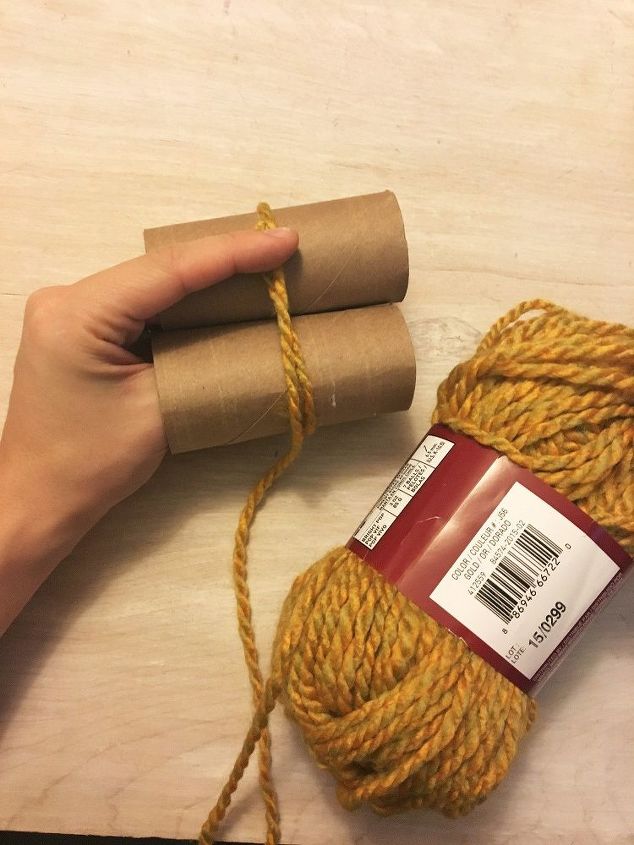
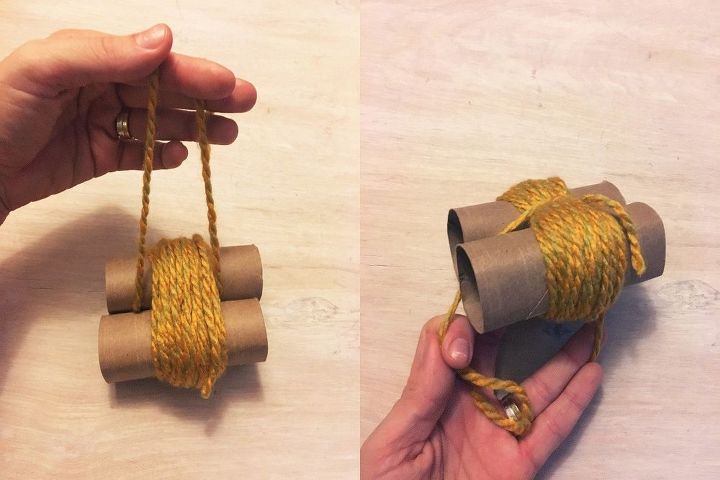
STEP 2: Make your own pom-poms If you are making any pom poms for your rug, you will need the next 10 steps. If you are just using pre-made pom poms, you can skip ahead! The first step for making your own large pom is to grab 2 toilet paper rolls and, while keeping them together, wrap yarn around the rolls a bunch of times. Depending on how fluffy you want and the yarn you are using (thick or thin) you can wrap it anywhere between 16-40 times.
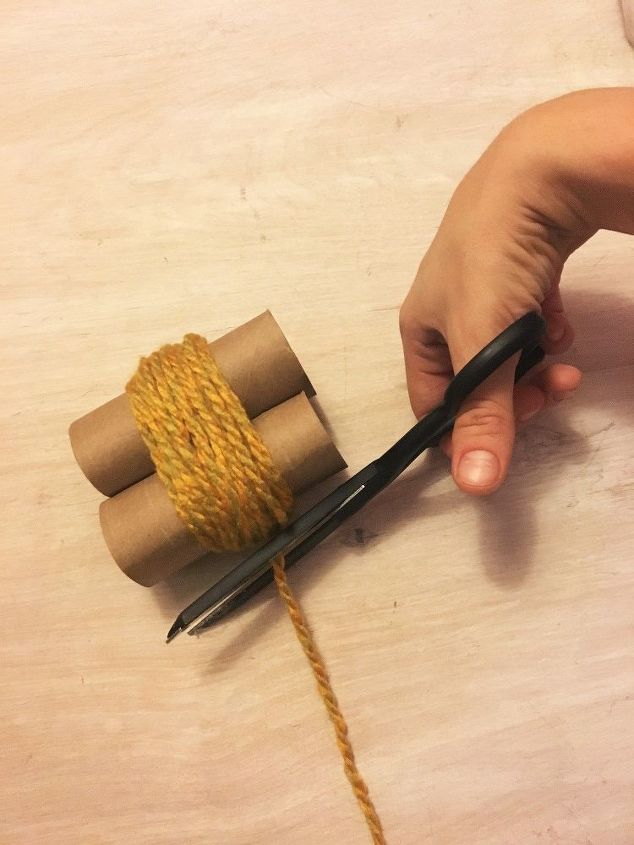
STEP 3: Cut the string Once you have a nice mound of yarn on the rolls cut the rest of the skein or ball loose.

STEP 4: Cut a new piece of yarn Cut a random strand of yarn separate from the roll you just wrapped. (about 7-10" should be good)
STEP 5: Place the yarn between the rolls Take your yarn strand and feed it between the two rolls of toilet paper and wrap it around the pile of yarn.
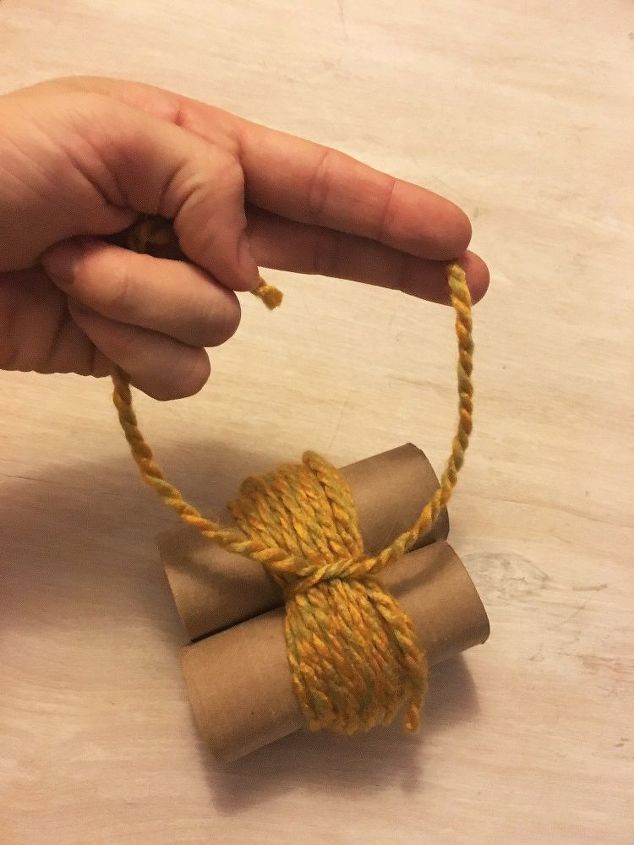
STEP 6: Tie it together Tie the yarn together on one side, but don't create a knot just yet. Wrap it between the toilet paper rolls again and tie it in place, but again hold off on creating a knot.
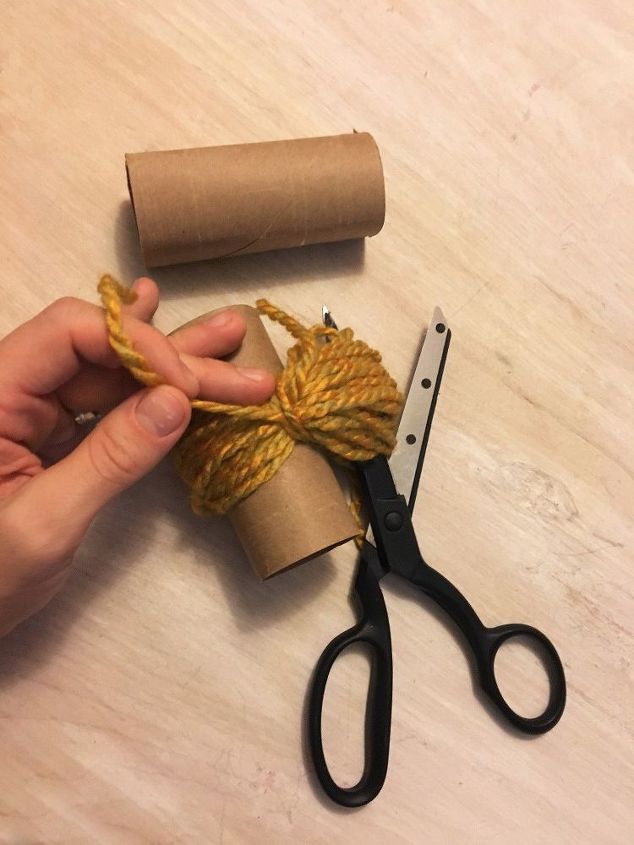
STEP 7: Cut the loop Slide one of the toilet paper rolls out from the yarn and cut down the center of the loop that is left.
STEP 8: Secure the pom pom Take the other toilet paper roll out from the other side of the poof and tie the strand that is wrapped around the center into a tight knot.
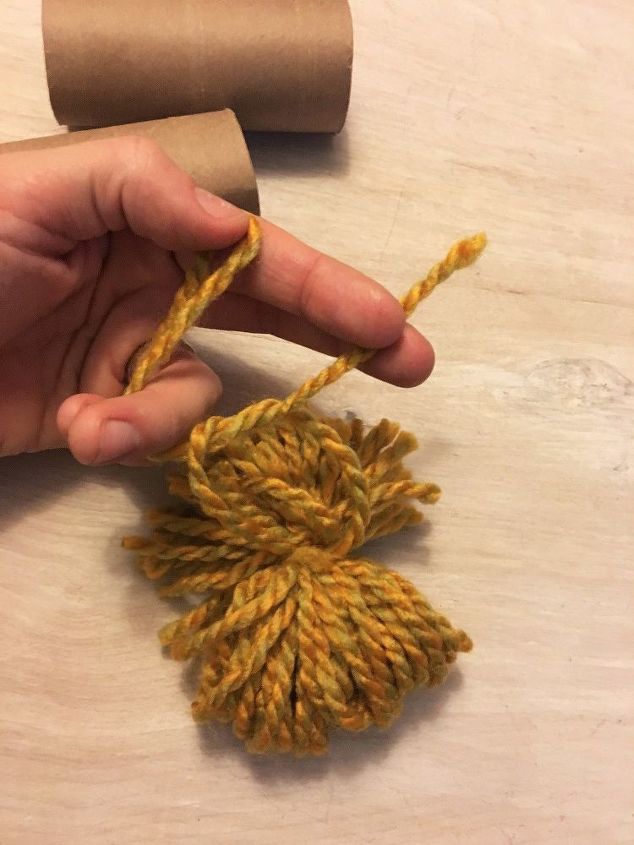
STEP 9: Cut the other loop Now cut the looped side of the poof down the center as you did with the other side.
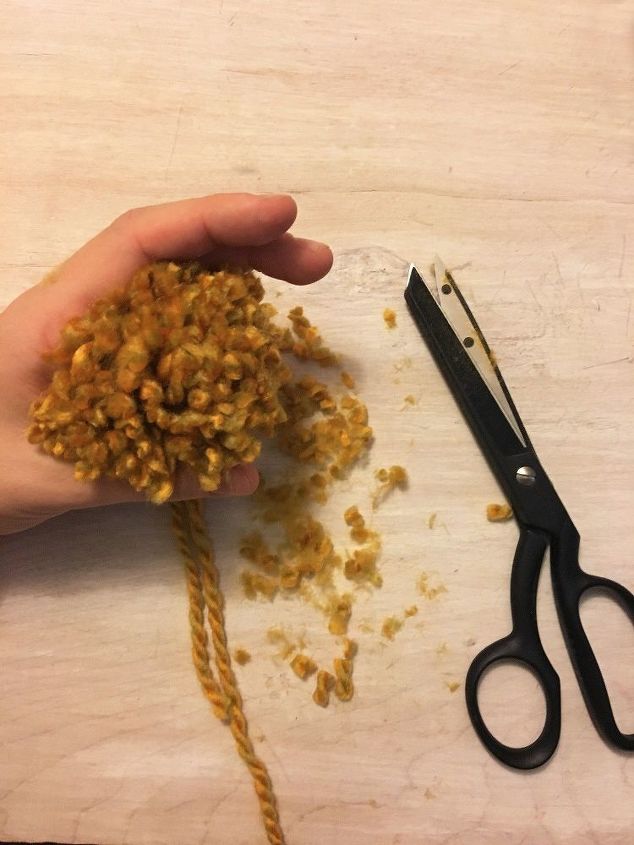
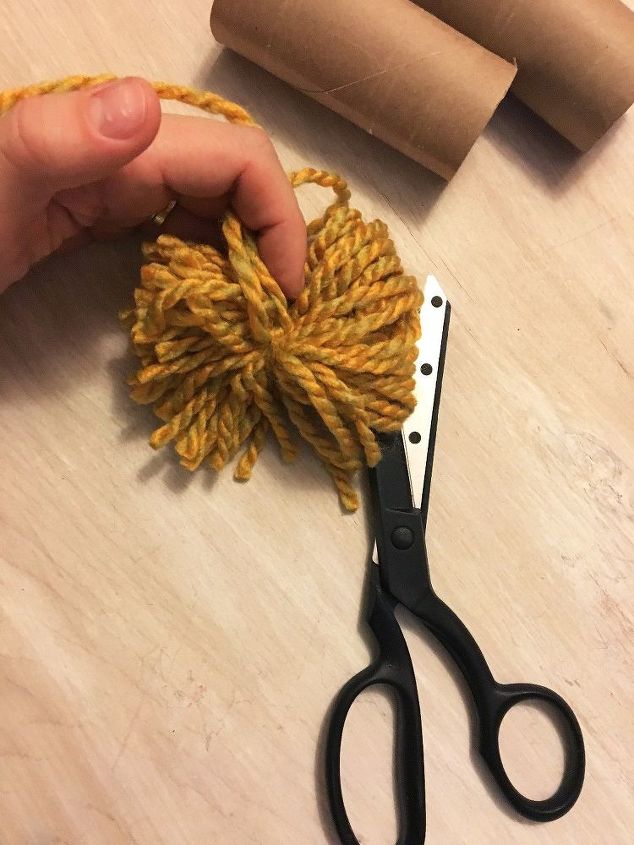
STEP 10: Trim and shape Now trim the poof so that all the strands are even and consistent with one another. Leave the tail on! Do not cut the strand wrapped around the middle as it will serve as the anchor to tie the poofs to the rug mat.
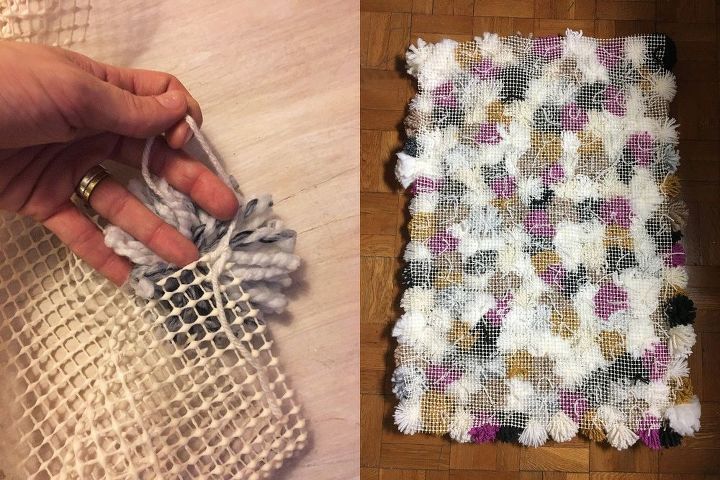
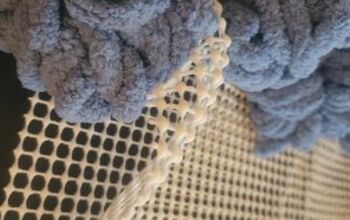
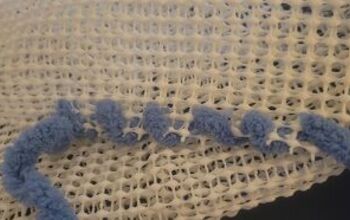
STEP 11: Tie on your poofs Now for those of you who are only using pre-made poofs, here is where you can join in the fun! Grab your pre-cut rug mat and place your poofs to make sure you have enough to cover the mat and also that they are positioned as you would like. One by one use the tail and feed it through the grids in the rug mat and tie it in place. Be sure to tie a nice tight knot so they stay in place. Keep tying all the poofs until you are complete. The back should look like the picture on the right.
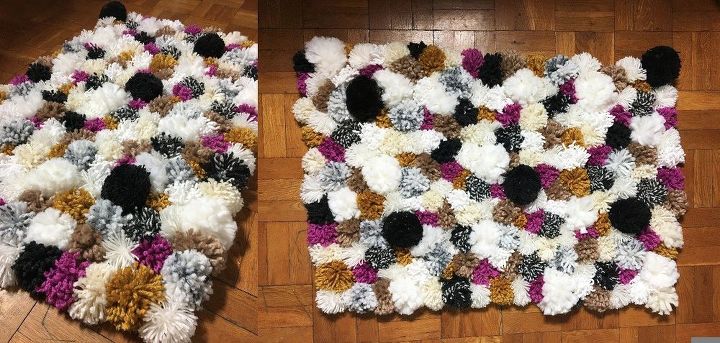
Now make sure there are no empty spaces and that they are all arranged in the way you would like!
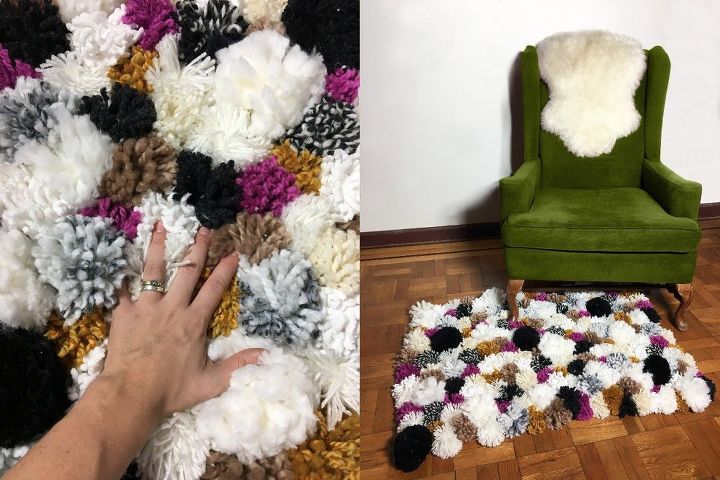
This thing is so nice and fluffy! I have got to keep it somewhere nice and clean so it stays as cute as it is right now.
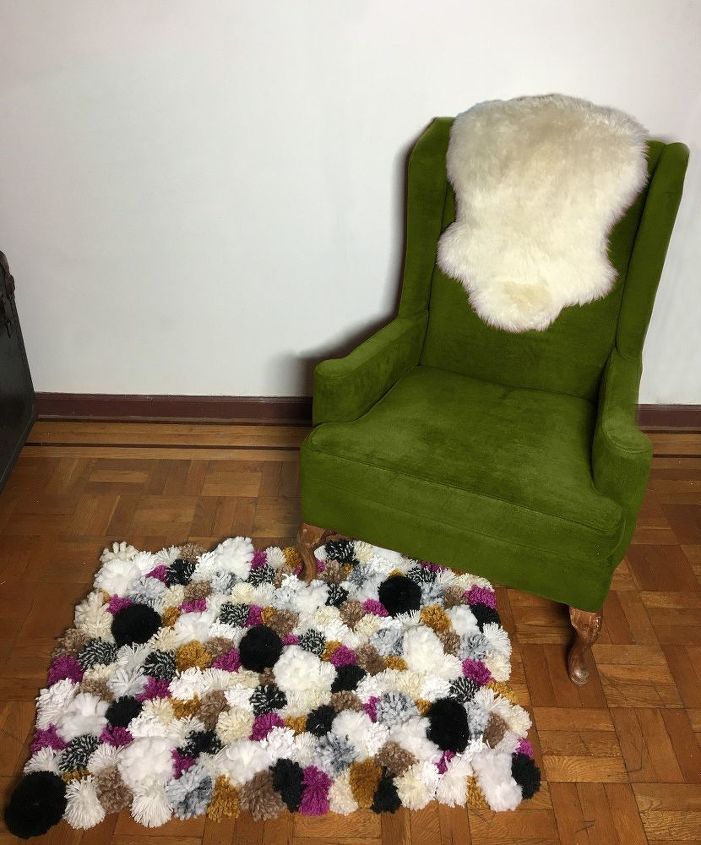
I want to make one for every room in the house! This thing is so stinkin cute!


Any price and availability information displayed on [relevant Amazon Site(s), as applicable] at the time of purchase will apply to the purchase of this product.
Hometalk may collect a small share of sales from the links on this page.More info
Comments
Join the conversation
2 of 282 comments
-
Thank you for this!
I found that I had to DOUBLE the rug mat for a more secure end product.
I secured the edges so the mat doesn't bunch or shift.
-
Loved this project. You did great! For 1.25 at Dollar Tree, they have pom pom makers and it has three sizes.


Frequently asked questions
Have a question about this project?
Doesn't that hurt ur feet stepping on the little hard balls of yarn where they're tied together?
Is there a method to the madness of where and how many pom-poms to use? For example: every 5th hole... Cause I would love to do this but I dont want to get started and then come to find out I put too many or not enough. Ha ha ha
If you make the Pom Pom a little larger then space a little farther apart on the mat base a person would be less likely to feel lumps under foot when walking on the rug, correct?