


How to Frame Canvas Art in 7 Simple Steps

By Judy Schumer
If you’ve ever done one of those sip-and-paint parties, you might have a piece of canvas art lying around that you don’t know how to display. Or, maybe you picked up a beautiful canvas painting at the art fair last summer, and you’re not quite sure how to hang it.
Framing canvas art involves building a custom frame to put around the piece of art to display it—kind of like a picture frame. Canvas can come rolled or stretched. Rolled canvas is precisely as it sounds: A canvas that is rolled once the painting is done and has dried. Rolled canvas must be stretched before framing by attaching it to stretcher bars with heavy-duty staples. With stretched canvas, the job of securing it around stretcher bars is already done and you can get straight to building a frame.
In this guide, we'll provide the instructions for how to stretch canvas, then move on to how to frame the canvas to give your artwork a final touch before hanging. We'll also give you a few canvas hanging tips, so get ready to break out your stud finder.
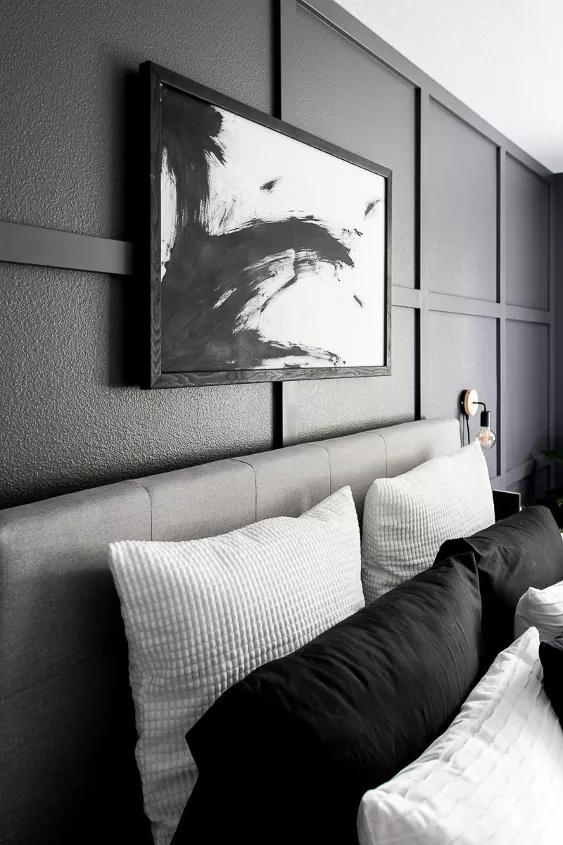
Photo via Amanda Garvin
How to Stretch Canvas Art
Rolled art is often easier to ship, so if you ordered a piece of canvas art online, it’ll likely come rolled. Rolled canvas art also doesn’t loosen during transport like stretched canvas can.
To stretch your rolled canvas art before framing it, you need to gather a few items and follow these steps.
Tools and Materials Needed:
- Something to weigh down art, like books or paperweights
- Tape measure
- Stretcher frame (we'll teach you how to measure for one in Step 1)
- Tablecloth or craft paper
- Heavy-duty staple gun with 1/4-inch stainless staples
Step 1: Measure the Canvas
Place your canvas face up on a flat surface. Weigh down the corners for an accurate measurement. Use the measuring tape and note the height and width of your canvas to see what size stretcher frame you’ll need.
Your canvas art will be stretched over the stretcher bar with the corners folded and stapled, so be sure to leave enough room in your measurements to make that possible. Leave an average of 3 inches all around to allow for proper stretching. For example: if your painting’s height is 27 inches and the width is 15 inches, you’ll want a stretcher bar frame that’s 24 inches high and 12 inches wide.
Step 2: Prepare the Work Area
Cover your work area with a clean tablecloth or craft paper. Place your art face down in the center of the work area.
Step 3: Align the Stretcher Bar
Place the stretcher bar in the middle of the canvas. Line up the center of the stretcher bar with the center of the canvas art, using the measuring tape and working from one side at a time to determine the proper alignment.
Step 4: Fold and Staple the Canvas
Starting from the edge closest to you, fold the canvas over the stretcher bar. Place a staple in the center of the length of folded canvas to attach it to the frame. Repeat for each side of the canvas.
Once the canvas is stapled on each side, turn it over to check the alignment. If you’re happy with it, proceed to the next step. If it needs to be adjusted, remove the staples and start again at Step 3.
Step 5: Tighten and Staple the Canvas
Starting at the bottom, gently pull the canvas and begin stapling the rest of the canvas to the stretcher bar. Start about 2 inches from the staple in the center, stretching and stapling as you go along the frame, leaving the corners unstapled (they will get folded and sealed in the next step). Do not pull the canvas too hard; you want the image to remain centered.
Step 6: Fold and Staple the Corners
Fold the corners of the canvas, laying one side over the other, then staple the canvas where the edges of each stretcher bar meet in each corner of the frame.
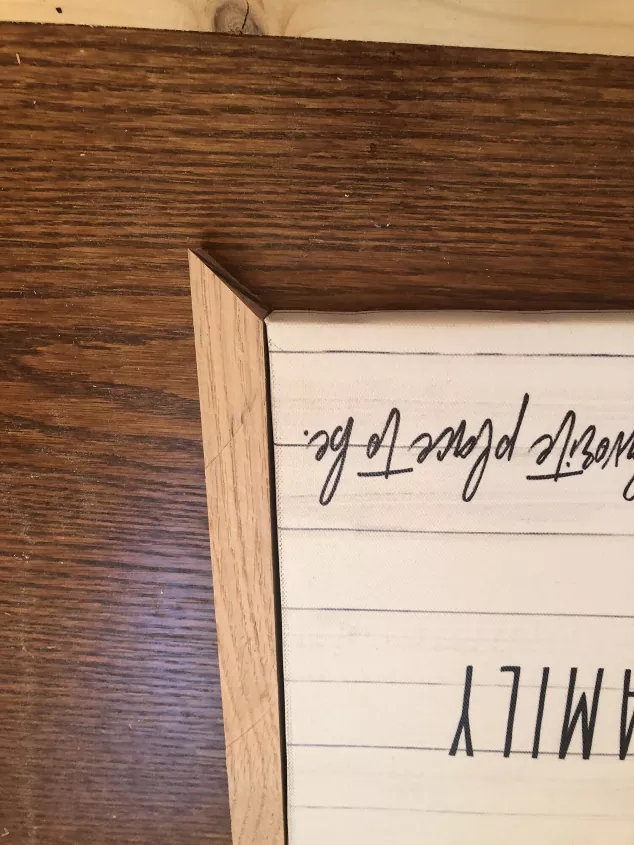
Photo via Nicole Juarez DIY
How to Frame Stretched Canvas Art
Once you’ve stretched your rolled canvas, or if your art piece was already stretched, you are ready for framing. Adding a frame gives a stretched canvas art piece a finished look, perfect for creating a beautiful gallery wall.
Tools and Materials Needed:
- Tape measure
- 5 1-inch x 2-inch boards
- Miter saw
- Wood glue
- Nail gun
- Finishing nails
- Wood stain with polyurethane
- Paint brush
- All-purpose glue
- Canvas art
- Cardboard and scissors (if needed)
Step 1: Measure the Canvas Art
Use a tape measure to measure the height and width of your stretched canvas. Write down the measurements, which you’ll use when cutting the boards for your frame.
Step 2: Cut the Boards
Use your miter saw to cut the ends of four 1-inch x 2-inch boards at a 45-degree angle to the length of the measurements you noted in Step 1.
Step 3: Make Corner Braces
Corner braces will allow your canvas art to be recessed and will make attaching the canvas to the frame much easier than trying to balance the canvas while gluing it to the frame.
Using the final 1-inch x 2-inch boards, cut four corners braces, about six inches long each, with the miter saw set at a 45-degree angle on the end of each piece.
Step 4: Assemble the Frame
Assemble the frame by using wood glue on each of the mitered ends of the four boards you cut and attaching them to form a rectangle or square—the same shape as your canvas art. Use the nail gun to place two nails near each end of the boards to join each corner together.
Attach each of the corner braces with finishing nails so that they are against the back of the frame on each corner. Run a thin bead of wood glue where each end of the brace meets the frame.
Step 5: Let the Frame Dry
The frame needs to fully dry to handle it for staining and framing your canvas art. Follow the drying time suggested by the wood glue manufacturer.
Step 6: Stain the Frame and Let Dry
Use a paint brush to apply a wood stain with polyurethane in it to your frame. Let the frame fully dry (48 hours is ideal).
Step 7: Frame the Canvas
Now that your frame is fully dry, it’s time to place your canvas art into it. With the frame facing upwards (the braces on the bottom), add a few drops of glue to the center of each brace. Drop the canvas into the frame, using cardboard spacers if needed to center the canvas inside the frame. Let the glue dry for 24 hours, then turn the frame over and place two finishing nails into the center of each brace to permanently secure the canvas art to the braces.
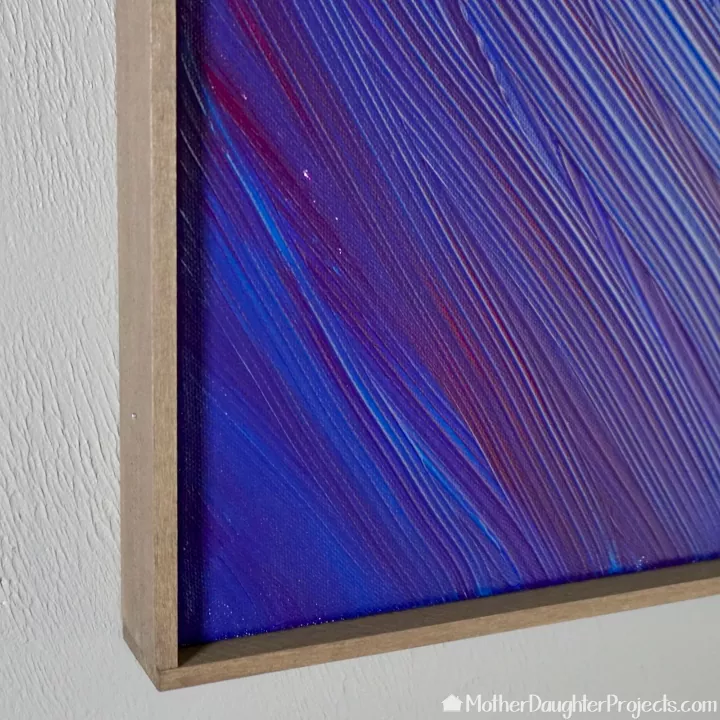
Photo via Mother Daughter Projects
How to Determine Placement of Framed Canvas Art
Once you have your canvas art framed, it’s time to hang it. Before hanging, it’s a good idea to plan out where you’ll be placing your artwork, so it doesn’t seem off-kilter when you look at it.
Museums are experts when it comes to hanging art. Their goal is to have the artwork at a visual level so that visitors can enjoy it to the fullest. To do this, they hang art at eye level. Follow this simple formula:
- Measure the height of the canvas art.
- Divide that number in half. This is the center of the canvas.
- Add 60 inches to that total (eye level for the average adult population). That number will be the distance from the floor to the top of the framed canvas.
- Mark a spot on your wall after measuring and proceed to hang the artwork (we'll teach you how to hang canvas art in the following sections of this guide).
- The exception to this rule is hanging your artwork over furniture or a fireplace mantel. In that case, hang your canvas artwork so that the bottom of the canvas frame is between 8 inches and 12 inches above the top of the furniture or mantle.
Because canvas can be a little heavier (especially when a wood frame is involved), it’s imperative that you hang your canvas art on a stud. Use a stud finder and adjust your canvas position based on where a stud is in the wall.
How to Hang Framed Canvas Art with Sawtooth Brackets
Sawtooth brackets are made for picture-hanging and provide strength and stability to the piece that’s hung on the wall. You can find sawtooth brackets and hanger hooks at any hardware store.
Tools and Materials Needed:
- Sawtooth bracket with nails and screws
- Pencil for marking measurements
- Measuring tape
- Screwdriver
- Hanger hook
- Hammer
Step 1: Find the Center
Use the measuring tape to find the center of the top of the stretcher bar at the back of your artwork. Mark the center with a dot.
Step 2: Nail the Bracket
Using the nail that comes with the bracket, nail the bracket in place using the dot as a guide. The center tooth will line up with the dot. Screw both sides of the bracket into the frame with the screws that came with the bracket.
Step 3: Measure for Placement
Using the formula in the previous section, mark a dot on the wall where you plan to hang your canvas art.
Step 4: Insert a Nail in the Wall
Hammer a nail into a hanger hook on the spot of the wall you marked.
Step 5: Hang the Canvas
Hang the canvas by placing the centermost tooth of the bracket on the nail.
How to Hang Framed Canvas Art with Eye Hooks
Most framing shops use eye hooks for canvas art because they allow for easy adjustment once the picture is hung.
Tools and Materials Needed:
- Pencil for marking measurements
- Measuring tape
- Two eye hooks
- Picture wire
- Flathead nail
- Hammer
Step 1: Mark the Frame
Mark both sides (left and right) of the canvas art frame with a pencil dot, about 1/3 of the way down from the top of the frame, using measuring tape as needed.
Step 2: Attach the Eye Hooks
Screw the eye hooks into each side of the frame where the pencil dots are.
Step 3: Attach Picture Wire
Measure the width of the frame. Add 8 inches to the measurement and cut a piece of picture wire to that length. Tie each end of the wire to the screw, stringing it through the eye then tying a knot to secure it. Wrap any excess around the threaded part of the eye hook. Leave room so the wire is loose enough to hang.
Step 4: Measure for Placement
Mark a dot on the wall where you plan to hang your canvas art (use the formula in the above section: “How to Determine Placement of Framed Canvas Art”).
Step 5: Insert a Nail in the Wall
Hammer a flat-head nail into the spot of the wall you marked. Make sure to leave a bit of space between the wall and the nail head.
Step 6: Hang the Canvas
Hang the canvas by placing the center of the wire over the nail. Adjust by sliding the art left or right as needed so it hangs level.
How to Hang Framed Canvas Art with Adhesive Strips
Adhesive strips are not only easy to use but also prevent your walls nail damage and holes. But, it’s essential to buy the correct adhesive strips for the weight of your canvas art. Check the corner of the package for how many pounds each strip can hold and use double the amount needed for added stability.
Tools and Materials Needed:
- Scale
- Pencil
- Measuring tape
- Straight level
- Adhesive strips (enough to hold double the weight stated)
Step 1: Weight Canvas
Weigh your canvas art on a scale so you know which adhesive strip strength is needed.
Step 2: Measure for Placement
Mark a dot on the wall where you plan to hang your framed canvas art. Use your level to draw a straight line equal to the top width of your canvas art frame.
Step 3: Attach the Adhesive strips
Following the manufacturer’s directions, attach the adhesive strips to each frame corner, top and bottom. Let the strips set for the required time so the adhesive sticks, pushing down with your fingertips if the instructions recommend doing so.
Step 4: Hang the Canvas
Remove the wall-facing backing to the adhesive strip and press the canvas onto the wall, using your pencil line as a guide. You’ve now finished hanging your canvas art!
Do you have canvas wall art in your home? Tell us about it in the comments; we love to hear from you!


Frequently asked questions
Have a question about this project?
Beautiful work, nicely done. Love the item and this interior as well. Can I redesign it in 3d, probably in planner5d? Thanks for sharing, anyway.