


Make a Miniature Adirondack Chair
I wanted to create a little summer scene in a rose bowl and decided to make a little Adirondack chair where I can imagine I am sitting on the beach!
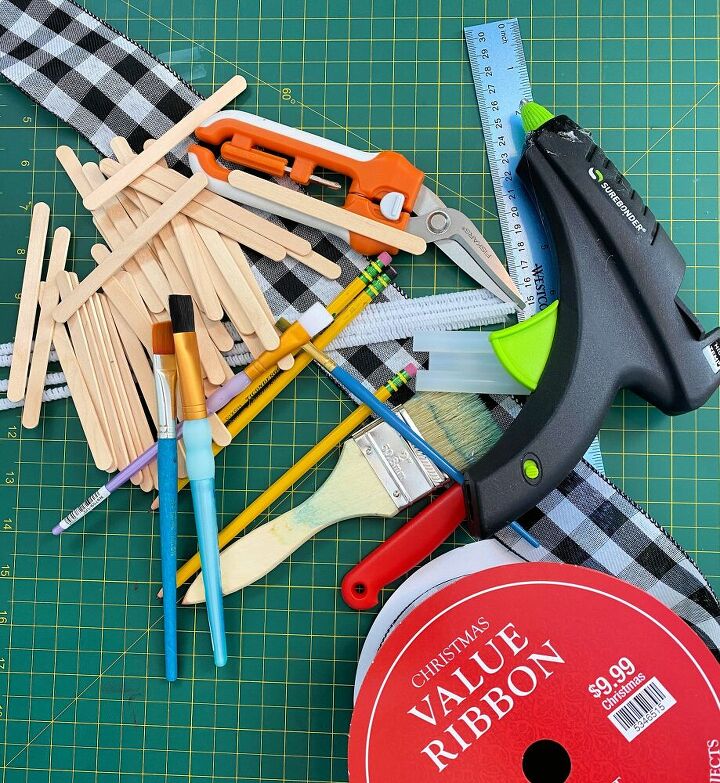
Gather your supplies...17 craft sticks, glue gun and glue, wire snips, paint and paint brushes.
Supplies:
17 craft (popsicle) sticks
wire snips
glue gun and hot glue
paint (optional)
Prep your “lumber”:
You will need the following:
1 – 3 1/4″ (chairback)
2 – 3 ” (chairback)
2 – 2 3/4″ (chairback)
1 – 1 3/4 (crossboard for back of chair – cut this one straight on each end)
1 – 2 3/4″ (lower crossboard for back of chair – cut this one straight on each end)
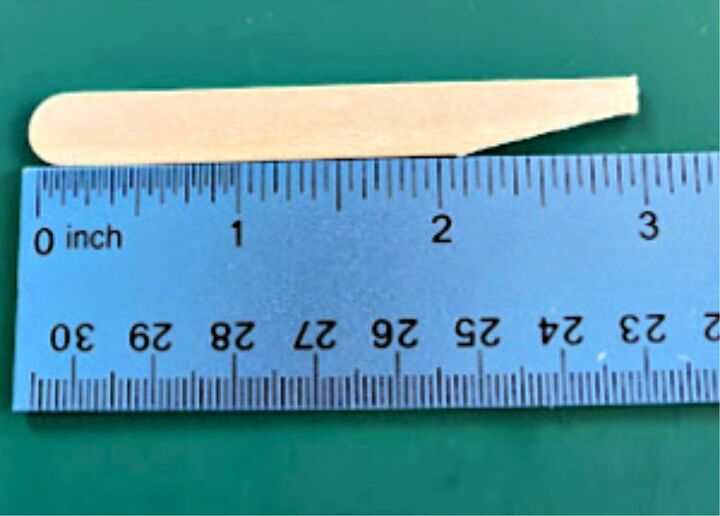
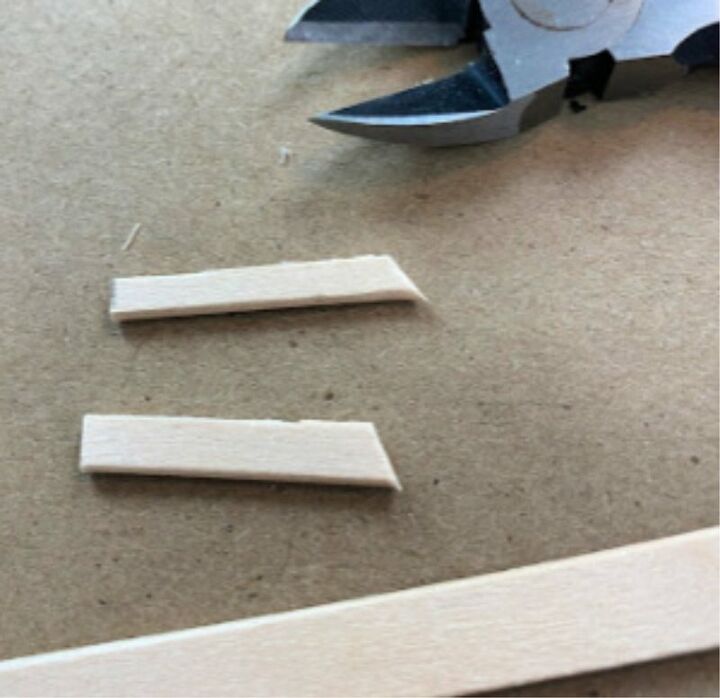
2 – 3″ (legs of chair – you will cut approx. 1″ of this off at an angle as shown in the photo above)
2 – 3″ (chair arms)
1 – 1 1/4″ (front chair legs- cut this in two as shown above and cut a slight slant on one end)
5 – 1 7/8″ (chair seat piece – cut straight on each end)
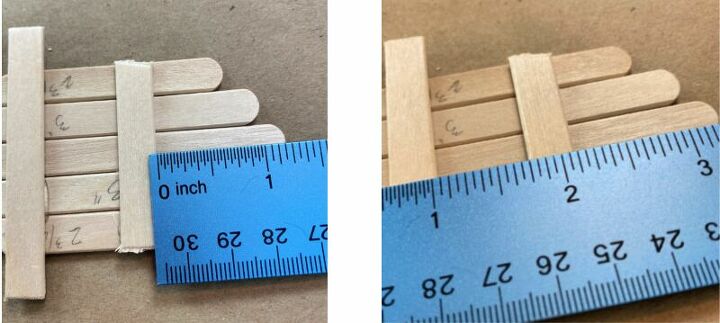
Lay the 5 back pieces side by side and use hot glue to attach the crossboards to the back. The top crossboard should be about 1 1/4″ down from the top of the longest (middle) back piece. Then the second, longer crossboard should be about 3/4″ below the top one. (see photos)
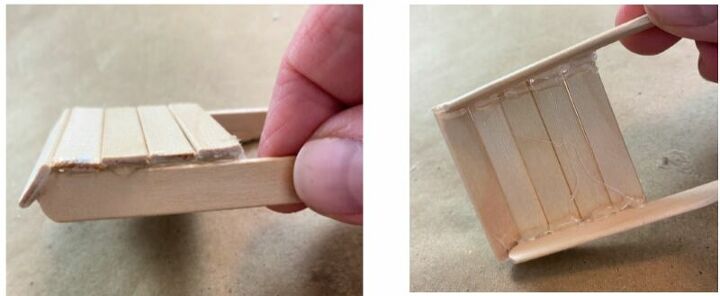
Now go to work on the seat. Glue all 5 of the seat pieces across the two long legs. The first seat piece should wrap down around the curve of the sticks as shown.
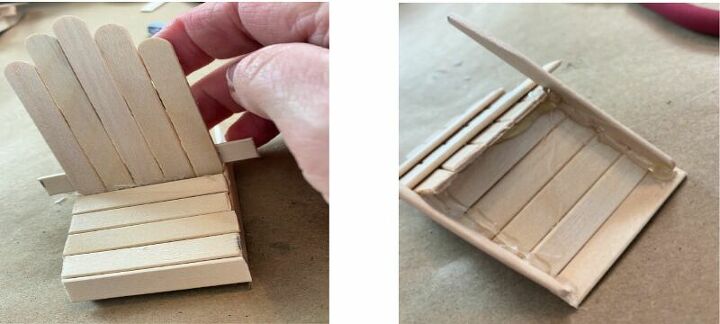
Attach the back to the seat as shown gluing it from underneath.
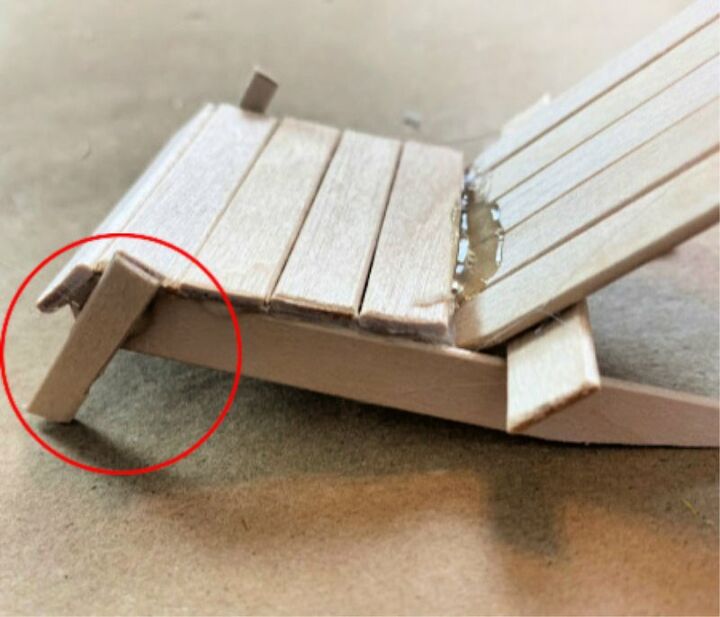
Add the front legs on each side…almost done!
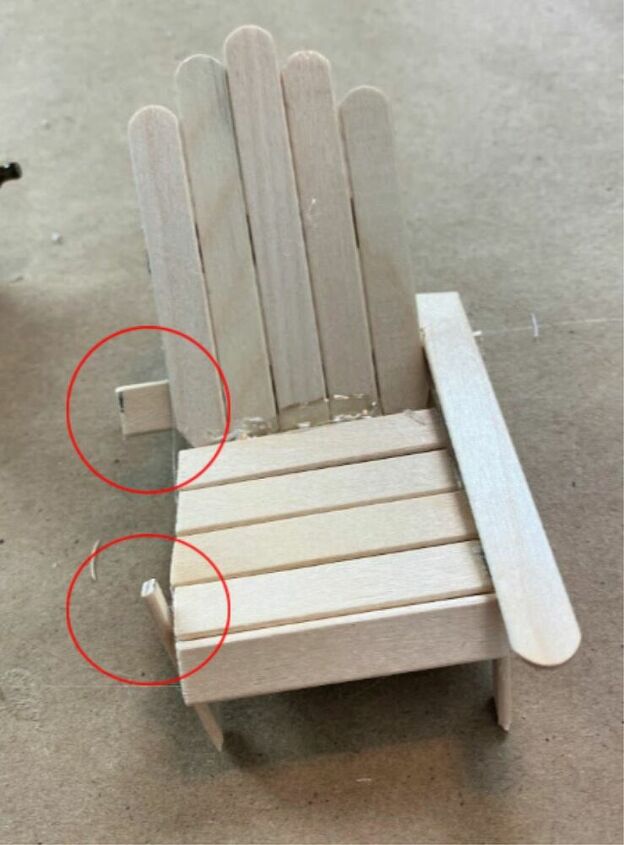
Glue on the long arms by attaching them to the top of the front leg and the large crossboard on the back.
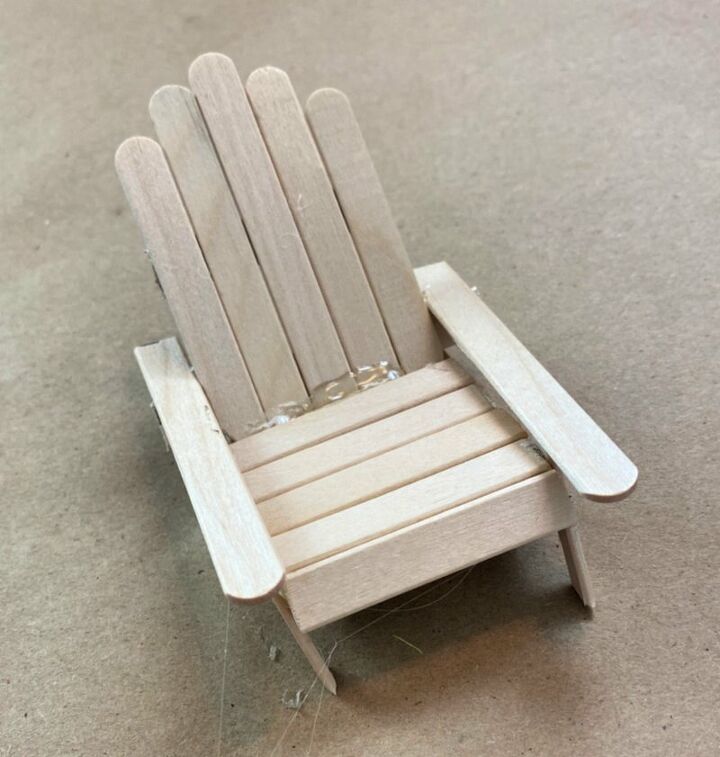
You did it! There is your cute little chair!
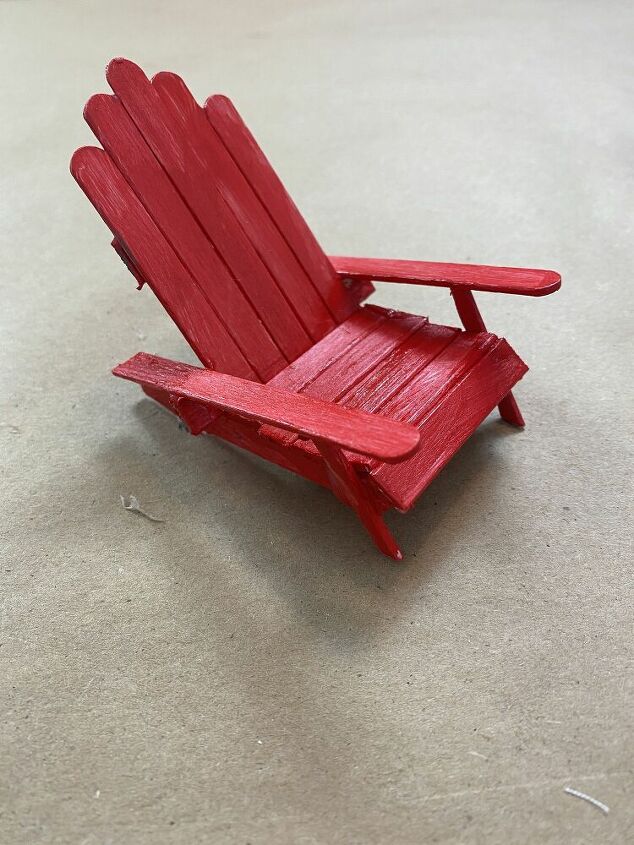
I painted mine red!
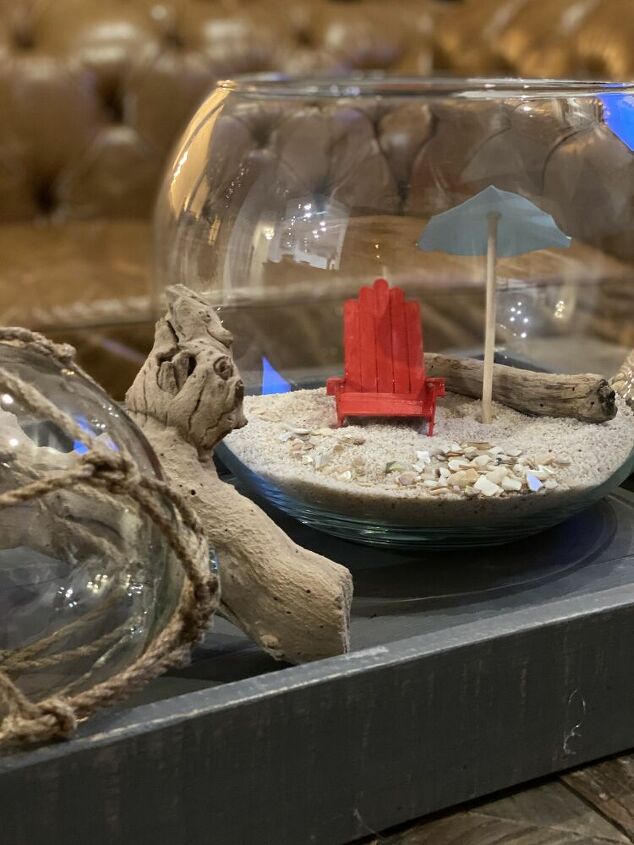
I popped mine my little chair in a bowl with some sand, a few little seashells, a piece of driftwood and a little diy beach umbrella and I can pretend I am sitting on the beach with the ocean lapping at my toes.


Comments
Join the conversation
-
Oh girl you don't know how much I love this and the best part....eeeek I have everything here at home to make it! Thanks so much for the inspiration!
-
I predict a great many fairies will be enjoying their gardens with new Adirondack chairs this summer!
These are awesome!!


Frequently asked questions
Have a question about this project?
So cute. Different glue if using outside, hot glue falls apart on stretches of hot summer days. perhaps add some water made with blue glitter glue and clear glue. Already heading to my craft table.