


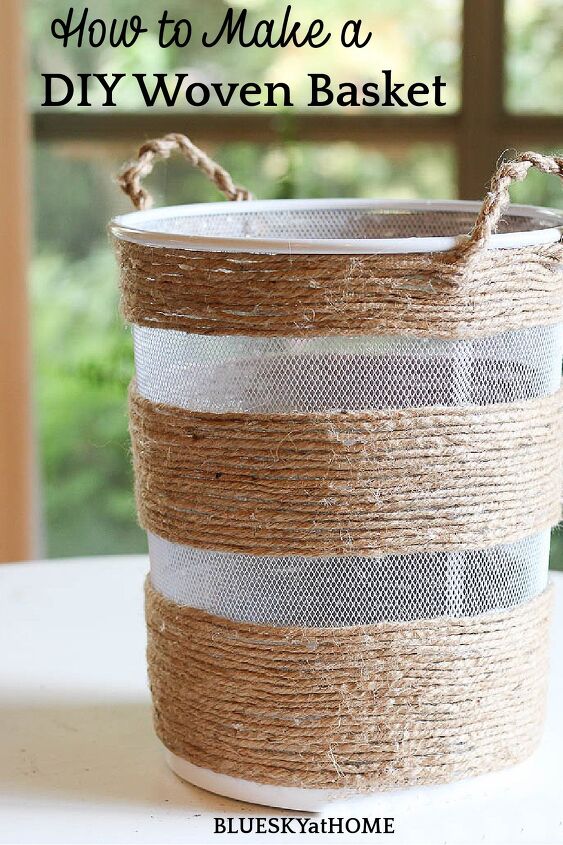
Make an Anthropologie-Inspired DIY Woven Basket

By now, you know I love a good DIY project. I love a good hack, too, such as this Anthropologie~inspired DIY woven basket.
Whether it’s a home decor accessory, a paint project, a party decoration, a tablescape enhancement or a gift idea, count me in. I love the opportunity to find new ideas to transform old or unused objects into more decorative and practical uses. This Anthropologie~inspired DIY woven basket was easier than I thought.
I love a simple project. This project fits the bill.
Hometalk Recommends!
This Anthropologie~inspired woven basket project is such a great item to have in our homes that I hope you will want to make one too.
EasyAnthropologie~Inspired DIY Woven Basket
This post contains links to products used in this project. If you should purchase any item from this website, I may receive compensation, but you don’t pay a penny more.
I needed a new waste paper basket for a desk area with a small opening below in our kitchen. I needed some inspiration so I went shopping online.
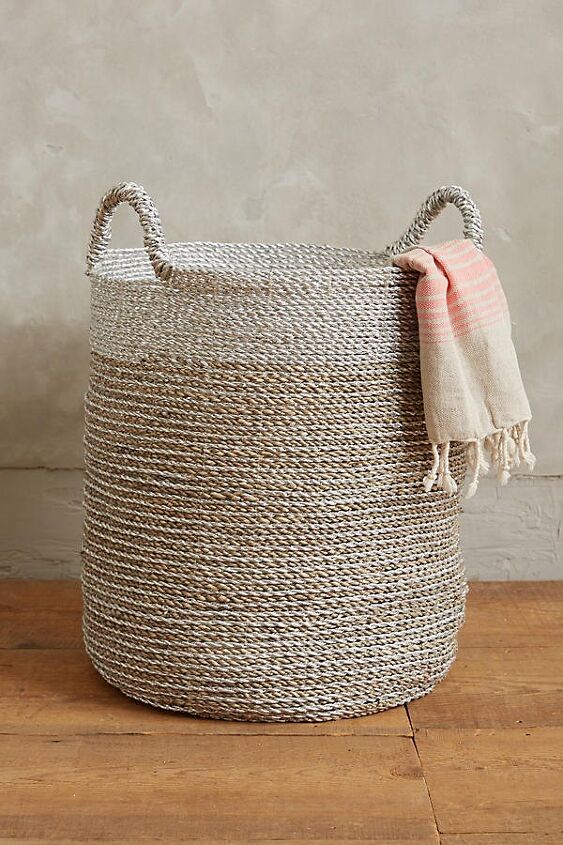
I found this basket on the Anthropologie website. It was $108.00.
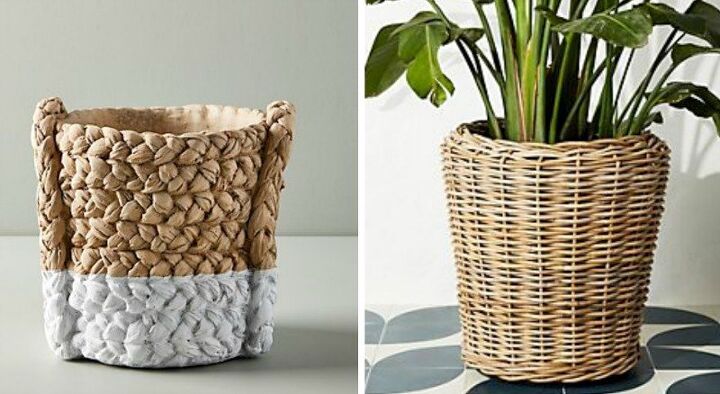
I also found these two baskets. The one on the left is $198 and the one on the right is $88.
I like all of those options, but the prices were way more than I wanted to spend. How could I get the same good looks for a fraction of the cost? Make one myself!
My DIY Woven Basket Preparation
Since I did not take underwater basket weaving in college, I thought I would use a basket with some sort as a frame to make a woven basket.
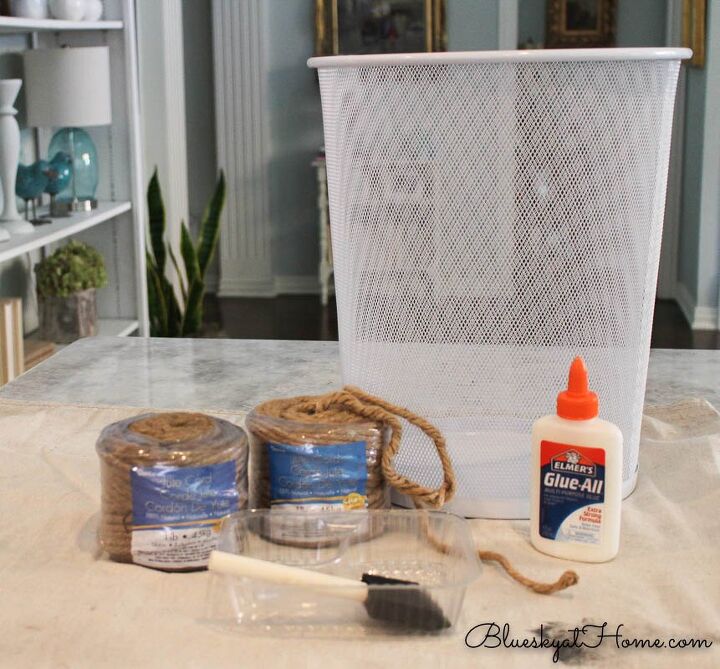
After a search on Amazon, I found this simple, white mesh basket. It was the right size (11.75 wide x 14-inches tall), shape, and price.
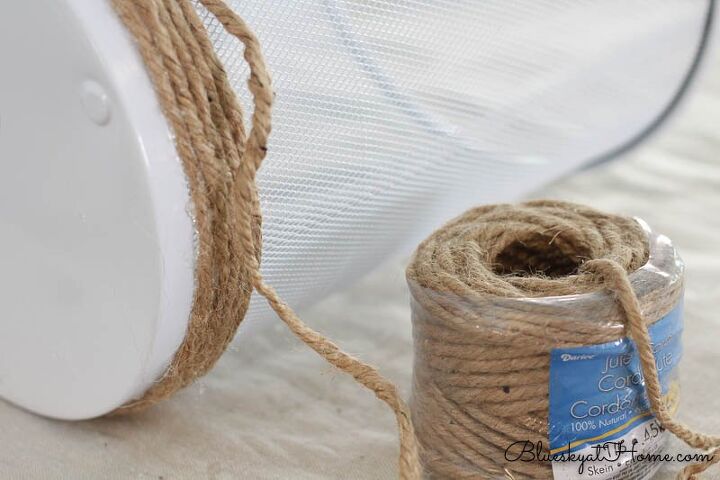
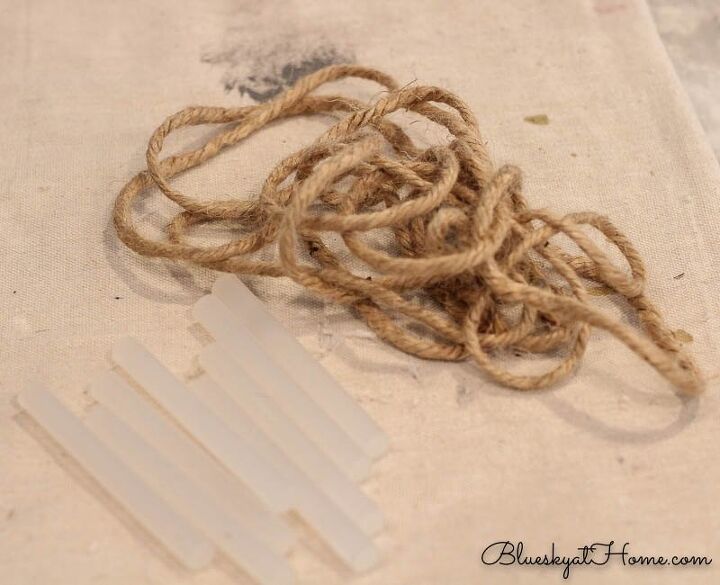
I would also need some kind of thick cording to create a woven look. I already had 1 package of this jute cord but not knowing how much I would need, I ordered another one. So I had 2 packages, each 135 feet long.
Plan for the Woven Basket
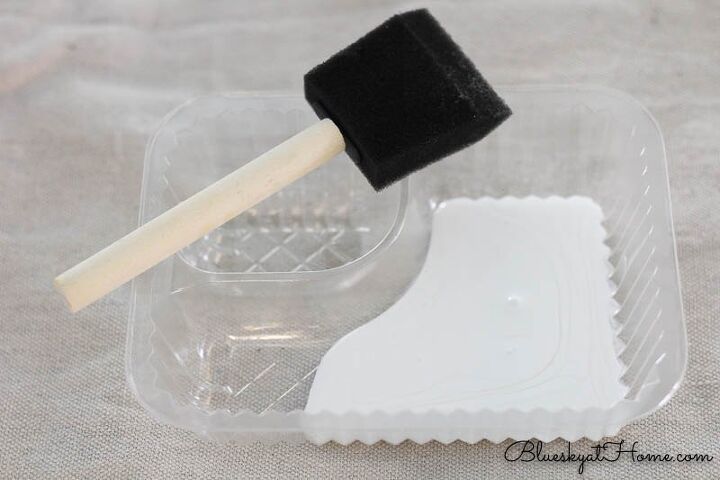
My plan for making the woven basket was to use good old Elmer’s glue and brush it on the wire mesh basket. I poured the glue into a plastic container.
Next, I brushed the glue on the mesh basket, starting at the bottom. I attached the jute cord in small sections.
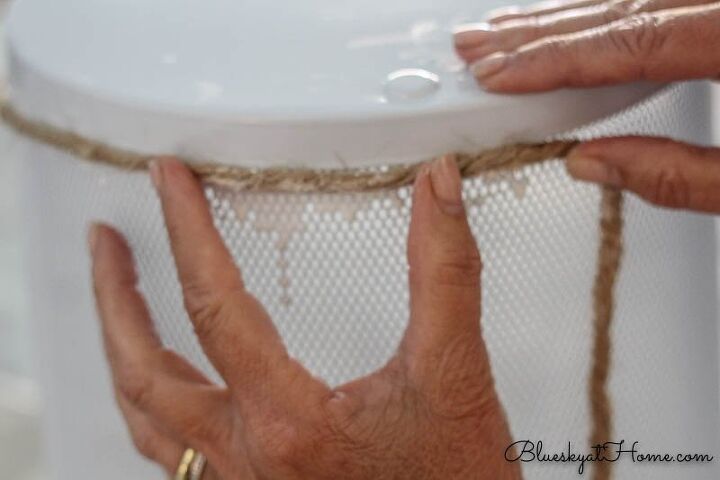
Guess what? This plan was not working. The jute was not sticking to the mesh basket and the glue was running down the sides. I needed to go to plan B.
The Plan B that Worked
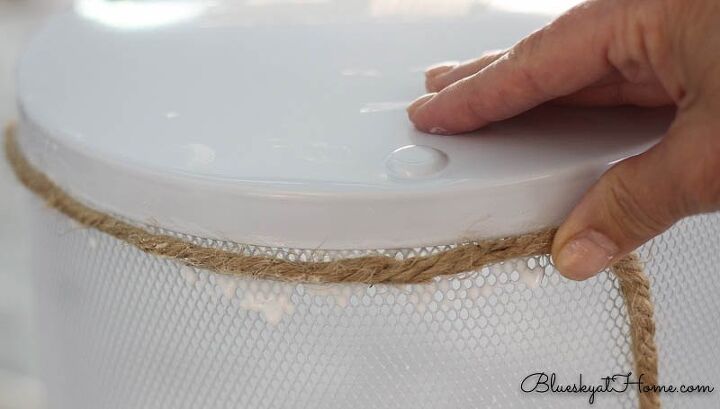
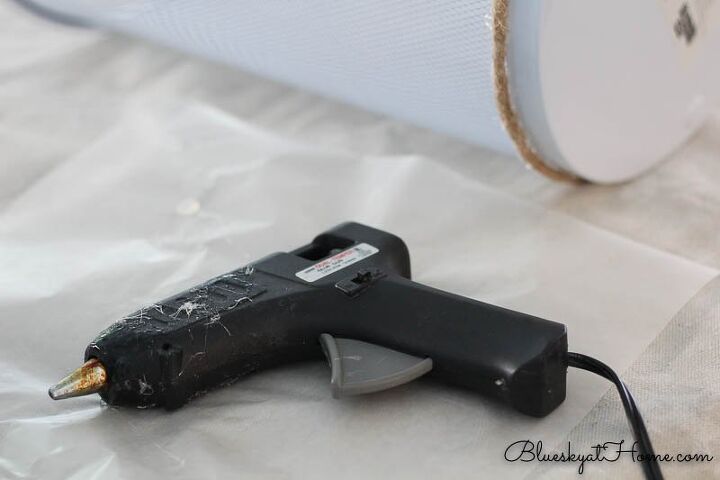
When regular glue didn’t work, I switched to the trusty glue gun. This method worked like a charm.
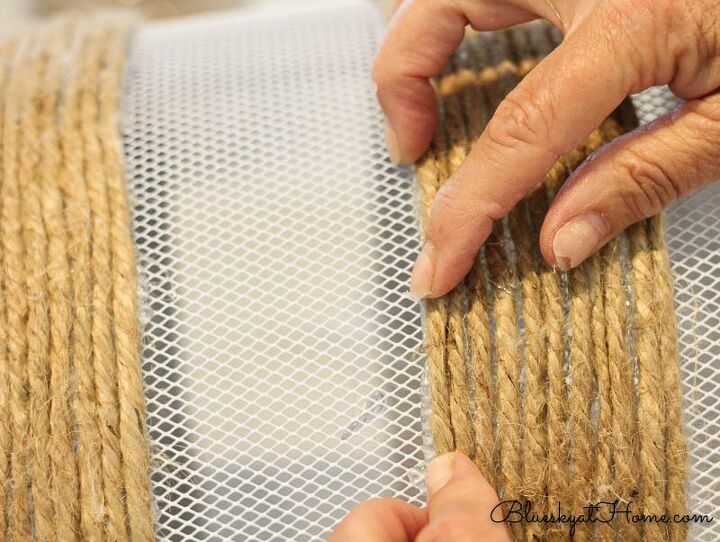
Once again, I started at the bottom of the basket, running a bead of glue for 6 ~ 8 inches. I held the jute cord to the bead of glue and pressed it down, slighting pulling it around the side of the basket.
You can see where the Elmer’s glue ran down the side of the basket. It didn’t show once I covered the basket with jute.
As I continued gluing the jute around the basket, I found it easier to turn the basket on its side. As I glued, I slightly pressed each new row of jute to the previous one, pulling the jute a bit around the basket. This method worked perfectly and I was on a roll.
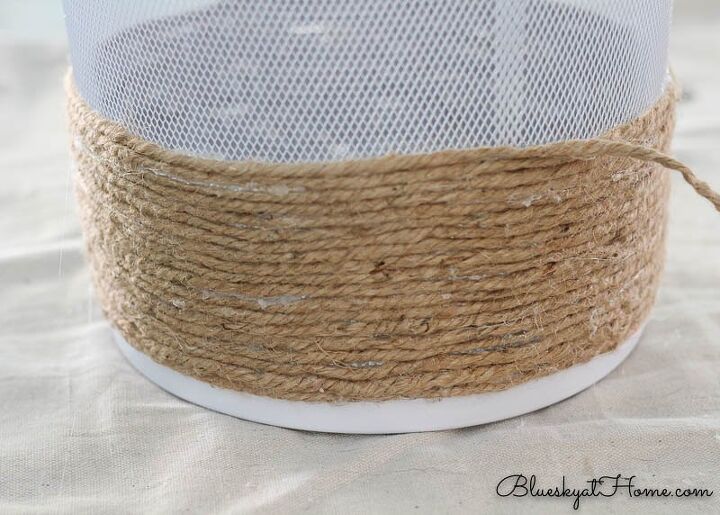
As you can see here, I started the jute above the bottom of the basket where the mesh began. I did this for aesthetic reasons and so the jute wouldn’t be on the floor.
I continued gluing and wrapping the jute around the bottom of the wire basket until I had a good 4 inches of jute.
Making Handles for the Woven Basket
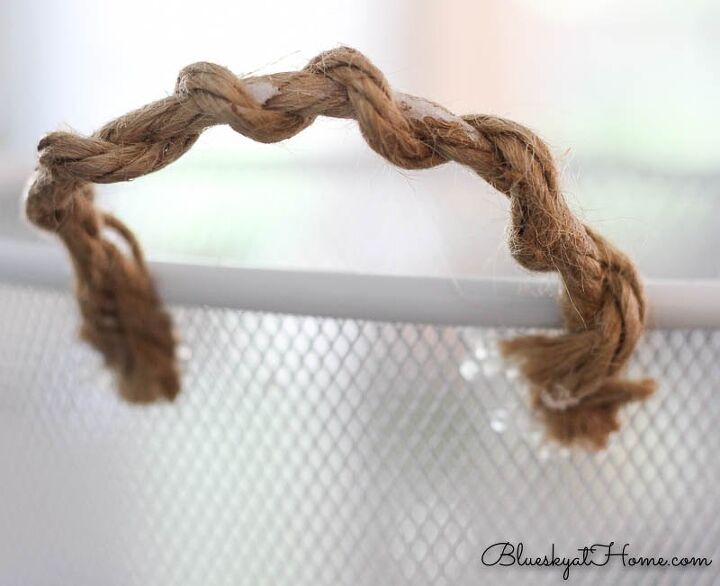
After I wrapped 4 inches of jute at the bottom of the basket, I stopped. For decorative purposes, I wanted to add handles.
I cut 2 pieces of jute 10 inches long and wrapped 1 around the other. I glued 1 end to the top of the basket and bent the jute to form a handle and glued it.
Then, I started gluing the jute to the top of the basket in exactly the same way I did the bottom, pressing and pulling as I went.
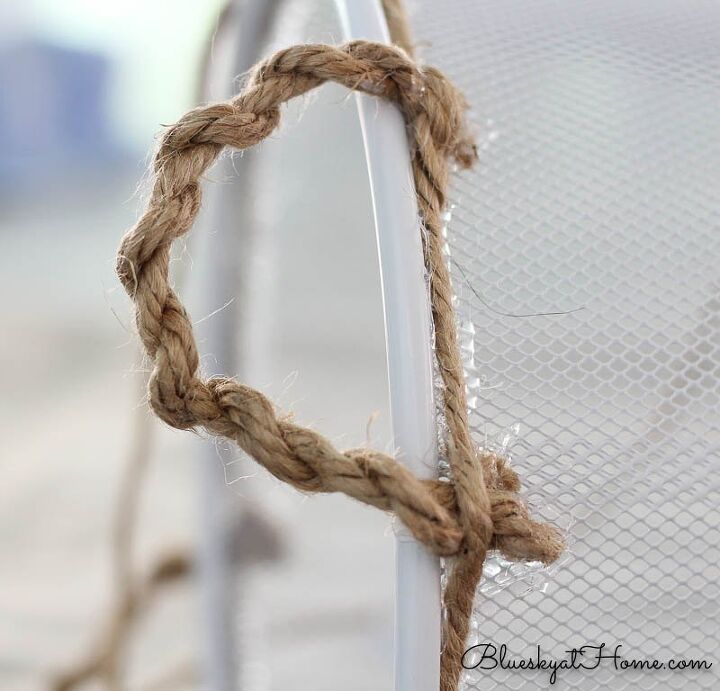
Once I covered the ends of my handles, it was smooth sailing. Where there were little gaps between rows, I filled in with glue.
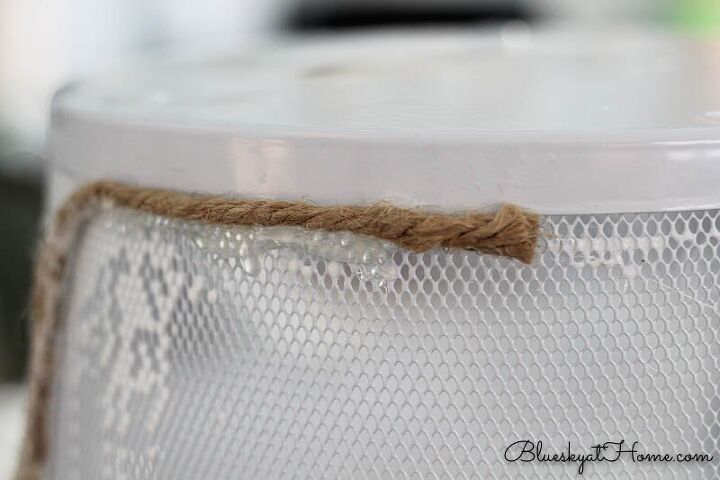
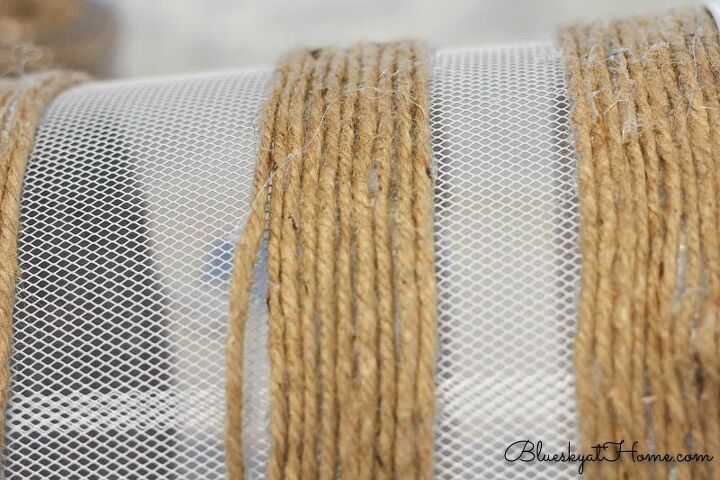
Also, I was liking the look of the white mesh with the rustic look of the jute. I made a 2~inch band of jute at the top, cut off the jute, and glued the end to the mesh basket.
Since I had a 2~inch band at the top of the basket and a 4~inch band at the bottom, I did a little math and determined that I could have a middle band of 3 inches with 1.75 inches between bands.
Using a small ruler, I measured down 1.75 inches from the bottom of the top band and made a pencil mark.
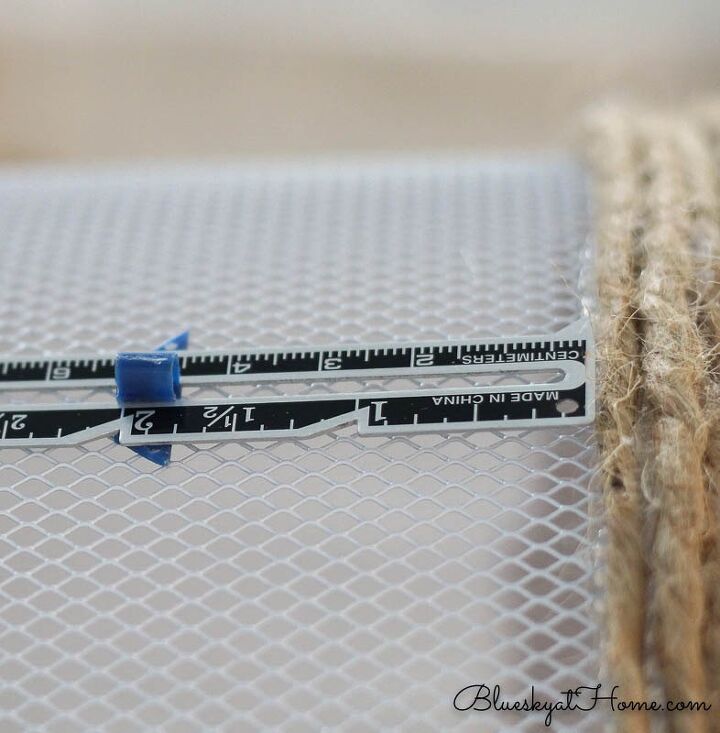
The mark showed me where to start my next section of jute twine.
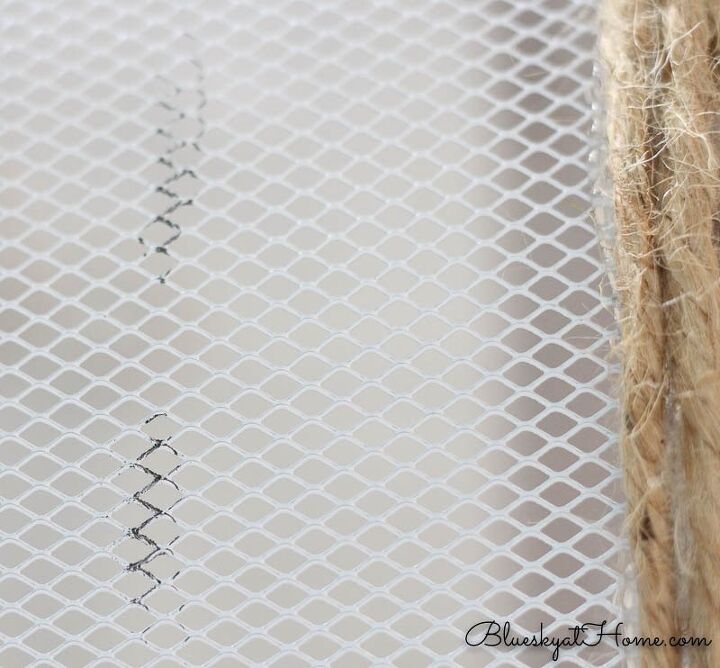
Once I had a mark to go by, I started wrapping my middle band around the basket. The lines may not be perfect, but the end result was fine.
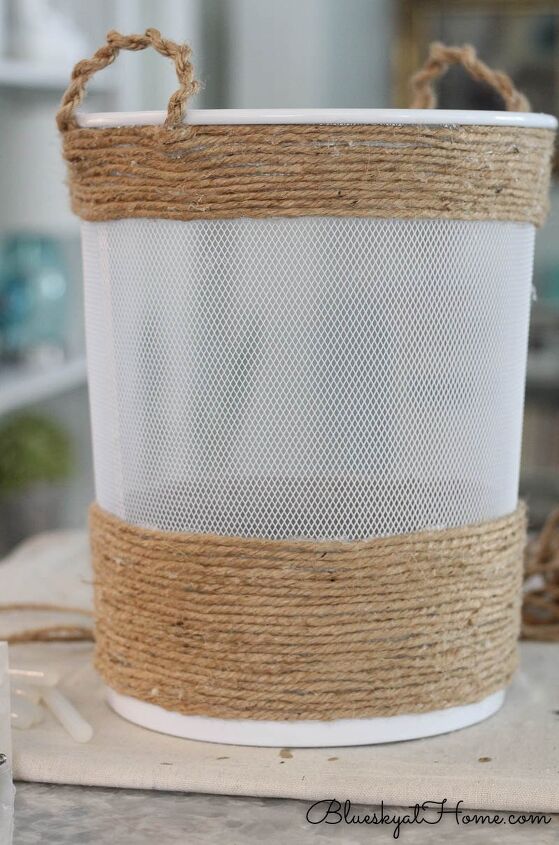
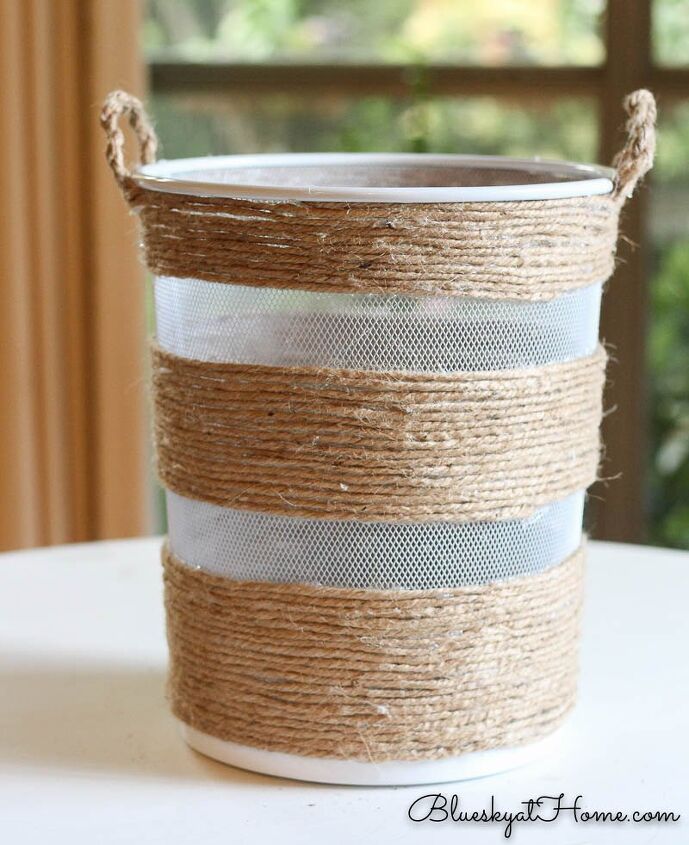
Once I wrapped 3~inch band of jute around the basket, I was done with my woven basket.
I really love the mix of mesh and jute, modern and rustic, metal and organic. The handles seem to be sturdy and secure.
This project was a different type for me, but it was also super easy, once I started using the glue gun.
It does get a little monotonous after a while. This is the perfect project to do while watching a movie or your favorite TV show. I didn’t keep track of the exact time it took to complete this DIY woven basket project ~ I stopped for lunch and a few bathroom breaks. I’m guessing around 4 hours total of work time.
As it turned out, I didn’t use all my original bag of glue sticks and I had some jute from 1 package left over.
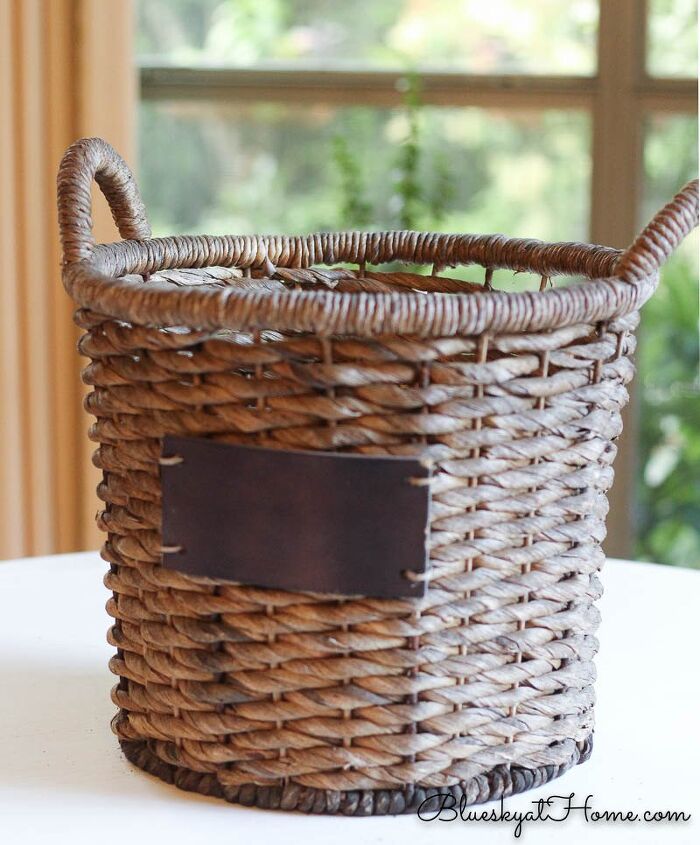
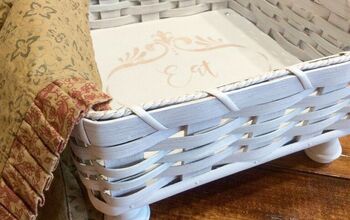
An Estate Sale Woven Basket
Ironically, at a recent estate sale where I rescued a teak table (I showed the restored view in the backyard update post.), I also found this awesome woven basket for $7.50. It even has a cute chalk sign to write on.
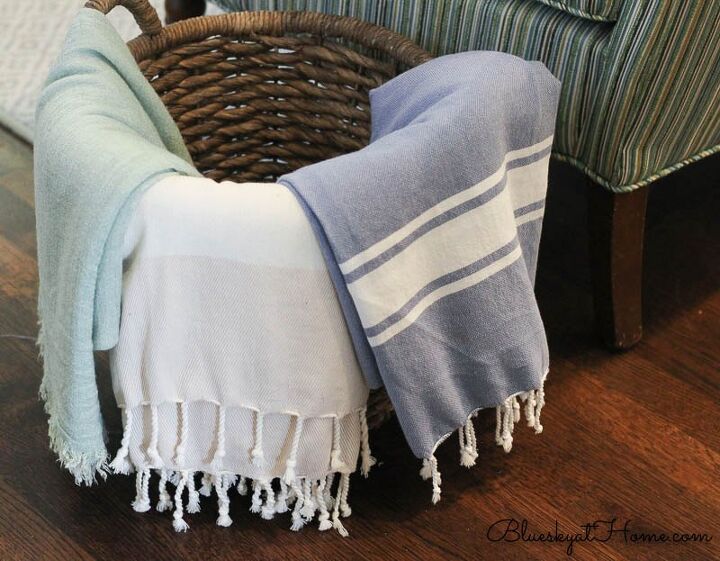
I’ve been using it to hold some of our throws in the living room.
I placed the DIY woven basket under the counter in our kitchen which was my original desk space. It would also make a planter for a faux plant. What would you do with it? I’d love suggestions.
I love updating baskets. It was so much easier than I thought it would be. I hope that you will PIN it, too.

Resources for this project:
See all materials


Comments
Join the conversation
-
You are so right. That's one reason DIY projects are so satisfying.
-
Very cute. I may try this with yarn in between the jute. Maybe pink and wine colors. Thanks for the DIY.


Frequently asked questions
Have a question about this project?