


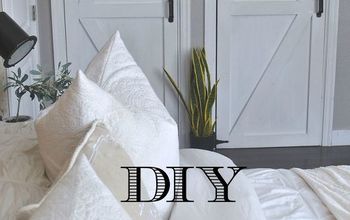
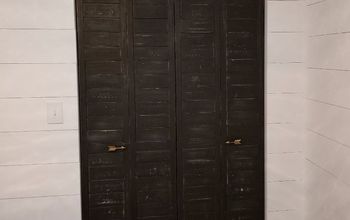
Closet Door Built-In Storage

Okay, so I have to admit, I have A LOT of shoes. I'm not the type to put away my summer shoes during winter, because you never know when you need a pair of flip flops or open-toe heels during the colder months (call me crazy but I don't stick with the close-toe heel rule...if there is one). Because I don't put away my summer shoes, coupled with the fact that I have a ridiculously small closet, it can look like a hot mess with the quickness. My closet is in my son's room, so even if I line my shoes up nicely, he eventually gets in there and messes them up. Hence, my need for a solution!
You can organize your own closet this spring, with our expert organizer, Meggie Mangione by signing up to our online group workshop.
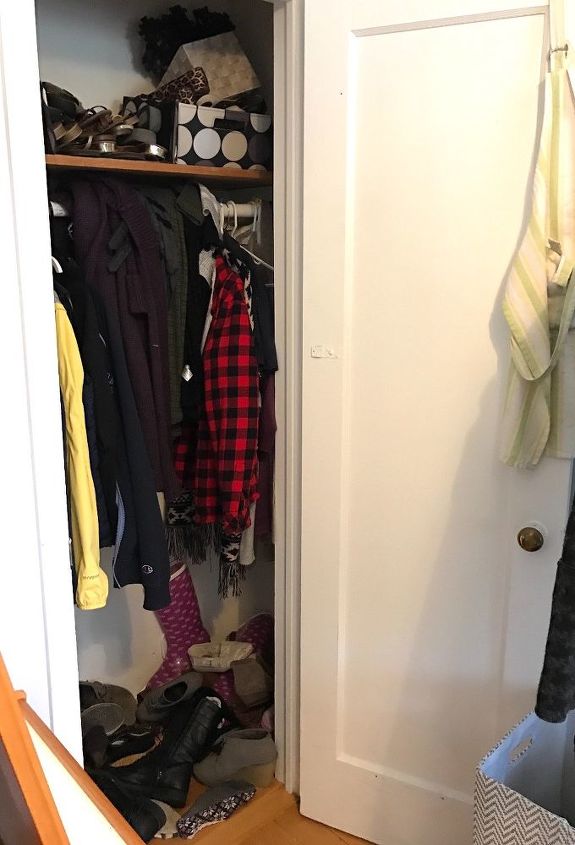
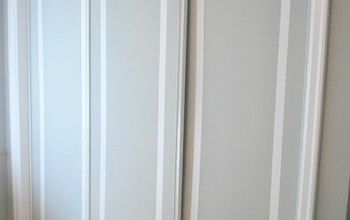
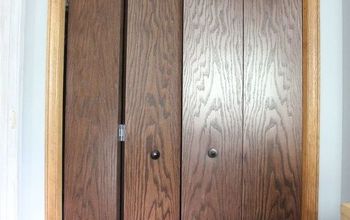
BEFORE:
HOT MESS!!!
I promise all of my clothes are nicely hung and in some what of a style coordination, however, I don't want to ruin my knit cardigans by hanging them on hangers so I just hang them over the middle of my closet rack. If anyone has a solution to this issue, please feel free to share! I don't have any drawer space for them, otherwise I'd fold them. I'm beginning to think I'm going to need to figure out another project for additional clothes storage (maybe I'll mount some more crates on the wall..?).
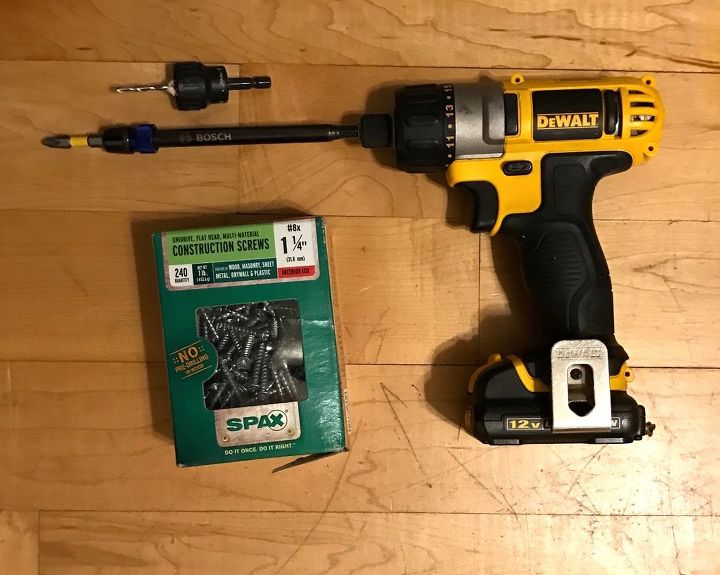
SUPPLIES:
-3 pieces of 1x6x8 common board
-2 pieces of 1x2x8 common board
-1 1/4" screws
-1 1/2"-2" trim nails
Not pictured:
-fine grit sand paper
-wood glue
-damp rag
-pencil
-measuring tape
-2 clamps
Tools:
-chop saw
-drill with bit and counter sink
-nail gun
*Note: amount of wood may vary depending on the size of your door and how big you want your storage unit to be.
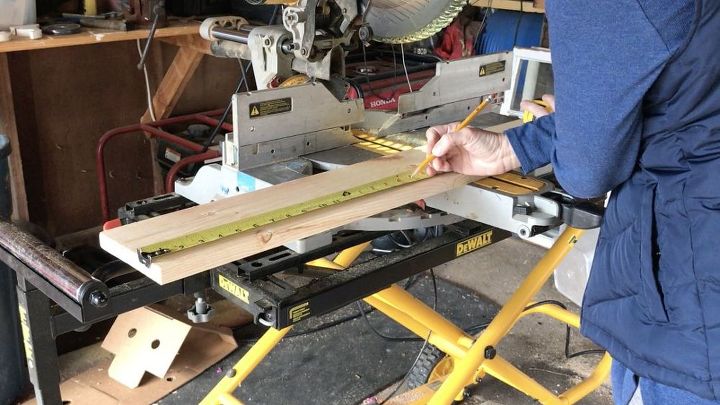
STEP 1: Measure, cut and sand boards
As mentioned in my supplies list, I purchased (3) 1x6x8 boards and (2) 1x2x8 boards. I cut my boards to the following lengths using a chop saw:
(2) 1x6 – cut to 6’
(5) 1x6 – cut to 16”
(10) 1x2 – cut to 16”
*If you don't have a chop saw, you can have your boards cut at Home Depot or Lowe's, whichever place you purchase them.
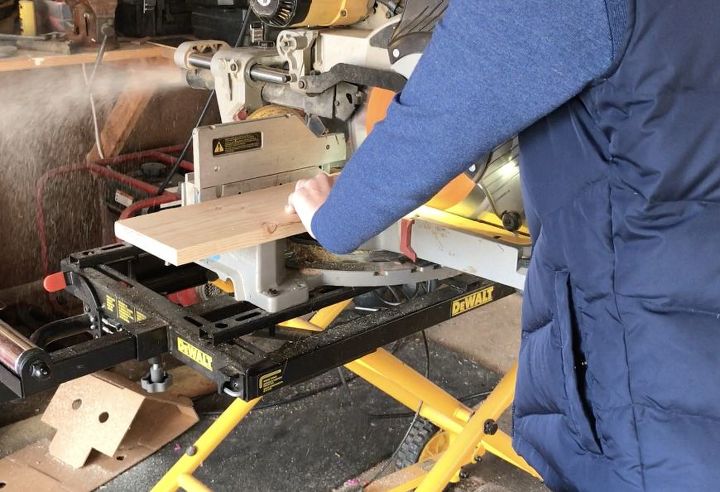
I decided to keep my wood unfinished, however, if you want a finish on your boards, I would suggest finishing them before cutting.
After I cut my boards, I knocked off the splinters and edges with a piece of fine grit sandpaper.
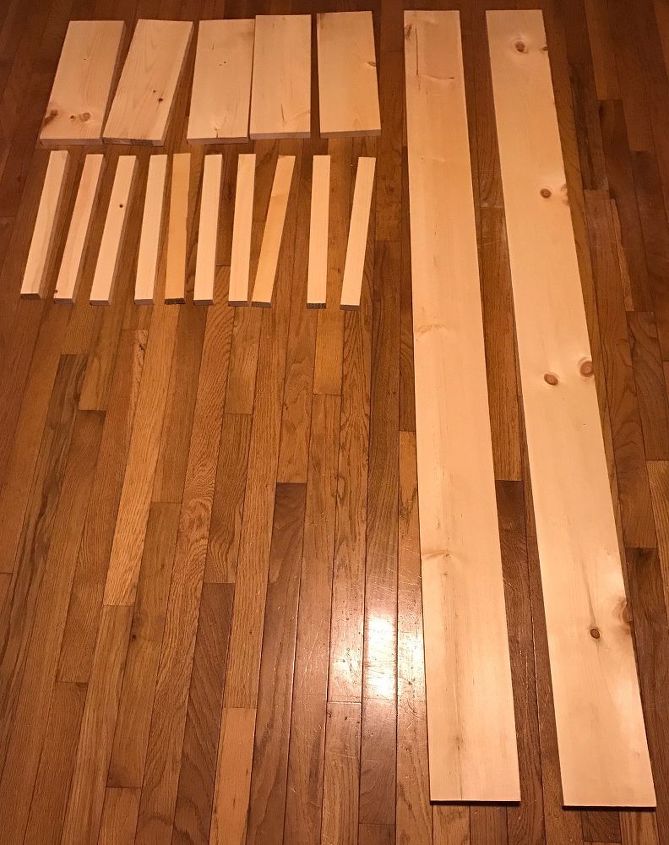
Here are my cuts all laid out before assembling them.
STEP 2: Assemble shell of storage unit
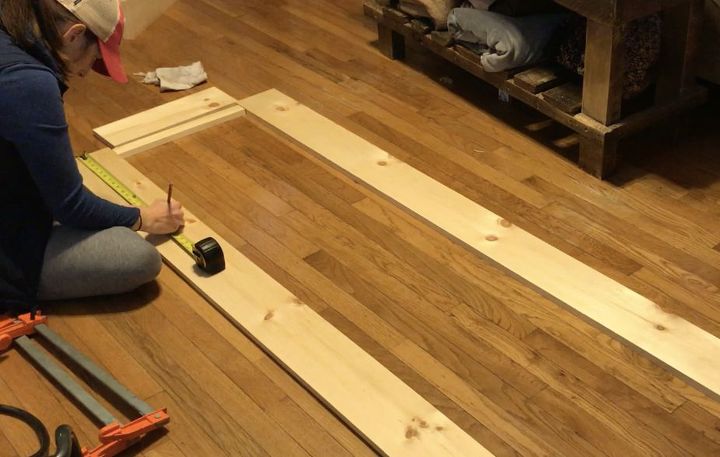
First, I measured every 18" on my 6' boards to mark where my shelves would sit. Rob suggested I do this before assembling anything.
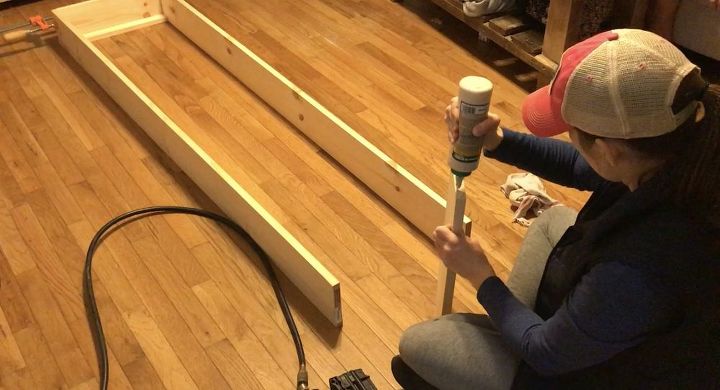
Then, I applied wood glue to the edges of one of my 16" 1x6 pieces and positioned it between the top edges of my 6' pieces.
I nailed the outside of the 6' pieces to the inside edge of the 16" 1x6 piece.
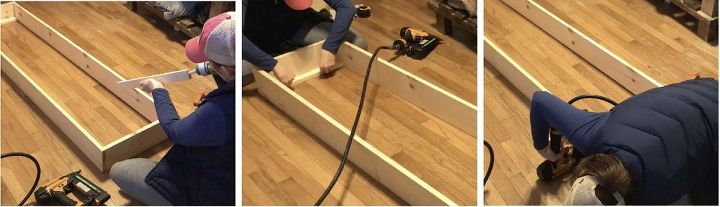
In order to easily mount my storage unit, I glued and nailed a 16" 1x2 piece directly under the 16" 1x6 piece.
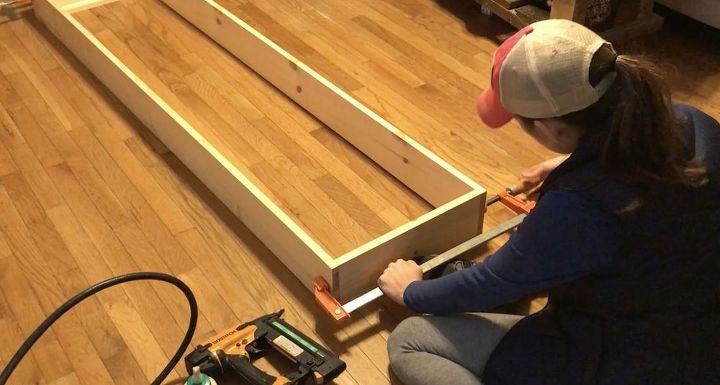
Once the end was glued and nailed, I attached a clamp to hold everything together until the glued cured.
Repeat these steps for both ends of the storage unit.
Here is the unit all clamped up...now it's time for shelves.
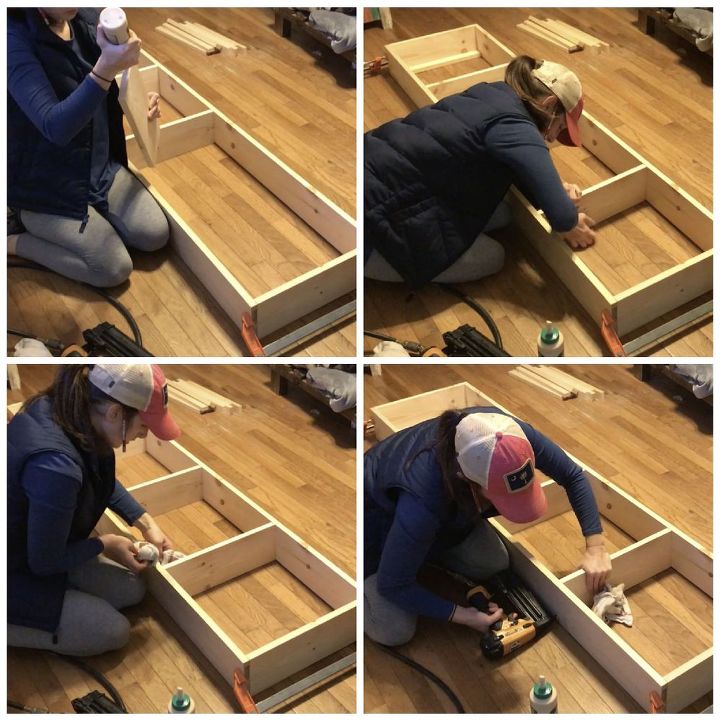
STEP 3: Assemble shelves of storage unit
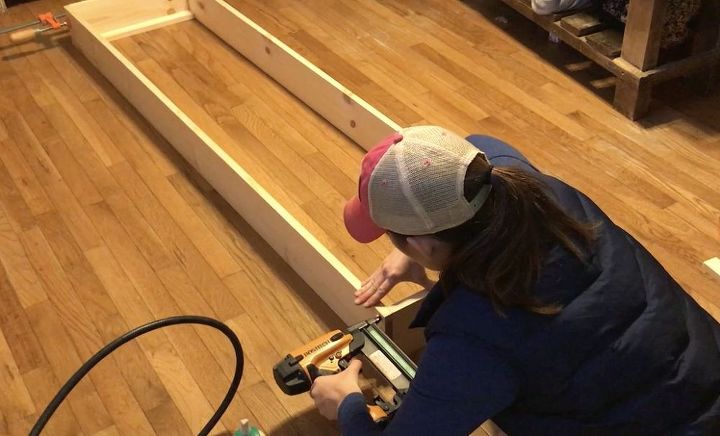
Much like STEP 2, I assembled my shelves by gluing and nailing the remaining 16" 1x6 pieces of board. Once I put glue on the ends of my 16" pieces, and starting at one end, I placed the top edge of my board on my pencil marks from the first part of STEP 2. Then, I wiped any glue that bled and stapled the end shelves.
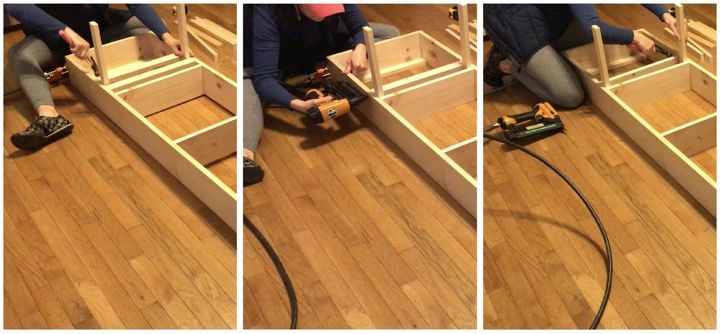
STEP 4: Assemble rails of storage unit
For the double rails of each shelf, I knocked in two pieces of 16" 1x2 boards, one at a time. I used two scrap pieces of 16" 1x2 boards for spacers. I didn't use wood glue for this step, because the rails were so tight. I simply used a hammer to gently knock them in place and stapled the ends from the outside of the 6' boards.
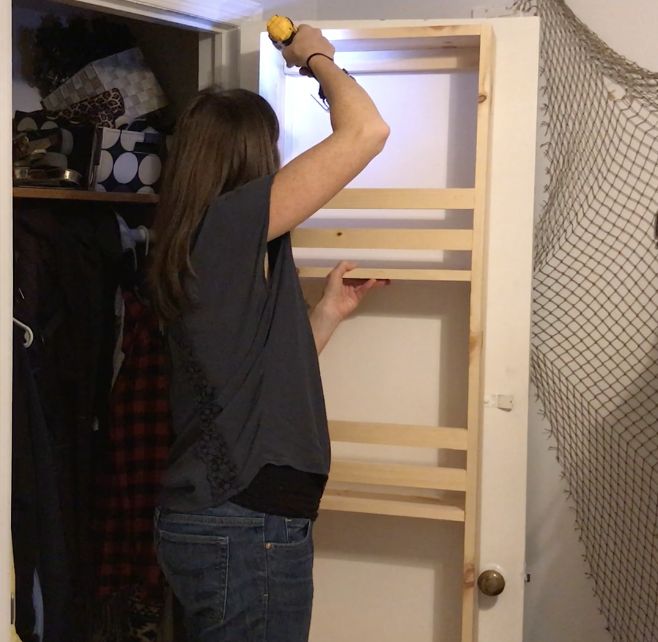
STEP 5: Mount storage unit
Finally, I used a counter sink attachment for my drill to pre-drill three holes on the top of my storage unit and three holes on the bottom. Then, I screwed in my screws to make the unit nice and secure.
If you're looking for a way to more simply organize your OWN closet, then we have the solution for you - join our organizing workshop, starting in only 5 days!
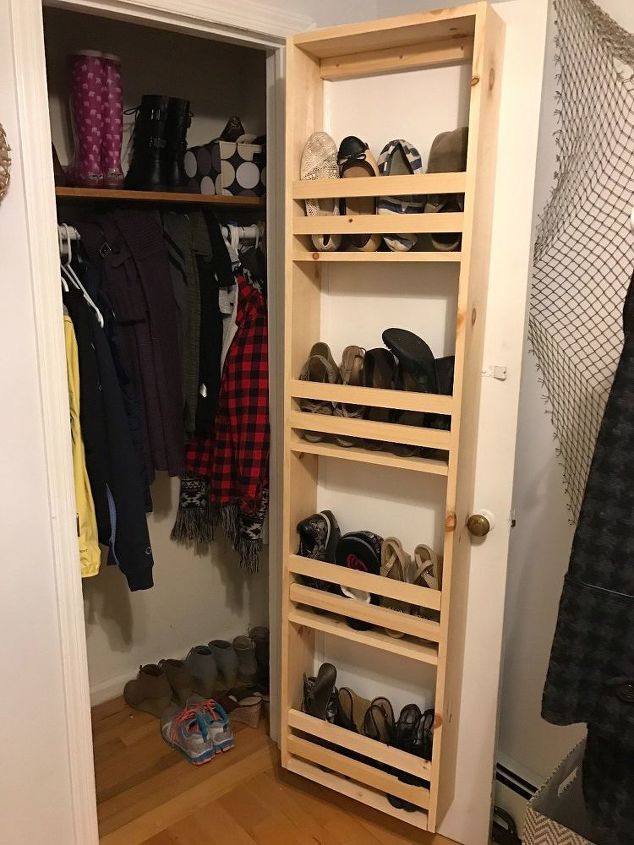
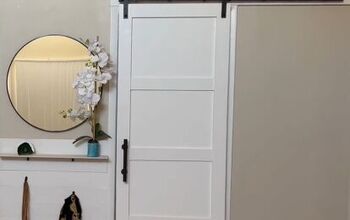
I'm really happy with how this built-in storage unit came out for my closet door. I still have a few stragglers sitting on the floor but I feel my closet looks so much more organized, given how small it is.
*Because I only had to purchase the lumber for this project, it was less than $40 total for supplies.
Resources for this project:
See all materials


Comments
Join the conversation
-
I will definitely try this project. My only concern is my closet doors are hollow and vinyl. Perhaps I can use glue to adhere outer pieces?
-
Going to do this to the back wall of my closet... thank you 😊


Frequently asked questions
Have a question about this project?
Great idea if you do not have a lot of shoes. Behind door shoe racks in the stores will fit many more pairs
why not try under bed storage? I use a sterlite plastic container where the lids lift on both ends. Easy to slide in and out on either side of the bed. I usually have nine or more sweaters nicely stored.
Did you have to cut back your shelf storage. My shelves are deep, and I think this would hit them.