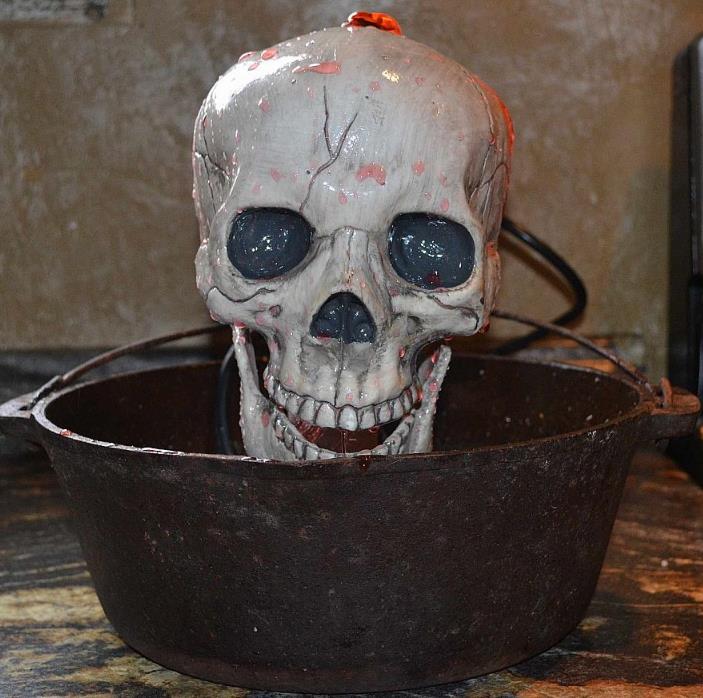
DIY Halloween Skull Fountain

MATERIALS :
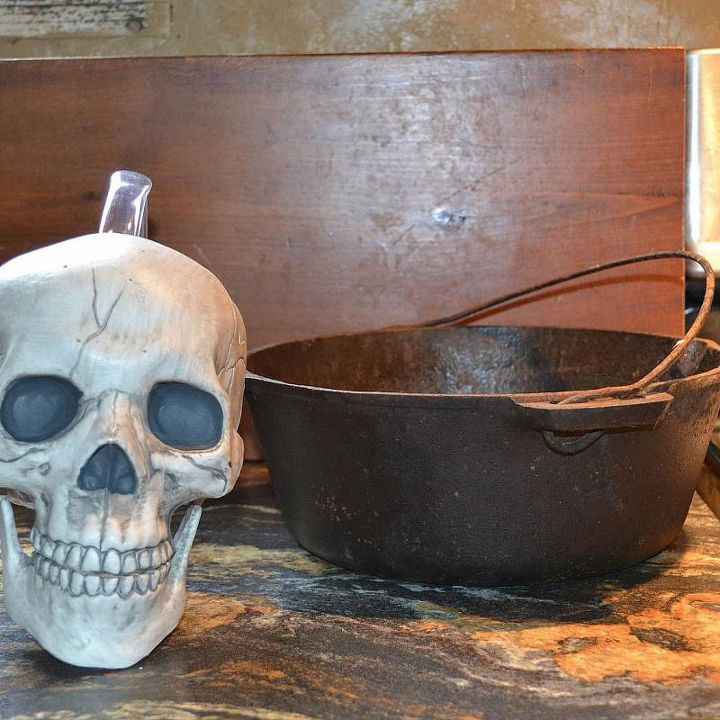
Plasticcauldron (I used cast iron pot I had on hand)
PlasticSkull (got at target 5.00)
Plumber's Goop Silicone (wear mask when using - outdoors)
Tabletop Fountain Pump (I am using 1 had for previous project)
Magic Marker
A small piece PVC pipe (can have cut at hardware store for length and angle needed.)
Spray Sealer --indoor/outdoor matte or gloss
Red food coloring or *Halloween prop blood
OPTIONAL MATERIALS :
dry ice
small underwater pond light would step project up a notch
TOOLS:
Rotary Tool
Plastic/ Metal Bit
Hand Saw or Miter saw to cut PVC Pipe.
Step 1. Trace pump hose diameter on bottom and topof skull.
Step 2. Usingrotary tool cut holes in marked areas on skull.
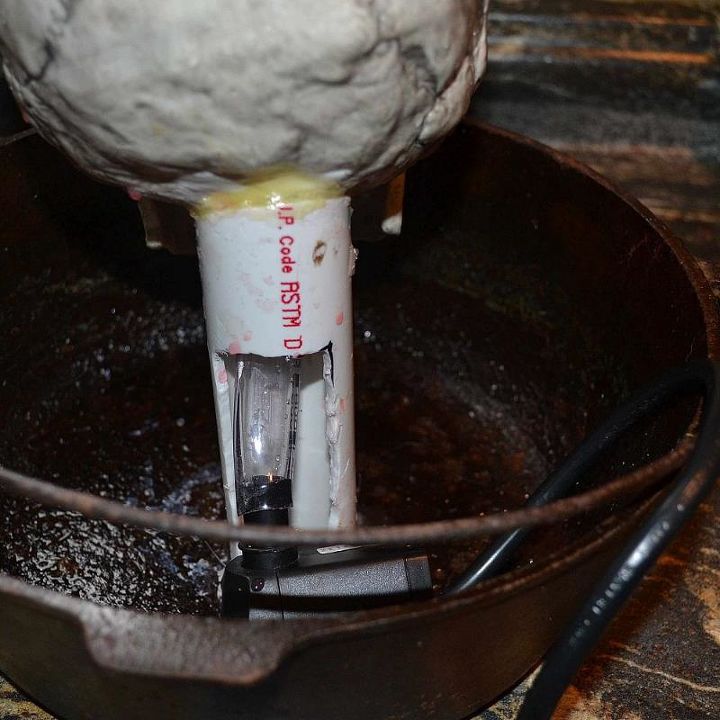
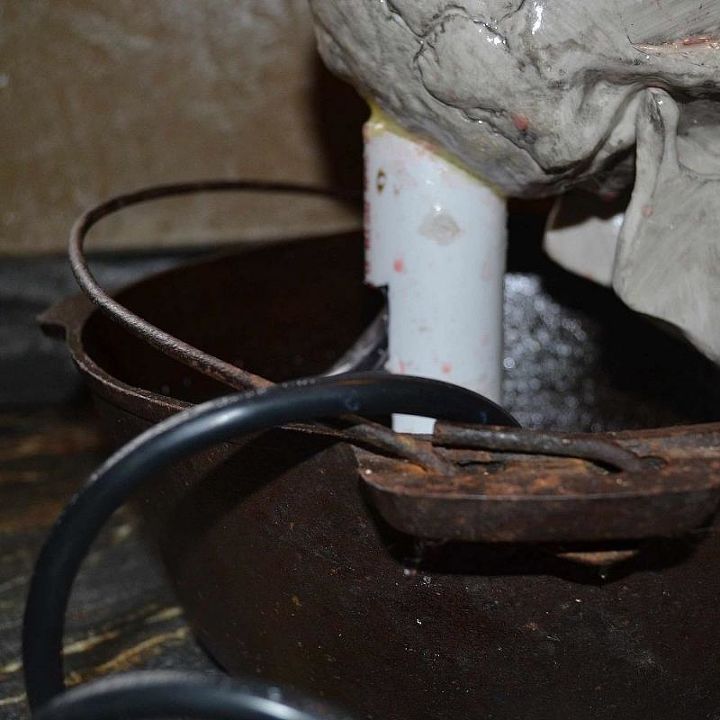
Step 3. Using Miter or hand saw, cut apiece of PVC pipe to height needed to elevate skull (4" was height I needed, cut flat on bottom to sit in pot and a 30 degree angle where skull will sit to tilt head.) .
Step 4. Cut area along back of pipe for pump hose to come outat.
Step 5. Silicone PVC Pipe to base of skull aroundopening for hose, hold for a few minutes until silicone has securely grabbed or make a prop to hold until set. Let dry (approx. 24 - 48 hrs to completely cure).
Step 6.Spray skull and PVC with sealer use 2 coats.Let dry.
Step 7. Feedpump tubing through pipe and skull and attach to pump for size cuttingdimension (flush w/ skull top)—detach hose from pump.
Step 8.Silicone Pipe to inside base of pot (leaving room for pump) hold for a few minutes until silicone has securely grabbed or make a prop to hold until set. Let dry.
Step 9. Place pump in pot and attach hose.
Step 10. Mix Red food coloring in enough waterto cover pump and fill pot. (to give illusion of flowing blood— *you might coulduse fake blood Halloween prop liquids, but I do not know if they will flow freelythrough pump)
Step 11. Add a piece of Dry Ice if you would like asmoky look and underwater light to illuminate skull.
Turn on pumpand enjoy.
(I hadeverything on hand but the Skull so costwas $5.00 plus cost of dry ice and underwater light if Idecide to use.)
Sorry not more detailed step by step pictures.
More Halloween Front Yard Ideas
Enjoyed the project?
Comments
Join the conversation
-
Also Skull looks glossier in the picture where mouth is open than 1 where sitting on counter and mouth shut. I had used a Glossy sealer on it to keep it from being stained by colored water, hadn't sealed in picture on counter. So that could also make it look like different skulls.
 Cynthia E
on Oct 22, 2013
-
-
-














Frequently asked questions
Have a question about this project?