


5 Simple Steps; How to Build a Stunning DIY Solar Water Fountain

Welcome, DIY Enthusiasts! If you're passionate about creating unique and sustainable projects for your outdoor space, I have an exciting endeavor for you: building your own DIY solar water fountain.
In this step-by-step guide, I'll show you how to transform simple flower pots into a stunning water feature that runs solely on solar power.
This post was transcribed by a member of the Hometalk editorial team from the original HometalkTV episode.
Step-by-step guide for building a solar-powered DIY fountain
Get ready to combine your DIY skills with eco-consciousness and create a captivating decorative water element for your garden. Let's dive in and start building!
What materials do I need to construct a DIY water fountain?
- 150-grit sandpaper
- Silicone adhesive
- Plastic lid
- Stone-textured spray paint
- Bucket
- Scrap piece of 2x4
- Two flower pots of different sizes
- Ready-mix concrete
- Large rock
- Plastic container
- Garden bed pots
- River rocks
1. Gather Materials and Prepare Pots for the DIY Solar Water Fountain
To begin this tiered outdoor fountain, gather the materials you'll need. Start by acquiring two flower pots of different sizes from a convenient and budget-friendly store like Dollar Tree or your local gardening store.
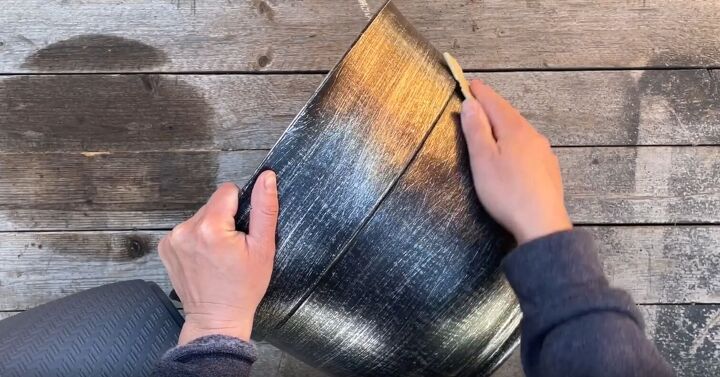
Before painting, lightly scuff up the surface of the pots using 150-grit sandpaper. This step ensures better paint adhesion. Once scuffed, clean the pots to prepare them for the painting process.
2. Create a Waterproof Seal and Paint Pots
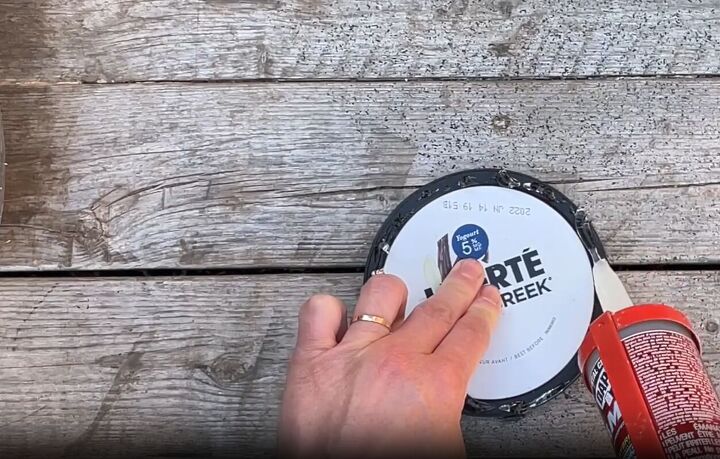
Apply silicone adhesive to a plastic lid and attach it to the bottom of the smaller pot.
Make sure to create a waterproof seal by applying silicone all around the edge of the lid.
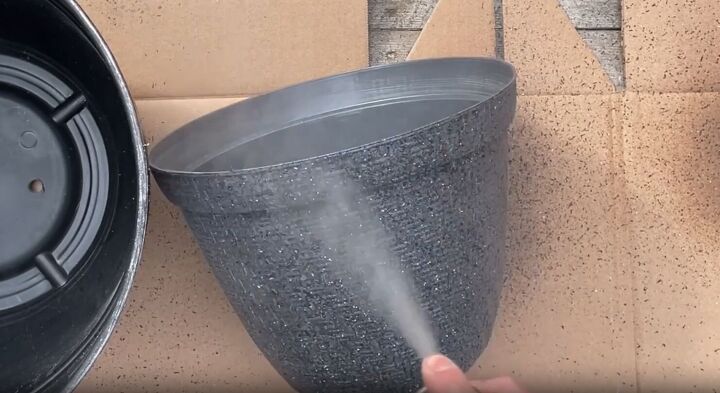
While the seal dries, grab stone-textured spray paint to achieve a multi-dimensional finish. Spray paint the outside of both pots, including the inside edge, and allow them to dry overnight. For better coverage, apply a second coat if necessary.

3. Mix Concrete and Build the Base
It's time to build the foundation for our backyard project. Follow the instructions on the bag of ready-mix concrete and prepare it in a separate bucket.
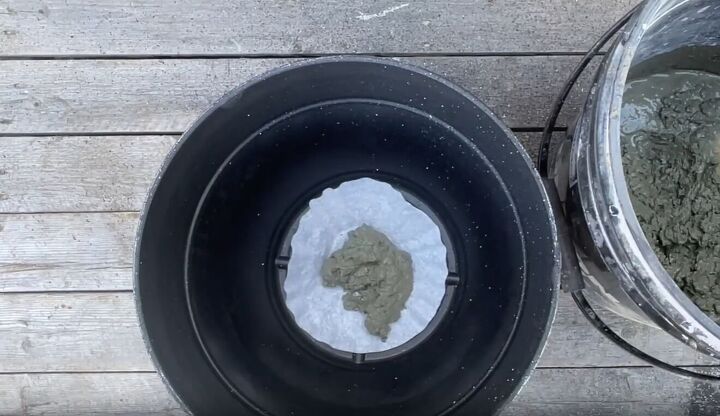
Now, place a coffee filter at the bottom of the larger planter and add a small amount of the mixed concrete.

To take up space within the concrete, place a large rock in the middle. Carefully pour the wet concrete into the larger pot, filling it approximately one-third full. Remember, the concrete can become heavy quickly, so avoid overfilling the bucket.
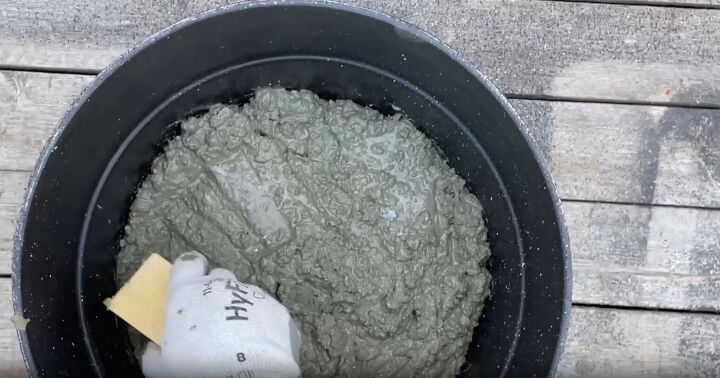
Use a scrap piece of 2x4 to tamp down the concrete, eliminating any bubbles and achieving a smooth surface.
4. Elevate the Smaller Pot and Add Decorative Elements
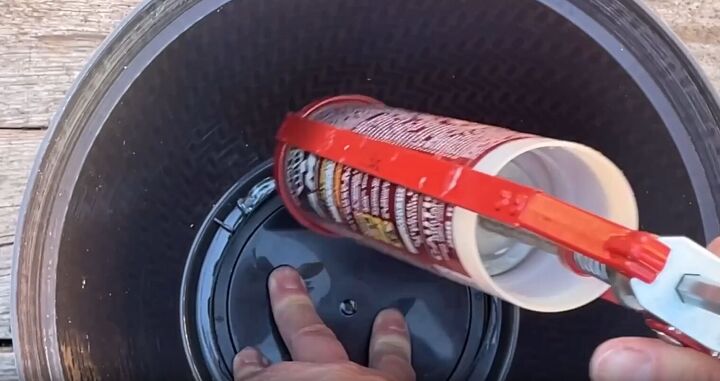
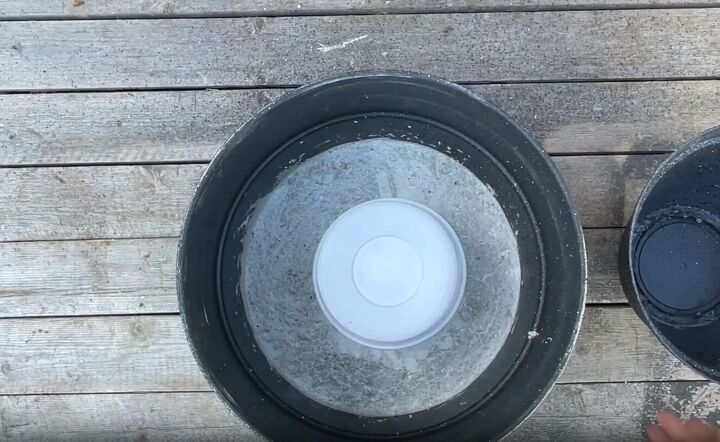
To add an elevated touch to your water fountain, position a plastic container in the middle of the concrete. This will heighten the smaller pot and create a visually appealing design.
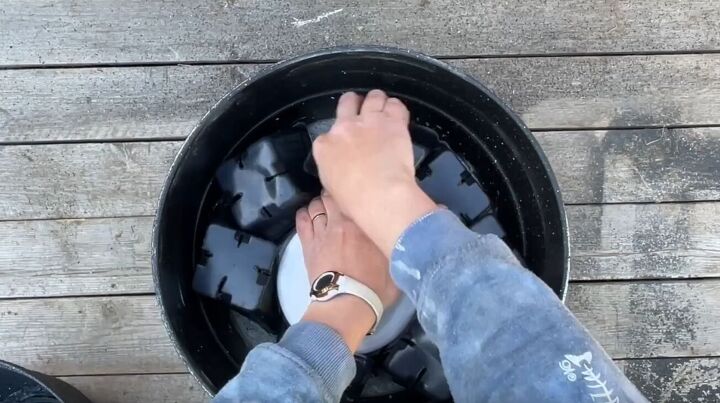
To fill out the remaining space without adding extra weight, repurpose garden bed pots from your recycling. These pots are perfect for providing support while maintaining a lightweight structure.
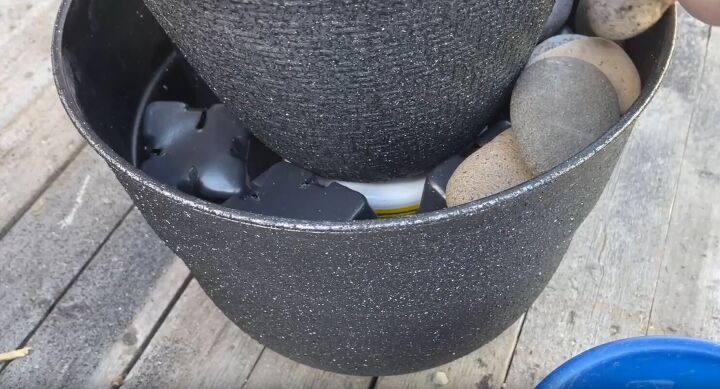
Now, position the smaller pot on top of the elevated base and add river rocks to cover the recycling.
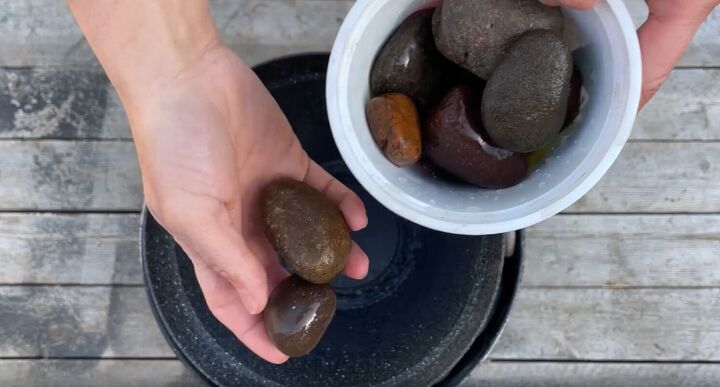
Wash another handful of river rocks and place them inside the small pot.
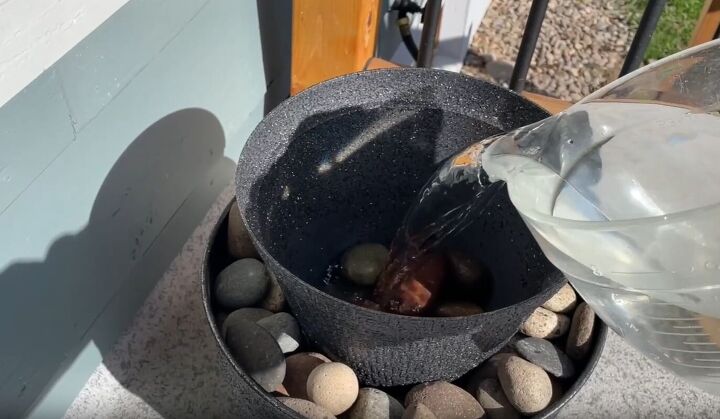
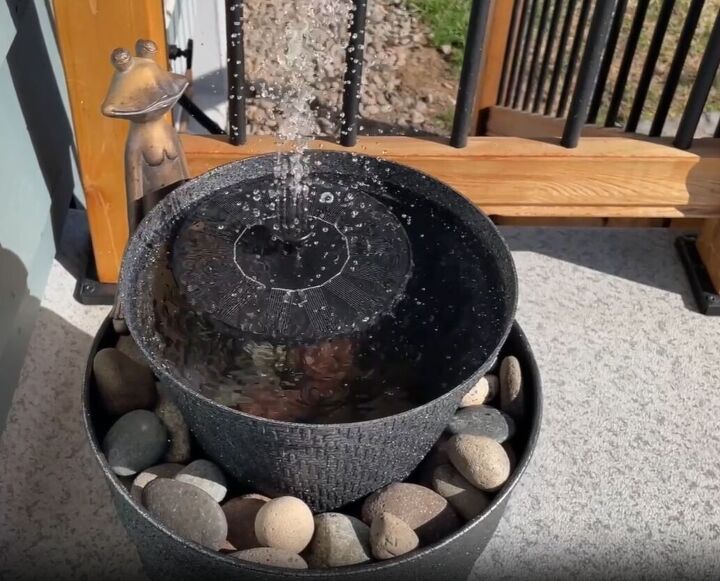
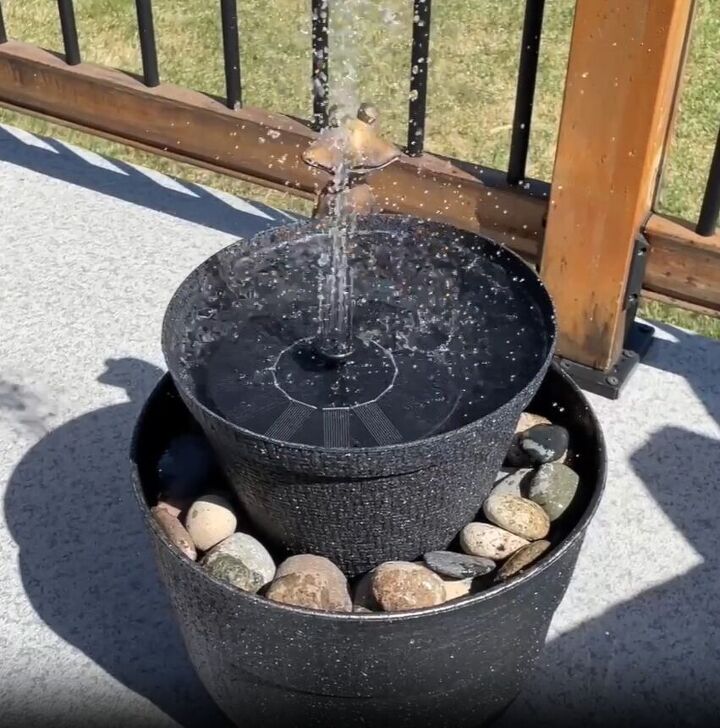
5. Add Water and Embrace Solar Power
The moment has arrived to bring your DIY solar water fountain to life!
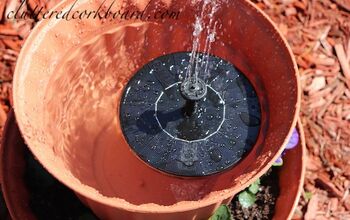
Fill the small pot with water…
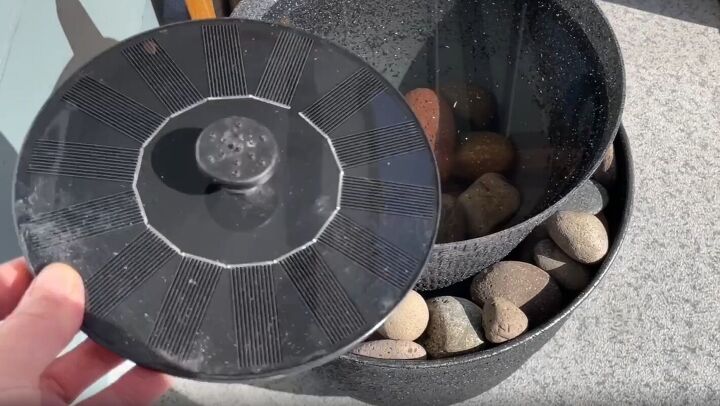
and add this solar fountain, if it’s a sunny day it should start working quickly.
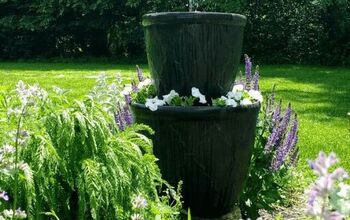
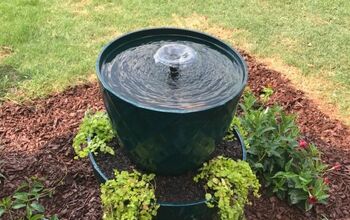
Explore More DIY Water Fountain Ideas
Step-by-step guide to building a tiered DIY water fountain
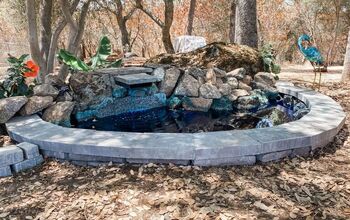
Your DIY outdoor fountain is now complete and ready to enjoy!
You've created a captivating centerpiece for your garden by utilizing your artistic flair and sustainable mindset. Take a moment to relax and enjoy the tranquil sound of the water.
We'd love to hear about your experience and any tips or variations you discovered along the way. Feel free to share your thoughts in the comments section below.
Keep up the amazing work, and may your future DIY endeavors continue to inspire others!
Comments
Join the conversation
-
I put a solar fountain in my bird bath. The birds love it but you do have to add water more frequently. I’m going to try making the fountain but am going to use deeper pots, maybe I won’t need to add water as frequently.
-
I've found wonderful solar fountains for a fraction of the price on Aliexpress. Love new ideas as I like to have running water everywhere. I used a horse trough to create a lager, deeper 'pond' and have a dozen beautiful goldfish to watch.


Frequently asked questions
Have a question about this project?