


Mesmerize Your Guests With This Fancy Floating Fountain DIY

Are you looking for a cool water feature to add to your outdoor space this summer? Then this floating fountain DIY project is for you! Guests will be captivated by its splendid illusion and the soothing sounds of running water.
This post was transcribed by a member of the Hometalk editorial team from the original HometalkTV episode.
Best outdoor faucet!
For this project, I headed over to my local Home Depot to grab my floating faucet fountain parts.
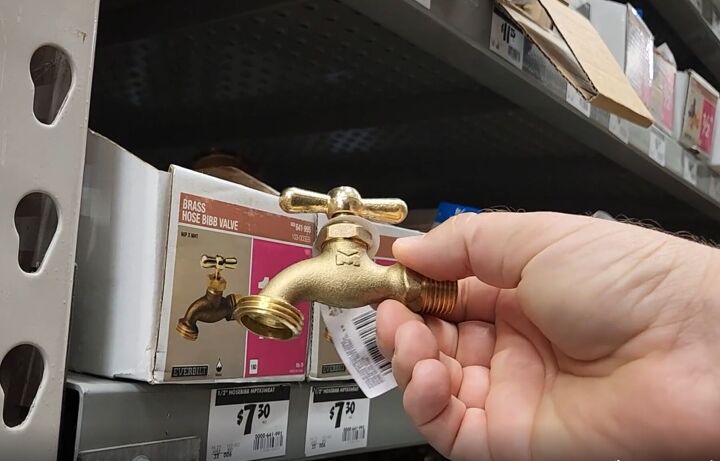
You need a water spigot that goes on the outside of your house. You’ll want to make sure that the water flow goes straight down. This is key!
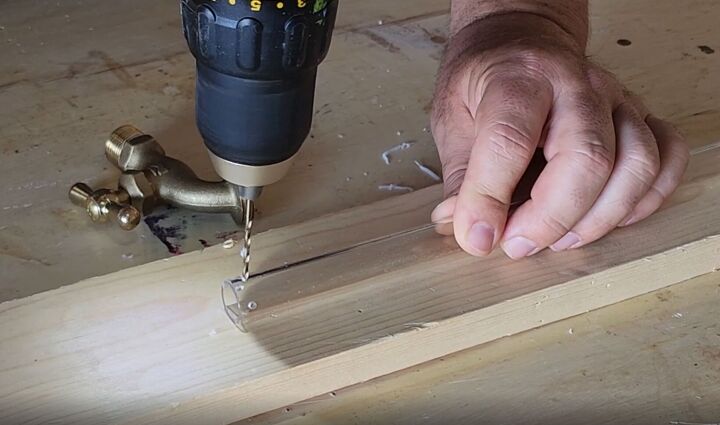
1. Drill holes in the acrylic pipe
You will also need a two-foot-long, half-inch-thick acrylic pipe that fits inside the spigot.
Drill about six to eight holes around the edges of the pipe. It's very important not to push too hard when you're drilling these holes. Just let the drill do its work.
We want to make sure that the pipe will fit inside the spigot once all the holes are drilled, so make sure to drill about a half-inch from the top of the pipe and then around the whole circumference.
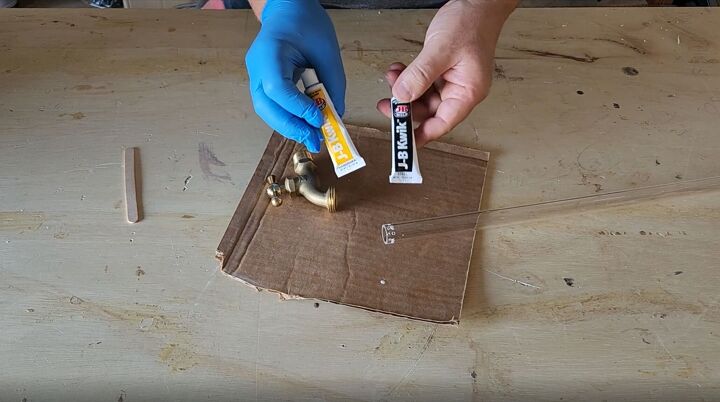
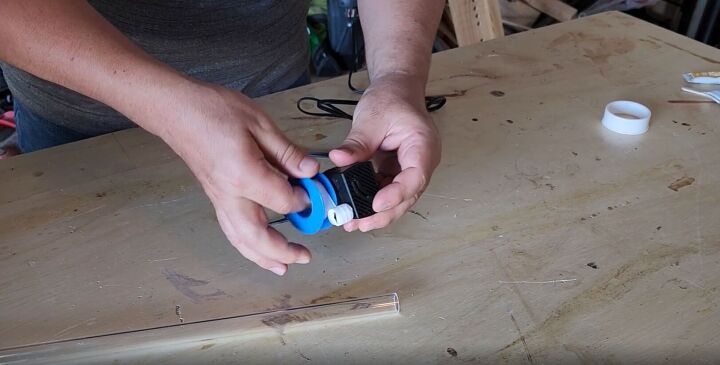
2. Glue the pipe and spigot together
Now we're going to glue the pipe to the spigot. To do this, you will need a little bit of inexpensive two-part epoxy.
Combine the resin and hardener at a 1:1 ratio on a piece of cardboard and stir it with a stick or little spoon for about 30 to 45 seconds.
Being careful not to cover the holes, dab the epoxy on the end of the acrylic tube.
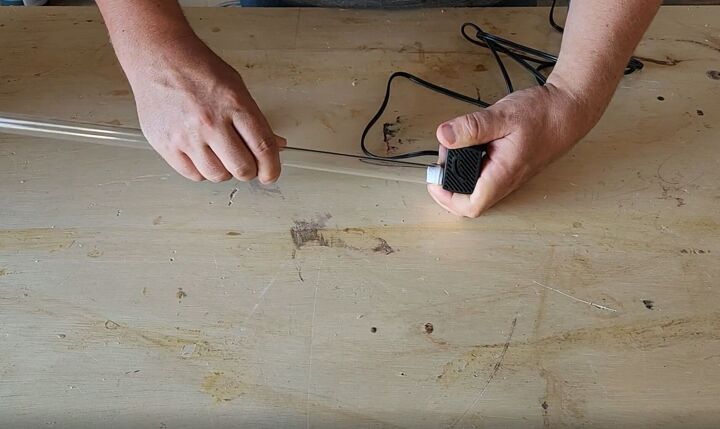
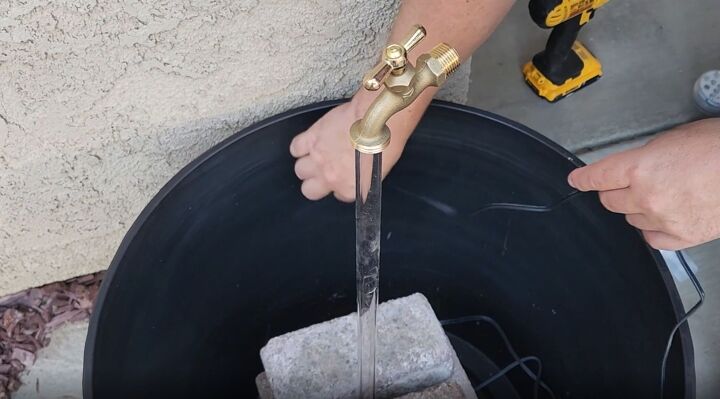
Now take your spigot and slide the epoxy end of your tube into the faucet side of the spigot. You're going to need to hold this for about three to four minutes until it sets.
3. Connect the pipe to the water fountain.
The other end of the tube is going to connect to a little water fountain. It's important that it has a good seal, so use plumber's tape to make sure it fits the tail end of the tube perfectly.
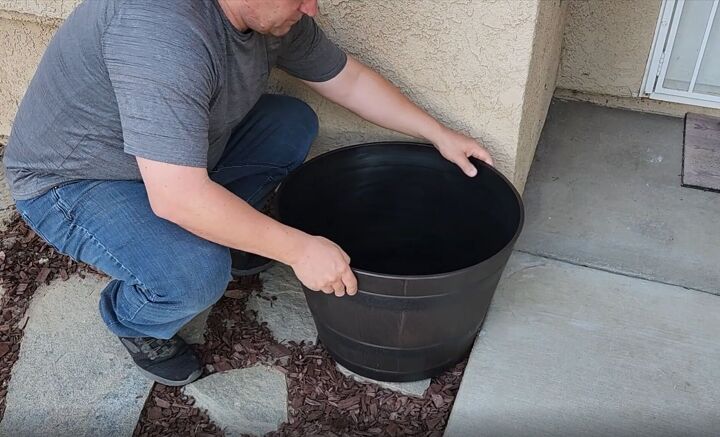
4. Prepare the base
Use a large plastic planter as your fountain base. I put mine right next to the door.
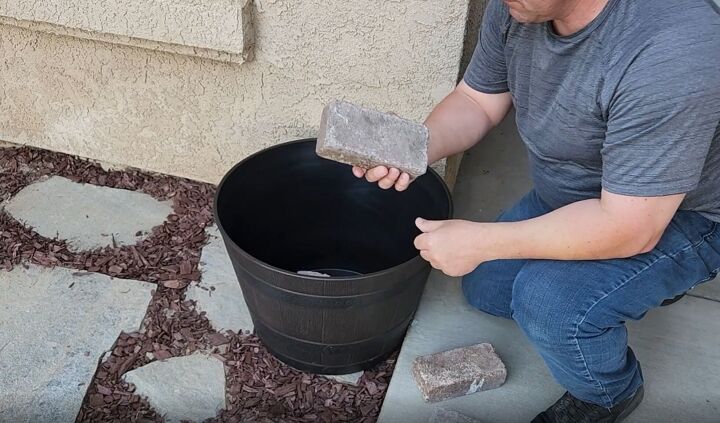
I added about 4 or 5 bricks to stabilize the bottom of the fountain. You don't need too many.
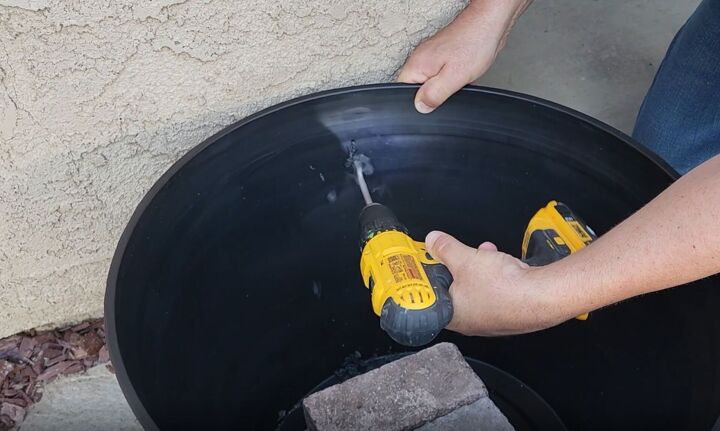
Next, I drilled a hole in the side of the planter. This is where I'll feed the plug for the water pump to go through.
Once I had my plug through, I pulled the cord to the length I wanted and then sealed off the hole with some clear silicone. You don't want that cord slipping around or any water leaking through.
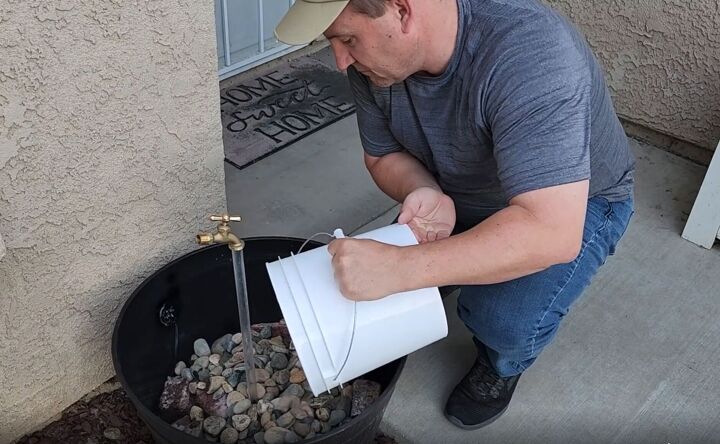
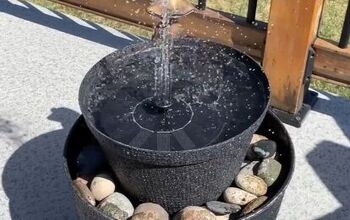
To cover the fountain mechanism and the bricks, I added some garden rocks. I poured in just enough to cover the bricks. I didn't want to cover up too much of the tube or it would ruin the final look.
5. Add water
Next, I poured in some water.
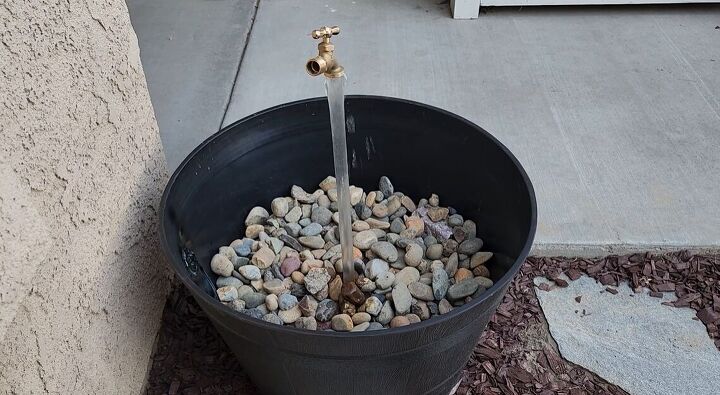
I didn't want the water to be seen, so I filled it up just enough so that it was underneath the rocks. That's what's going to create the magical effect and make the water spout look like it's floating on top of the running water.
Once the water was added, I plugged it in and made sure the fountain worked.
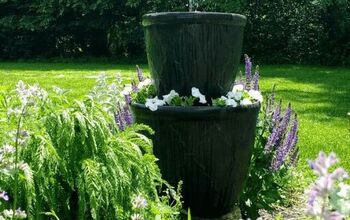
More fountain projects
How to build a floating faucet fountain
And there you have your floating fountain faucet, a beautiful focal point that will enchant your guests and your mailman!
Resources for this project:
See all materials


Comments
Join the conversation
-
Needs a video of it running.
-
Need to see it working.


Frequently asked questions
Have a question about this project?
It looks great visually but how about auditory? Do you hear water running and trickling? Thank you.
Plugged what in
Will thus be a breeding ground for mosquitoes?