


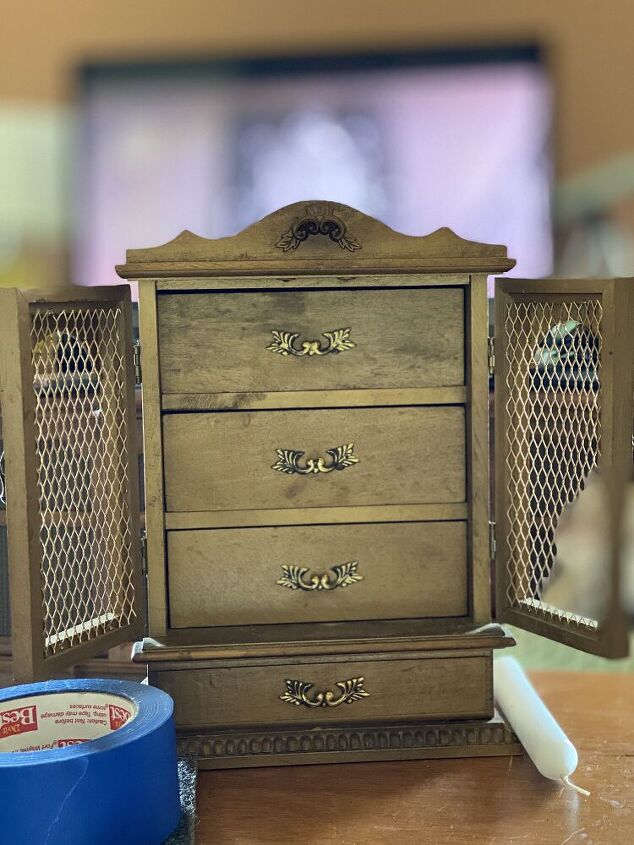
Thrift Store Jewelry Box Restore With Rust-Oleum Pearl Metallic Paint
This was the first time I had tried Rust-Oleum Pearl Metallic Spray Paint. When I saw the display in my local home improvement store I became the heart eye emoji and immediately bought the pink and the blue. No I had no projects in mind, I just apparently feel the need to hoard spray paint.
So I'd been holding on to this paint since last October. I didn't get a chance to use it before the weather in Minnesota turned too cold to paint.

And if you think that's a long time to have a can of unused spray paint, the jewelry box I decided to paint with it has been in my project pile since 2016. 
Yeah, it was time to get it out of my project pile and onto my shop shelf (if I don't decide to keep it).
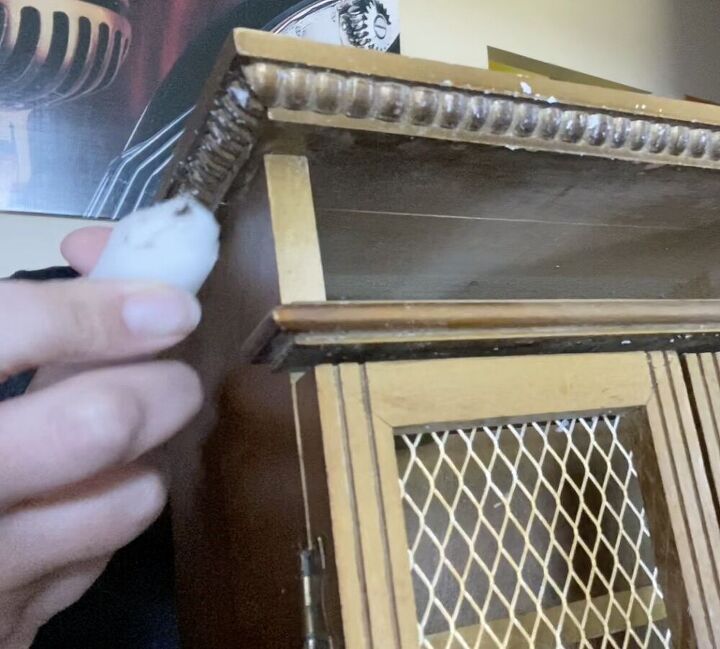
When I got the jewelry box it smelled like old lady perfume. That's why it's been in my project pile forever. I had to put the drawers in a bag with charcoal and as much as everyone spouts off that it will remove odors no it really doesn't. The drawers were zip-locked with charcoal pouches inside each drawer and after 4 years there was still the faint odor of perfume. It was better but it wasn't gone.
Anyway, it was time to dive in with both the paint and the jewelry box.
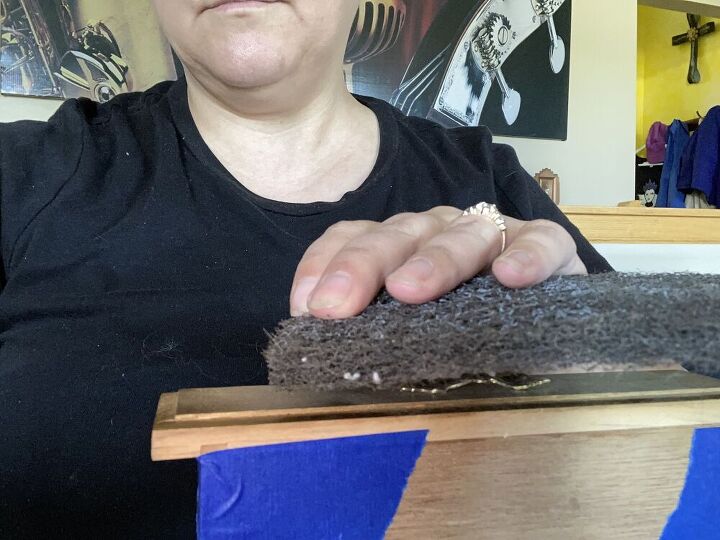
The first thing I did was use a scuff pad to rough up the surface of the box. That gives the new paint something to bite into.
Make sure you scratch the whole surface.
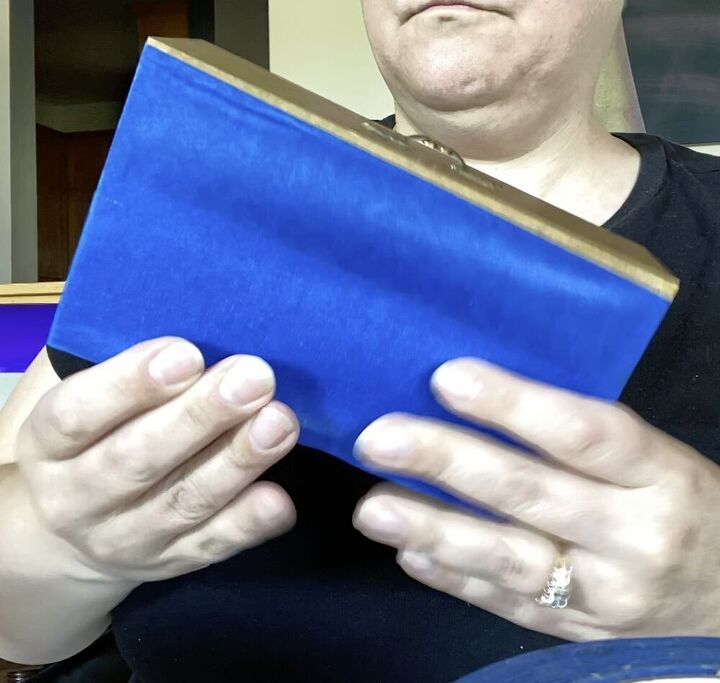
Then I taped off the drawers so I could spray without being careful. That way the interior wouldn't get any paint on it.
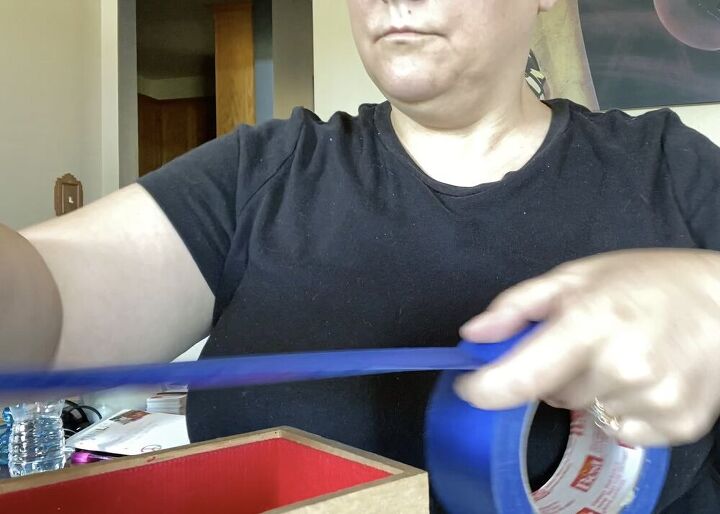
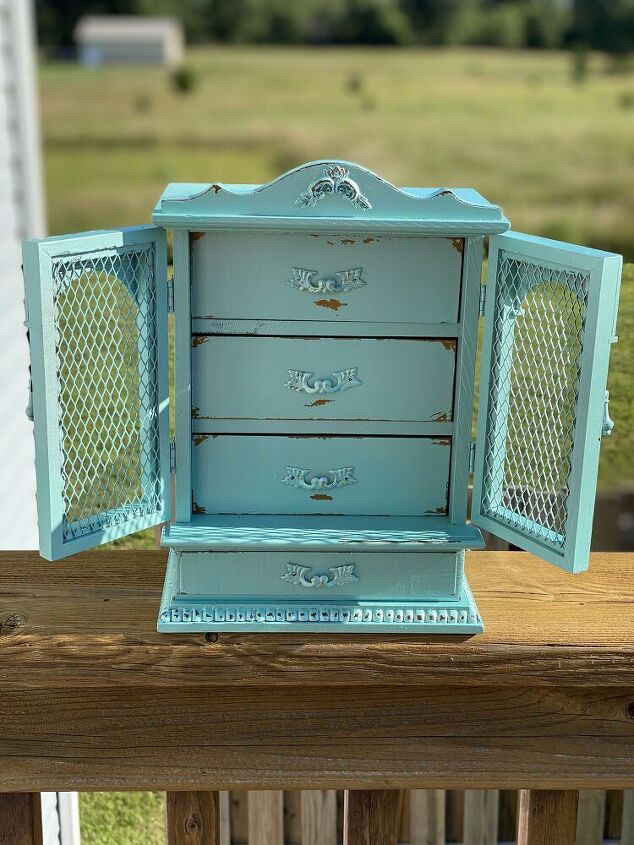
The red lining isn't my favorite but it is in good condition so I'm keeping it as is.
The next thing I did was rub a white candle along the edges and on the handles. Where every I want the paint to flake away.
Obviously if you don't want a distressed look then you can skip this part.
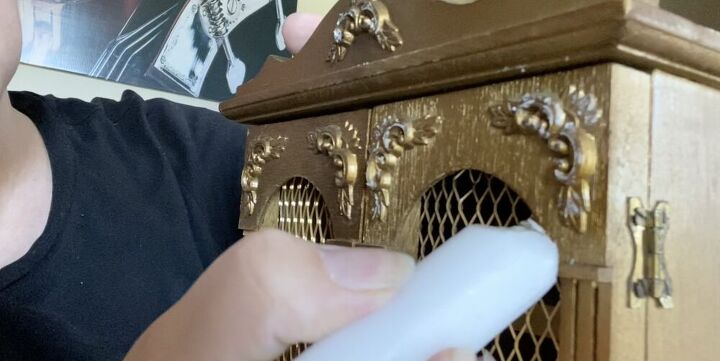
Wax distressing is fantastic when you are using spray paint. It makes it easy to flake away the paint when the paint is dry.
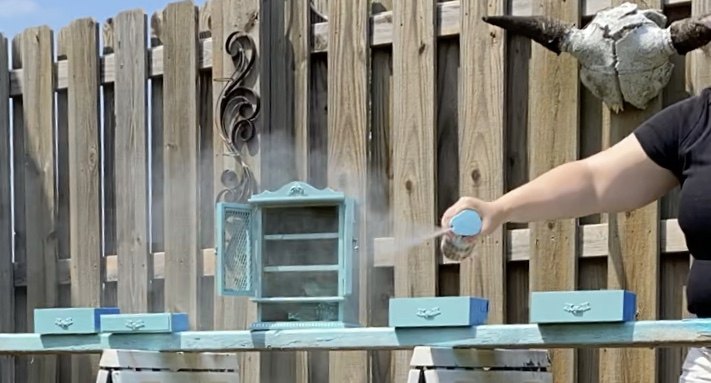
Now it's time to spray. I take my projects outside to make sure I'm in a well ventilated area.
The can says to stay 12 inches from the project but the strange spray of this product made me close the gap so I didn't waste too much paint.
The coverage of the Rust-Oleum Pearl Metallic Spray paint isn't as opaque as I wish it was. Even though this jewelry box is a small project it barely did two coats. Thankfully it did cover this piece but if I needed to cover a larger area I would need many more cans. Note to self for sure!
Let your project dry completely!
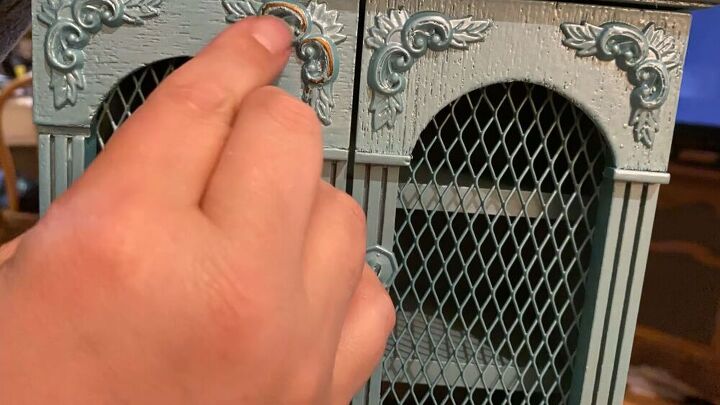
After the jewelry box dried it was time to scrape away the wax and get a distressed look. It wasn't hard at all. The wax comes away easily using your fingernail or the edge of something like a plastic pallet knife.

Now it's gorgeous!
This is one of those thrift store makeovers that anyone can tackle. Oh and what a difference a little paint can make!
I love the pearl effect of the Rust-Oleum Pearl Metallic spray paint. It takes this little jewelry box from meh to wow!
If you're looking for painting tips and tricks don't forget to check out my other posts here!
Resources for this project:


Comments
Join the conversation
-
This turned out so nice! My favorite color too! Thx for the trick using the candle...better than sanding.


Frequently asked questions
Have a question about this project?