


Transform Wood Into Galvanized Metal

How to turn an outdated wood tone planter box into galvanized steel before your very eyes!
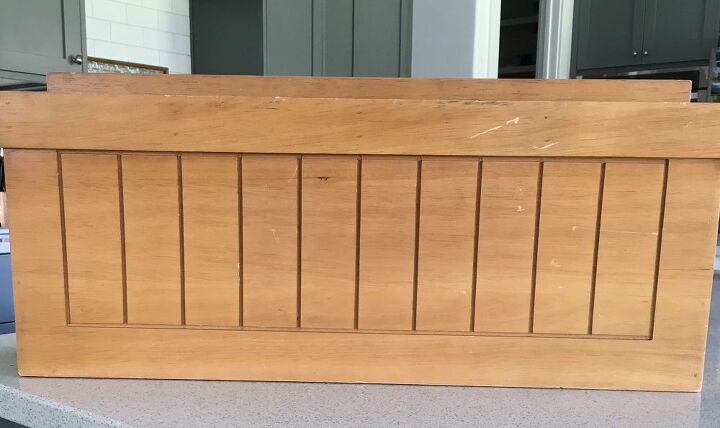
I found this plain planter box at my favorite thrift store for only $2! I have been on the lookout for one of these to put under my faux window of the chalk board house I did in the kid's play room - but that's another post coming soon...
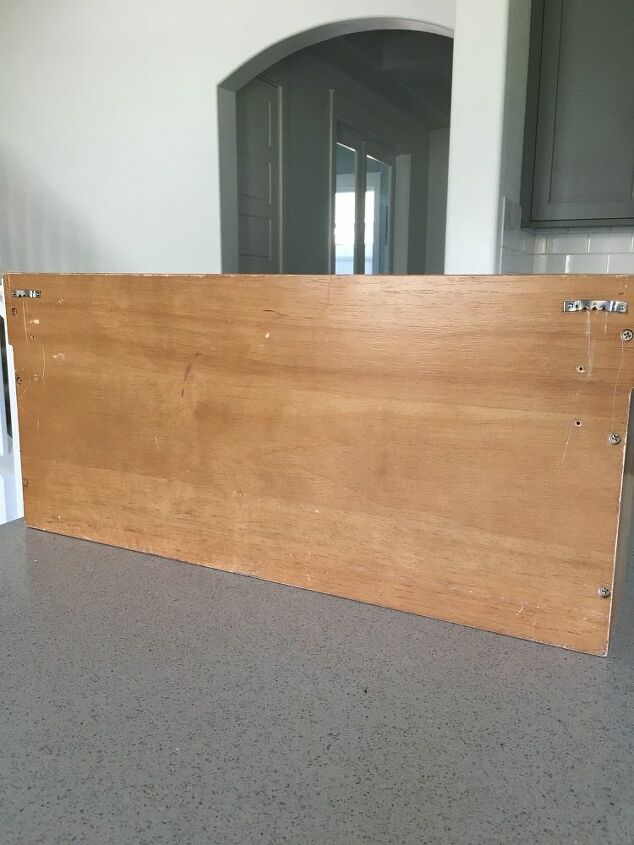
It is meant for indoors because of the hardware brackets it had on the back.
Materials you will need if you try to mimic this look:
- Primer - not pictured but grey primer spray paint
- Grey paint (any brand - any grey color) - not pictured
- White paint
- Black paint (black glaze is what I used)
- Hammered Metal spray paint (light and dark)
- Sand paper - not pictured
- foam brush and cheap bristle brush
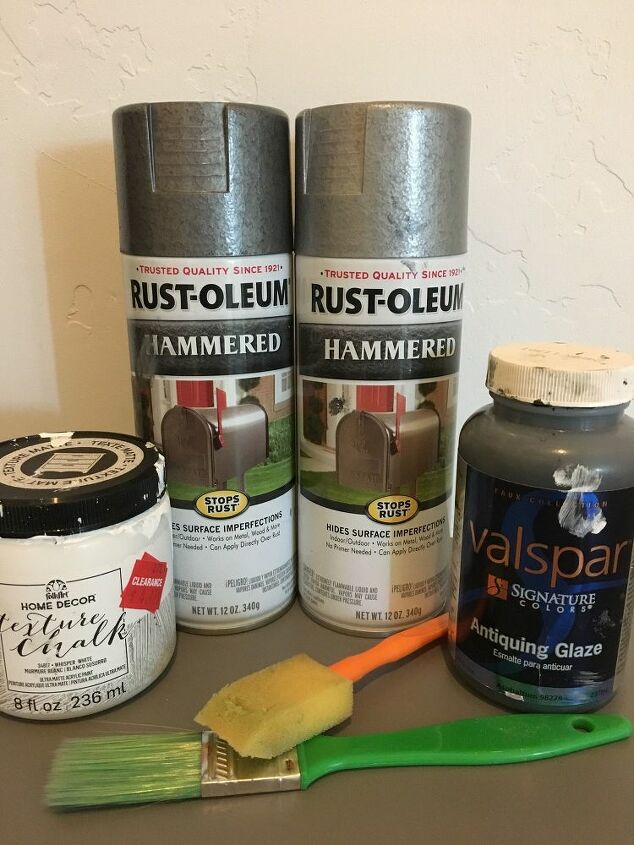
These were paints I had in my DIY stash drawer. I didn't actually have black paint but used black glaze and I had two colors of the hammered metal - light and dark and it does give it more of the galvanized look I think.
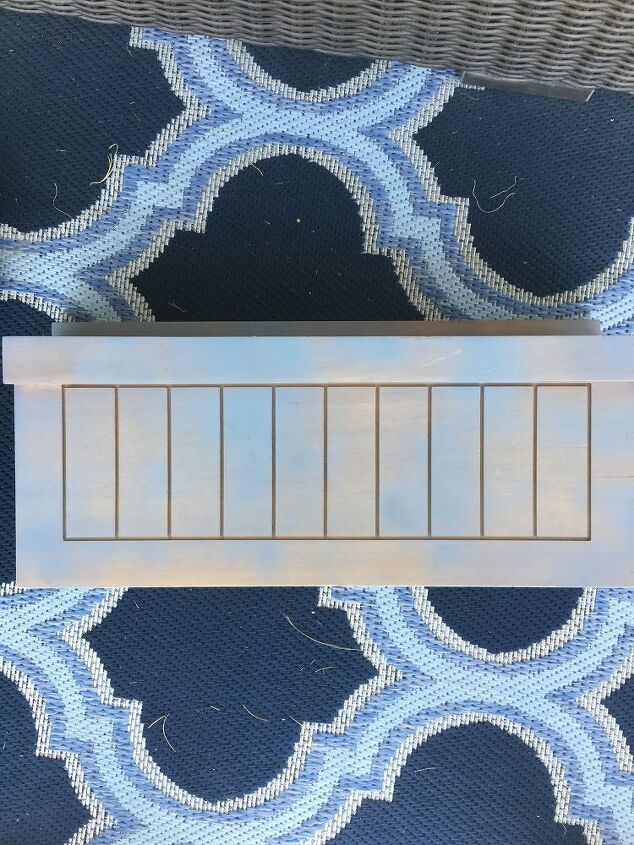
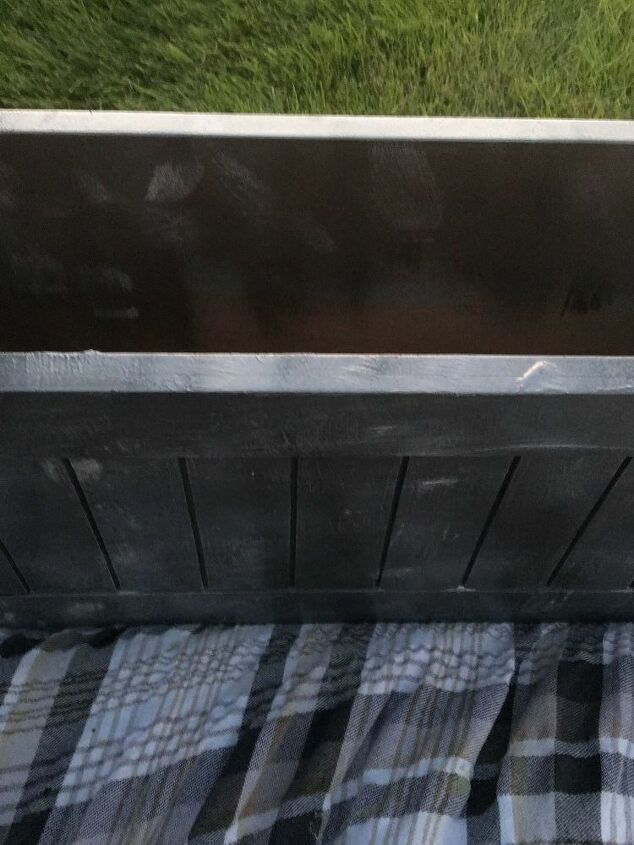
First step, spray on a light coat of primer. I only had a little left in my can left so it was very light coating.
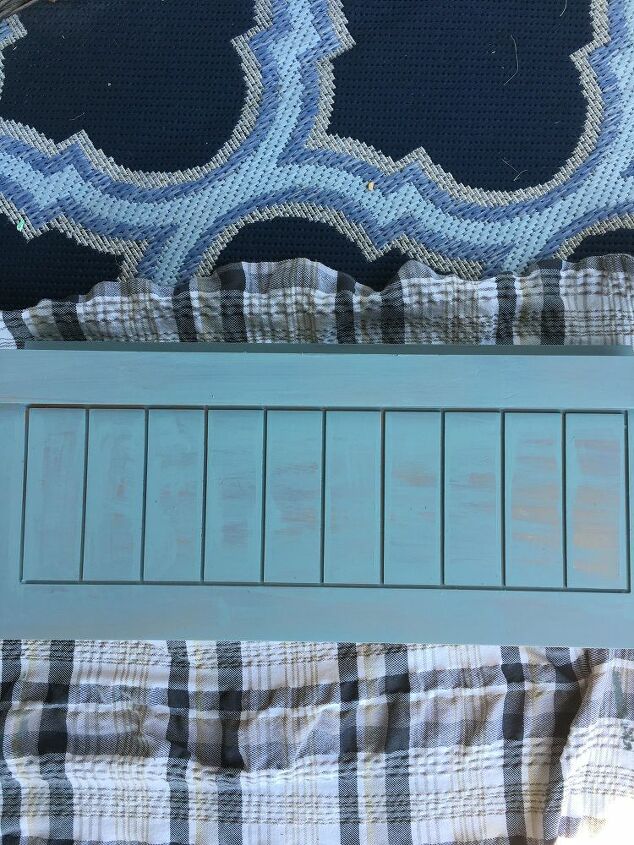
Second step, add your gray paint. I happened to have leftover chalk paint in Seaglass (see my previous project of the $20 Entry table). This is more of a bluish green gray which worked great to give it more of the cool undertone of metal. I used my foam brush and lightly did one coat of paint. You can see that I didn't even do full coverage because there are so many layers of paint it will get covered eventually.
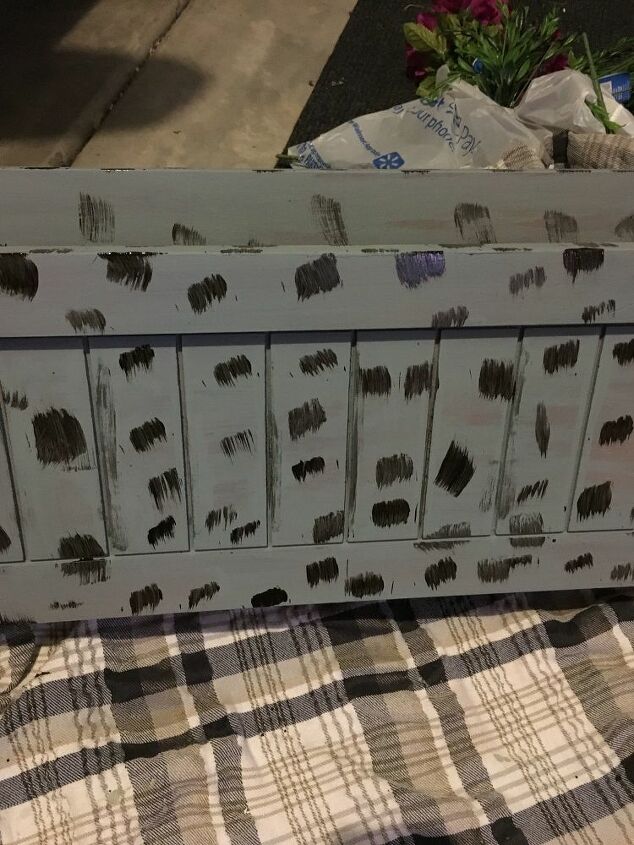
Third step, take your cheap bristle brush and black paint (in my case, black glaze) and add small splotchy black marks all over. Be artistic and make different sizes, dark, light, space it however you want.
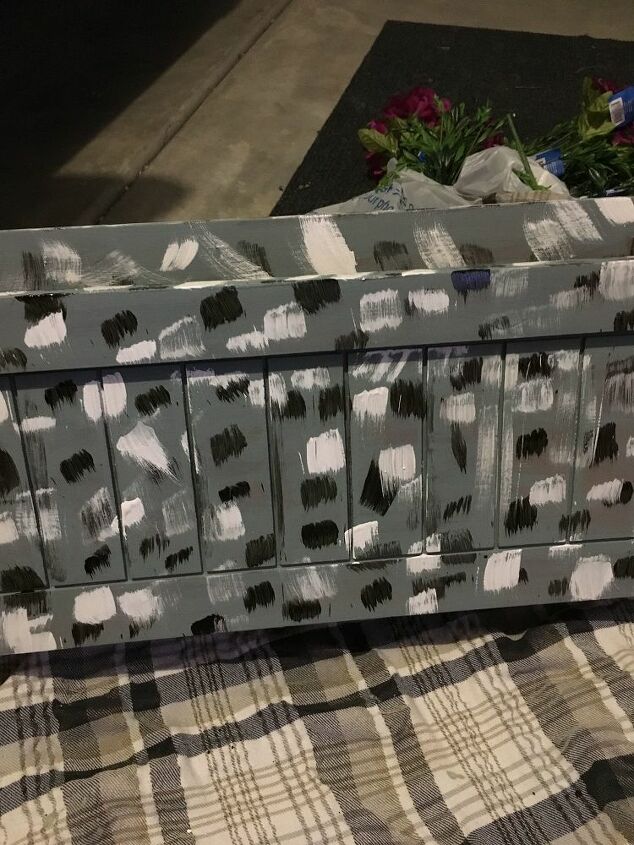
Fourth step, add white brush strokes like you did with black paint. Again, make them random sizes, spaces, heavy, and light strokes.
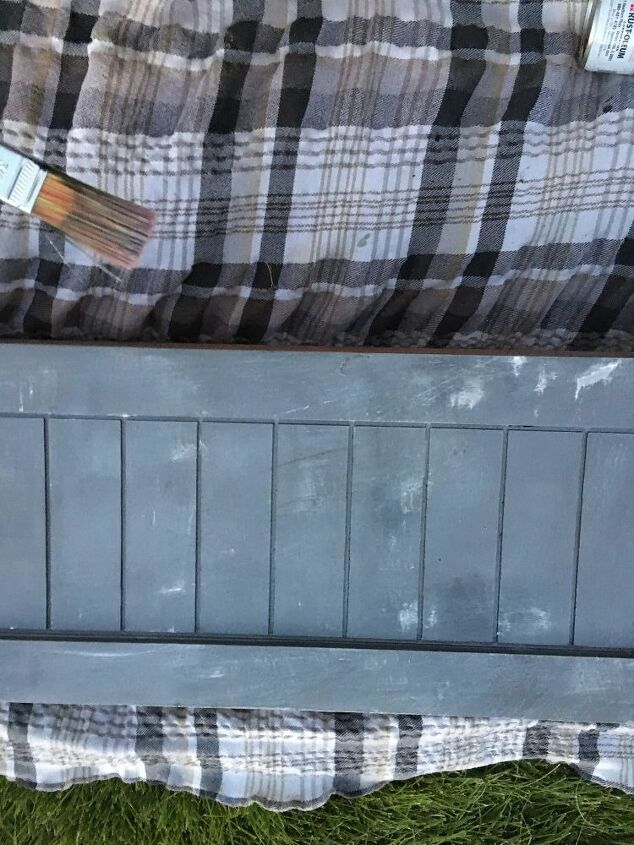
Fifth step, take your darker hammered spray paint and lightly spray over all the black and white marks. I quickly took my bristle brush and did short and random brush marks to blend in the wet spray paint with the white and black spots behind it. My bristle brush was dry to give it that lightly scratched marks that metal has.
I added the lighter hammered spray paint in just random little sections throughout to give it more depth of light and dark. Again, after I sprayed I used my dry brush to blend it in. I also took my sander and used that to blend in while the spray paint was wet. It really is up to your eye and creativity how you blend and layer the paint. Since it is hand applied and layered, if I were to do it again it would look different because my technique would be a little different a second time.
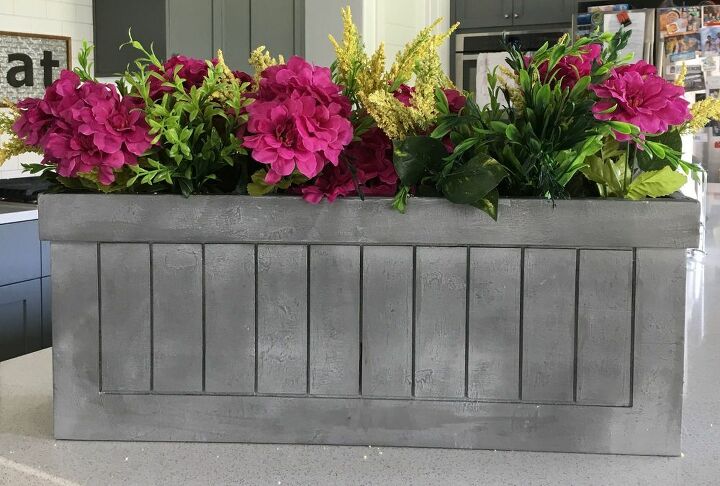
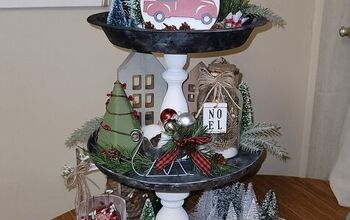
The finished product! You can see the white, light, dark, black, paint all showing through in the layers. I also picked up those florals for 90% off at Walmart and only cost $.10 per bunch. I ended up buying about $1.50 in floral plus my $2 planter and materials I had lying around the house turned out to be a pretty cheap project. Even if you want to try this and do not have the materials, you could just use acrylic craft paint in grey for the base and for the black and white spots. You can usually pick those up for less than a $1 at craft stores. The Hammered metallic spray paint costs around $6 at a home improvement store. It still would end up being a pretty inexpensive project. Let me know if you give it a try! Good Luck!
Resources for this project:
See all materials


Comments
Join the conversation
-
Hard to believe, looking at the first steps of this how it would turn out! I kept thinking, "Oh, really, this will never work!" WRONG AGAIN! That's just terrific!
-
It looks like a door, painted with grey, black and white paint. It's very nice. I'll bet using hammered spray paint only would have looked more like galvanized metal. ...still a very nice looking piece.


Frequently asked questions
Have a question about this project?
Could this be done on plastic planter boxes I inherited when I bought my home? They are attached to the railing of my ramp & would love to keep & fill them but they are old & dingy looking.