


Easy To Make Floral Serving Tray!
Hi I'm Cynthia from Create With Cynthia! Learn how to create an Easy to Make Floral Serving Tray? A Serving Tray is a great addition to your home decor or given as a gift to someone you love. Easy to Make Floral Serving Tray is on the agenda today, Sweet Friends. I am using some of my favorite products on this project. These products, Iron Orchid Designs Decor Transfers and Debi’s Design Diary DIY Paint I sell on my website, CreateWIthCynthiaShop.com. Thank you in advance for shopping online.
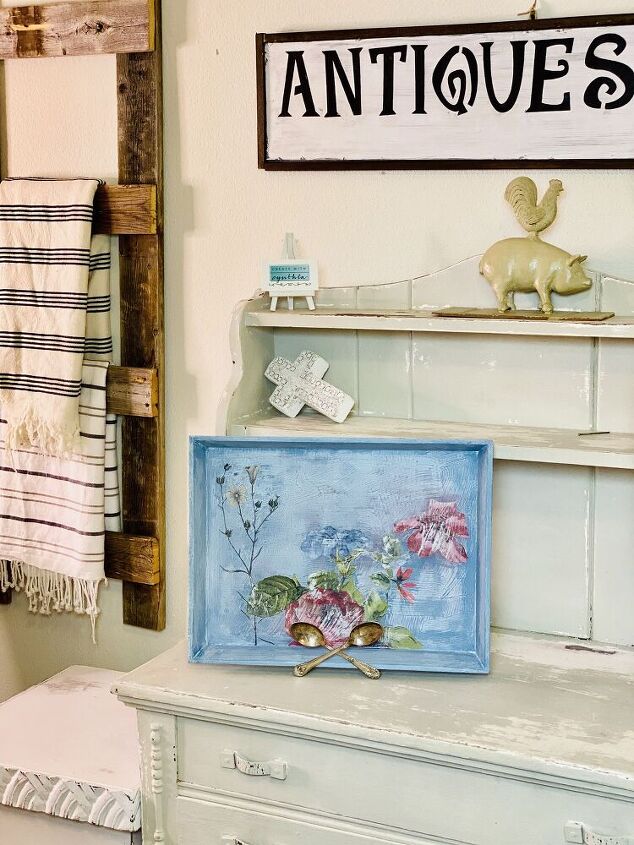
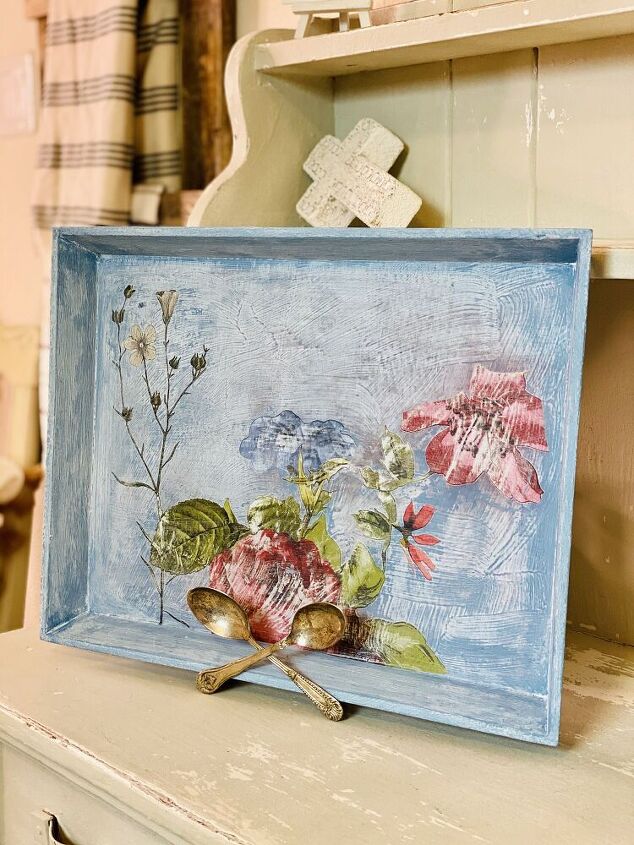
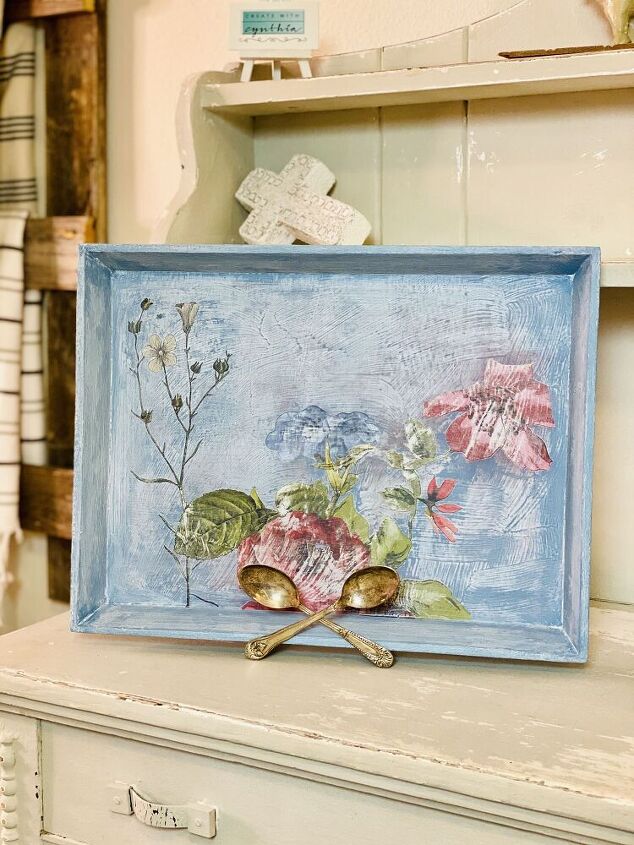
PAINTED FLORAL SERVING TRAY!
I shopped Amazon and found some nice wood surfaces, like serving trays, wooden boxes, and tissue holders, to decorate. You can see my favorite Amazon Wood Surfaces on my Shop Your Home page. Just go to my website, CreateWithCynthia.com and select the "Shop" menu from the top, then select, "Shop my home."
Have you subscribed to my You Tube Channel? I’ve got videos coming out each Monday and Wednesday, you can subscribe and get notified. In this post, I am providing the written tutorial on how to create the “Easy to Make Painted Floral Serving Tray.” If you are looking for additional information on using Iron Orchid Designs decor transfer you can check out, “Tips on using Iron Orchid Designs Transfers on a Furniture Makeover.” Decor Transfers can be adhered on almost any surface. I’ve adhered decor transfers to pillows and mirrors and even vintage suitcases.
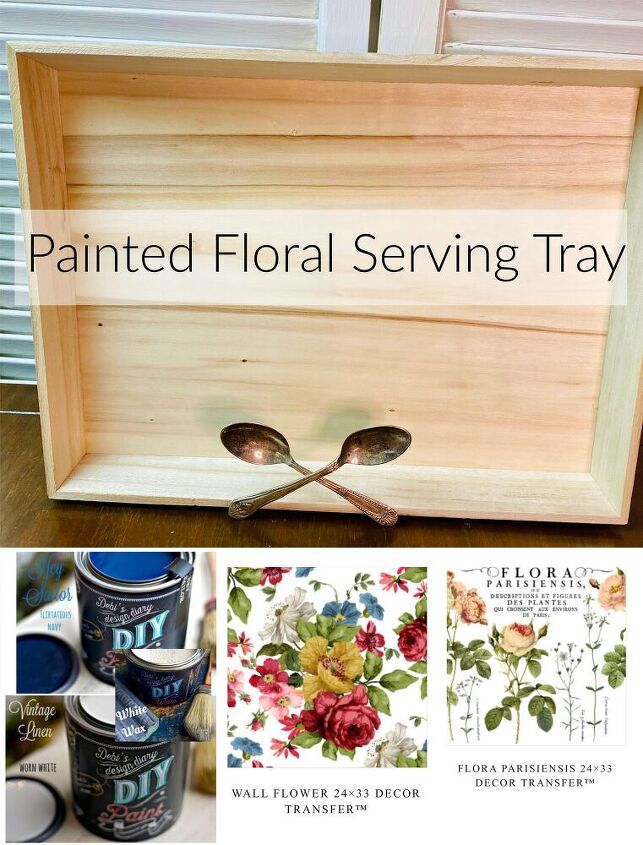
MATERIALS NEEDED TO CREATE AN EASY TO MAKE PAINTED FLORAL SERVING TRAY:
- Wood Tray
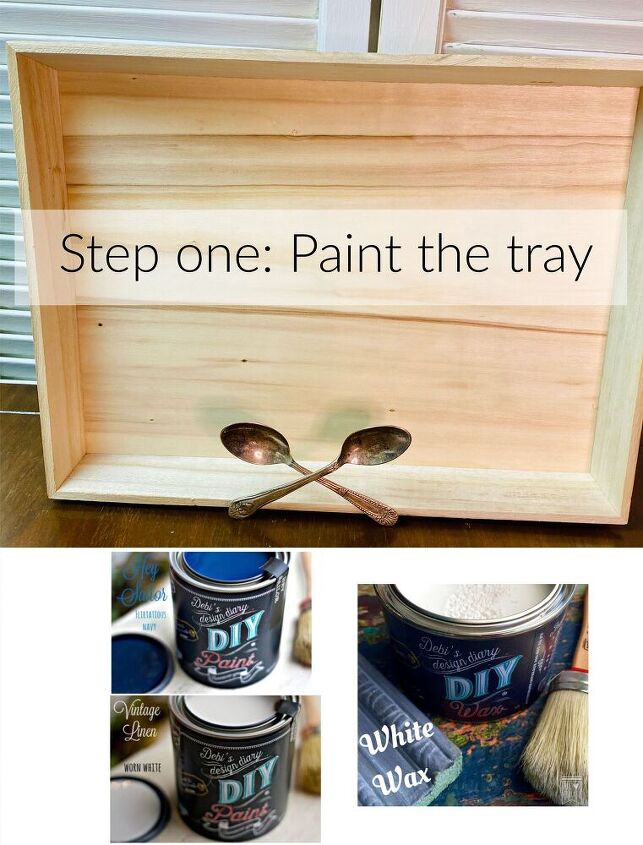
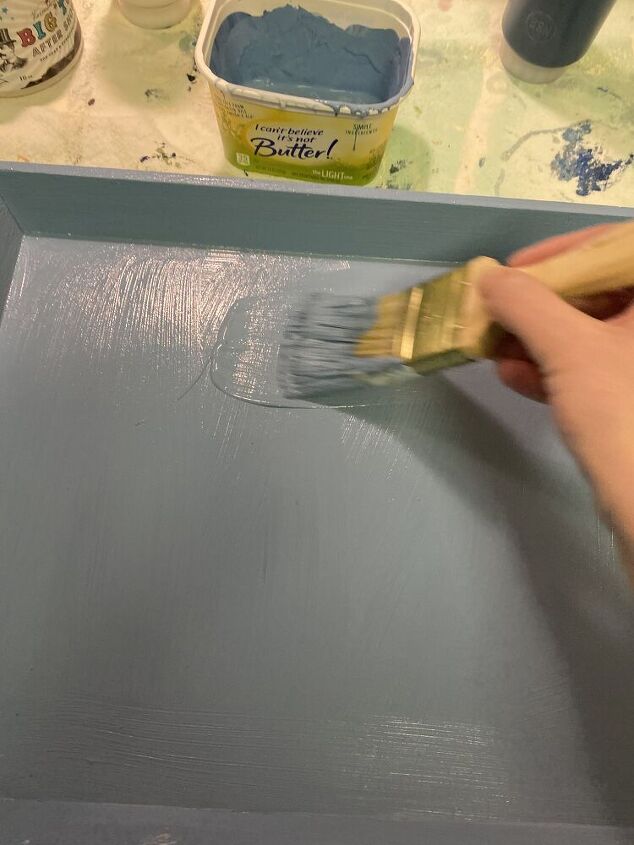
- Paint and Wax or Top Coat. Use a top coat or wax prior to adhering the transfer. I used Debi’s Design Diary DIY Paint in the colors of Vintage Linen and Hey Sailor and the White Wax.
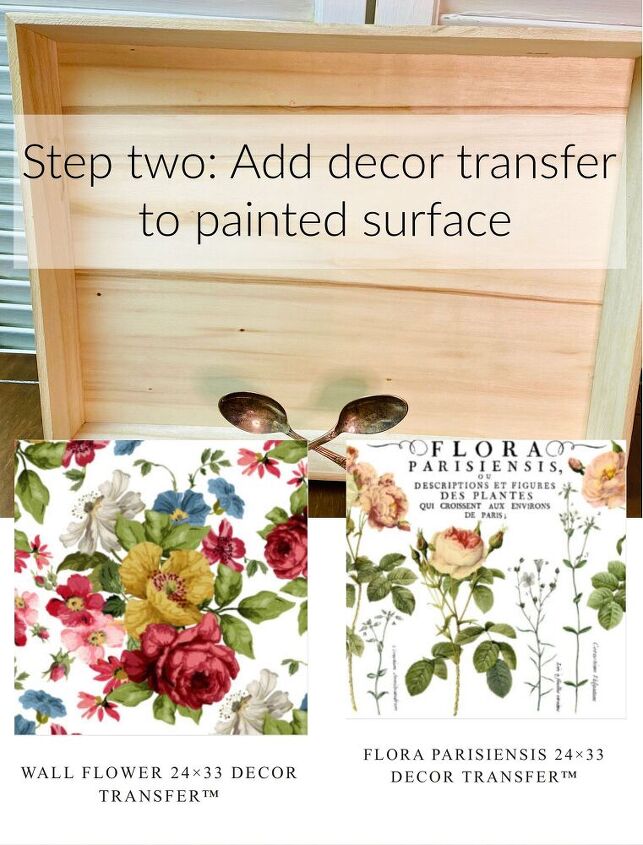
- Iron Orchid Designs Decor Transfer. I used parts of Flora Parisiensis and parts Wall Flower.
- Frog Tape
- Scissors
- Soft rag
DIRECTIONS TO CREATE AN EASY TO MAKE PAINTED FLORAL SERVING TRAY.
Step one: Paint your tray. Be sure to include wax or a top coat as a finishing product. Decor Transfers will only stick to a sealed surface.
Step two: Decide which decor transfers you will use and cut them into pieces. I used scraps left over from other projects. Determine placement of decor transfer without removing back until you are certain of placement. Use frog tape to hold decor transfer in place while scrapping with tool provided.
Scrape decor transfer onto surface. Once the transfer is adhered, remove the tape and the plastic paper. Use a soft cloth and burnish decor transfer on surface. This ensures there are no air bubbles between the transfer and surface.
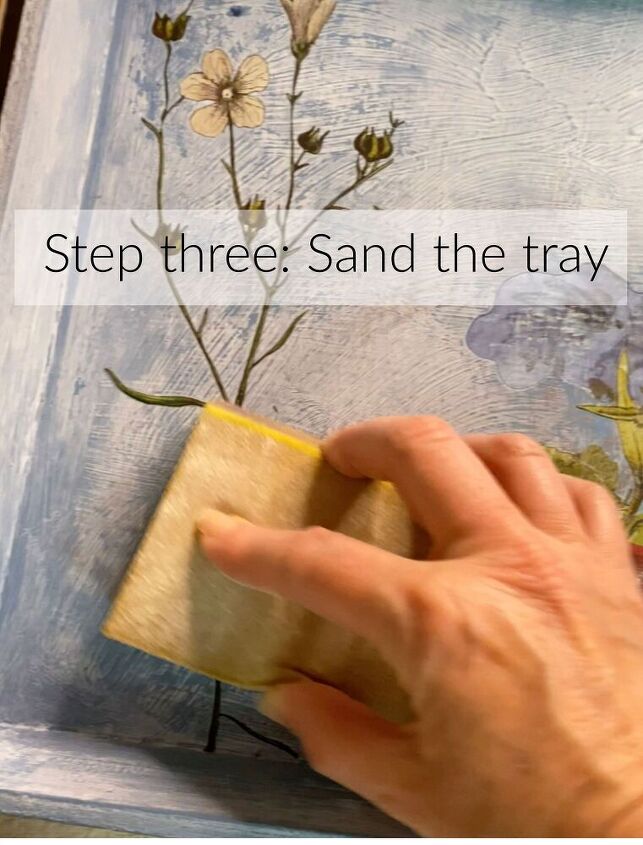
Step three: If you prefer a worn and rustic look, use sand paper and sand the tray. I used a 220 grit sanding block.
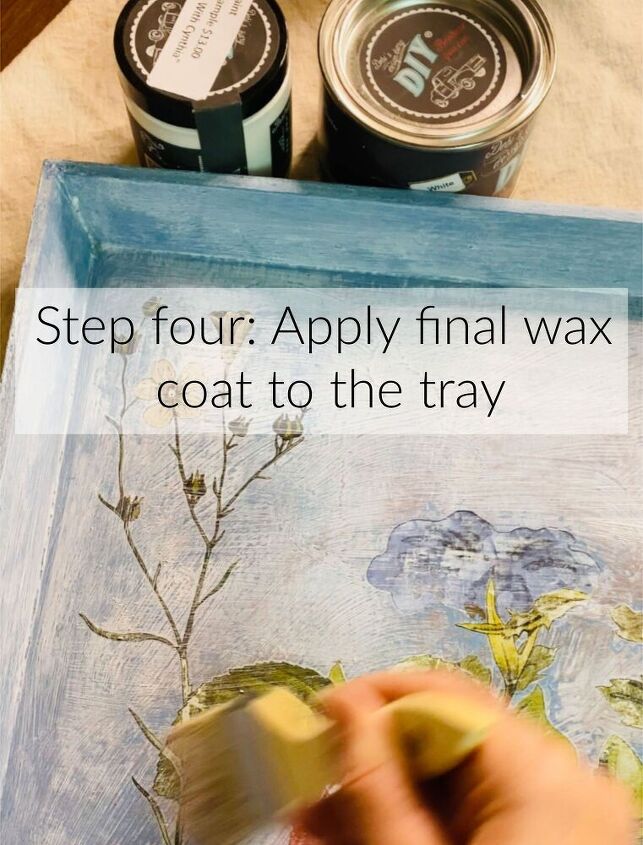
Step four: Use top coat or wax and seal the transfer on the surface. One to two coats of top coat or wax is recommended.
I hope I have inspired you to go out there and Create Something. Be sure to check out my video on You Tube on the Create With Cynthia channel. Subscribe as I upload new videos on Monday and Wednesday.
Now go out therein create something. Cynthia
Resources for this project:
See all materials


Frequently asked questions
Have a question about this project?