


Beadboard Accent Wall

Do you like accent walls? I do.
I wanted to add an accent wall to the entry way area of our home. The front door opens into the living room and there isn't a ton of extra space, but I always felt like it needed a little something extra to make it complete.
I have beadboard in the dining and hall areas of my home and wanted to use that on the entry way. I decided to go with a high beadboard wall treatment.
FYI- The cost of this project is for the 3 beadboard panels and 2 pine boards. I already had all the tools, paint & accessories.
MATERIALS LIST:
- 3 sheets- Beadboard Paneling
- 2- 1" x 4" x 10ft Pine Boards (measure your wall for your needs)
- Primer
- Paint (cabinet & trim paint)
- Painters Tape
- Paint Brush
- Paint Roller
- Paint Tray
- Caulk (baby wipes for clean up)
- Spackling
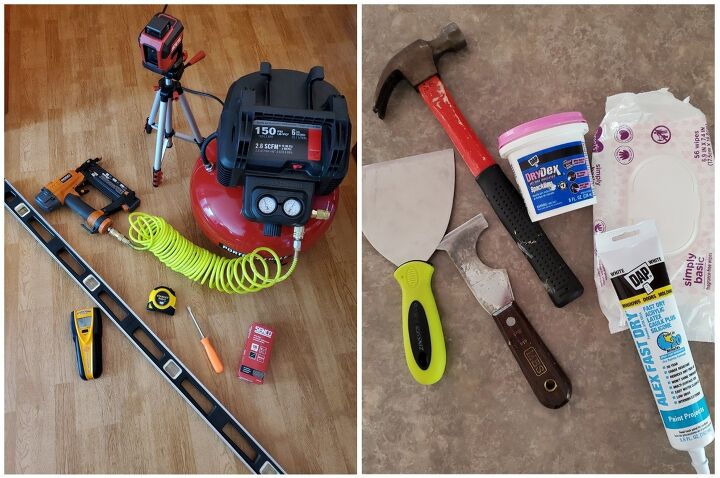
TOOLS NEEDED:
- Table Saw
- Jig Saw
- Compressor
- Laser Level
- Pneumatic Nail gun & nails
- Level
- Stud Finder
- Tape Measure
- Putty Knife
- Screwdriver
- Hammer
- Square
- T-Square
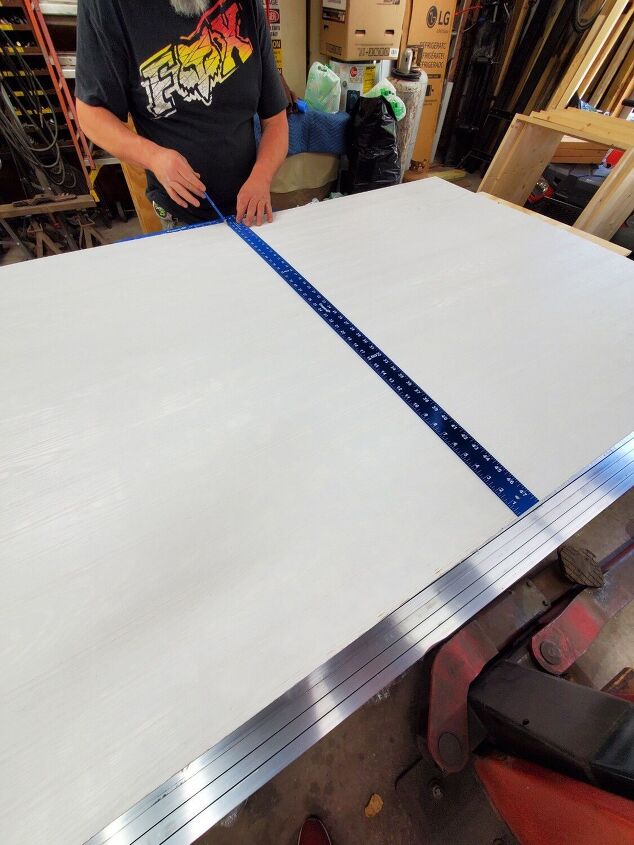
Using a T square measure and mark the beadboard paneling to the length needed for your project.
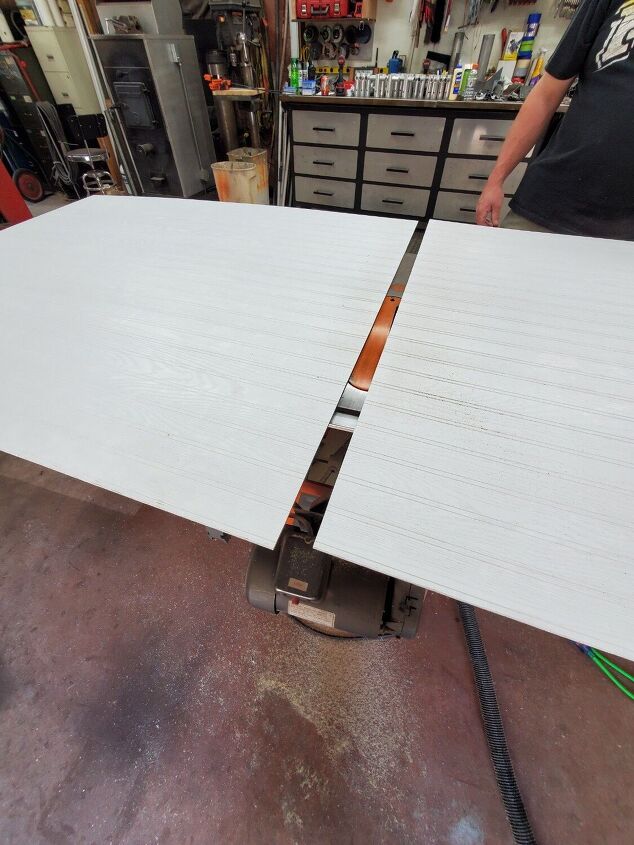
Using a table saw, cut your beadboard panel to the size you want for your space. I wanted my panels to be 57 1/2" because I will be placing them on top of my existing baseboard and then adding a decorative trim ledge to the top.
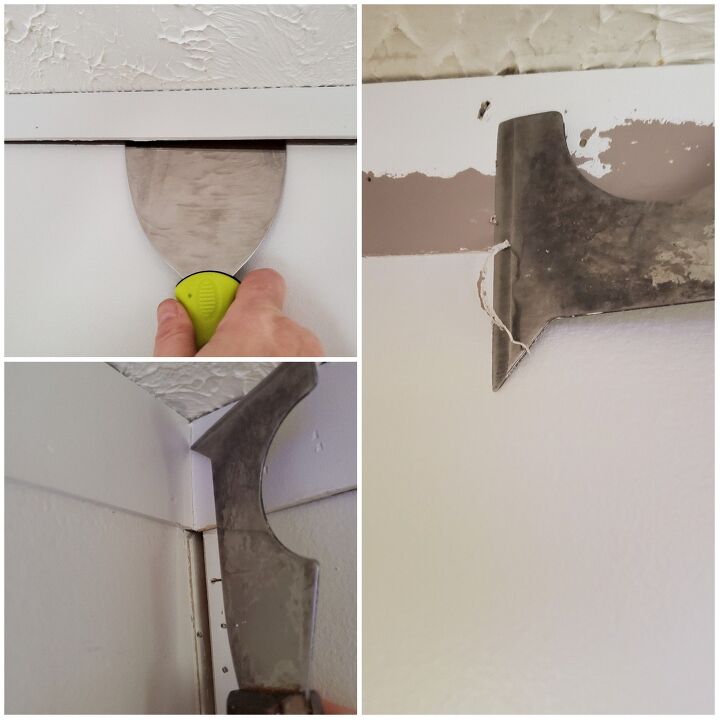
With the beadboard cut down it is time to prep the wall for installation.
I scored and removed the trim near the ceiling and in the corner. I also removed all the caulk from the wall using a putty knife.
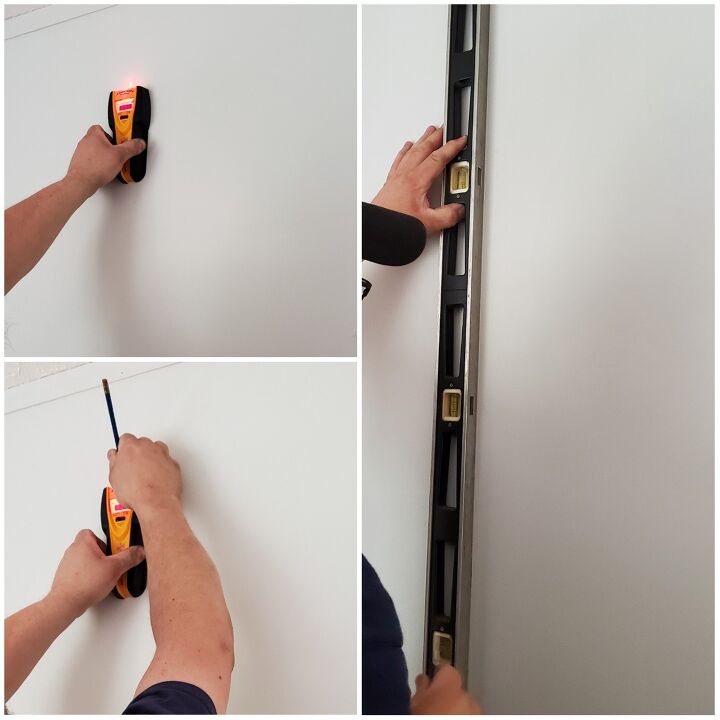
Then using a stud finder and a level as a straight edge, we marked the walls so we knew exactly where to nail the beadboard up.
You can also add adhesive glue to the back of the bead board for additional support.
I decided against using glue in case this particular beadboard paneling didn't hold up to the high traffic area near the front door. If that is the case I will be able to remove the decorative trim and remove the beadboard without tearing up the drywall behind it.
We got the first piece up starting at the corner and working our way toward a bedroom door. Make sure this piece is level. Don't just expect your trim piece to be level...double check everything.
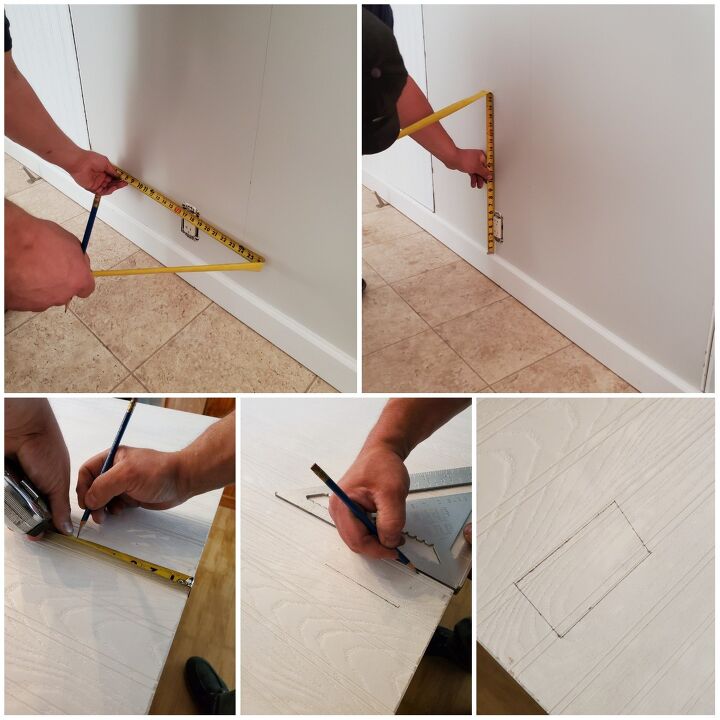
Our second beadboard panel needed a hole cut out for an outlet. We measured over from the first piece and took that measurement. Then from the top of the base board trim. We transferred those measurements to our paneling and made the box shape using a square.
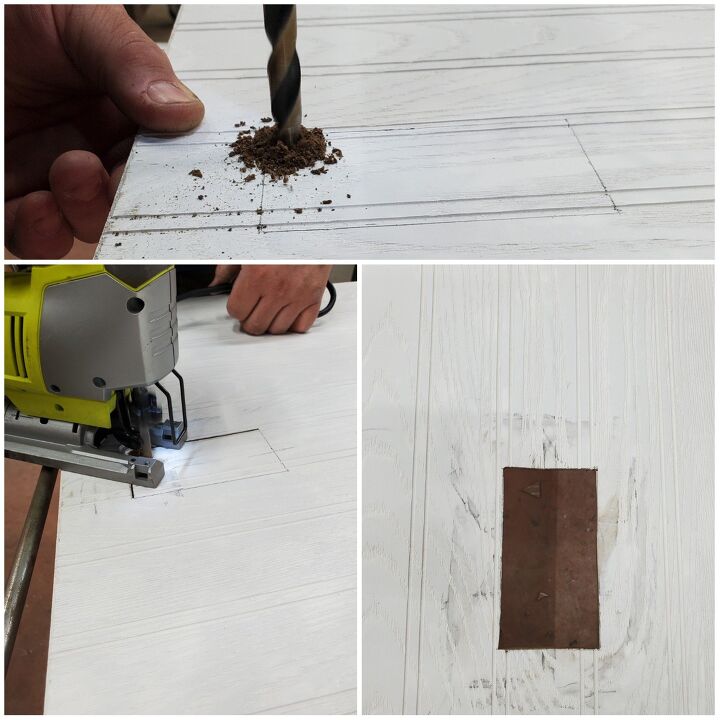
With the measurements drawn on the paneling we drilled a hole inside the outlet space and then used a jigsaw to cut out the outlet square.
Once the 2nd piece was in place, we had 2 smaller pieces to the left and right of the bedroom door to set.
We got out the laser level and made sure the beadboard paneling was still level on both sides of the door. Lucky for us they were perfect and we just cut them to size and attached them with the nail gun.
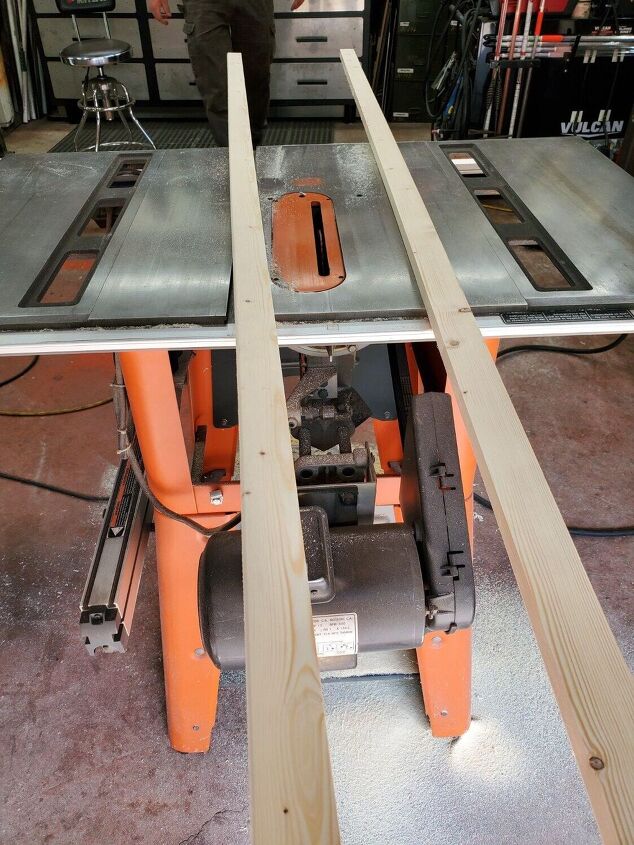
Next we needed to make our top trim piece. One of the boards we kept whole but the other piece needed to be cut in half to create the top ledge. We cut the board using the table saw.
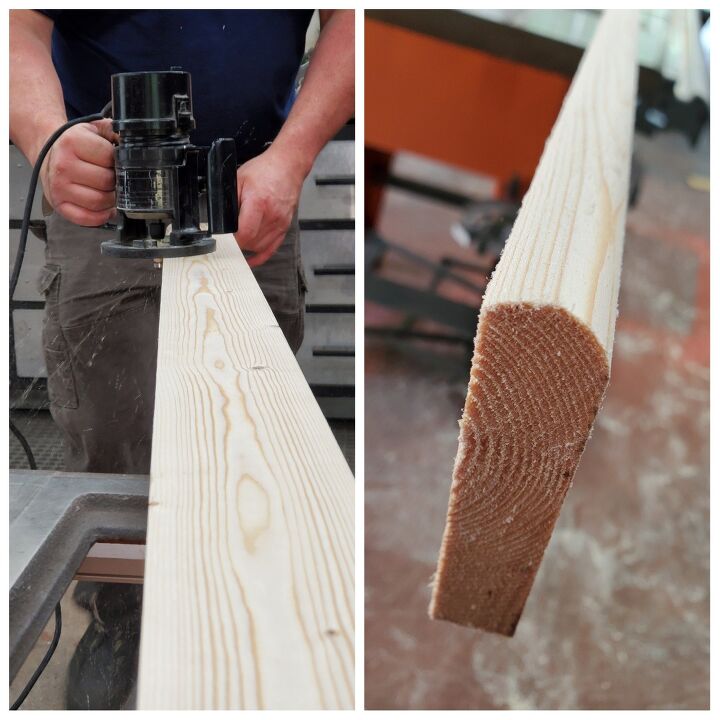
Then we routered one edge. You can choose to router both edges or not at all. These are the details you decide for your space.
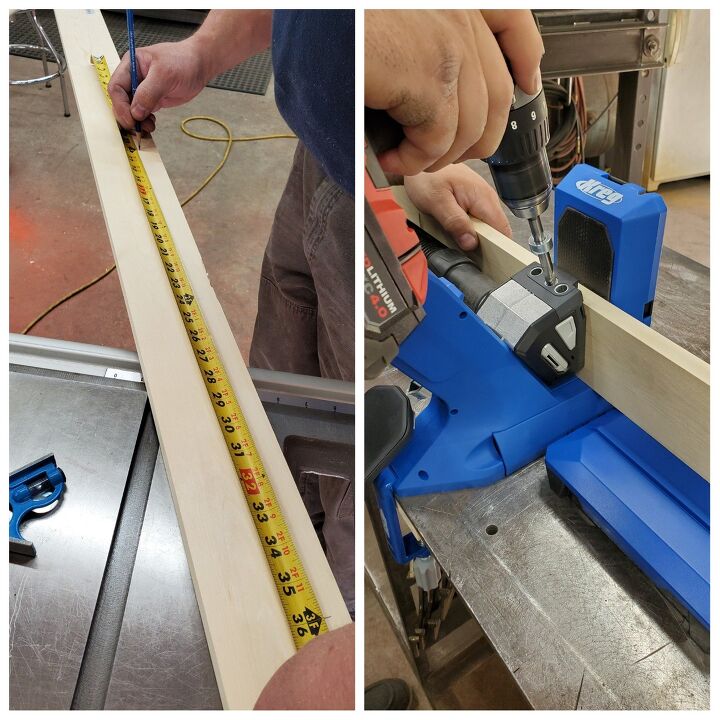
Once the boards are cut to size you can add pocket holes to each board. Using pocket holes & screws allows us to make a hidden and very secure attachment of the trim boards.
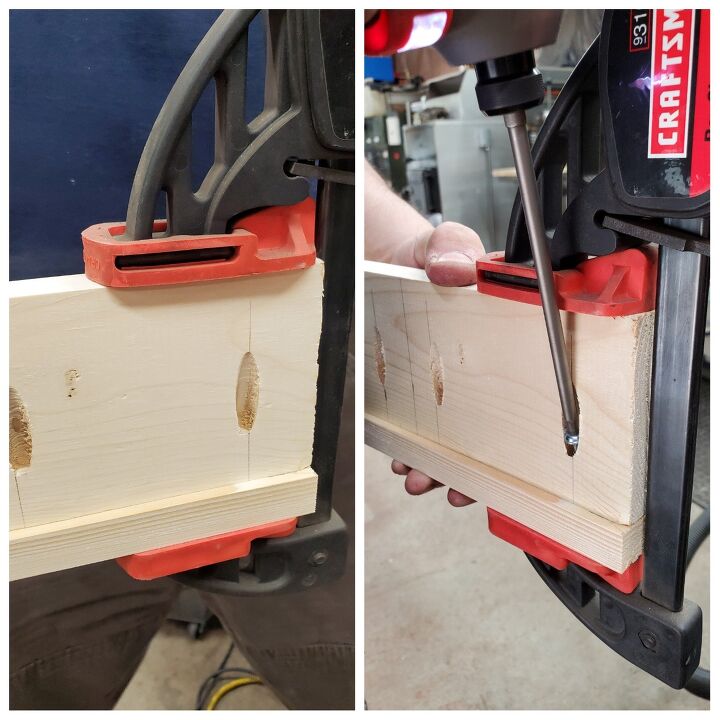
We clamped & screwed both pieces together.
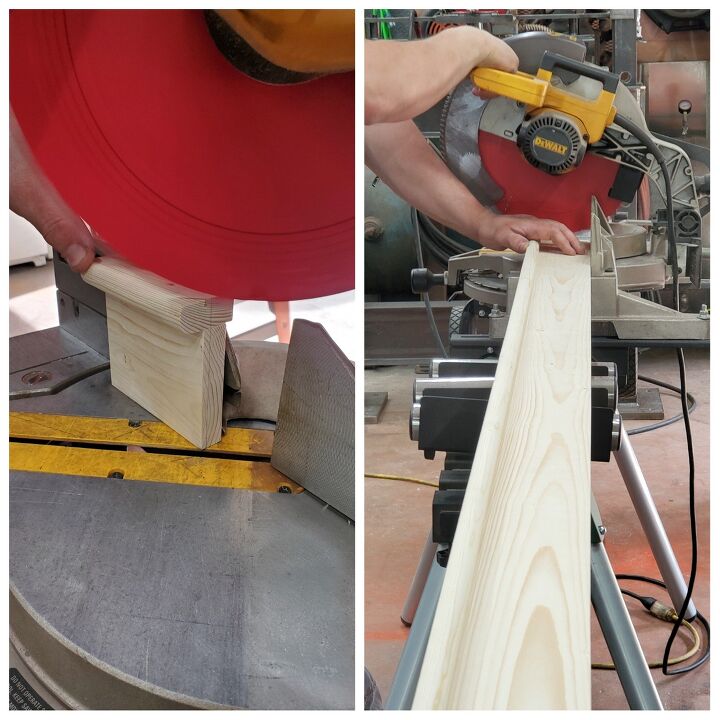
Then we headed to the miter saw to cut 45 degree angles on the ends. We did this for the trim that met up with the existing door trim.
This is an optional step that is based on the trim type you are meeting up with. Our existing door trim is routered with a "fancy" edge and since the new trim over the beadboard is "plain" we needed to do something so they didn't look awkward when they met up.
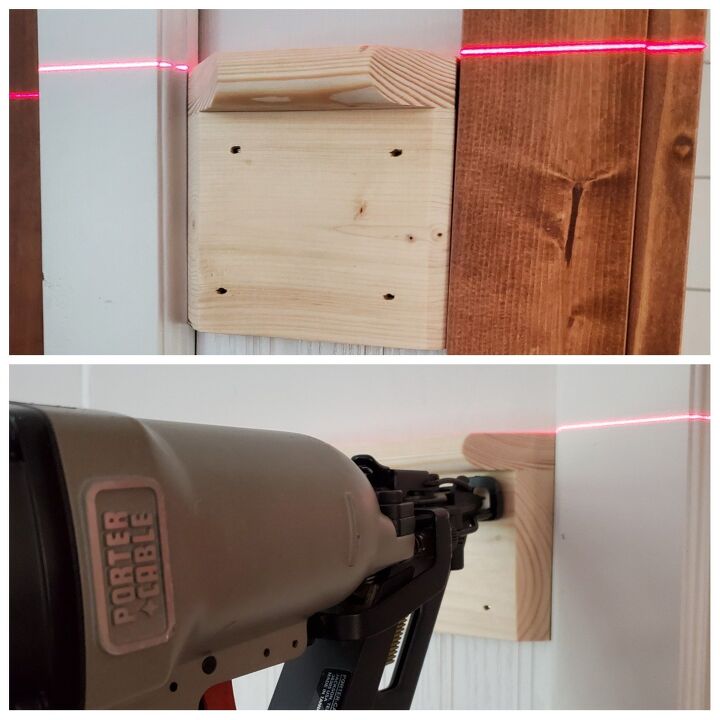
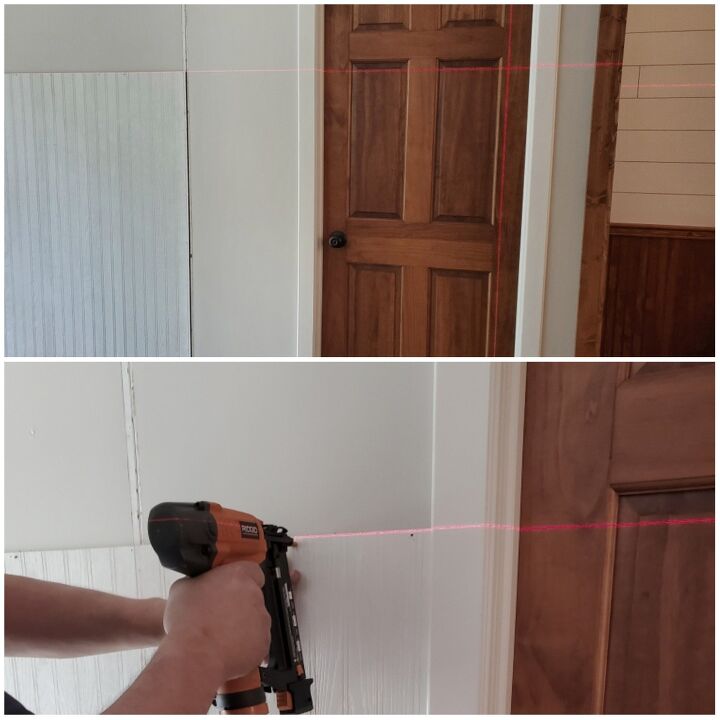
We got out the laser level again and made sure our trim was level before we nailed it up.
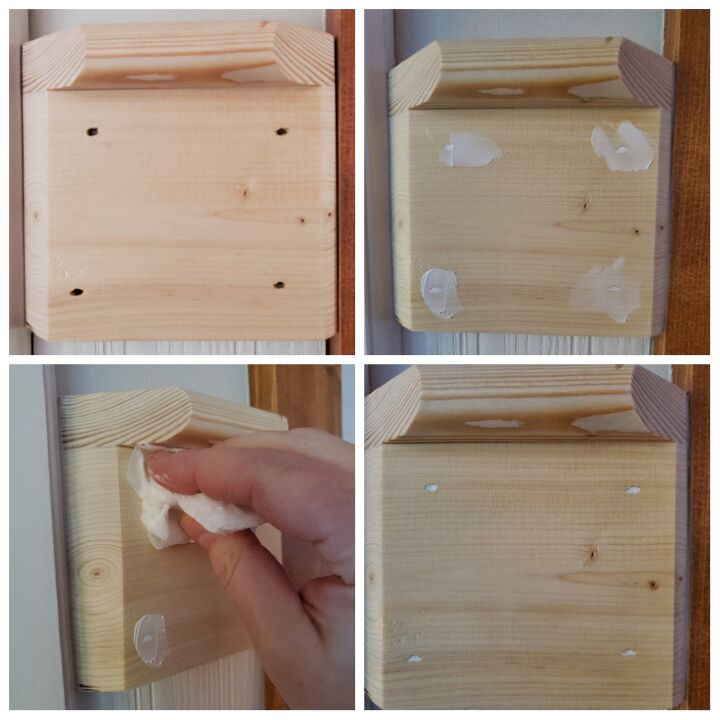
With the beadboard and trim all nailed in place it's time to start prepping for paint. I start by using spackle or caulk for nail holes and seams that need filling.
I like to use baby wipes to remove extra product from the wood. You can leave the spackle on and sand off the extra but if you use caulk you will want to remove the extra right away.
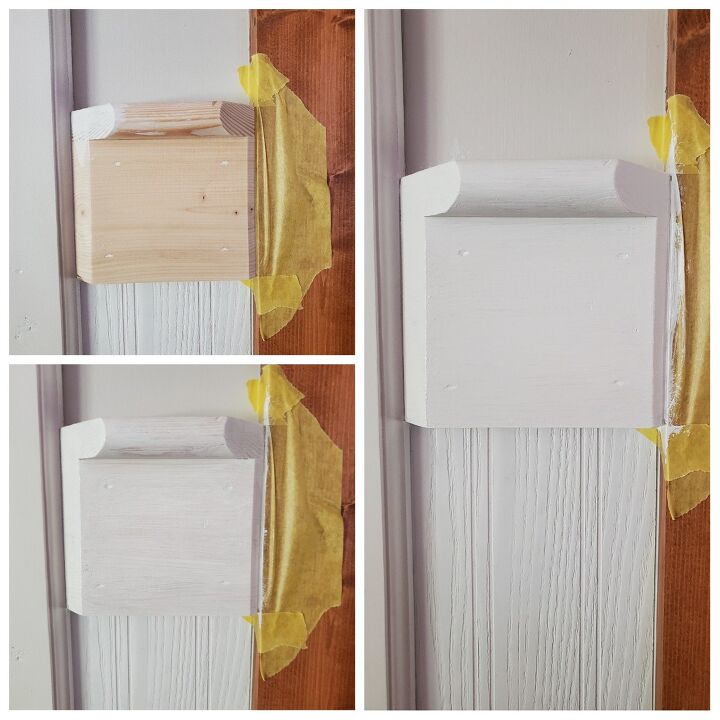
Once the holes and seams have been caulked and filled and everything is dry it's time to prime your raw wood. I primed my trim pieces with 2 coats of primer.
I decided not to prime the beadboard paneling because it came already primed.
Next it's time to paint everything.
I painted the trim and beadboard with 3 light coats of cabinet and trim paint. Hopefully it will hold up better than normal wall paint.
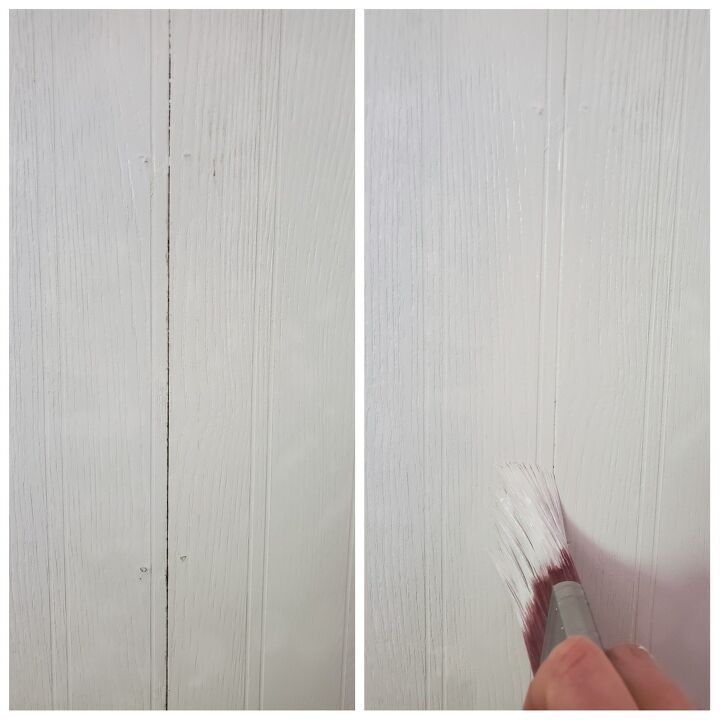
Here is a close up of the seam where the beadboard panels meet. I decided NOT to fill with caulk or spackle. The seam fell right were the second "line" would fall. So I decided to see what it looked like when adding a few coats of paint. I think it blends in very nicely.
That's it and I love it!
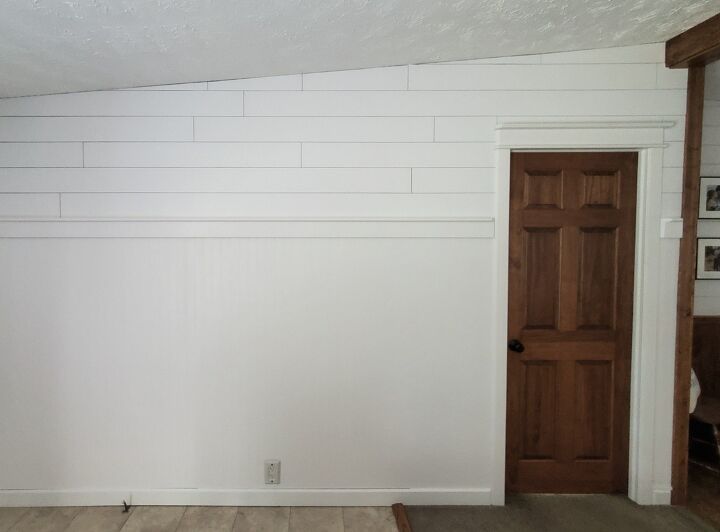
The beadboard and trim is primed, painted and ready for decorating.
I will be buying wall decor, a basket to hold shoes and maybe add some hooks to the trim area.
I added shiplap to the top portion of the wall to finish it off. I think the high beadboard accent and trim really defines the entry area apart from the living room.
Resources for this project:
See all materials


Comments
Join the conversation
-
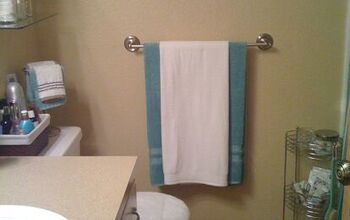
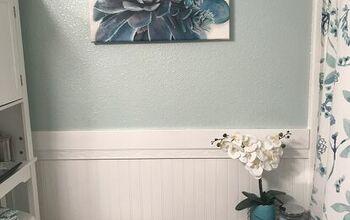
Love it! I did something similar to a blah wall in my bathroom.
before and after.
-
Thank you Stacie!


Frequently asked questions
Have a question about this project?
Why is your wall at such a slant/angle.