


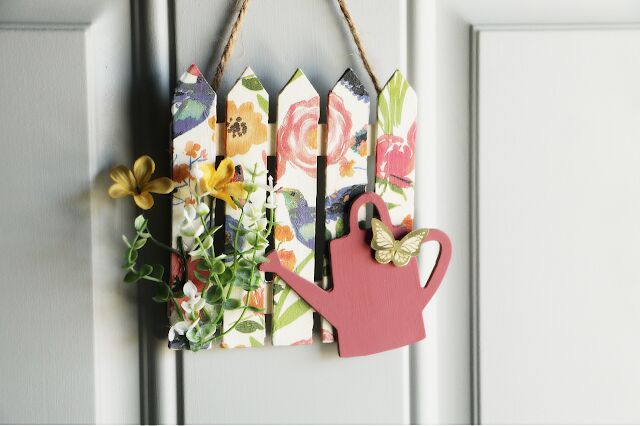
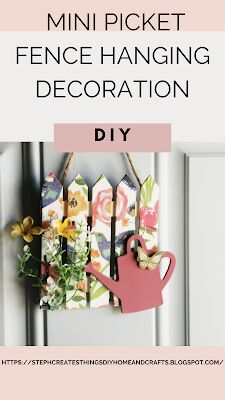
DIY Mini Picket Fence Hanging Decoration

Hello everyone! Today I am sharing a simple craft that anyone can do. This craft is simple, and it doesn't take many materials. I'd love it if you joined me in creating this craft!
Video tutorial
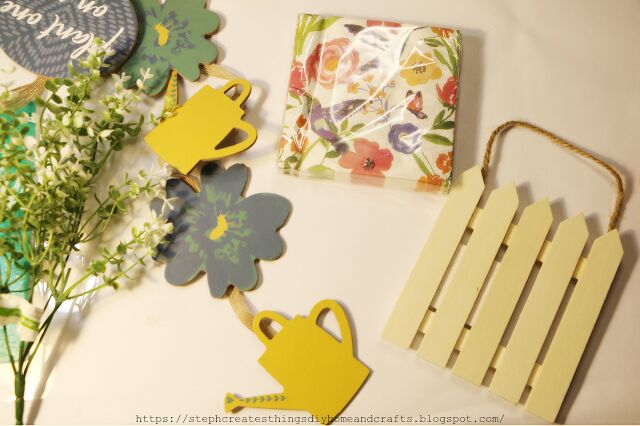
Materials Needed
One wooden fence decoration- purchased at Dollar Tree
Mod Podge
One decorative napkin-purchased one pack at Dollar Tree
Paint- I'm using chalk paint.-White and Misty pink
One mini watering can decoration-I found this in the gardening section at Dollar Tree
One paint brush
Floral
Hot glue
Scissors
One pencil for tracing
Floral snips
Optional- butterfly sticker

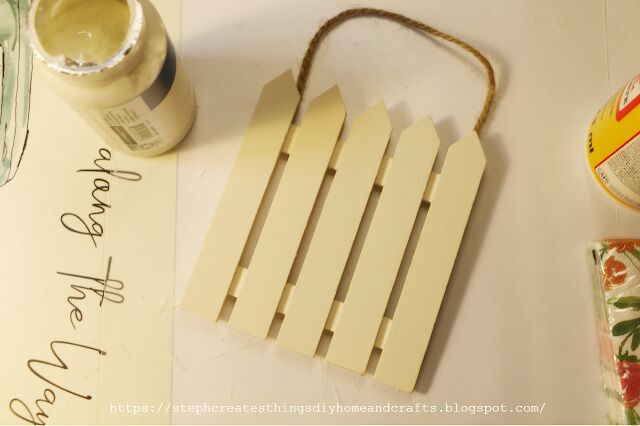
Start off by, applying a layer of white chalk paint onto your picket fence. Using a smaller paint brush you can also apply the white chalk paint to the spaces between the pickets. Set it aside, and allow it to dry.
Take your napkin, and remove the second layer. For this project, you will only want the top layer of your napkin. Once you have done so, take your napkin, and lay it out flat.
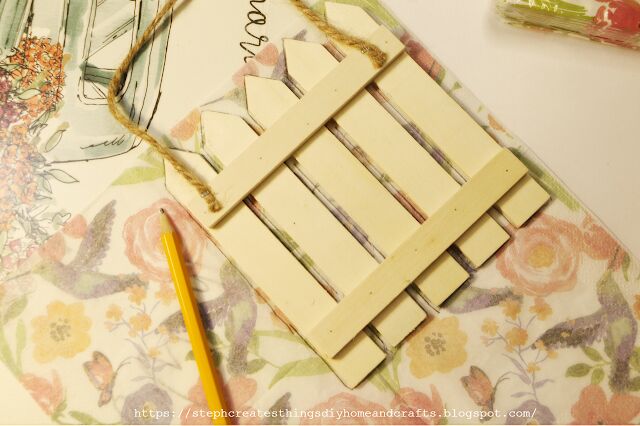
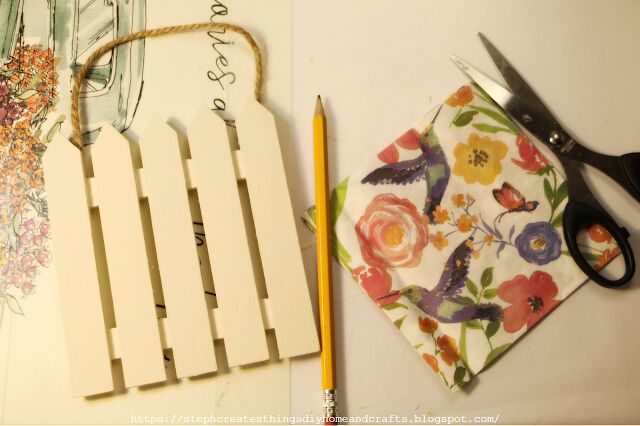
Next, take your picket fence, and lay it on top of your napkin. Using your pencil begin to trace out each picket.

After you have traced out your pickets, take your scissors, and begin to cut the traced pickets out. Cut each picket out, and set it aside.
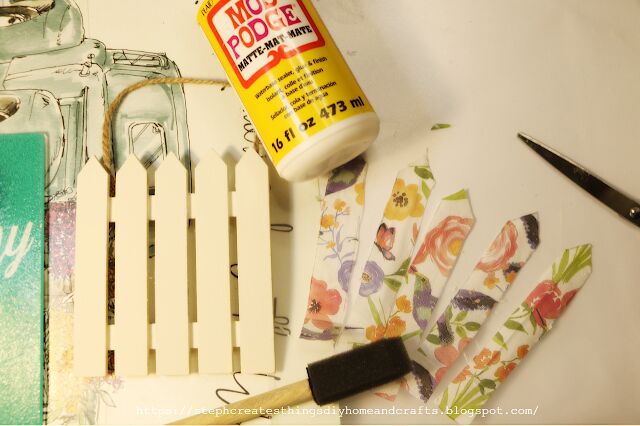
Using your mod podge, begin to apply some mod podge over each picket.
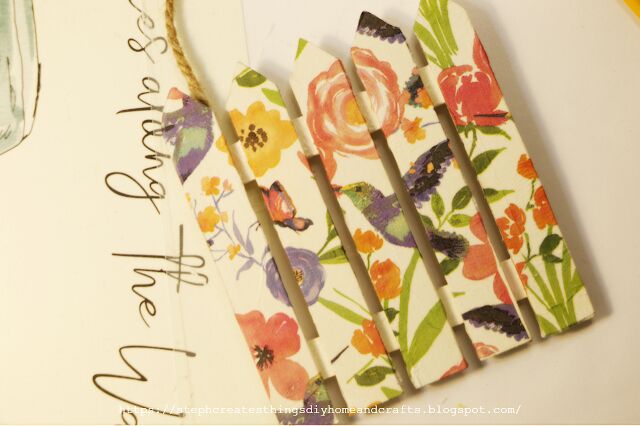
Next, take the napkin pieces you had previously cut, and start to add them on top of the mod podge. Using your fingers, gently press them down, and remove any wrinkles, and lines.
Take your mod podge, apply a thin layer over each napkin piece, and picket. Once you have done this step, you can use a heat gun, or blow dryer to help with the drying. Using a smaller paint brush, take a little mod podge, go between each picket and apply it to sections that may need it.
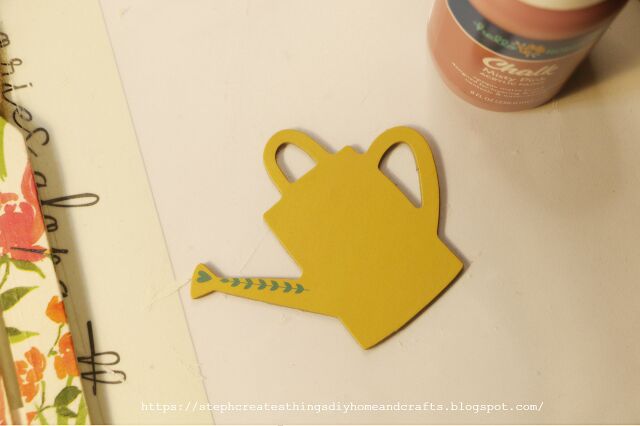
After, take your watering can decoration and apply your paint onto it. If you are wanting to keep the original color on the watering can, you can skip this step.

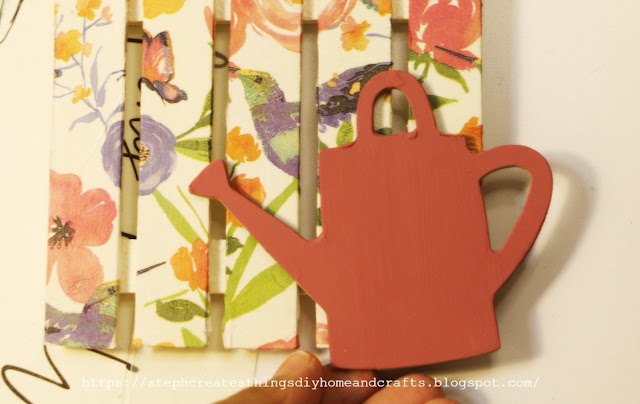
Using your hot glue, apply a small amount onto the back of your watering can decoration, and add it to the right side of your picket fence.

Next, take your floral, and begin to cut them to size using your floral snips.
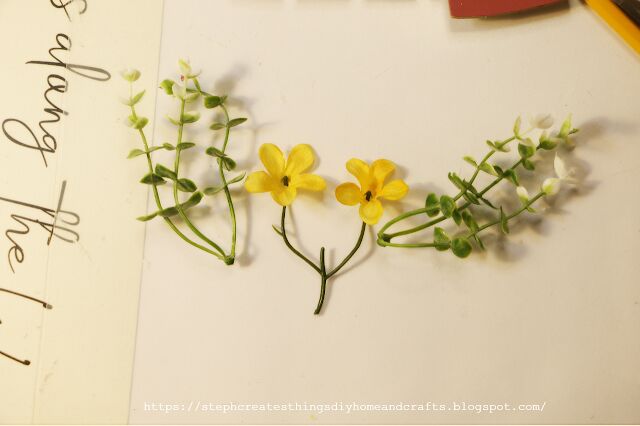
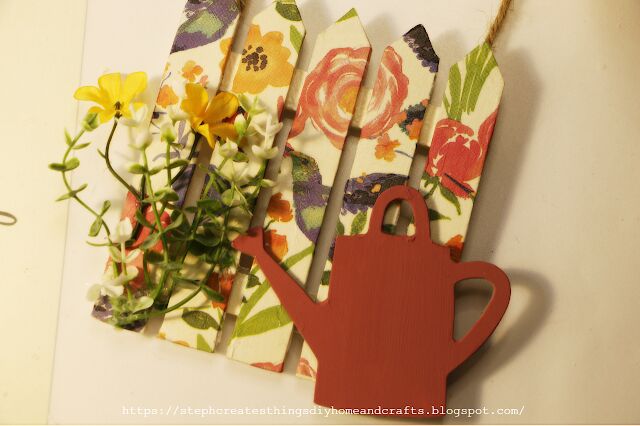
Once you have cut your floral, take each piece and glue them onto the left side of your picket fence decoration.
The last step is completely optional, but you can add a little butterfly sticker onto the corner of your watering can decoration.
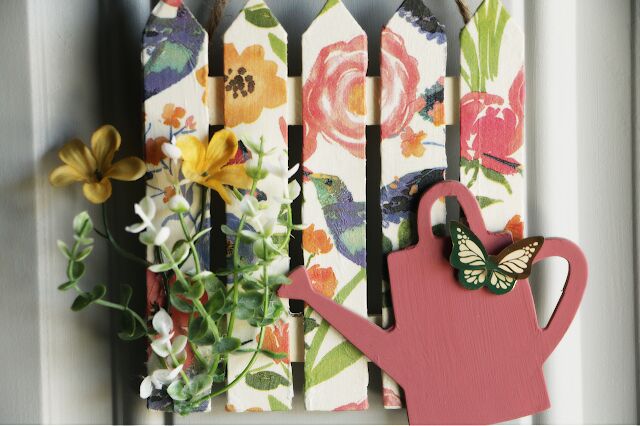
Your simple mini picket fence decoration is now complete! Did you enjoy this simple craft? Would you like to see more mod podge crafts? I'd love to hear from you all. Please feel free, and leave me a comment, and let me know what you thought of this craft. Thank you for creating with me! I'll see you soon!
Pin/Share/Save
Comments
Join the conversation
-
Cute and lovely. I just threw out my small picket fence yesterday. It was weathered, paint faded, and looked terrible. Now I'm thinking of getting it and see if I bring it back to life. Good share.


Frequently asked questions
Have a question about this project?