


How to Hang Peel and Stick Wallpaper the Easy Way
An inordinate amount of time passed before I finally decided my daughter's nursery closet needed an overhaul.
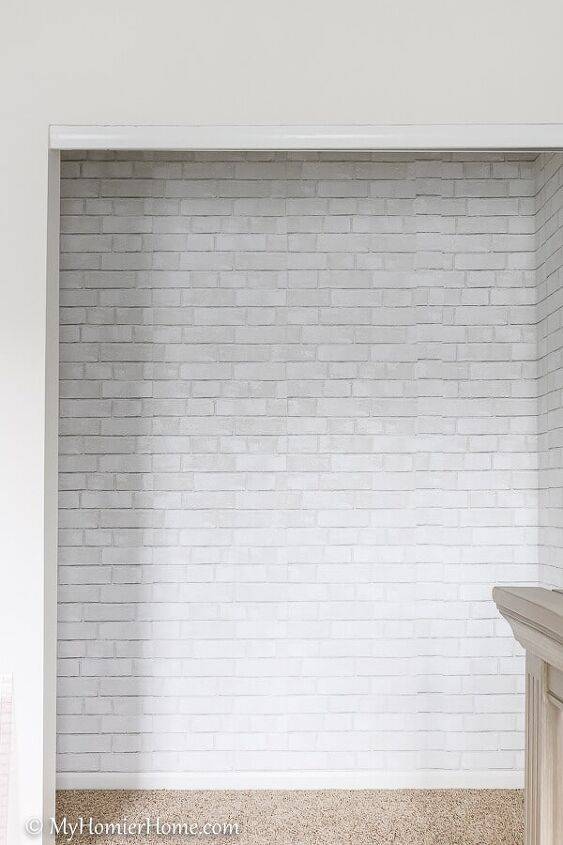
When I came across the Target clearance section and found this beautifully subtle faux brick peel and stick, I knew I had to give it a go.
Here are the steps I took on how to apply peel and stick wallpaper with ease.
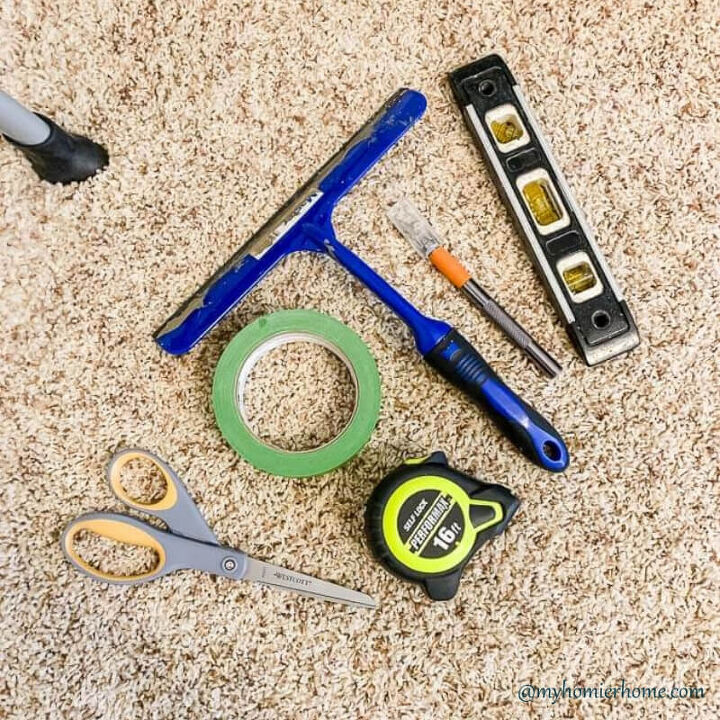
The greatest part about hanging peel and stick wallpaper is that it doesn't require a lot of tools or prior skills. When you go to gather your materials, buy your peel and stick wallpaper in one order with the same batch numbers to make sure they go together.
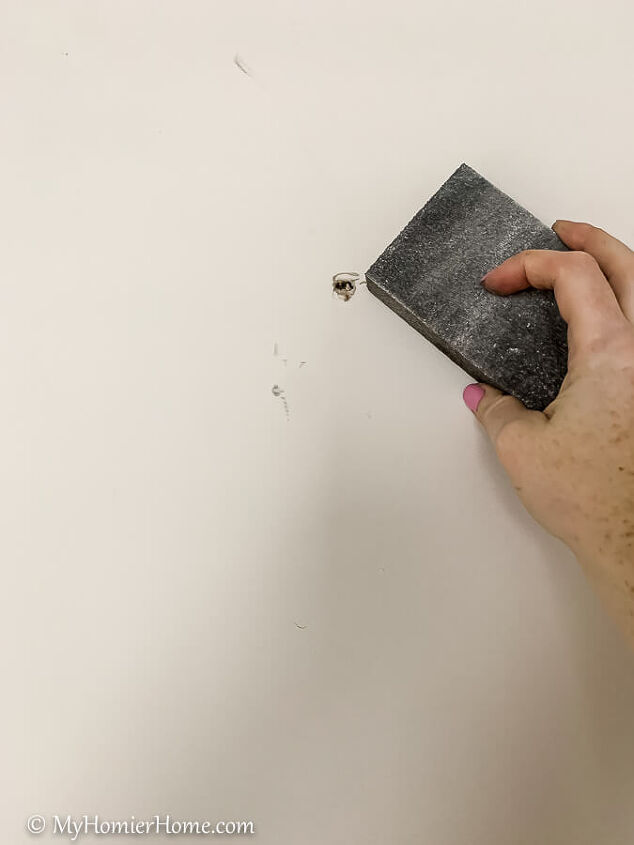
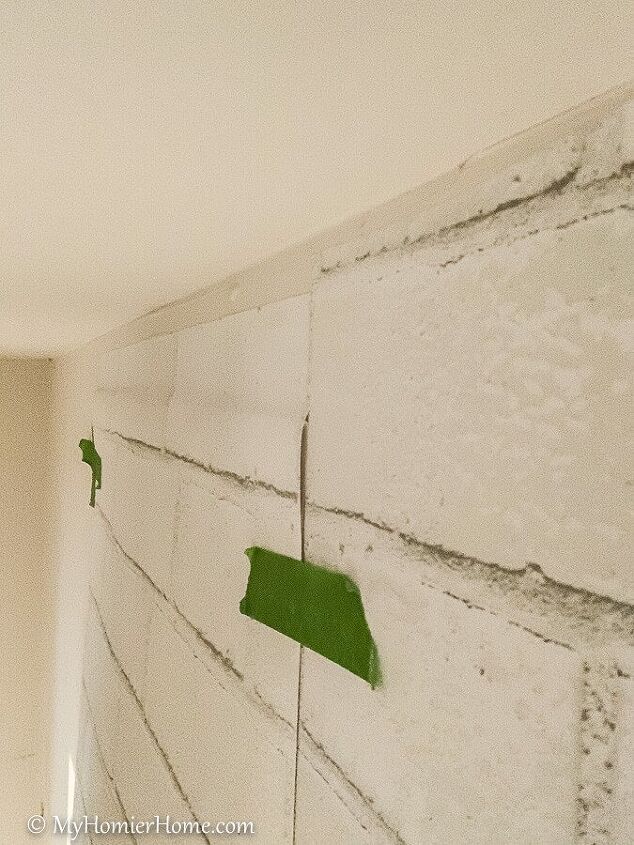
If you feel you need to, sand down any imperfections. This may or may not be a step you need to follow. I did this because I had a ton of holes in this wall from removing the wire shelving.
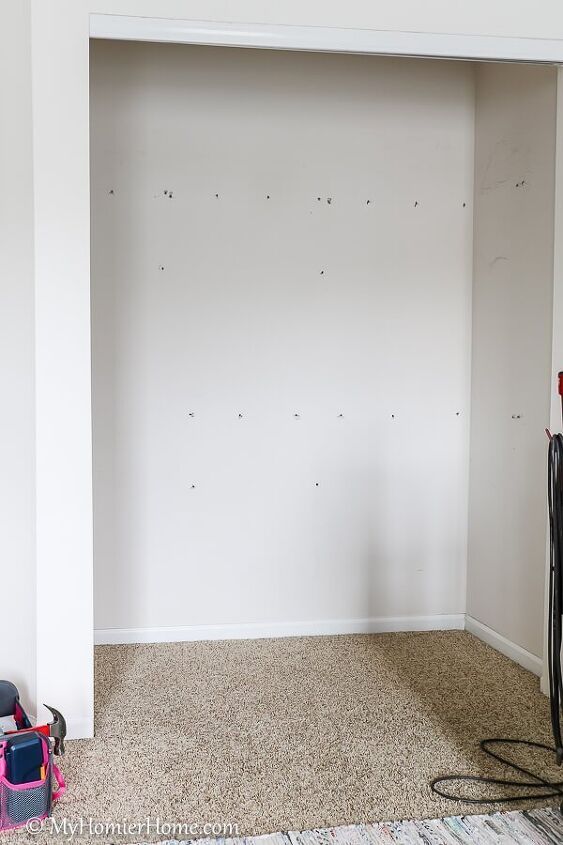
The really awesome part though is that I did not fill even one of these holes and there were a ton as you can see from the before photo below...
As I was doing my research, I read some tips about starting on the left and moving left to right if you're right-handed or vice versa if you're left-handed.
Even though I'm right-handed, I started on the right, but that's only because the closet wall is more complicated on the left. I say make a judgement call based on your space.
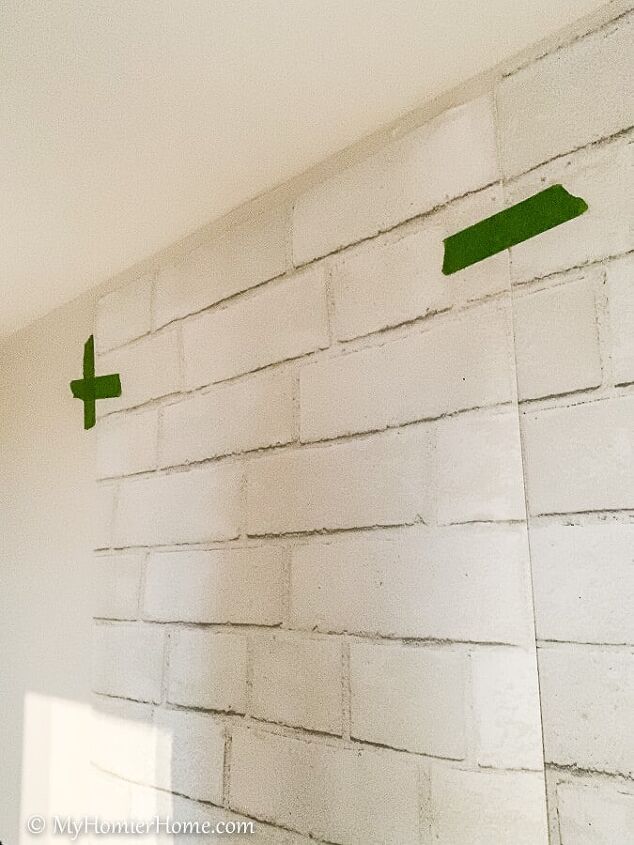
Tape the peel and stick wallpaper with the backing still attached with painter's tape where you want to hang it. I have also read that it is a good idea to use your level to mark where you want to line up the patterns.
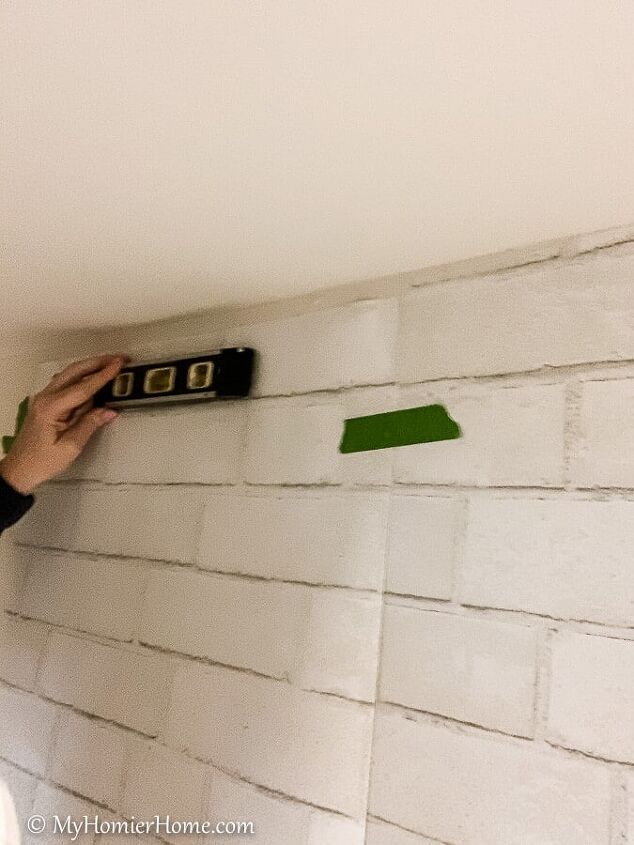
Make sure it is level before removing the backing. I used a standard level because it was tough for me to get the laser level in such a small space without me blocking it, but I do think a laser level is the way to go if you can make it work.
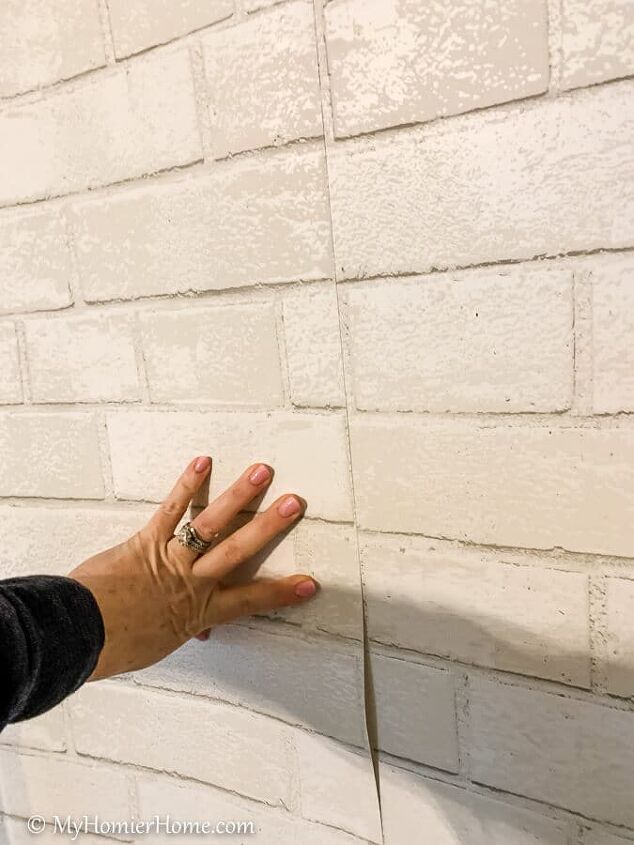
Double check that it matches up all the way down.
Take the backing off of the peel and stick wallpaper just at the top to start and fold the backing under to attach the peel and stick wallpaper to the wall. Then, adhere the peel and stick wallpaper to the wall.
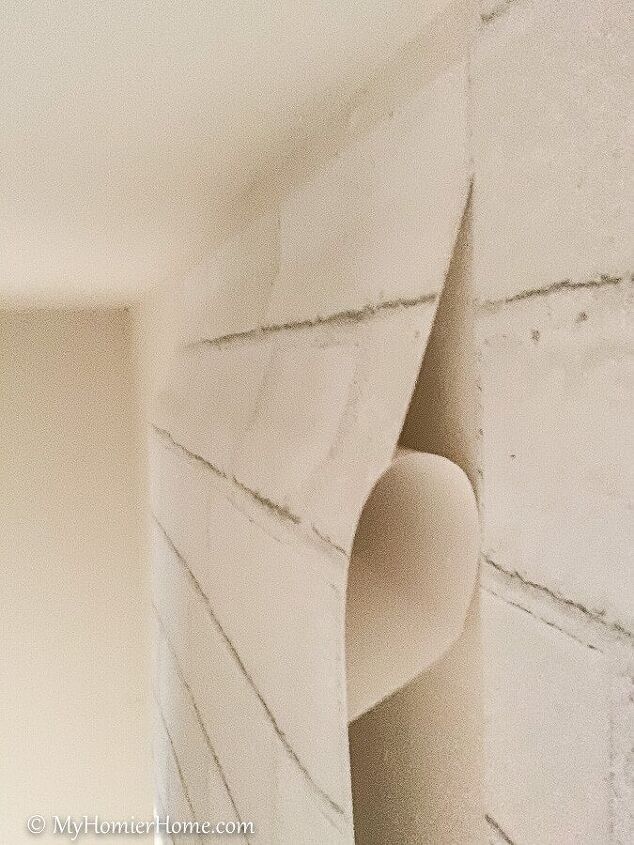
Slowly remove the backing as you squeegee from center out to smooth the peel and stick wallpaper and ensure there are no bubbles or lines.
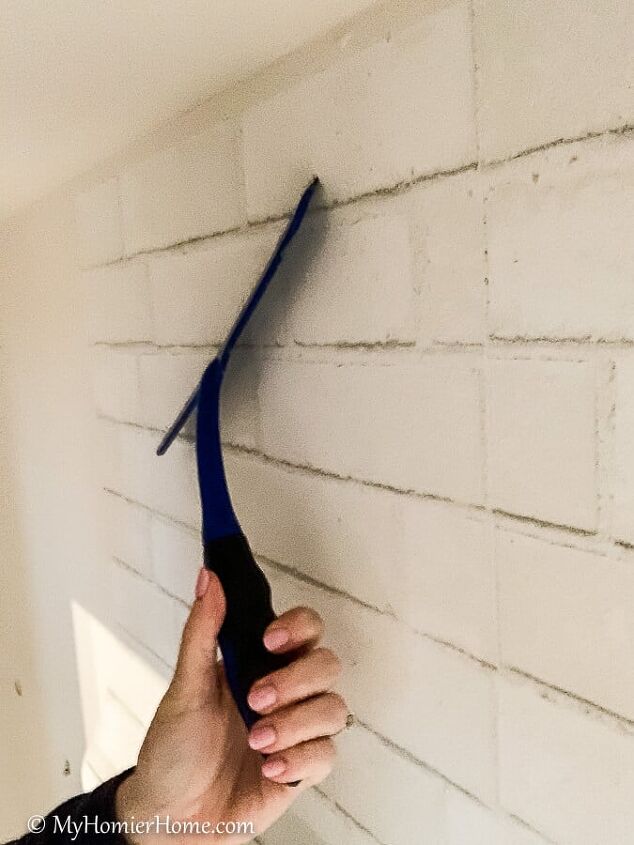
Continue this same process of removing the backing and smoothing from the center out until you reach the bottom of the wall with your peel and stick wallpaper.
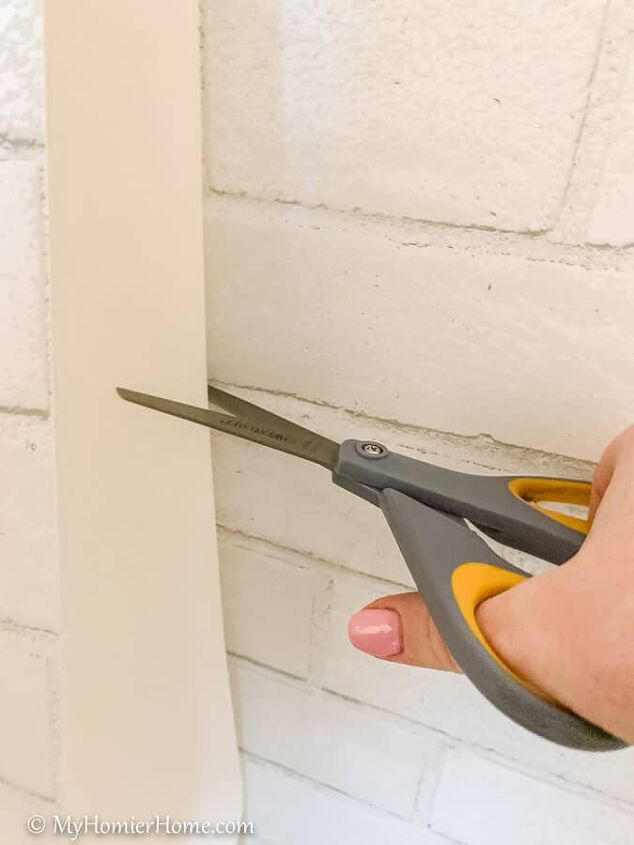
As you go, you might find that the backing paper becomes cumbersome. When it became too much, I just cut the excess off.
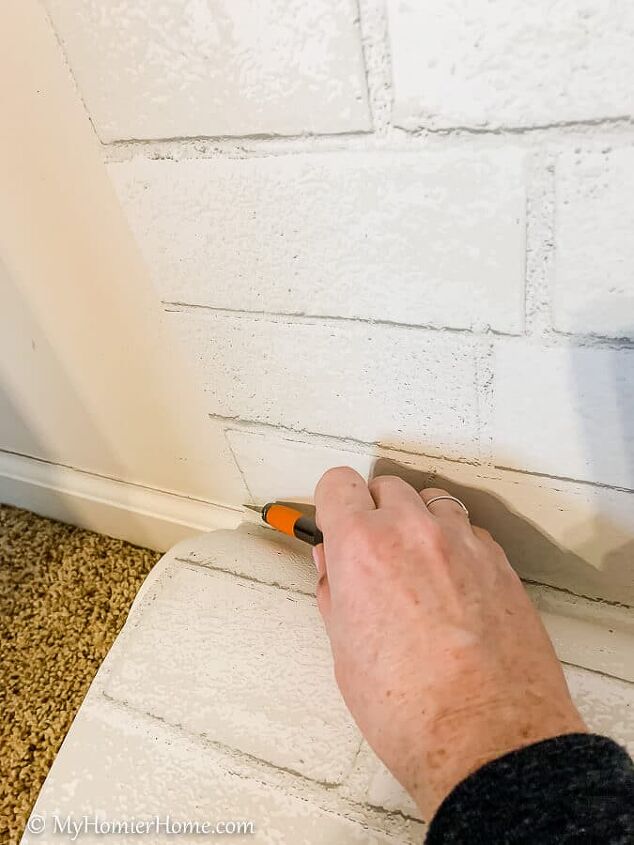
Once you get to the bottom, use your X-acto knife to make a perfect cut following the baseboard.
Make sure you squeegeed all the way to the baseboard so you can make sure you aren't leaving space in between the baseboard and the paper.
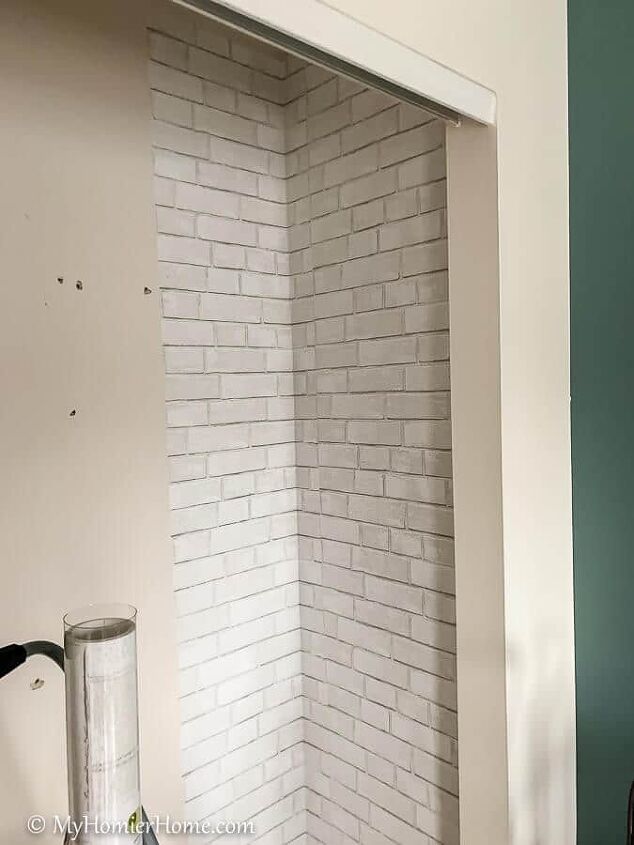
Repeat the process until you are done! Alright, what'd ya think? Soooo much better, right?!
Resources for this project:
See all materials


Comments
Join the conversation
-
Thank you so very much for posting this. I have a peel and stick mural that has been sitting with just the first panel done for months. I procrastinated on the rest because it was so hard to do exact placement and peel all by myself. Your tips, especially using paint tape to hold it in place, will finally get that project done.
-
I am finally thinking I might be able to get this done on my own wall. Copying your article to refer to. Thanks.


Frequently asked questions
Have a question about this project?
What if the wall is not flat? It has a slight texture to it.