


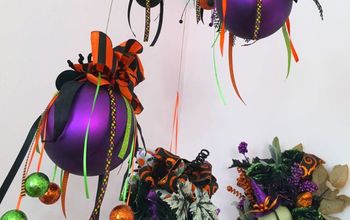
Christmas Ornament Topiary
I have been wanting one of these since I first saw them in holiday decorating catalogs, but have you seen the prices?!! I had to find the perfect combination of ornaments in size and color, and I was on my way!
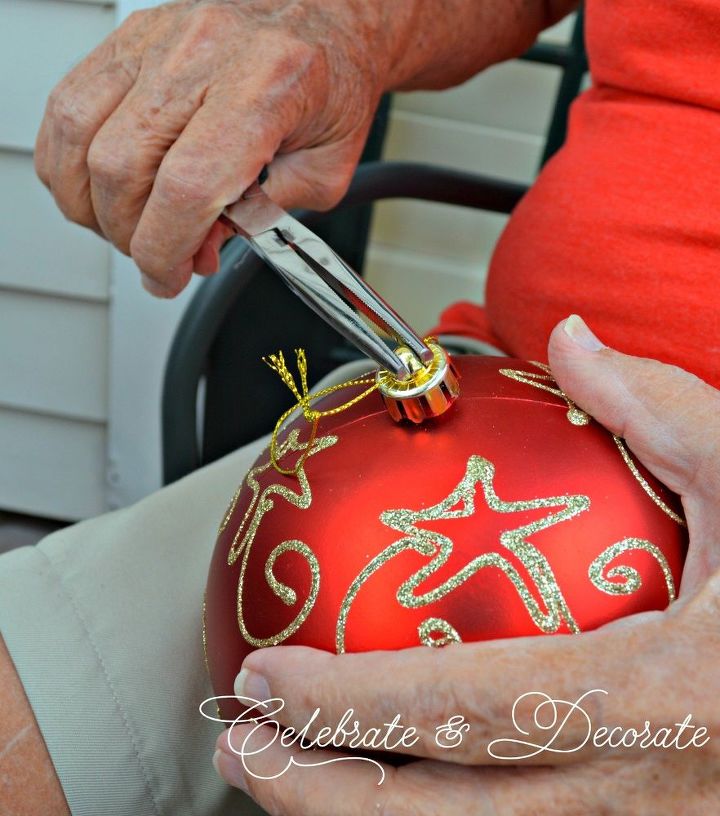
I began by pulling the caps where you hang the ornaments off of my ornaments.
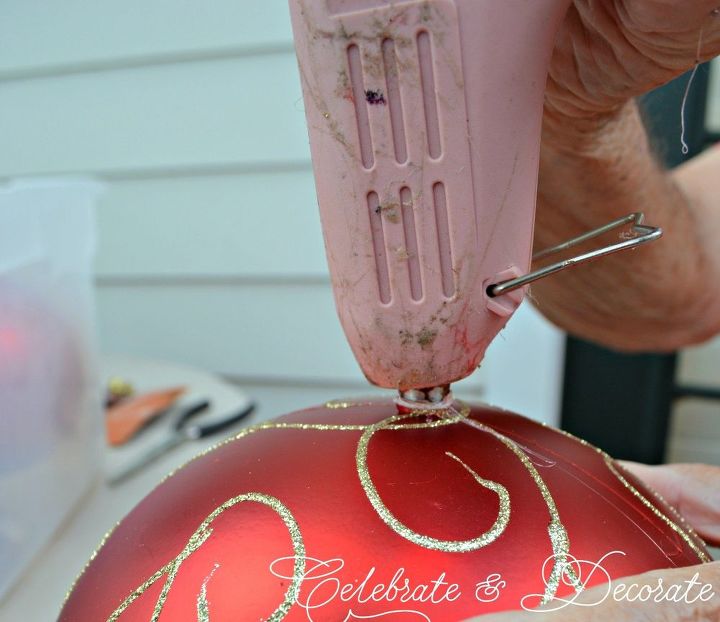
What in the world am I doing you might ask. I am using an old empty glue gun to melt a hole in a shatterproof ornament. This is the opposite side of the ornament from the hole. I used the hot glue gun to melt the ornament until I had a hole that would support the 1/2 inch dowel that will support my topiary.
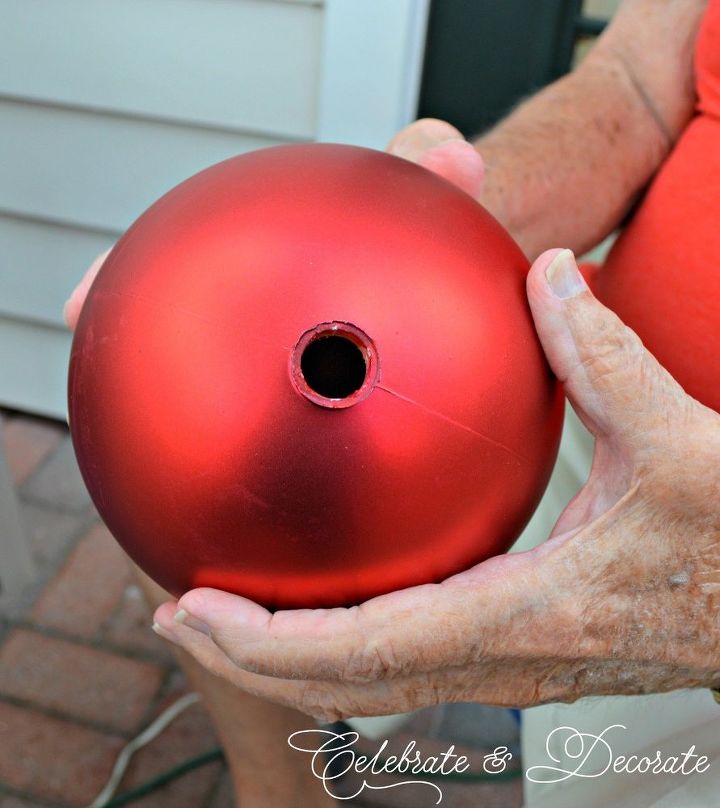
Each of my ornaments has one hole where I pulled off the holder and on the other end I melted a hole to fit a 1/2 inch dowel rod.
If there is a ridge around where your cap came off, again, use the hot glue gun to get the edge soft and then pull it off with needle nose pliers, or use a box cutter to cut it off.
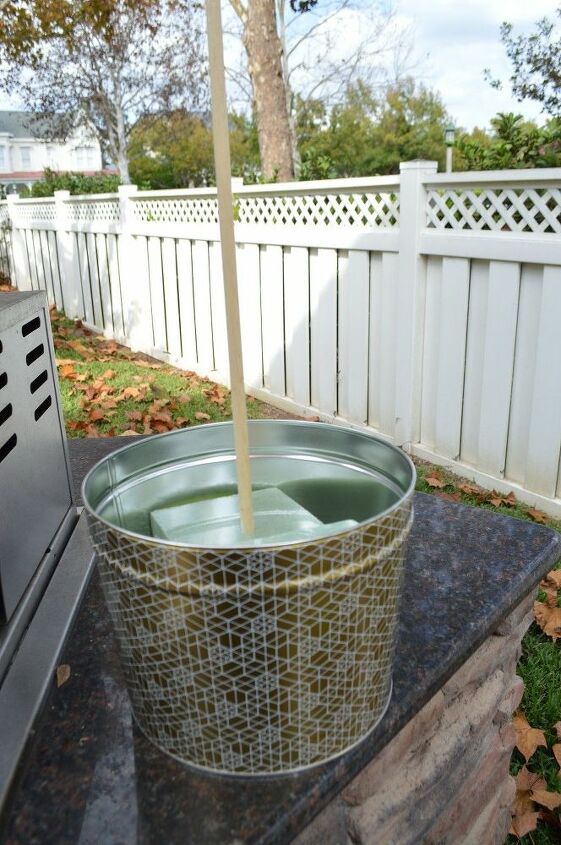
I secured a piece of styrofoam in a can and stuck my dowel in it while I was working on assembling my topiary.
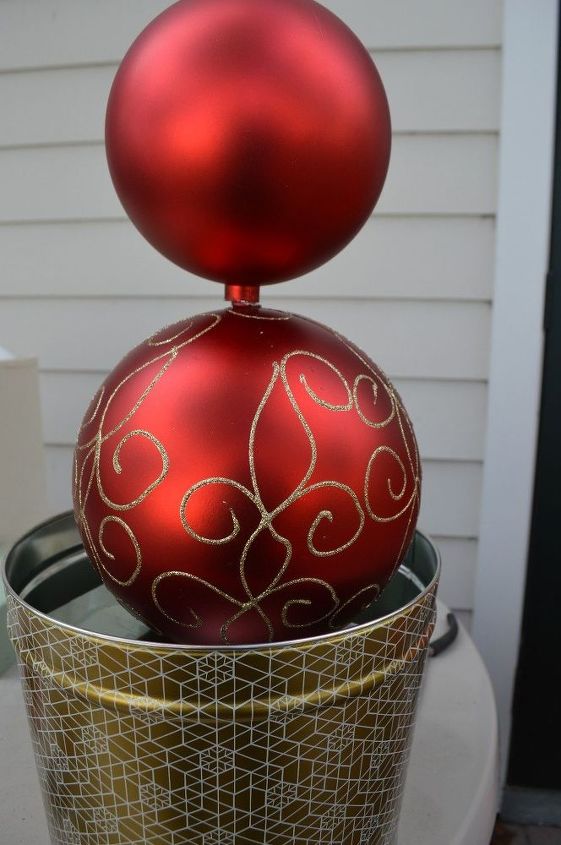
See that ridge between the ornaments? That is what you will want to melt or cut off. You will want your ornaments to sit snug next to one another. If you still have a little gap, you can add some faux beads to hide it, using hot glue to secure them.
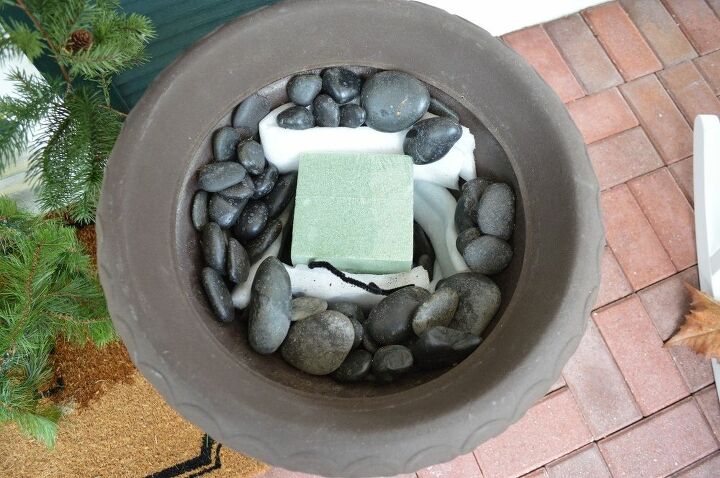
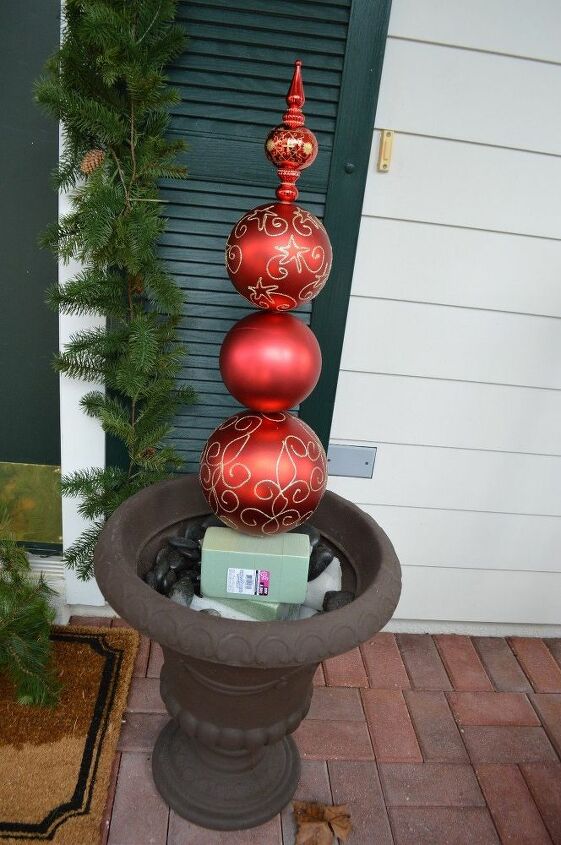
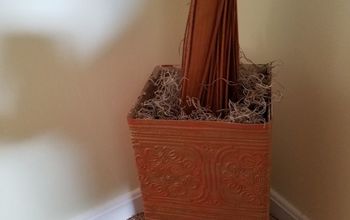
This the urn I will be using to display my topiary. I had the foam and rocks in my urn already. I pushed a cube of styrofoam into the urn to make sure it was secure and firm.
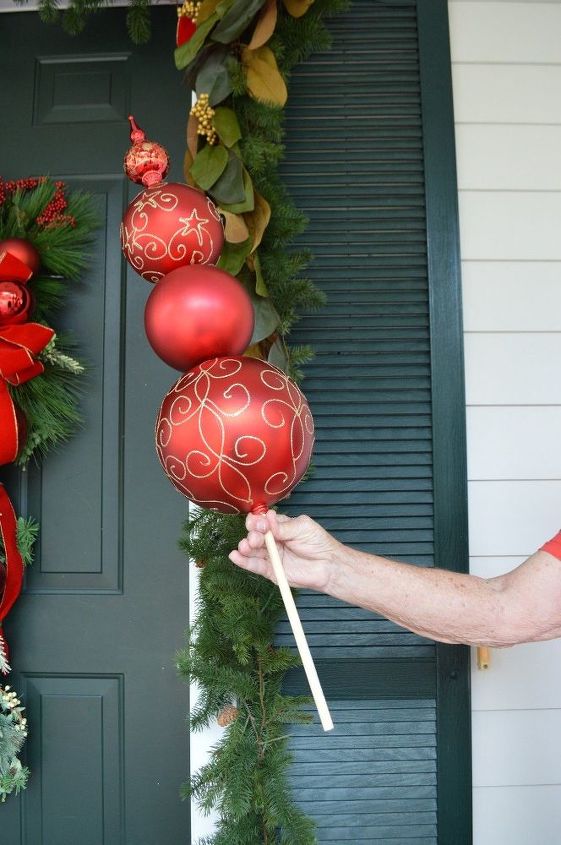
Here is my topiary with 3 round ornaments ond one tear drop shape. This will give you an idea of how much of the dowel I left on the bottom to support the topiary in the urn.
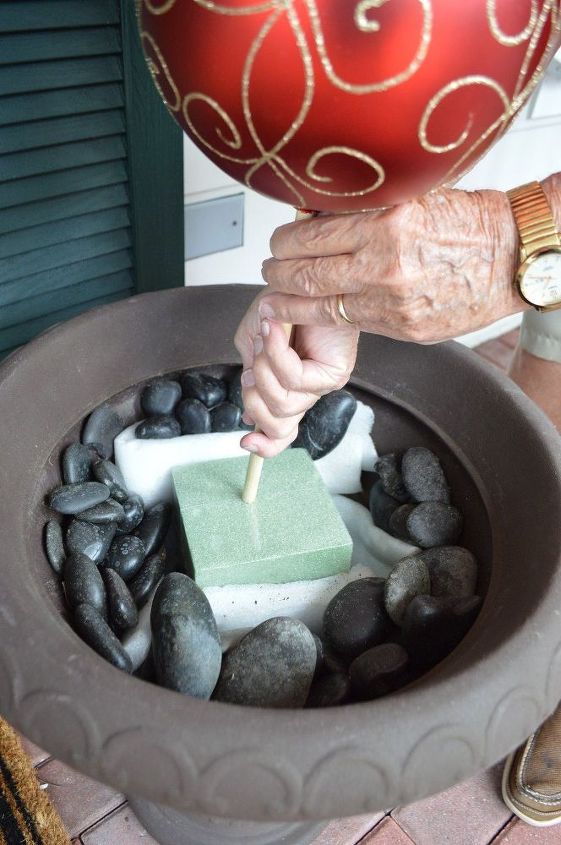
Push the dowel down through the styrofoam to the base of your container so that your topiary will sit straight.
My topiary didn't sit straight so I added another pair of pieces of dry floral foam and braced my bottom ornament.
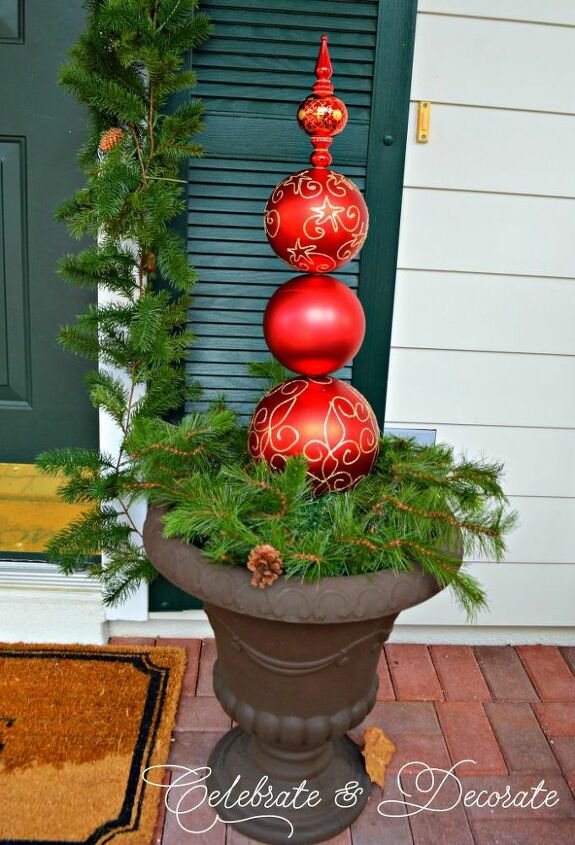
I tucked some artificial greenery in the top of my urn around the base of the topiary.
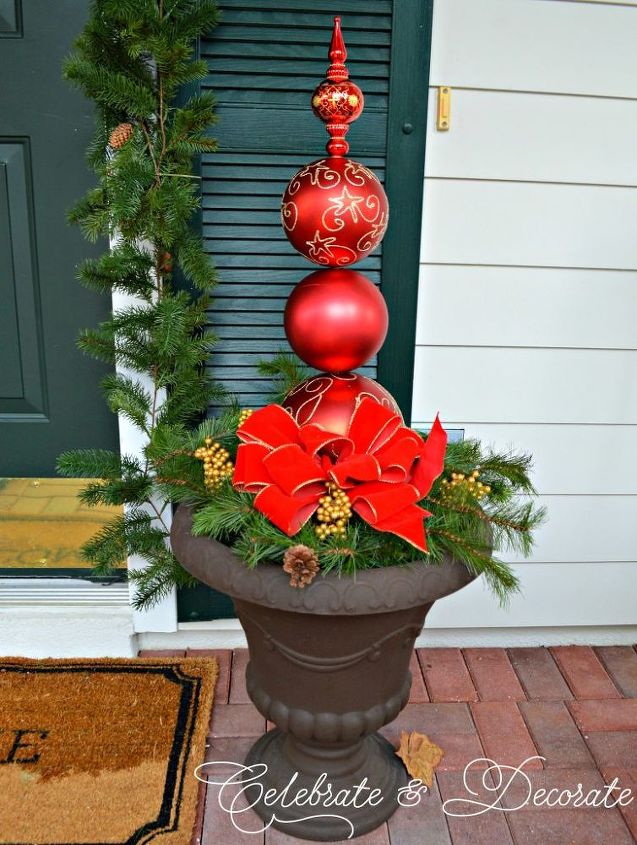
Finish off with a pretty bow that matches the rest of your holiday decorations!
DIY Christmas Decorations
Resources for this project:
See all materials


Comments
Join the conversation
-
Love topiaries. Not just for Christmas either. Easy, affordable, seasonal (my Easter egg ones just might be my favorite ever). Found with whatever I need hole in, i used a drill slowly seems easier for me than using hot glue gun. But both work great. Thank you for reminding how much fun they can be
-
Love these.
if you shop Dollar Tree or Walmart when the ornaments are first put out around Thanksgiving you can find all sizes.


Frequently asked questions
Have a question about this project?
I love this idea! Your instructions are so easy. Just curious, do you remember the size of the ornaments you used because they are perfect. Thank you for sharing!
I love what you’ve done. Fantastic idea for the two planters on either side of my garage door. How do you remove, without damaging the ornament, the little stem at the bottom of it?
Where did you find the ornament for the very top part ?