


How to Make Dollar Tree Decor Into Nautical Wall Art
Dollar Tree has so many nautical themed decor that could be gorgeous, with a little makeover, let me show you how to make dollar tree decor into nautical wall art! With summer here, everyone is after nautical DIY themed decor. I personally love the nautical stuff, the blues, whites, and beach vibe decor can light up any home. With that, Dollar Tree is littered with nautical and summer themed decor right now so what better way to incorporate summer than with a nautical DIY?
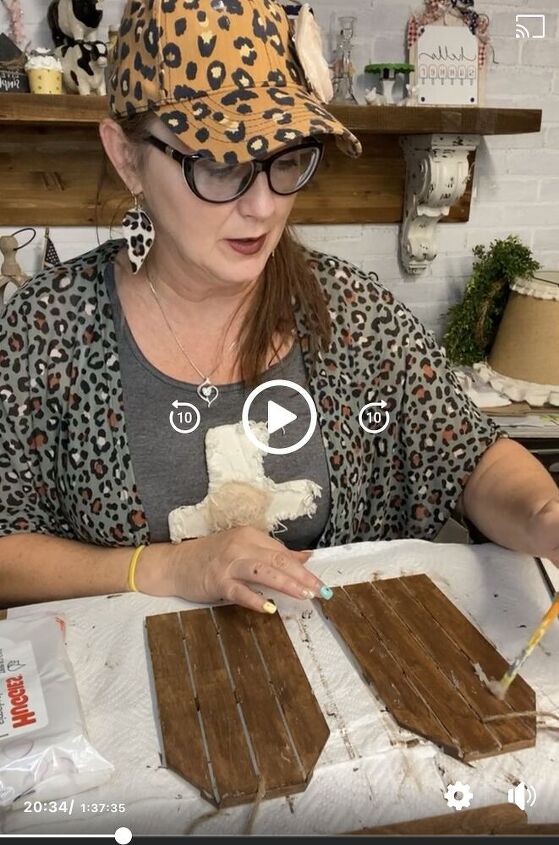
Watch the Replay!
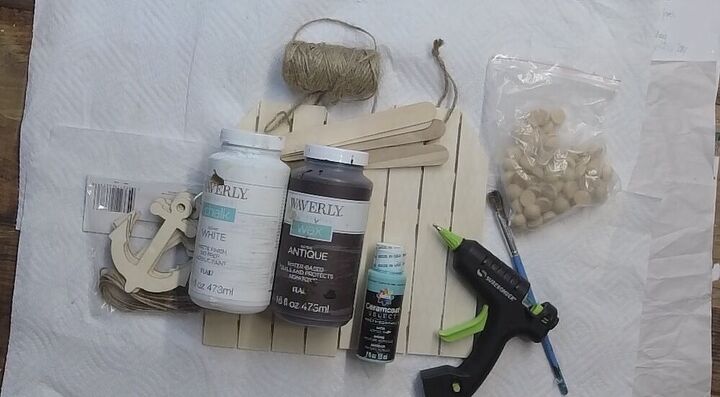
Here’s what you’ll need:
Shop for the products here -> https://www.shareasale.com/info/affiliate-login/
- Two wood signs
- Jute string
- White, black and blue paint
- Anchor and Boat wood pieces
- Four popsicle sticks
- Hot glue gun
- Eight half circle beads
- Two large beads
- Paint brushes
Let’s get started!
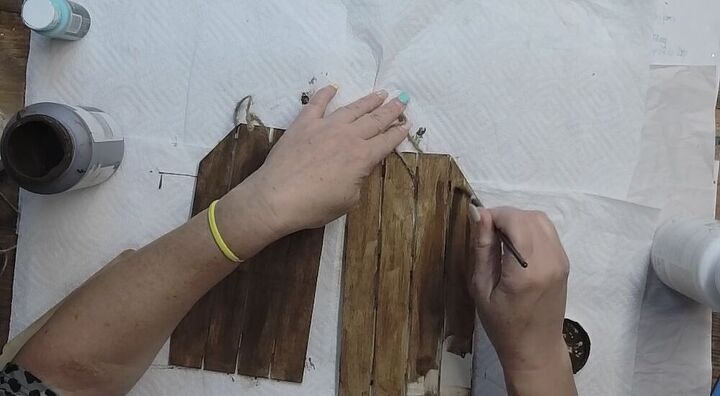
To begin this DIY, take the brown paint and coat your wood signs in it. While doing this, coat it very lightly to start. Next, add some vaseline to the wood signs to assist with a later step.
Afterwards, take your popsicle sticks and paint them brown as well. Likewise with the signs, you’ll want to coat them lightly.
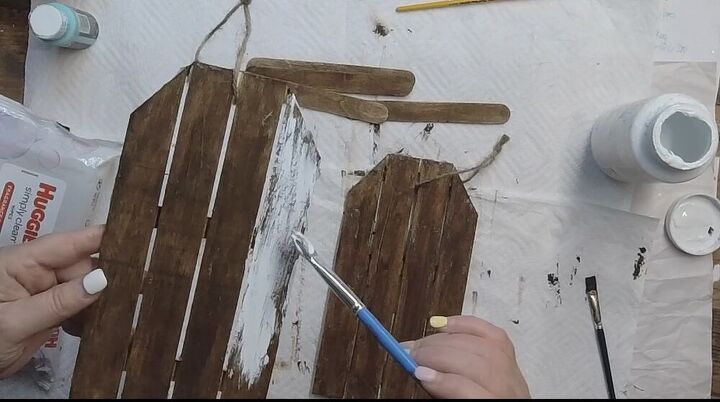
Moving along, once the brown paint has dried, paint a coat of white overtop of it. When you do this, it’s okay to leave parts of the brown showing.
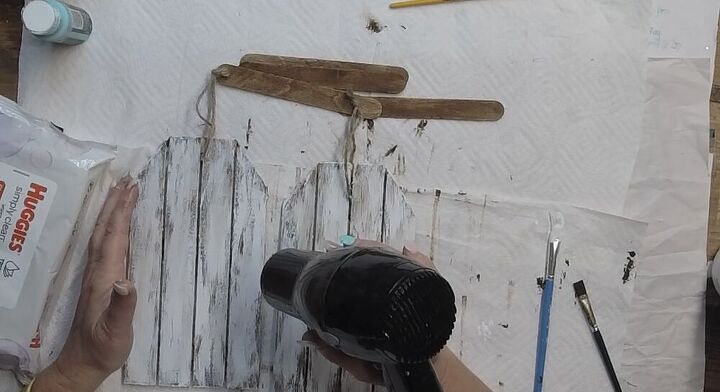
Once you have completed that, take your hair drier and dry the signs. Instead of using a hair drier, you’re always welcome to allow it to air dry, but it does take longer.
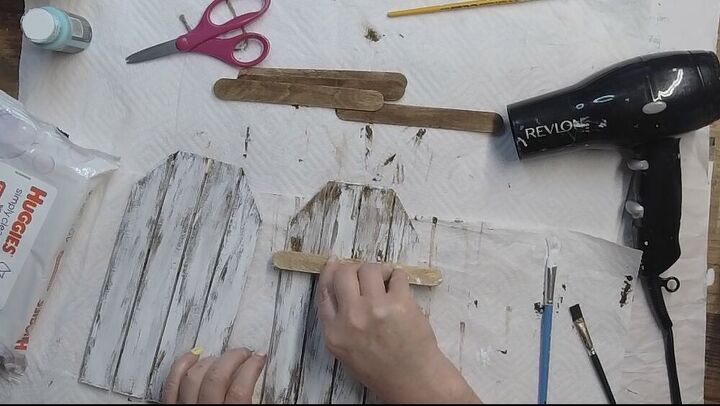
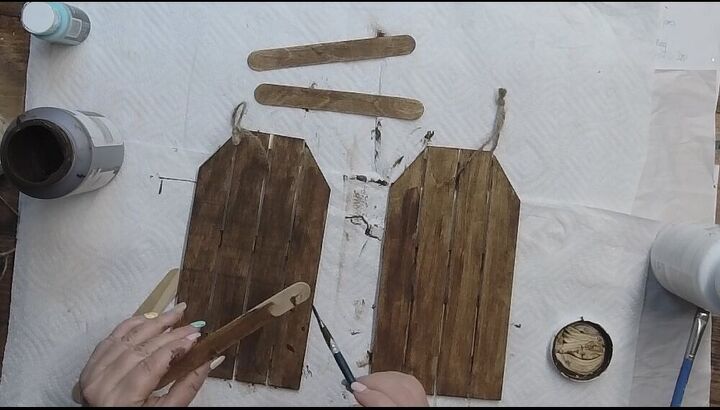
To move forward, the next step is to distress the signs. If you put the vaseline on the signs, this step will be a lot easier for you. Taking a popsicle stick, drag it down the sign to create streaks in the paint, this will give it that distressed look.
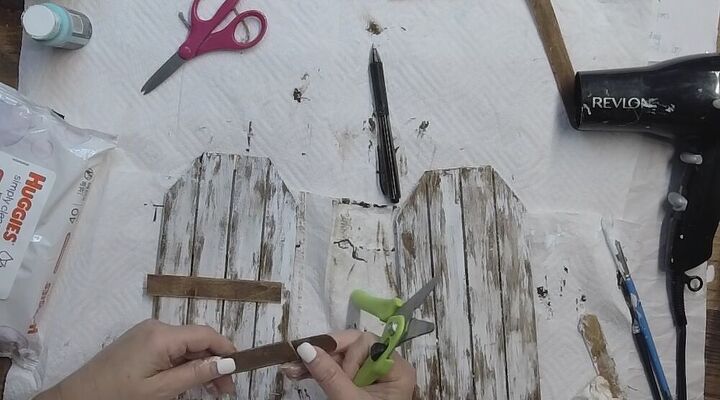
Then take your popsicle stick and trim them to match the length of your wood signs. You’ll do this four times for all four popsicle sticks.
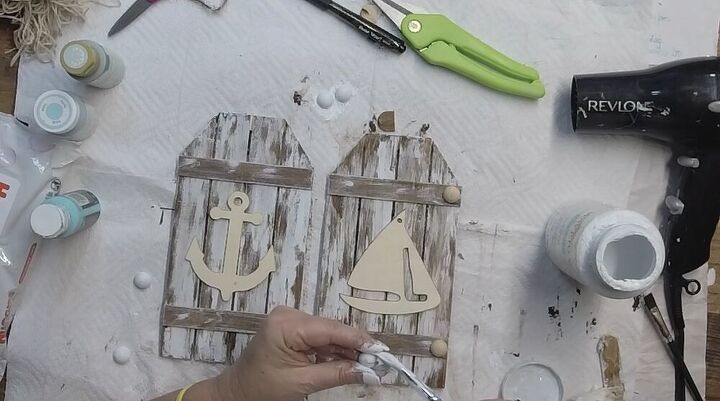
Comparatively, you’ll next want to paint those half circles white. Furthermore, there are eight of those half circles total and one coat should be plenty.
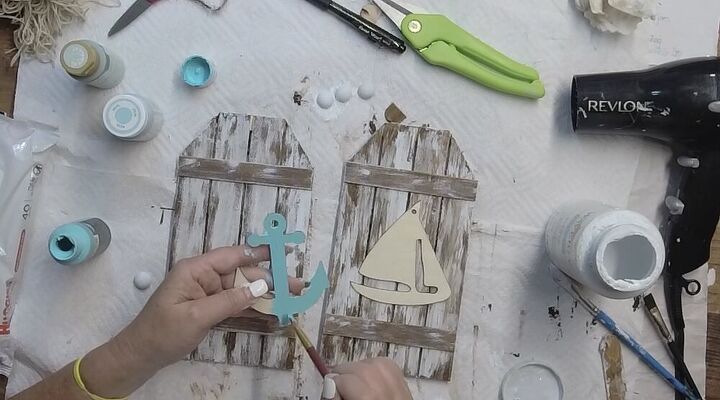
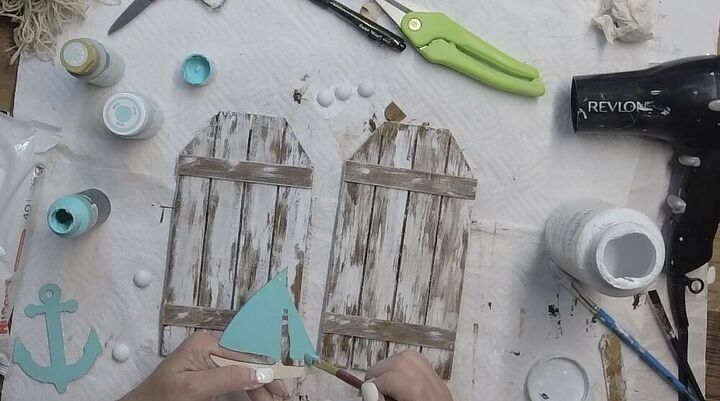
Furthermore, you’ll want to paint your little nautical wood pieces blue. I also painted the bottom of the boat white, but you can do solid colors if you prefer.
It’s coming along!
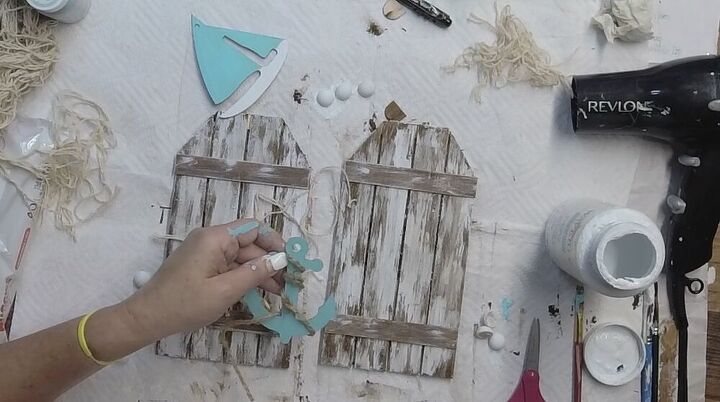
Additionally I took some jute string and wrapped my anchor in it to create a more beach like appearance.
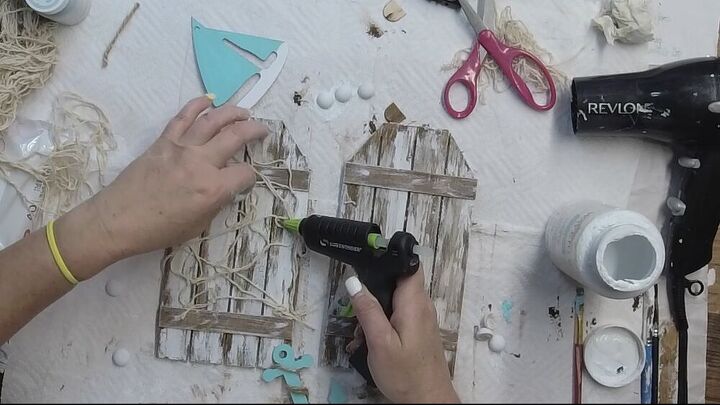
Taking some netting, I hot glued it to the wood signs for a cute background piece.
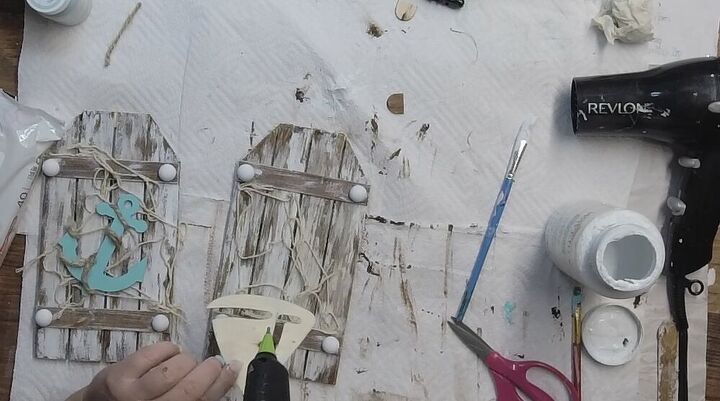
After you’ve let your netting dry, you can hot glue your nautical pieces to the signs.
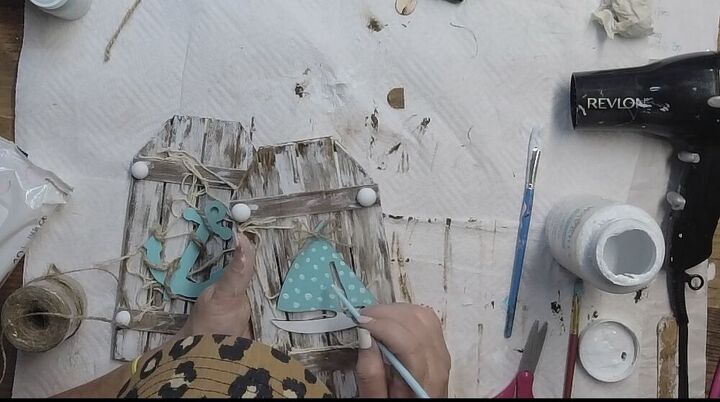
Because you all know I’m a bit extra, I had to add some small detailing. Here, I am adding some white polka dots to the boat.
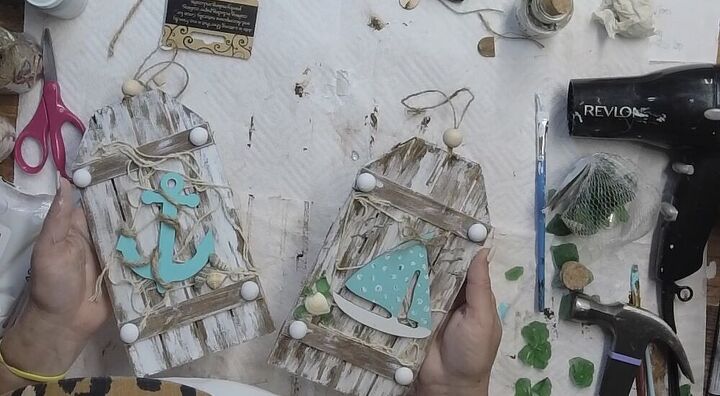
In addition to the polka dots, I also added some seashell and sea glass embellishments. That was the finishing touch for me and I absolutely loved how it turned out!

How stinkin’ cute are these pieces?
If you loved this nautical DIY, check out more on the blog!
I have so much more in store for you, keep up with new videos on Facebook! If the finalized pictures are your thing, my instagram has them all! Don’t forget to pin your favorite DIYs on Pinterest too.
Thanks for reading!


Frequently asked questions
Have a question about this project?