


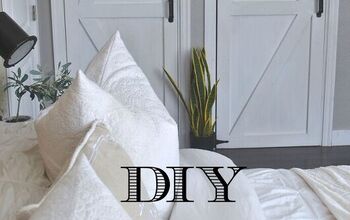
Joint Compound Textured Canvas Wall Art

Wondering what to do with some unwanted wall art? How about up-cycling them in to more modern pieces? This is a great project to make using unwanted old canvas art, an ugly inexpensive one from the thrift store or purchase a new canvas board from an art supply store. It’s not a very expensive DIY and doesn’t require many items.
I’ve been using joint compound for DIY projects for a years because I love how it can completely transform an item. In this case, I used it to make a textured canvas wall art for my daughter. She saw one that she liked but it was a little too pricey so she asked me to make it for her. It’s easy, quick, simple but pretty and I love the abstract patterns that are created. She wanted it natural, unfinished but you could paint it to create more dimension.
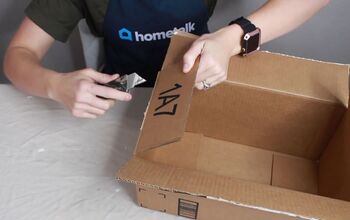
You will only need 3 items, a canvas board, joint compound, and joint compound knives also known as drywall knives or trowels. I used 2 different sizes of the knives, a narrow one and a wide one so that I could create different size patterns. I made 2 of them, a small one for my kitchen and a large one for my daughter.
Alright, let’s get started!
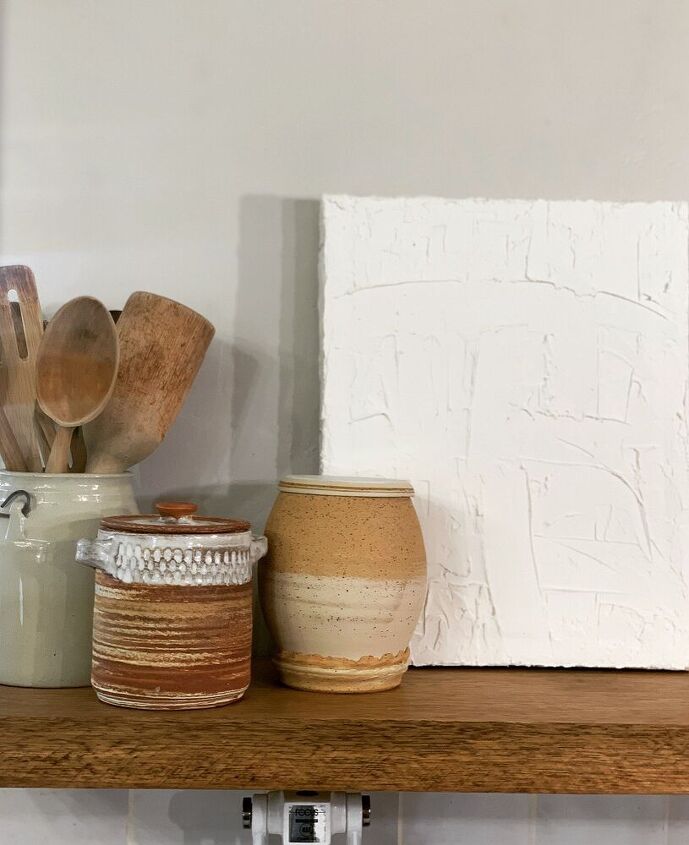
This is the small canvas board I made a while ago.
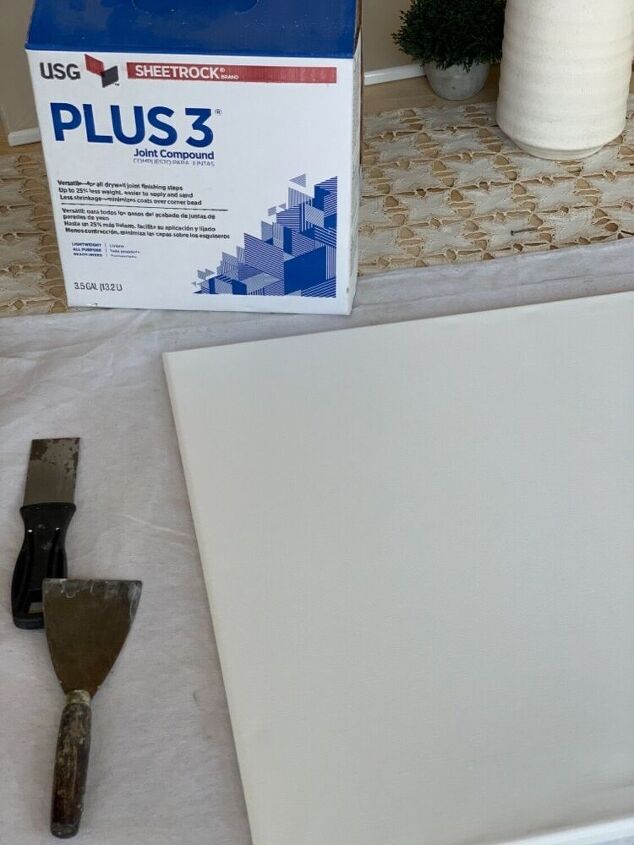
As mentioned above, you only need three items, a canvas board, joint compound and joint compound knives or spatulas.

For step 2, apply the joint compound to the edges of the canvas board prior to applying it on the face of the board. Once applied, lay the board on a flat surface.
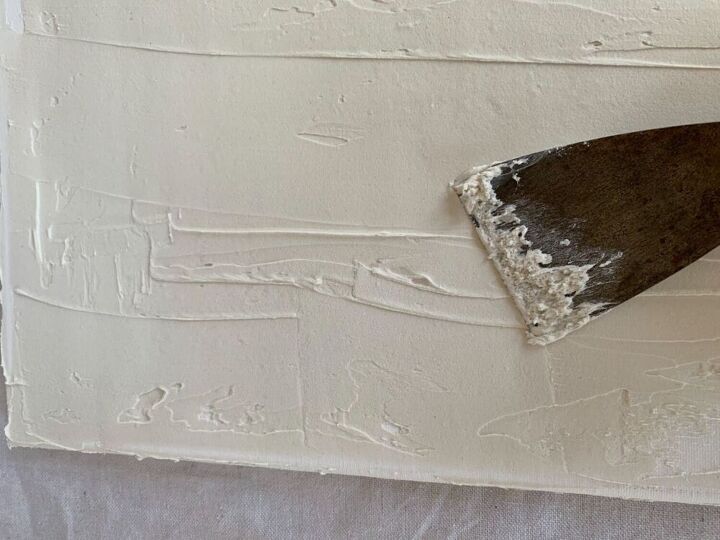
Step 3: Apply the joint compound using the spatula/joint compound knife on the face of the canvas board. Apply the compound in various patterns and create texture by applying the compound in various thicknesses. However, careful not to apply too much or it will crack as it dries.
A close up of the various patterns and thickness of the joint compound.
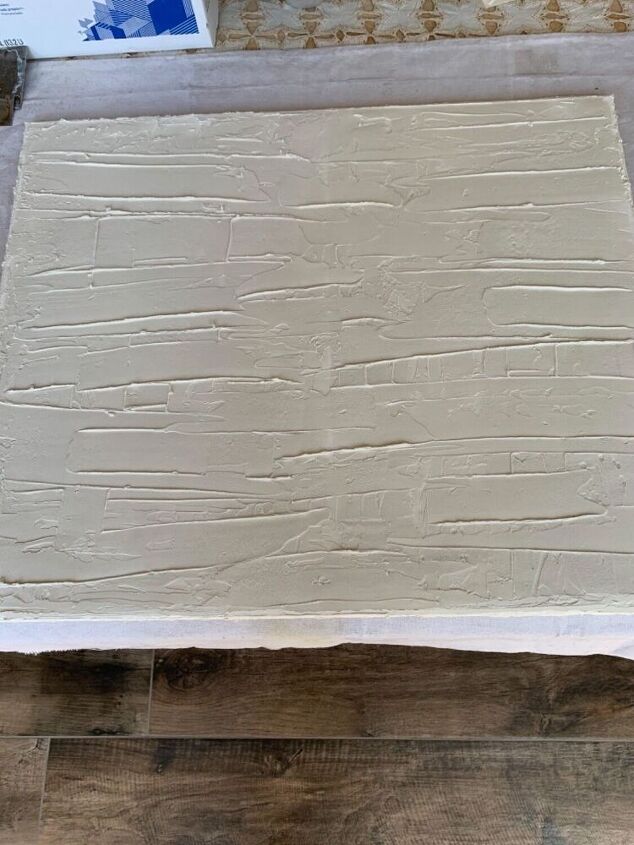
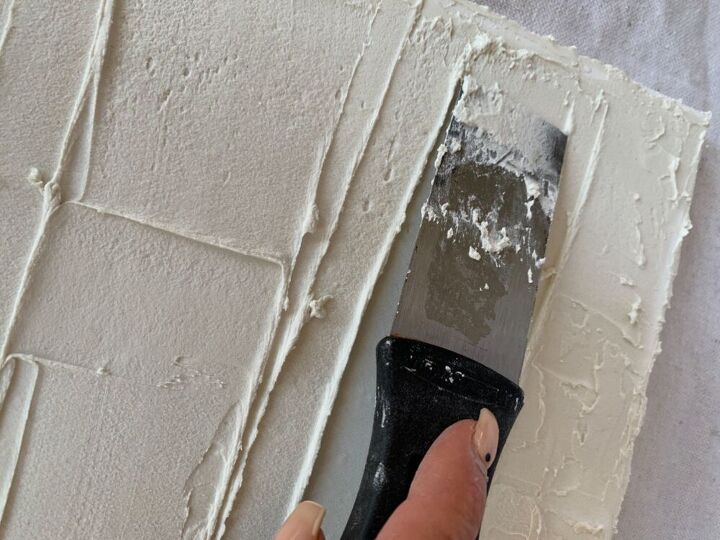
Step 4: Ensure the entire surface of the canvas board is covered with joint compound. This is the time to make adjustments and get the pattern that you like. Follow the directions for drying time of the joint compound you use. I dried mine over night. Again, don’t over apply or the joint compound will crack once it’s dry.
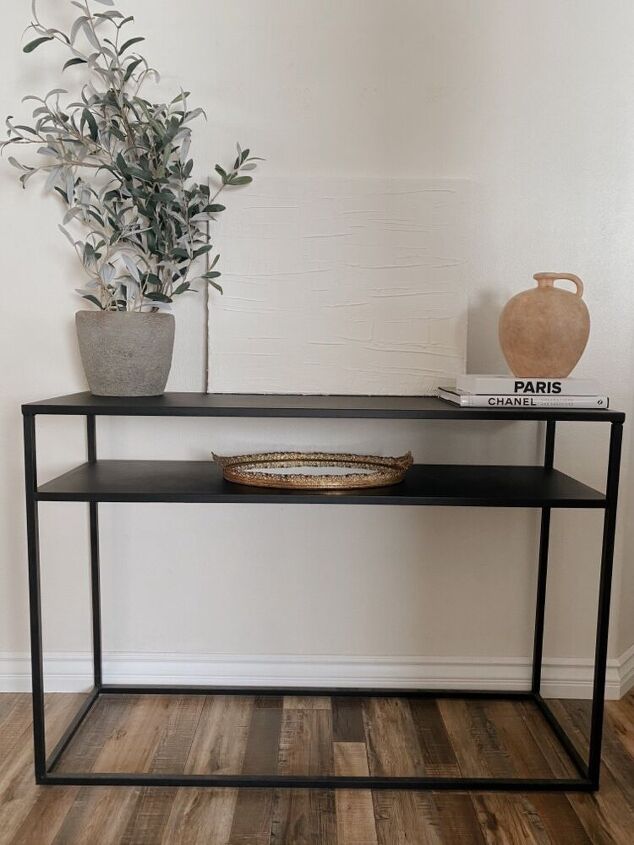
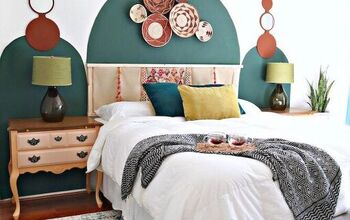
Here’s the finished canvas I made for my daughter. I hope you enjoyed this DIY.
Thank you for stopping by.
If you’d like to see more of what I love to do, please visit me at https://www.instagram.com/mycreativekneads/


Frequently asked questions
Have a question about this project?