


Turn an Old Window Frame Into Farmhouse Wall Decor

Farmhouse style is really big right now and vintage window crafts are trendy, as well. So when I found this really cool old window frame at an antique shop for eight bucks, I had to have it. I knew I could turn it into some kind of fun wall decor to hang over my bed. I wasn’t wrong. I think the finished product looks great and it was unbelievably easy to do. Seriously, the decorating took the longest time.
Supplies:
- Rags
- Sander
- Paint
- Brush
- Scissors
- Drop Cloth
- Mask
- Goggles
- String Lights
- Twine
- Small Clothespins
- Hammer
- Nails
- Command Hooks
- Picture Hooks
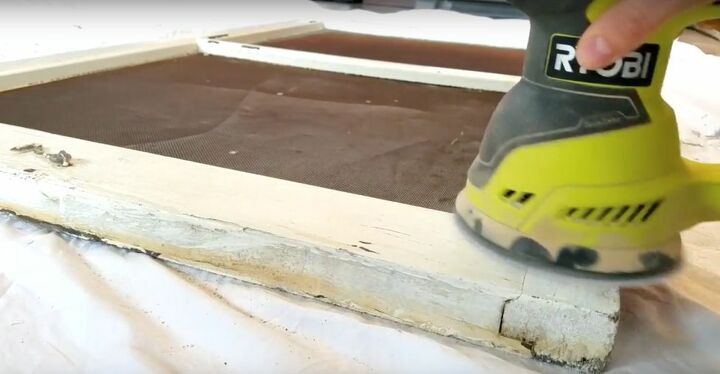
Step 1: Sand the Frame
I didn’t want to mess with the frame too much, I liked the aged appearance, so I didn’t bother to remove the old hooks and hardware. They added some charm, but the painted wood was bumpy and lumpy and needed some help. I didn’t need to strip it all the way, but I sanded it a bit to even the wood out, working over a drop cloth. It’s important to note that goggles and a mask are recommended when sanding, especially when you’re working with layers of old paint, since it could contain lead. If unsure, you should get a test kit.
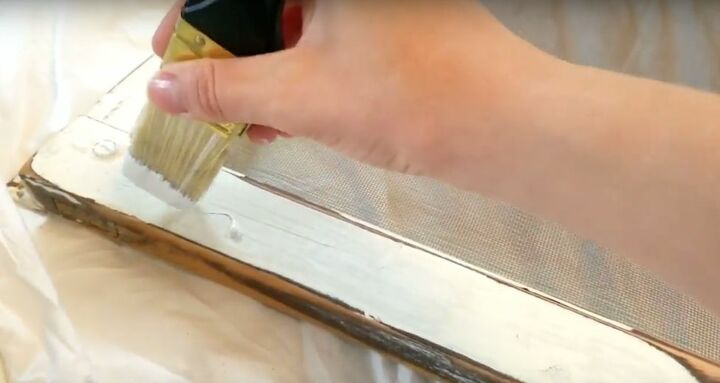
Step 2: Paint the Frame
As I said, it was already painted and had a vintage vibe, but it was pretty dingy, so I decided to give it one quick coat of bright white. First, I opened my windows for ventilation, then I opened my paint can. Next, I used a damp rag to wipe down the entire frame so it was free of dust and debris and then I grabbed my brush and applied the paint.
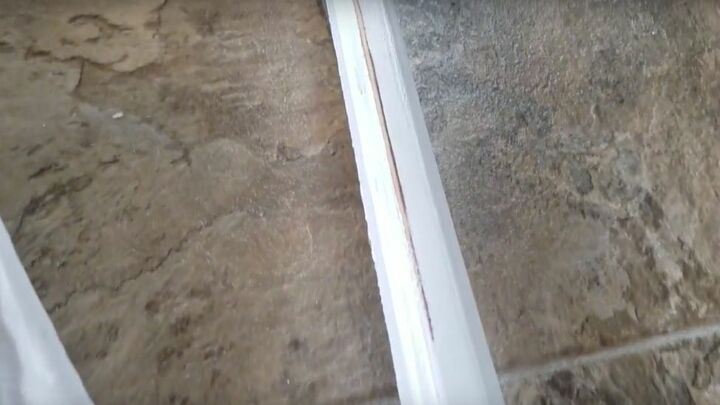
Step 3: Sand It Again
When the paint was dry, my window frame looked good, but almost too good. I wanted it to be a bit more rustic, so I reached for my sander again and gently sanded some of the paint away. I didn’t remove all the paint; I just carefully ran it over spots where I thought the finish would naturally wear away over time. Raised edges, sides and corners are generally good areas to hit.
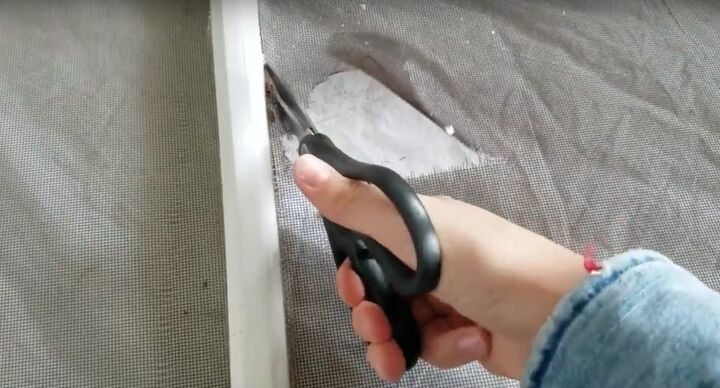
Step 4: Cut Away the Screen
Now, I could’ve removed the screen first, and it probably would’ve made painting easier, but I wasn’t really sure where I was going with this design when I started. So, I left it. However, with its new coat of paint and sanded edges, I thought it would look better without the old screen, so I simply used a pair of scissors to carefully cut it away from the wooden frame.
Step 5: Hang the Frame on The Wall
Since there wasn’t any glass inside the panes, the wood window frame itself was actually pretty light. If I wanted to hang it on the wall in a hallway, for example, I could probably use Command style hooks to do so. I would just need to check the weight and buy ones rated to support it. I was planning to put this over my bed though, so I needed it to be secure. I didn’t want it falling on me in the middle of the night, so nails would be a better option. Either way, using Command hooks or nails, you will need some kind of weight rated picture hanger or hook on the back of your window frame.
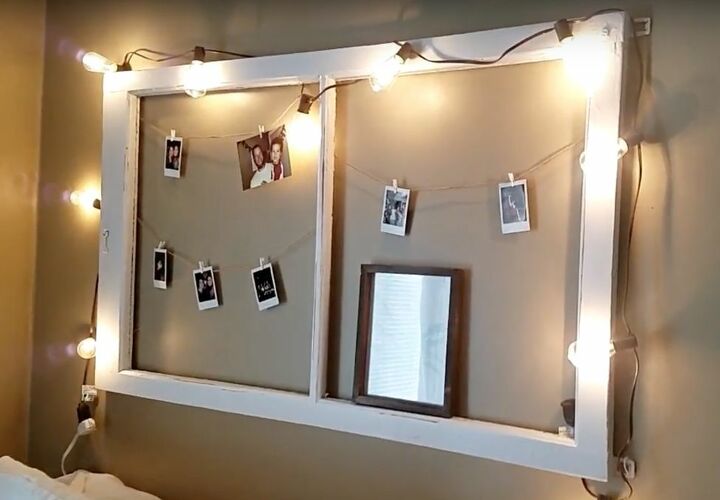
Step 6: Decorate
This was my favorite part of the DIY. I picked up some string lights at the local craft store and draped them over the frame. Then I added Command hooks to each side of the frame, on the back, and tied some twine from one end to the other. I used teeny tiny clothespins to hang my photos across it and balanced a picture inside one of the empty panes. Of course, these are just ideas. You can dress your own window frame any way you like.
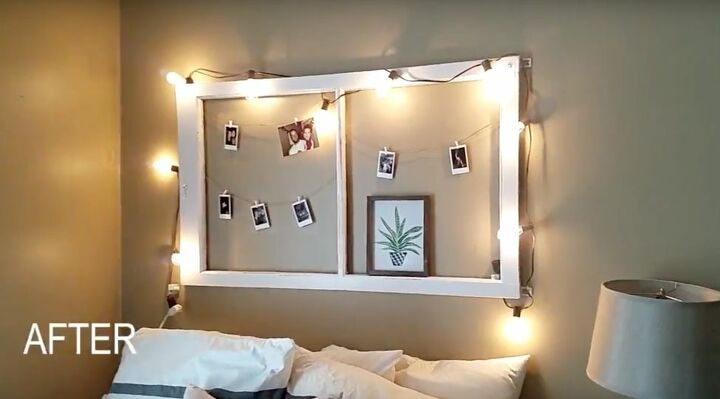
I love upcycling old worn out items and transforming them into something functional again, so this project was right up my alley. I think it turned out really well and it didn’t take a lot of time or cost me a lot of money to do it. So if you’re looking for a rustic, farmhouse accent piece, I say check out the thrift stores, or your neighbor’s curb, grab an old window frame and give this DIY a try!
If you have a friend who loves upcycling, don’t forget to share this idea! If you try it yourself be sure to comment about it below!


Comments
Join the conversation
-
I have MANY old screens. Any other ideas to help me use them?
-
Your screen turned out great!


Frequently asked questions
Have a question about this project?