


Panel Your Walls With Plywood!

4 Materials
$223
5 Days
Medium
I have to give complete credit to all of you here on Hometalk who have put pallet wood on your walls, and to those who used stained plywood strips as flooring. (Curtsy!) I blended the two ideas together for my needs, and came up with stained plywood strips for my walls! Okay, let's get to work!
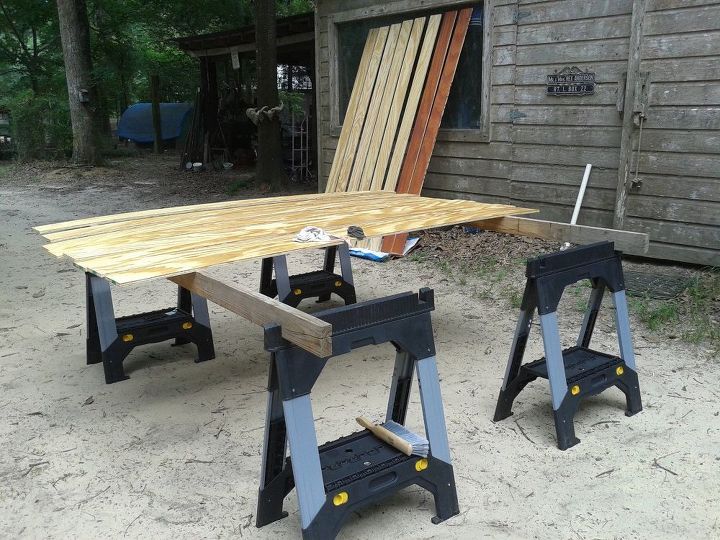
I went to Home Depot and bought 5 pieces of 23/32 BC plywood. I asked them to cut them into 6 inch lengths, whereas they informed me the thinnest they cut was 10 inches. Fine.  I asked them to cut the plywood into 12 inch lengths, then I brought them home and with my trusty circular saw and fence, I cut them into 6 inch lengths. I used my orbitor sander with 220 grit on it to make sure all the planes and edges were smooth and clean. BC plywood is really smooth on one side, but I just wanted to make sure there would be NO splinters! I had decided to stain my boards, so I did some research, and just about every serious woodworker used pre-conditioner on soft woods such as pine to curtail "blotching". Fine-right-whatever.
  So I applied the pre-conditioner per instructions (and read these things! Each brand can be different!) then began the fun part of staining!
I asked them to cut the plywood into 12 inch lengths, then I brought them home and with my trusty circular saw and fence, I cut them into 6 inch lengths. I used my orbitor sander with 220 grit on it to make sure all the planes and edges were smooth and clean. BC plywood is really smooth on one side, but I just wanted to make sure there would be NO splinters! I had decided to stain my boards, so I did some research, and just about every serious woodworker used pre-conditioner on soft woods such as pine to curtail "blotching". Fine-right-whatever. So I applied the pre-conditioner per instructions (and read these things! Each brand can be different!) then began the fun part of staining! 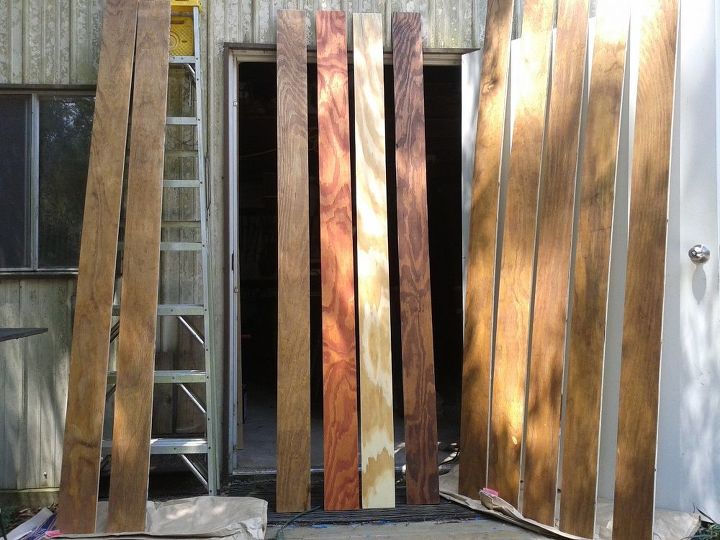
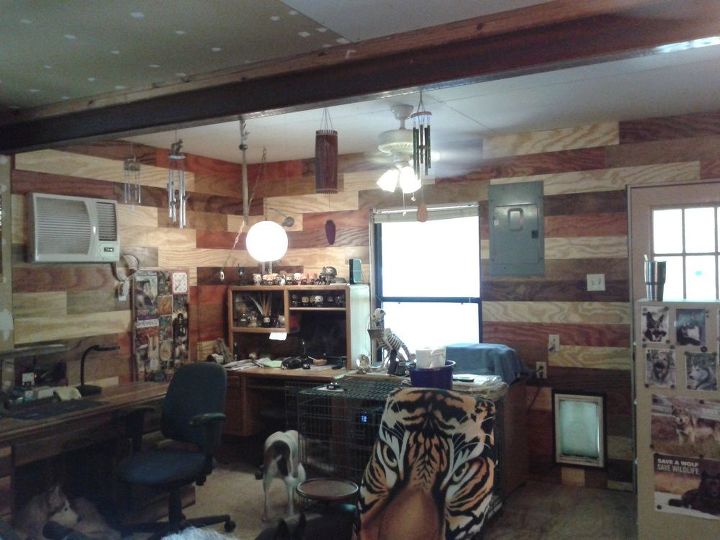
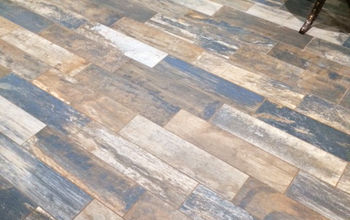
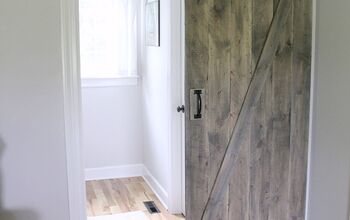
I decided on four oil stain colors. With 5 sheets of cut plywood, I chose to do two sheets worth of lengths in a clear coat, (to keep the room light) and a stain each for the other lenghts of plywood, with Gunstock as the orange color, American Heritage (on the left of the doorway) and Honey as the darkest. After staining them, I put a coat of satin quick-drying polyurethane on each. I'm sure I should have applied two coats, but it was fixing to rain forever, and I wanted to work indoors!!!!!
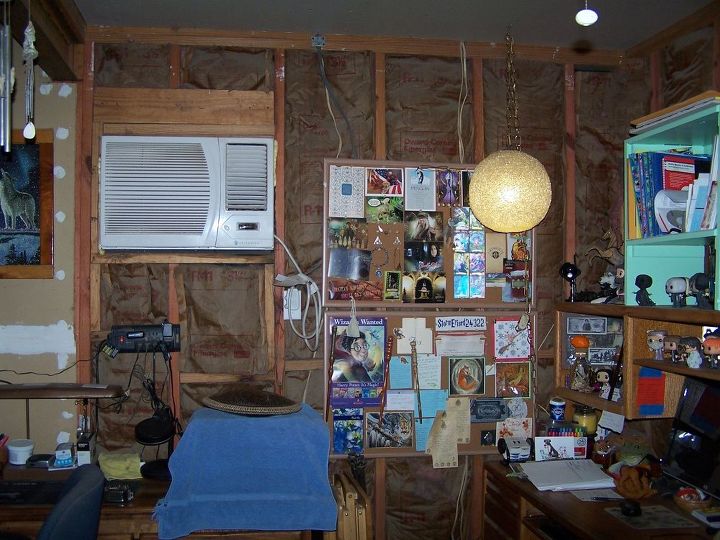
Yeah okay, I'm a Harry Potter fan and an animagus witch of Ravenclaw House...but I digress. Here is one of two walls that will be covered in this awesome wood! First, I have to take everything down. Sigh. But I'm at full throttle now, and raring to go!!!!
Took forever to move stuff! It's getting dark, the livestock needs fed, but I just HAD to start a bit, just to satisfy my need to see this go on! Grabbed my finishing nailer and started off,-ka-pock! Ka-pock!

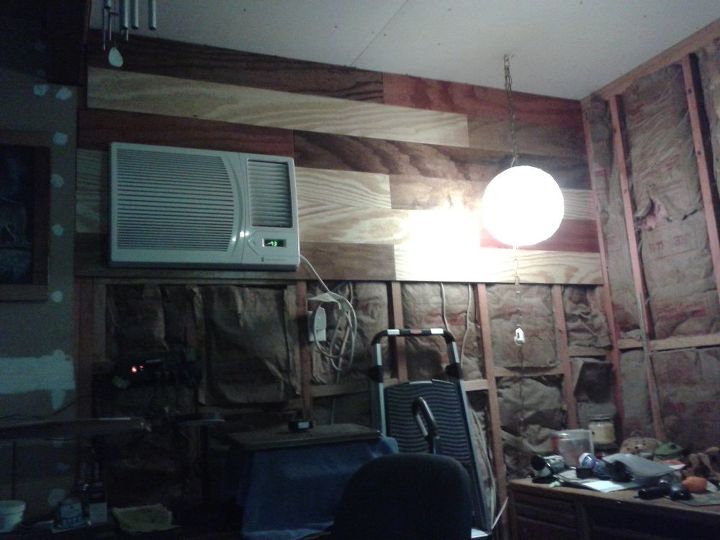
I was in my zone! I wanted the colors to follow around the inner corner, and tried to keep the seams varied. I'd measure for a piece, use my finishing nail gun to secure it, -ka-pock!- sit back and decide which color to use next.
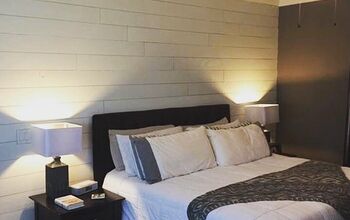
Ta-da! Two walls paneled in stained plywood! And you folk here on Hometalk that influenced me, please take a bow! Here's a beverage, you deserve it! I must mention that I had Helen Highwater working the cuts around plugs, doggy doors and circuit box. The last bit from the circuit box down took All. 
Day.  Long.
Long. 
Long. But, quite happy with the results! And see that I-beam overhead? That's my next project, boxing in the I-beams! Stay tuned!!!! 
Comments
Join the conversation
5 of 92 comments
-
Wow! That is stunning! Oh, I love your sense of humor!
-
Beautiful!!!


Frequently asked questions
Have a question about this project?
Did you use any insulation between the outside wall and your paneling? If not, why?
Your instructions show you cut in 6 inch length but all I see is the long boards. Where are the short boards.?
I want a nail gun.how do you like yours ?