


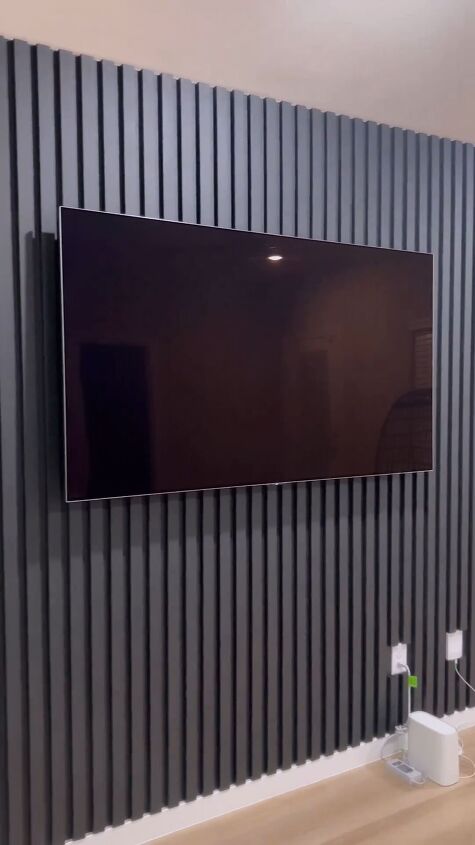
How to Create a DIY Fluted Accent Wall In Your Living Room
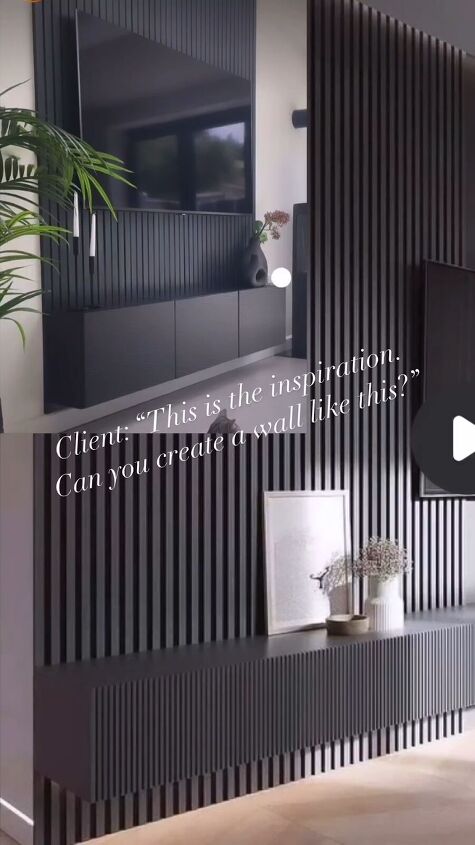
One of my clients saw a fluted accent wall and wanted the exact same thing and wondered if I could do it. I said of course!
This accent wall needed to be more than just a backdrop; it had to be a statement piece that would breathe life into the room. Here’s what I did to achieve this look.
Tools and materials
- Painter's tape
- Measuring tape
- Level
- Pencil
- Black paint
- Paint roller and tray
- Drop cloth or plastic sheet
- 10 pieces of 1x2 wood boards (or however many you need for the size wall you are creating)
- Saw
- Nails
- Hammer or nail gun
- Scrap piece of 1-inch thick wood (for spacing)
Steps

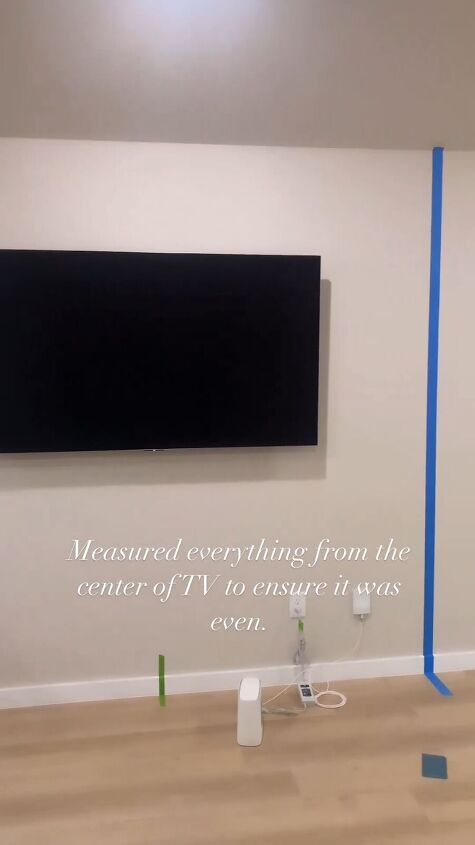
Step 1: Measure and plan
I began by measuring the wall to determine the dimensions for the fluted accent wall. To ensure symmetry, I measured from the center of the TV, marking the center point. This is crucial for an even and balanced design.
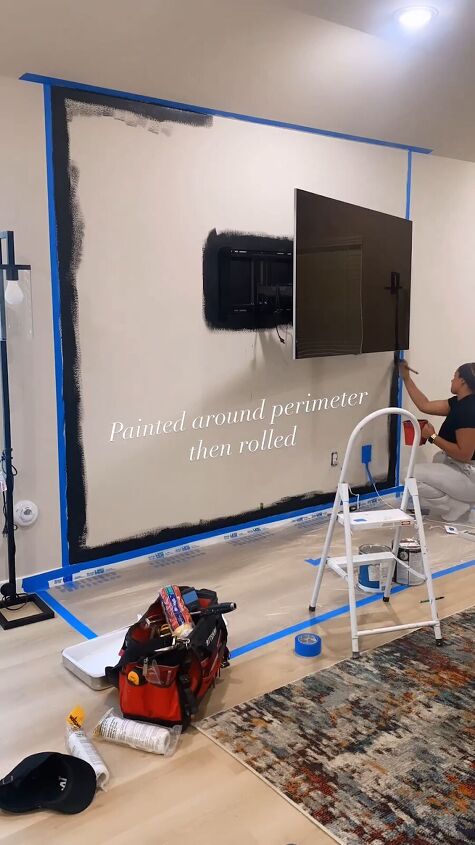
Step 2: Prepare the wall
Using the measurements, I placed the painter's tape along the perimeter of the intended accent wall. The tape serves as a guide, indicating how big the fluted wall will be. Make sure the tape is level and adheres firmly to the wall.

Step 3: Paint the wall
With the painter's tape in place, I used a paint roller and tray to apply black paint to the wall, carefully painting inside the taped area.
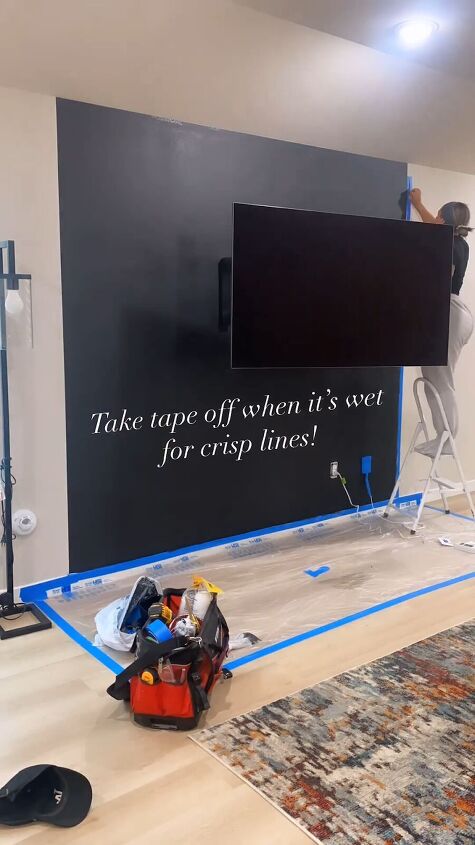
Step 4: Remove the Tape
I didn't wait for the paint to dry completely. Instead, I removed the painter's tape while the paint was still wet. This technique helps to create clean and sharp lines along the edges of the accent wall.
Step 5: Prepare the wood boards
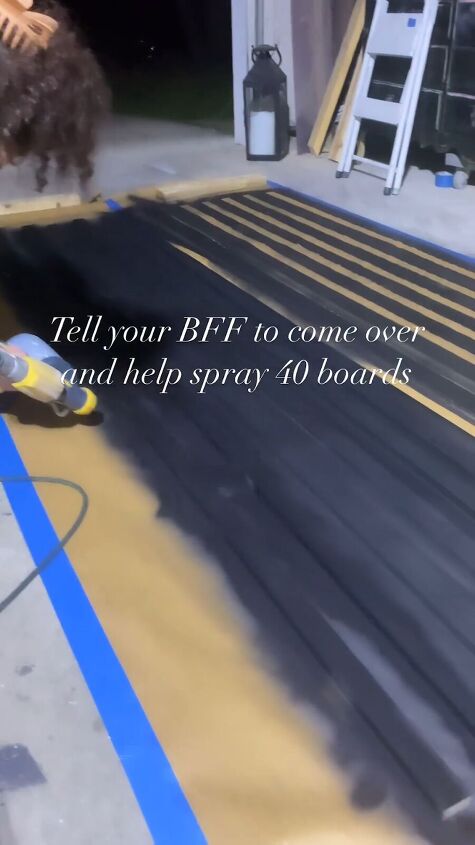
To create the fluted design, I sprayed 10 pieces of 1x2 wood boards with the same black paint. This will ensure that the flutes blend seamlessly with the wall.
Step 6: Cut and nail the boards
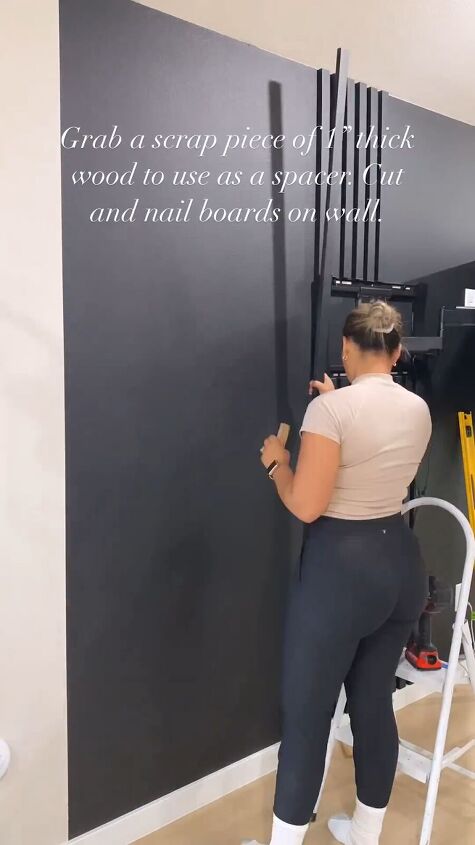
Using a saw, I cut the painted wood boards to the desired length. Then, starting at the center point marked earlier, I nailed the boards to the wall using a hammer or nail gun.
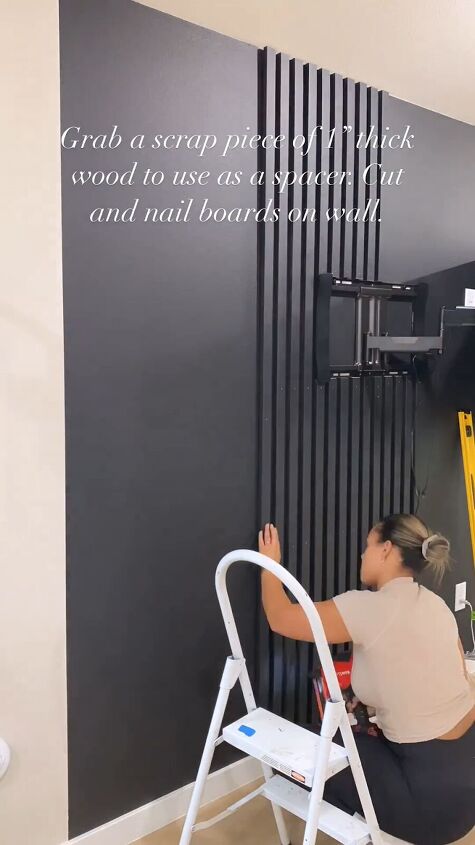
To maintain even spacing between the wood boards and achieve a consistent fluted pattern, I grabbed a scrap piece of 1-inch thick wood. This piece of wood acted as a spacer to help me maintain equal gaps between each board.
Make sure to follow the spacing created by the spacer and maintain a consistent pattern. Continue the process working outward from the center of the wall until you have finished the wall.
DIY fluted accent wall
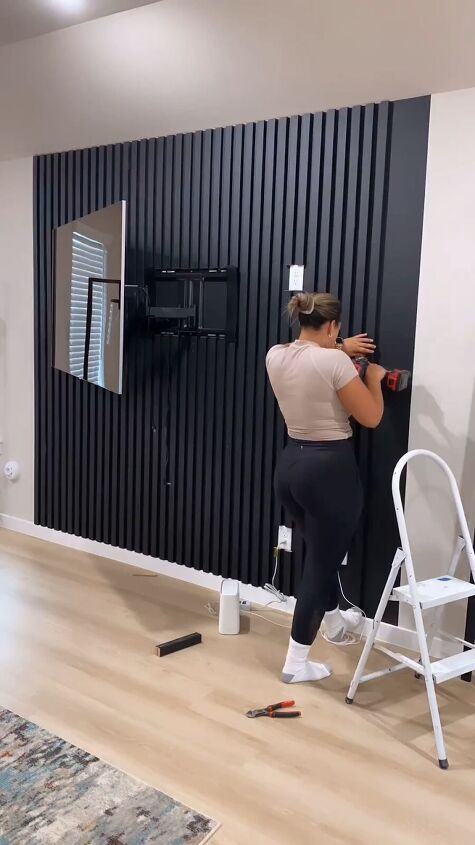
Once all the boards were in place, I double-checked for any uneven gaps, loose boards, and made touch-ups where they were needed with paint. This was a beautiful accent wall idea to create.
With the fluted accent wall completed, the room now had a striking and unique feature that added character and style to the space. Let me know what you think in the comments! Did it look easy to do?
Follow @flippedbyfaith_ for more DIY ideas.
Comments
Join the conversation
-
Loved it, I will try this project


Frequently asked questions
Have a question about this project?