


Patching a Varmint Hole in House Siding

by
JM
4 Materials
Some kind of filthy, crawling beast chewed into the side of our house. I blame the neighbors (more on that in the blog post). Either way, I gotta fix it. We have some wicked things in Arizona that I prefer not to have colonize the attic.
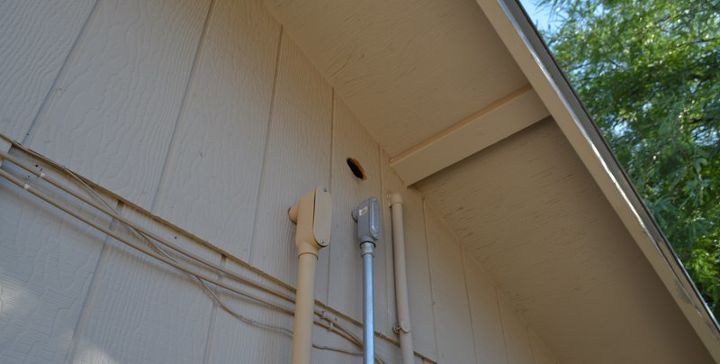
Since the siding is created from a 4x8 T-111 wooden sheet, I didn't want to tear off a big chunk and pull all three electrical conduits and their wiring out to replace it. I measured the width of one of the aesthetic "planks" formed in the sheet and cut a thin piece of plywood to size.
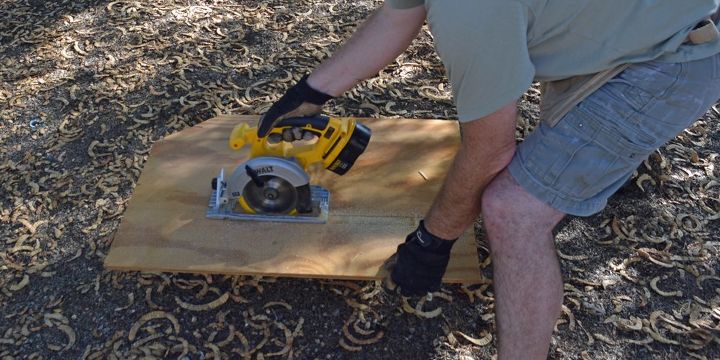
Rather than measure the roof angle, I transcribed the angle of the roof-line cut using a compass.

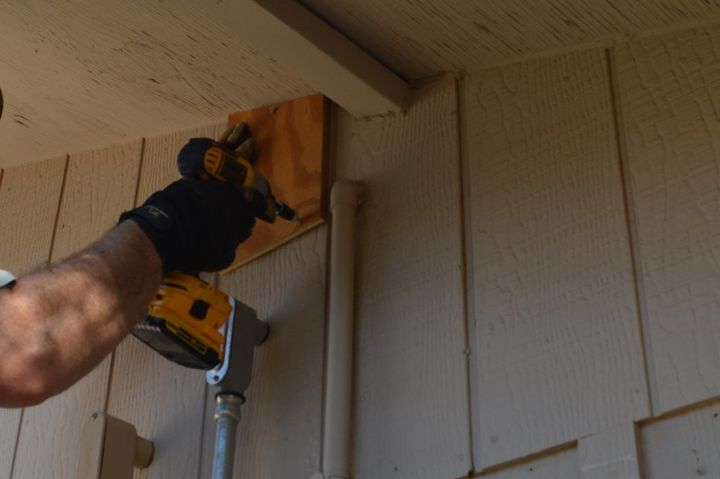
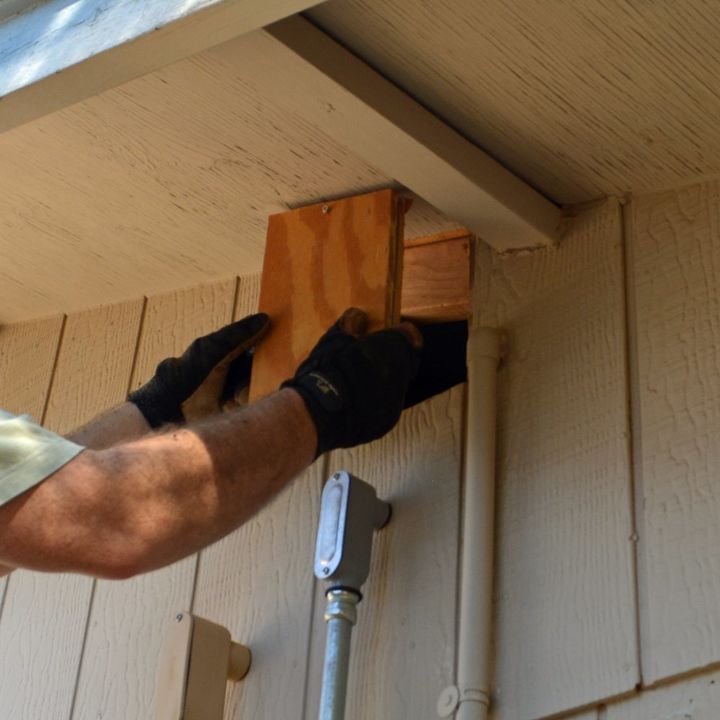
Once I lopped the angled tip off the board, I screwed it to the face of the wall, over the hole. It's a temporary step, just to hold it in place.
Have you ever used on of these? An Oscillating Multi-Tool is like power scissors for cutting wood. It uses a thin, vibrating blade that slices a narrow, controllable line. Mine is a handy cordless model. I keep finding new uses for it.

I buzzed the saw along the edge of the board, tracing along the edge, following it like a pattern.
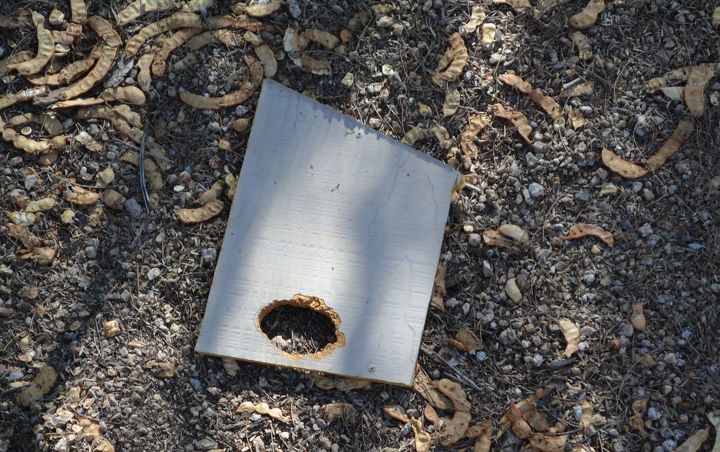
The damaged piece as well as my fresh cut plank popped free in one, screwed together chunk.
I still don't know what gnawed that hole.
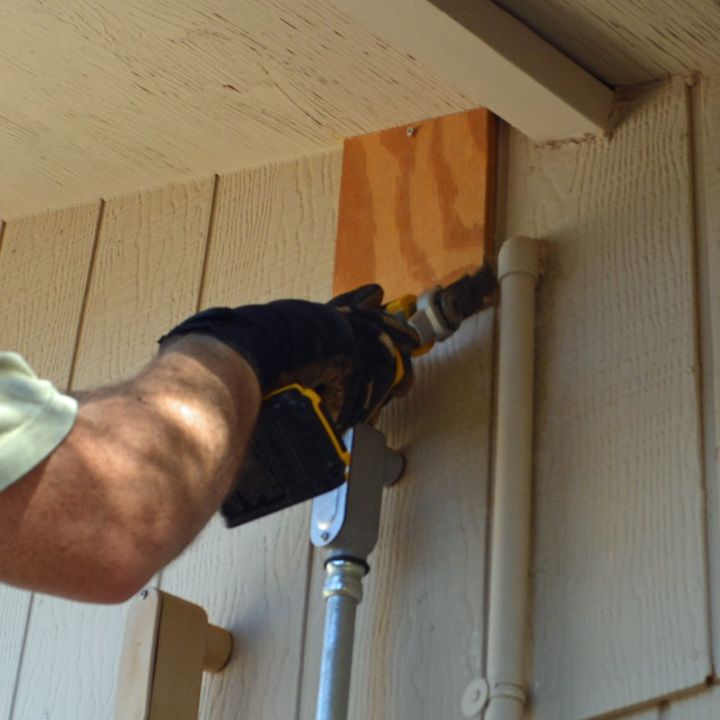
I slipped the patch into the perfectly sized hole and screwed it into place. There was framing behind it to hit with the screws, otherwise I would have had to add some strips of wood.
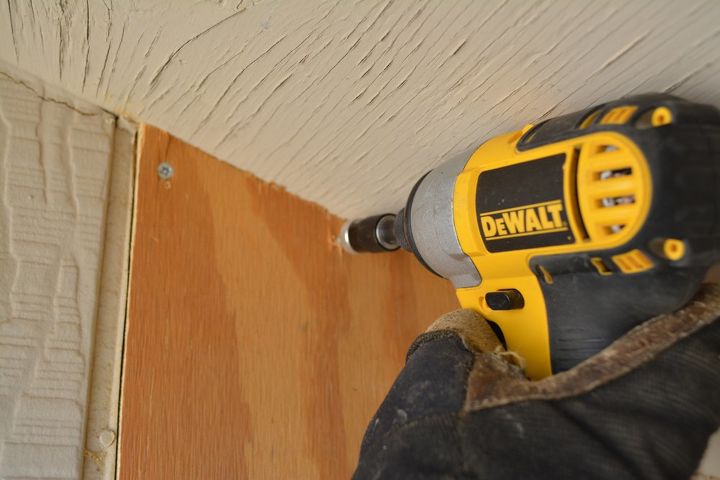
A bit of caulk over the seams and the recessed screw heads sealed it up.
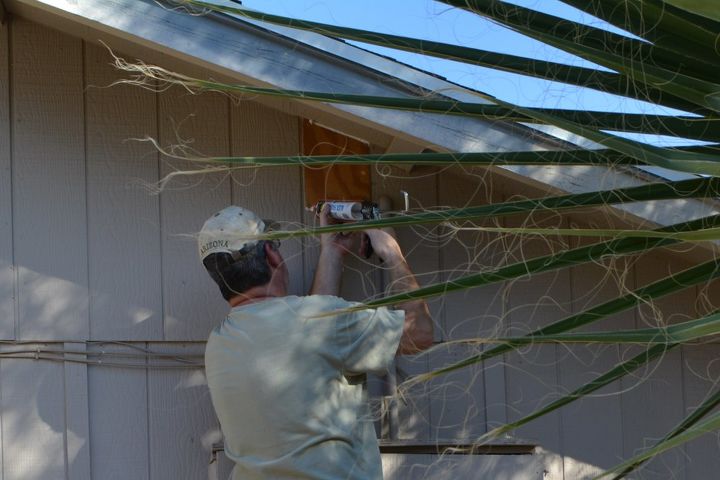
I primed it to seal everything up and help protect it from the desert sun.
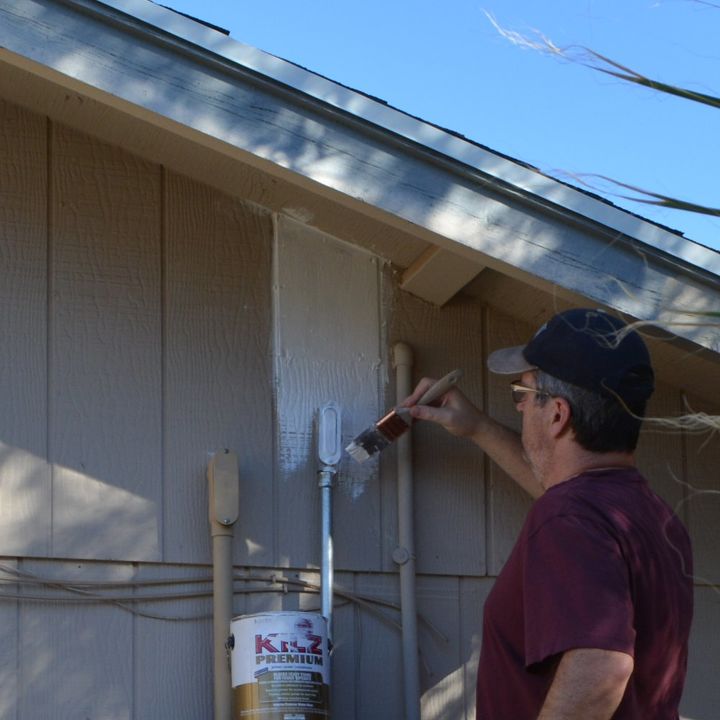
I took the scrap to Home Depot and had the faded paint color matched with their magical gizmo. A couple coats of decent paint blended the repair right in.
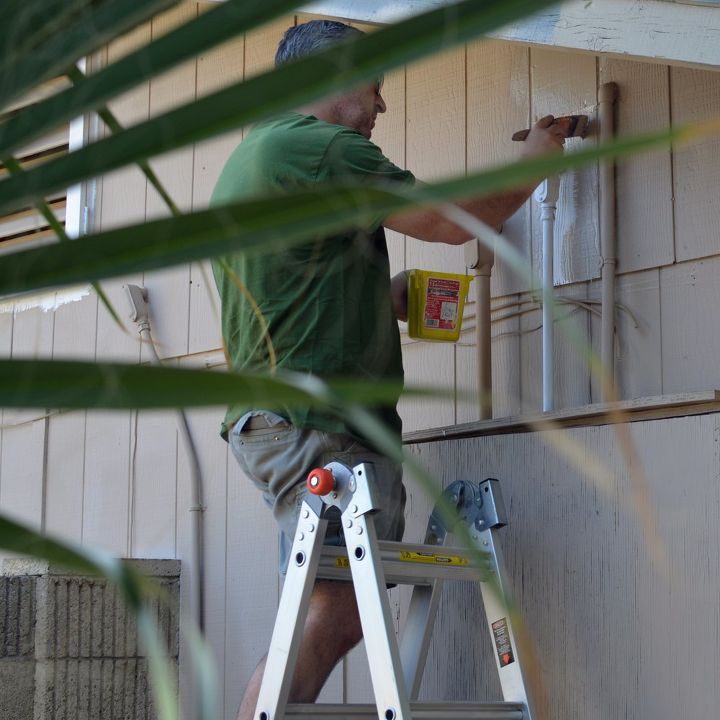
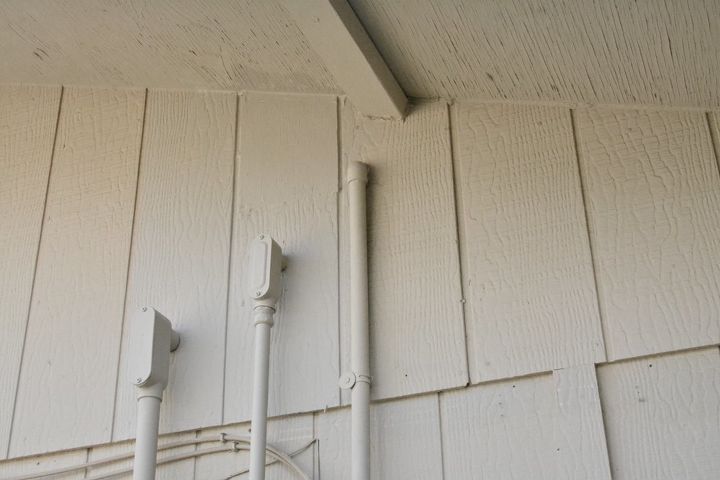
Done deal! You can hardly tell there was a patch done. I painted a couple of the conduits as well.
The cool thing about this project is the act that I never had to crawl in the attic to do the repair. I did get up their in the beginning to look for evidence of the creature, but didn't see anything. Check out the blog post for more info,... and why I blame the neighbors.
Comments
Join the conversation
2 of 4 comments
-
Awesome fix!! Thanks for sharing this!!
-
when we had a similar critter hole, we found a quick (tho' less elegant!) fix was to use the bottom of a fruitcake tin & screw it over the hole! may have caulked around it but it only got painted when the house did!


Frequently asked questions
Have a question about this project?