


Turn a Salvaged Cupboard Door Into a Vintage Chalkboard
4 Materials
$6
1 Hour
Easy
Turn an old kitchen cupboard door into a vintage chalkboard with just a little paint! Use these farmhouse chalkboards to decorate any space with an inspirational saying, your shopping list or notes to your family.
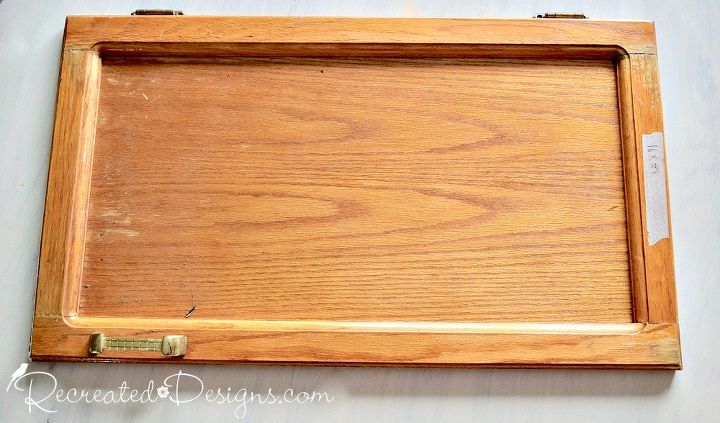
I found this old door at a local salvage store and it was the perfect size to make a kitchen chalkboard. It fit the bill of being a door so I grabbed it up with this project in mind.
I began by removing all of the hardware.
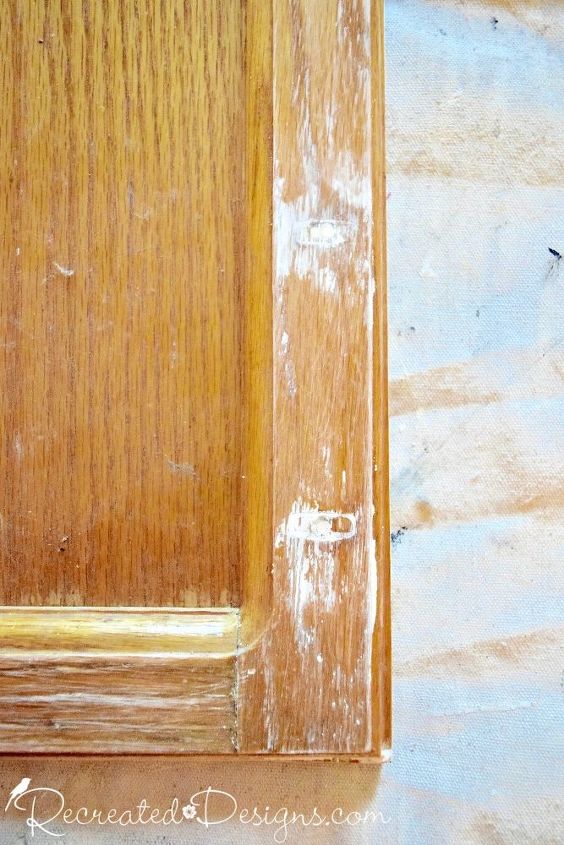
Then filled the holes with a quick drying hole filler.
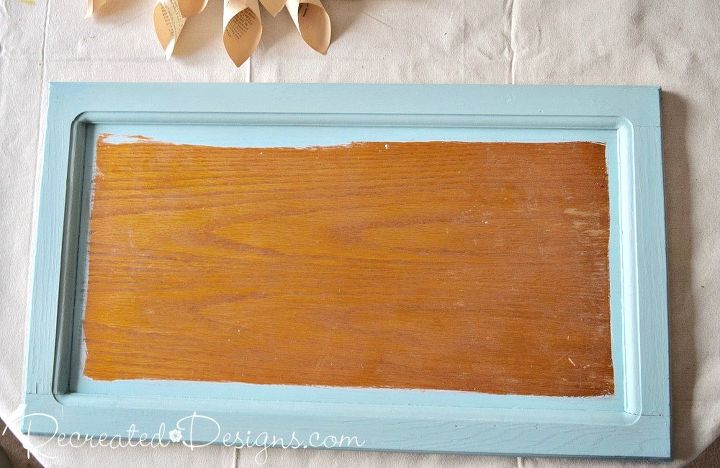
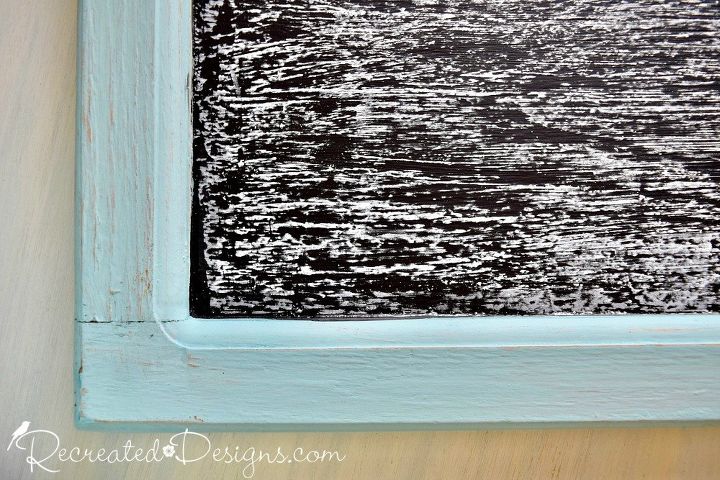
This frame got two coats of Homestead House Milk Paint in Laurentien. I have always been a blue lover and this shade is about as perfect as it gets!
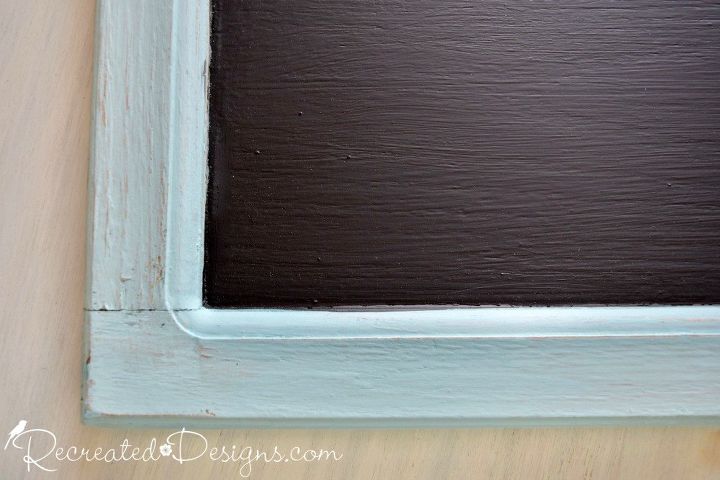
Once the outside of the door and back was painted, I gave the inside three coats of Rustoleum Chalkboard Paint in Black.
The Rustoleum Chalkboard paint needs to cure for 3 days before you can write on it. Once it is fully cured, I rubbed a piece of chalk all over it to season it. Seasoning it will prevent the chalk from leaving permanent marks when you write. (You can see this process here are well...)
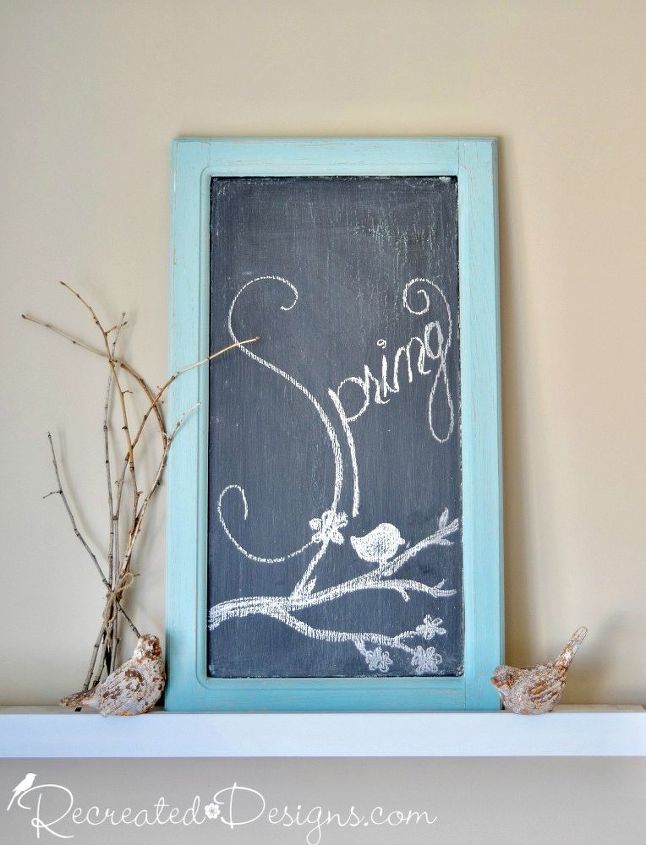
A little sanding to distress the paint and my new kitchen chalkboard was ready for use!
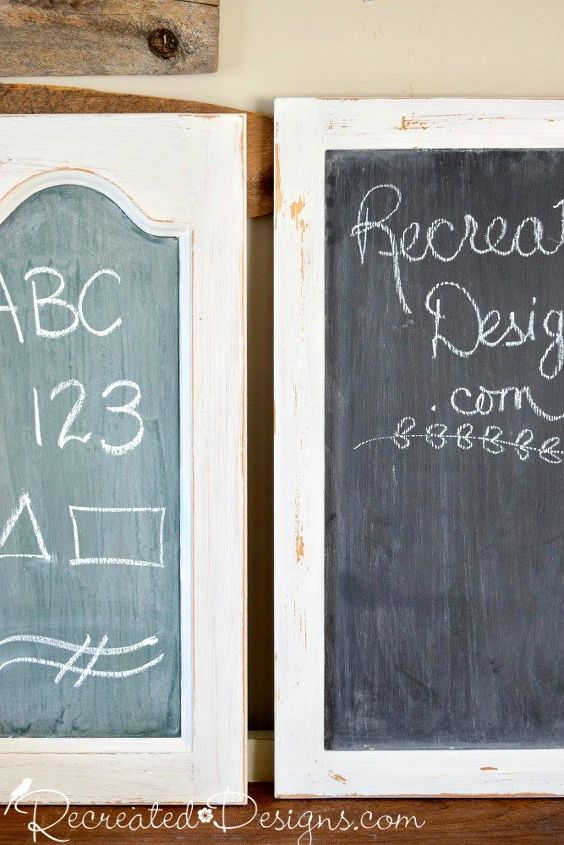
I also did a little update to this project and wanted to show you how easy it is to make a vintage looking chalkboard as well. The one on the right is with the Rustoleum Chalkboard Paint and the one on the left is a custom mix of Miss Mustard Seed Milk Paint to make the vintage green color. (2 parts Artissimo and 3 parts Boxwood)
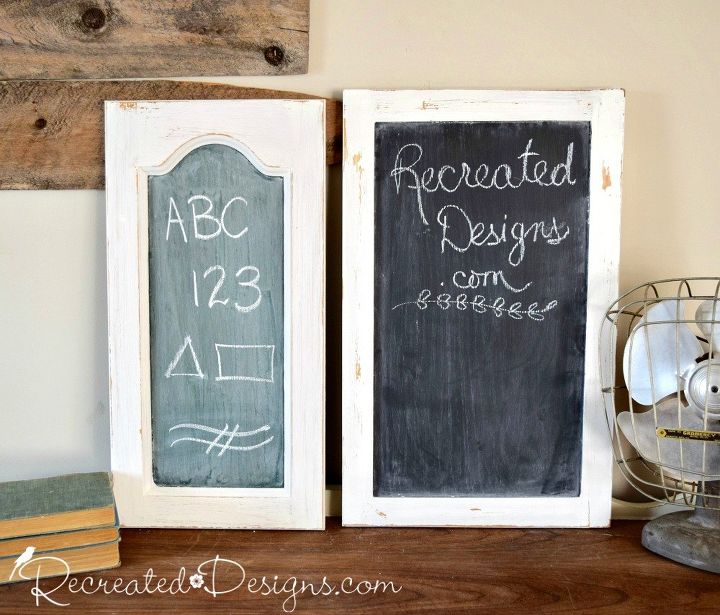
I love the look of all three chalkboards and they were so easy to make! The reclaimed doors make each chalkboard unique and one-of-a-kind.
To see pictures for this project and other farmhouse projects, pop over to the original post on the Recreated Designs blog...

Want more details about this and other DIY projects? Check out my blog post!


Frequently asked questions
Have a question about this project?