


We've Been Shiplapped!
Sigh…Chip and Joanna, you made it look soooo easy. Joanna would say “Chip, I would like this room to be covered in shiplap”, and then the next thing you know, it was done! Ever since I saw the very first episode of Fixer-Upper, shiplap has been on my radar. If only I could find someone to install it…but I don’t have a Chip at the ready to fulfill my shiplap dreams. So I waited and debated and thought about it a lot, then procrastinated some more, then finally decided that if Chip can do it, then so can I!
https://countrydesignhome.com/2019/04/11/weve-been-ship-lapped/
Thus began my ship-lapping journey, searching through countless samples and designs from many different companies. Many were too heavy and difficult to install, many were just too darn expensive…so I was beginning to abandon the idea altogether. Until I discovered this shiplap brand Design Innovations at Lowes!
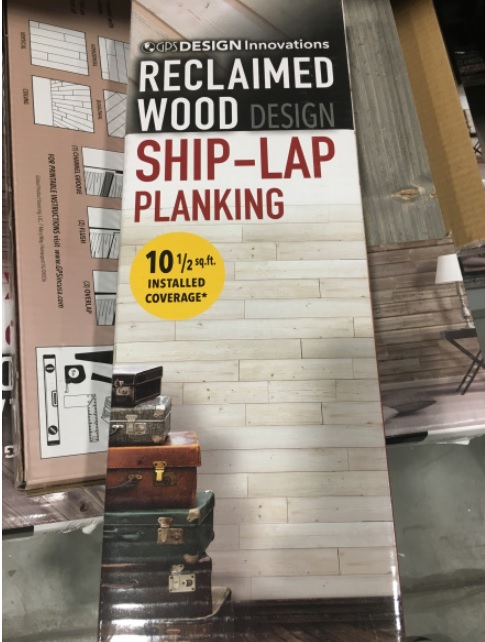
Each box covered 10+ square feet, it was pre-finished in a soft bleach wash and it was very light weight and easy to cut! Also, they are so thin that I would not have to remove the baseboard and crown moldings to install. Perfect!
Disclaimer: This is not a full tutorial on how to install shiplap! This is just a basic how-to with some helpful tips that I discovered along the way. You should closely follow the instructions for your particular brand of shiplap, as they vary widely. This project is not that difficult, but it is very exacting and time-consuming.
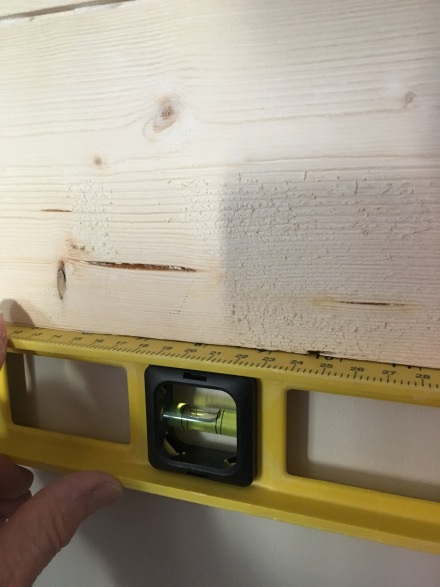
You MUST start out level! If you don't, you will be forever looking at a wavy line across an expanse of wall! I was working around a fireplace, which made it a bit easier since I followed along the top shelf of the mantel.
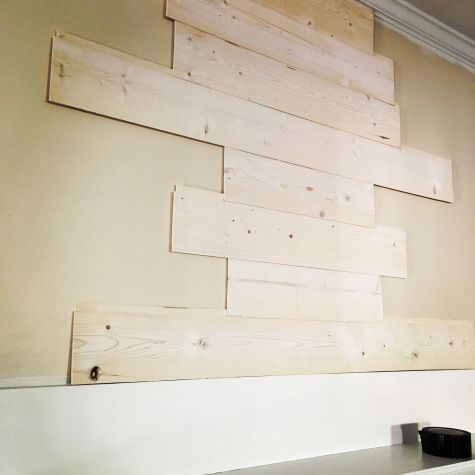
You should design your configuration for the entire wall before you start gluing and nailing. Once the pieces are in place, they are tough to take down and move around! I centered mine over the fireplace and worked up and out from there. Also, make sure you purchase enough from the start to complete the entire project. I didn't, and I had to go back to Lowes for more shiplap. Meaning that the project got delayed because you have to remove the boards from the boxes and "cure" them for 24-48 hours in the room before they can be used. Ugh.
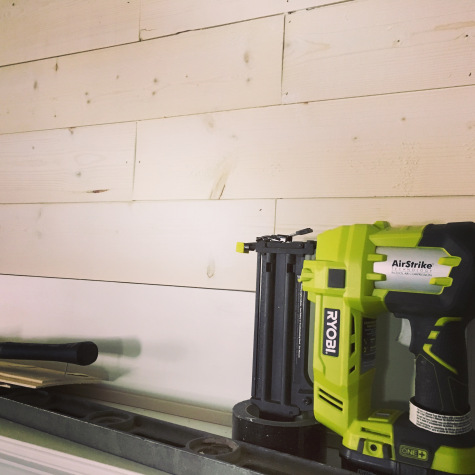
There are many types of pre-fab ship-lap available with self-sticking adhesives. But for me they were out of price range. I opted for this less-pricey brand, approx. $25 per box, but all in all, essentially less price means more work. The job was made easier with my Ryobi Air Strike Brad Nailer- I wouldn't have attempted this install without it! The process was basically this: choose a board, cut it to length (these boards were so light I could actually use a utility knife to cut them!) smear some adhesive on the back, push into place and nail it!
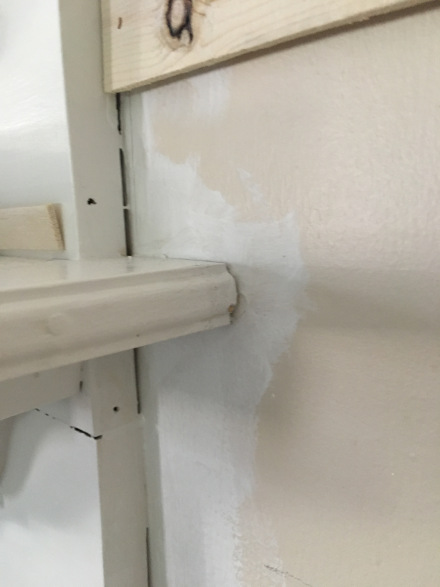
As I mentioned before, I was working around a fireplace and mantle which does have some molding on the sides that I had to cut around. A contouring tool makes that job a LOT easier.
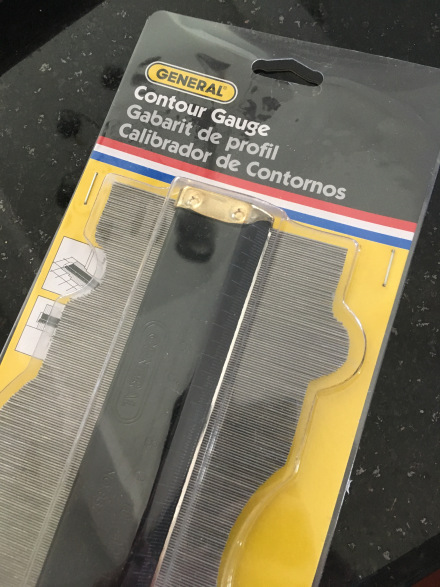
This tool is only a couple of bucks, but it saved a lot of time and frustration.
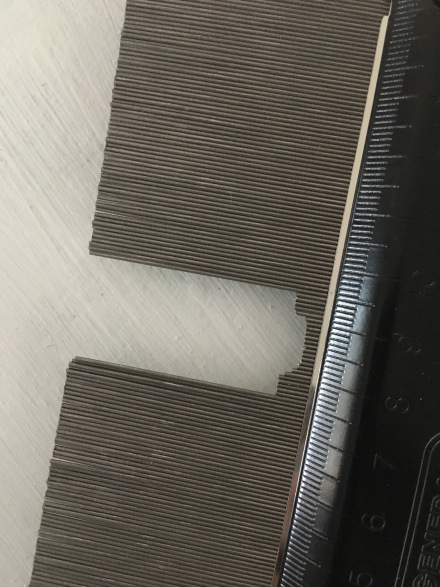
It creates the pattern that you need to cut around any edge. Just slide it up to the piece, then pull away and you are left with a perfect pattern. No need for measuring!

This is the completed wall over the fireplace. I love how it looks- simple yet elegant and a perfect contrast to the rest of the room, which is a light gray. Will I attempt this again? Well, lets just say that the next time I might opt for something a bit more pricey but with less work : ) Perhaps even some ship lap wallpaper!
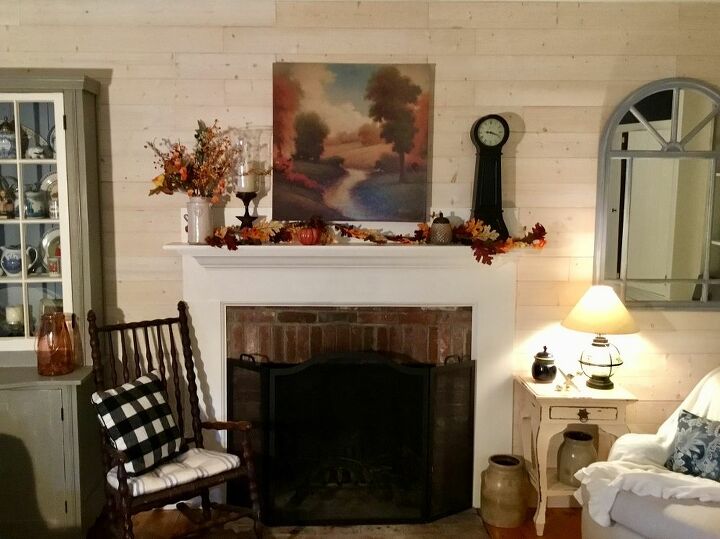
And finally, the finished project, all dressed up for fall! With the holidays fast approaching, I can't wait to decorate this space for winter!
Resources for this project:


Frequently asked questions
Have a question about this project?