


My Hardwood Floor Refinishing Tips & Tricks
1 Material
$300
3 Days
Medium
Hey there, Kier here, The Healthy Home Improvement Blogger.
Today I want to talk with you guys about refinishing hardwood floors! I promise, refinishing hardwood floors isn't as scary as it seems! If you can push a lawn mower you can handle this project (probably.)
Over the years, between myself and Mr. Stone Head, we've accumulated some knowledge, tips and tricks on how to refinish your hardwood floors - DIY style and I'll list them all for you here in this post!
That's me! The Stone Head!
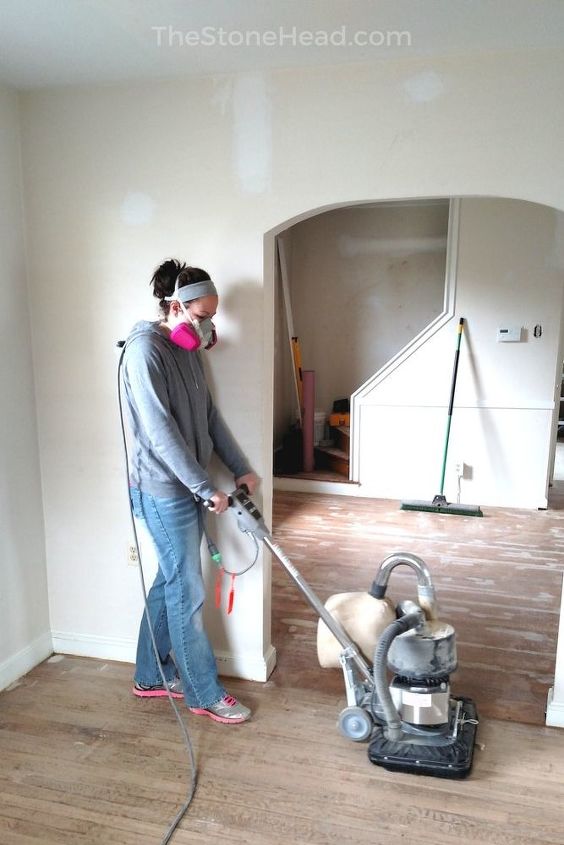
Tips for Sanding Hardwood Floors
The sanders get hot!
I burned myself pretty good when changing out the sandpaper on the drum sander - I literally singed my arm skin off. I'm sure any piece of equipment you use for hours on end is going to get hot so I should have been more careful. Even the edger got so hot that it melted the paint on the porch after just one pass of the sander!
Any kind of bow, unevenness or cupping in the hardwood floors is huge problem
I actually realized this on the hardwood floors we refinished in .)
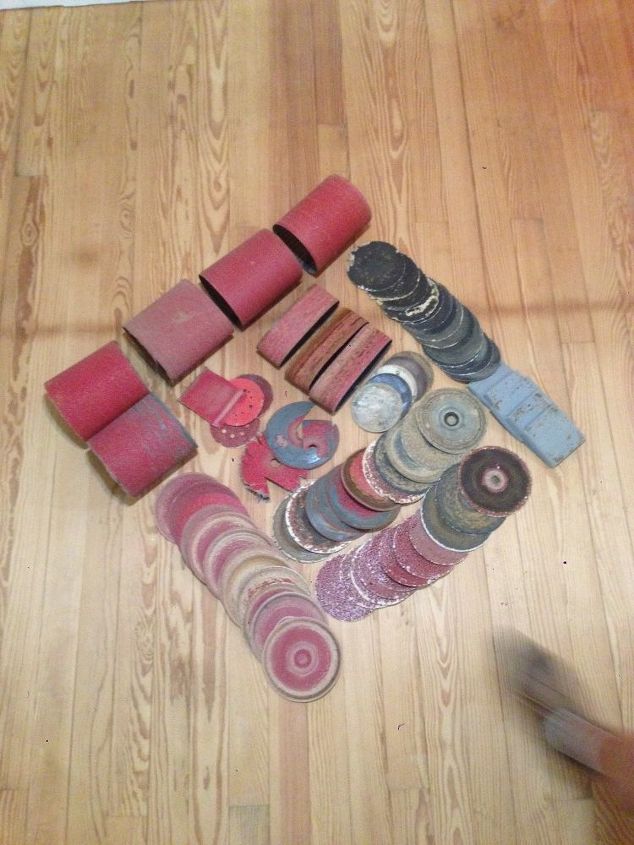
Buy wayyyyyy more sandpaper than you think you need
We wound up running out of sandpaper because we tried to guess how many of each grit we'd need and guessed totally wrong! Unfortunately, the people at the both places we rented from didn't have much advice on what and how many of each grit to buy so it was a learning experience. We personally wound up using a ton of low grits and barely any higher grit - the best part was we guessed that the opposite was going to be true so we purchased more higher grit sandpaper than lower grit. Needless to say we ran out of paper. And the picture above shows how many we wound up using - 74 to be exact.
Don't skip sandpaper grits
I learned that you should never skip grits when sanding a hardwood floor. Scratches from 24 grit sandpaper will not sand out with 60 grit. So you must use all grits finer than 24 in order to get the scratches out (in this case it would 24, 36, 60, and then 80.)
Crosscutting can be magical
We all know we should always sand with the grain of the wood, right? Well there is actually one exception to that. When the floors are water damaged, or severely cupped or bowed, crosscutting can help. This is where you sand on an angle to the wood (only about 10-15 degrees), however, you must go back over the area with the same grit parallel to the wood in order to get these scratches out.
Truthfully, I messed up on this and crosscut 90 degrees to the wood and in some areas we were never able to get the scratches out. But instead of doing my own research on that (like I've done now) I listened to the guy at the rental place thinking he had more experience than me so he would probably know better. But you learn from your mistakes right?
Wood putty is not a miracle worker
When we refinished our hardwood floors in our first flip, we went around and filled all the nail holes, dents and large gaps between the boards with stainable wood putty. After we let it dry we sanded the floors as you normally would.
However, even the the floors in our current fixer upper are way worse than those at our flip house, we decided not to fill every single gap and gouge. And that's because we found out that the wood putty "fix" is only temporary! Especially if you live in an area with drastic temperature differences, where the wood expands and contracts. The wood putty doesn't expand and contract like the wood so it just eventually falls out
Quick Tips for How to Refinish Hardwood Floors (Sanding & Staining):
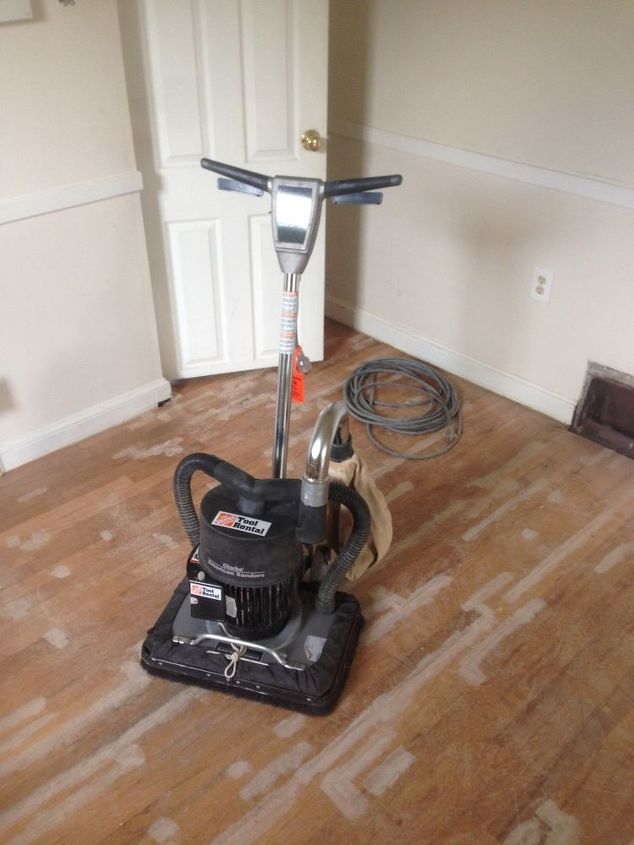
- If renting a sander, make sure to prep the entire area before you get back with the sander! You wouldn't believe how long taking shoe molding off can take and that eats into your rental time!
- Start moving with the sander as you turn it on, this will help eliminate waves in the floor.
- Vacuum in between sandings! It's extremely important. Don't be lazy on this, you'll regret it.
- Don't skip a grit when using multiple sandpapers.
- Use a damp microfiber before staining (but allow the floor to dry completely) to make sure every little bit of dust is gone.
- Hire a professional if the floors are pet stained, cupped or deeply scratched.
- Use throw away rags for the entire project! You won't want to throw the stuff in your washer.
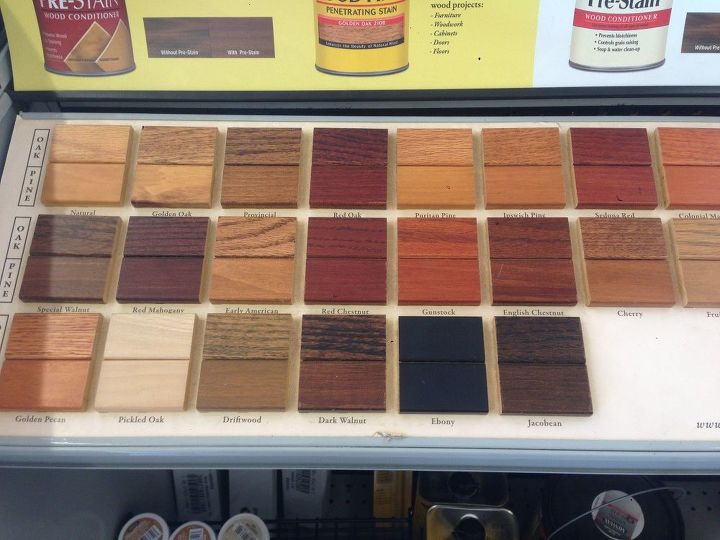
- Do your research on stains and polys (there are a lot to choose from!)
So check out this fun little video we took of the last floor we finished (which happened to be in our own fixer upper!)
{
"id": "4610000",
"alt": "",
"title": "",
"video_library_id": "7203",
"thumbnail": "https://cdn-fastly.hometalk.com/media/2018/01/19/4610000/my-hardwood-floor-refinishing-tips-tricks.jpg"
}
{
"width": 634,
"height": 357,
"showRelated": true,
"noautoplay": ""
}
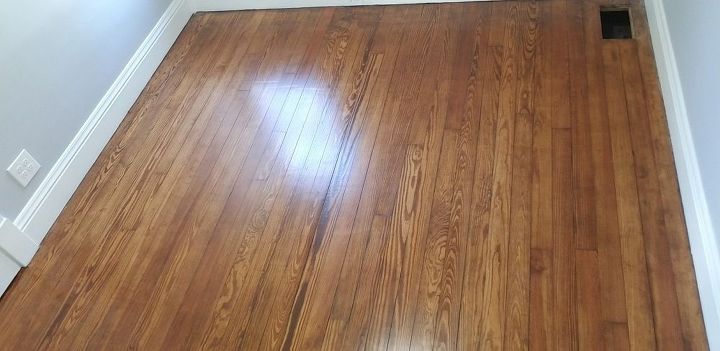
When it Comes to Staining Hardwood Floors...
First, I think it's important to note that you need to start in the farthest area so you can work your way out! (Yay for not staining yourself into a corner!)
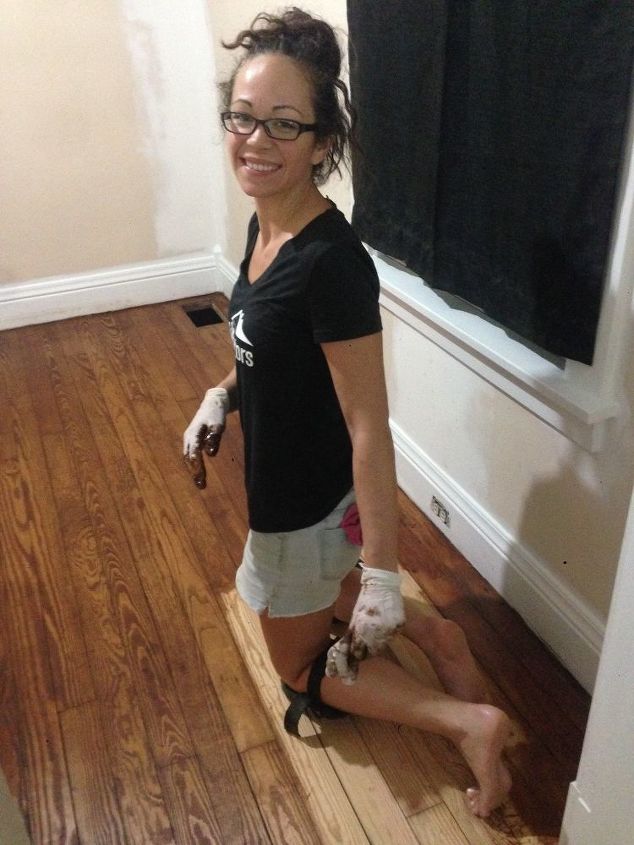
Start by edging with the stain just like you would with paint. I use a clean cotton cloth to wipe the stain on as close to the wall as possible making sure to work with the grain of the wood. Then I apply the stain as far as I can reach on the main floor, wait about 10 minutes and then wipe everything off with a separate cotton cloth. Then you just keep repeating the process for hours on end until you're done!
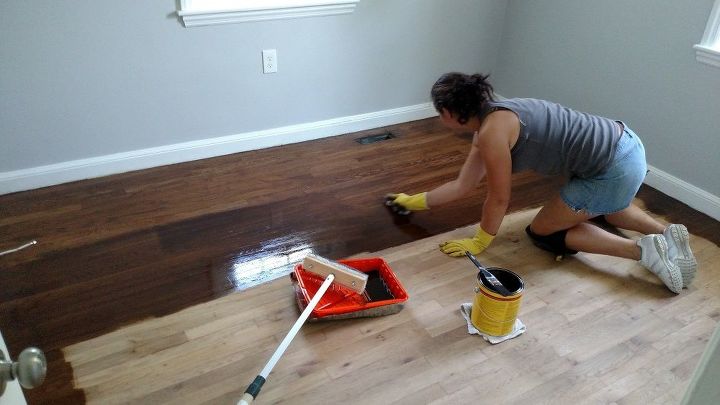
Most of the time I use a lambswool applicator attached to a pole (so I don't have to bend down.) It goes on so easy and is definitely the easiest part of the whole process... although waiting for it to dry is tough!
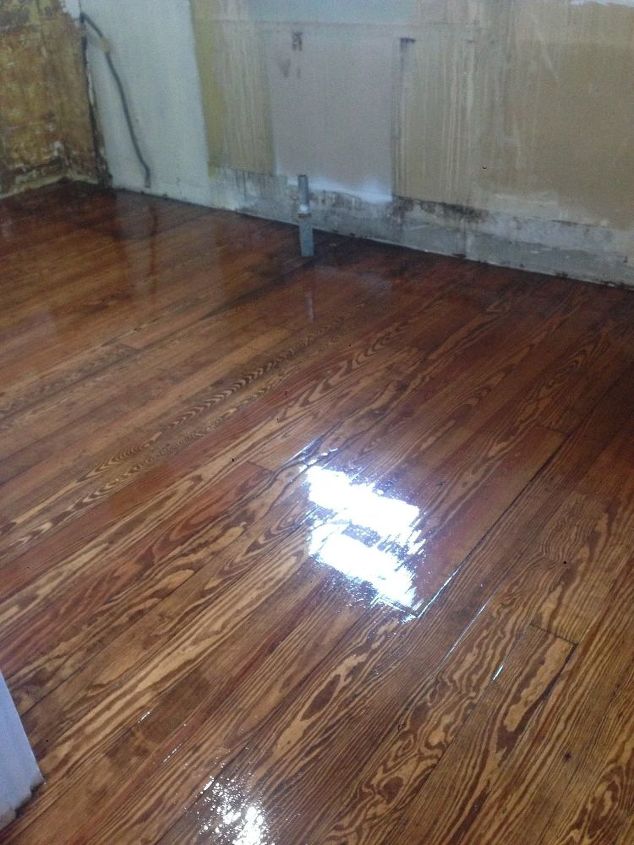
As a side note we also use from time to time and like that as well. No matter what, I always end up with a few small air bubbles in the final floor. But truthfully, I don't care! I only notice them while crawling around on my hands and knees!
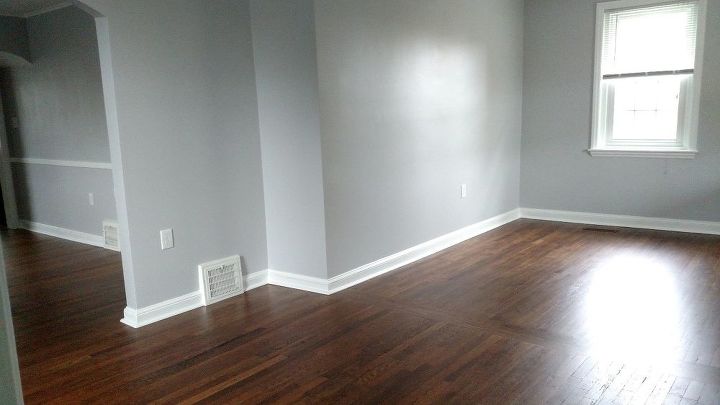
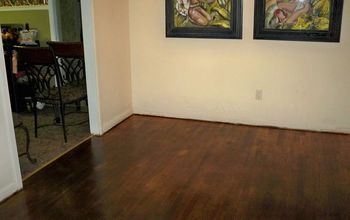
Woot woot!! Check out that beautiful floor from our first fixer upper that we refinished!!
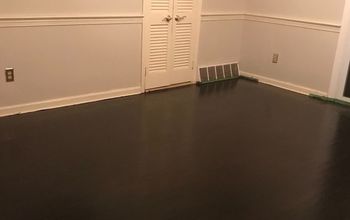
And the above picture is my current office in our fixer upper... refinishing hardwood floors is a labor of love, and I truly love hardwood floors.
Resources for this project:

Any price and availability information displayed on [relevant Amazon Site(s), as applicable] at the time of purchase will apply to the purchase of this product.
Hometalk may collect a small share of sales from the links on this page.More info

Want more details about this and other DIY projects? Check out my blog post!
Comments
Join the conversation
2 comments
-
Thank you for sharing your finds from this project, all super helpful! This makes me feel a bit more confident in being able to tackle it myself. They turned out beautiful!
-
Will definitely try this pny bedroom floor your finished room looks amazing


Frequently asked questions
Have a question about this project?
What color stain was used in the picture with the dark stain? Beautiful! Job well done.
what do you think about liquid sander. I just hate the thought of the dust