


Mini Air Plant Garden - Target Dollar Spot Craft
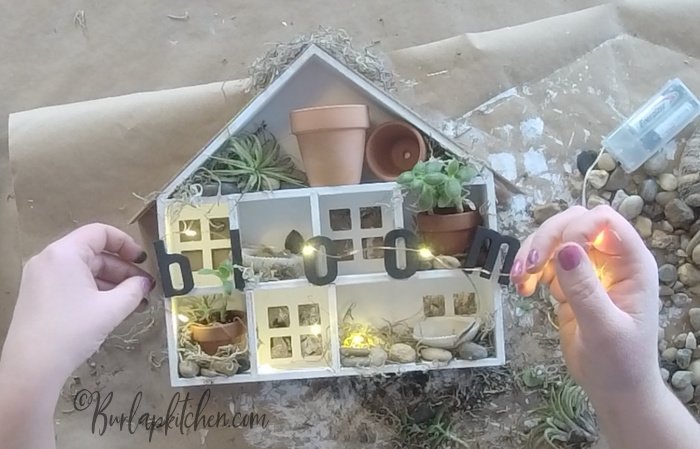
Create this beautiful mini air plant/ succulent garden using this house from the target Dollar Spot.
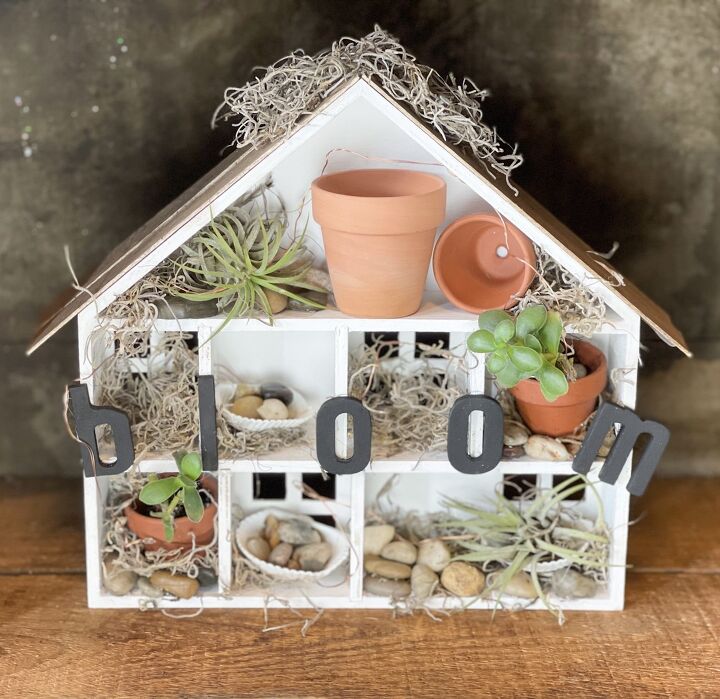
Hi there! Today, I am beyond excited to share with you how to make a DIY mini succulent garden using a Target Dollar Spot mini house. The first thing I always do when I enter any Target is to check out the cute Target Dollar spot items. I found this adorable mini house in my Target’s dollar spot section and immediately knew I wanted to create a beautiful mini succulent garden for my springtime décor! You will have so much fun creating this cute, budget-friendly DIY mini garden for your home décor.
Materials needed:
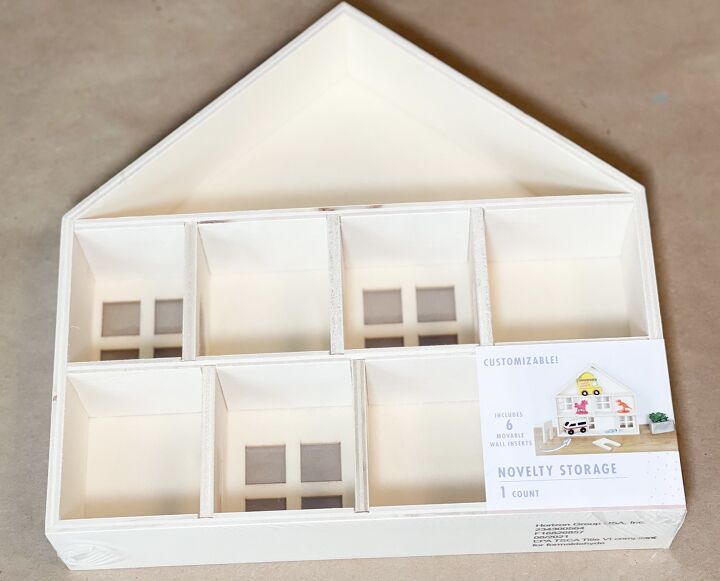
- Mini house – target Dollar spot
- white chalk paint
- Stain – min wax – dark walnut
- 4 jumbo popsicle sticks
- clay pots
- seashells
- Spanish moss
- rocks
- Air plants
- b-l-o-o-m letters
- paint for bloom letters
- hot glue gun and glue sticks
- E-6000
- fairy lights
- paint brushes
Step 1. Purchase a mini house of your liking. I found mine at Target in the Dollar Spot section.
Step 2. Purchase some mini succulent plants of your liking that are inside of clay pots. You can use whatever varieties you like, just be sure that are small enough to fit on the “shelves” of your mini house. **Also, either gather some small rocks from outside, or you can purchase a bag of small rocks as we will use these to place around our clay pot plants to hold them into place on our “shelves.”
Step 3. Using white chalk paint, paint your entire mini house, including the inserts/separators. Be careful not to put too much paint on the inserts as the need to be able to go back into place. Allow to dry, and then slide the inserts back into place.
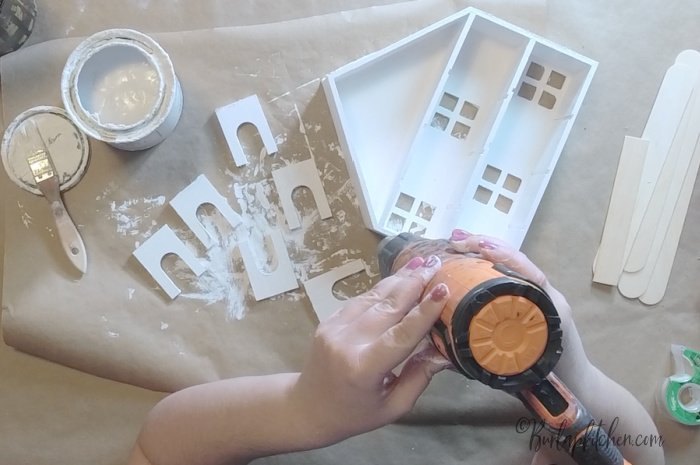
Step 4. Use a sanding block to gently sand over any areas of your white chalk painted house that may need touched up a bit.
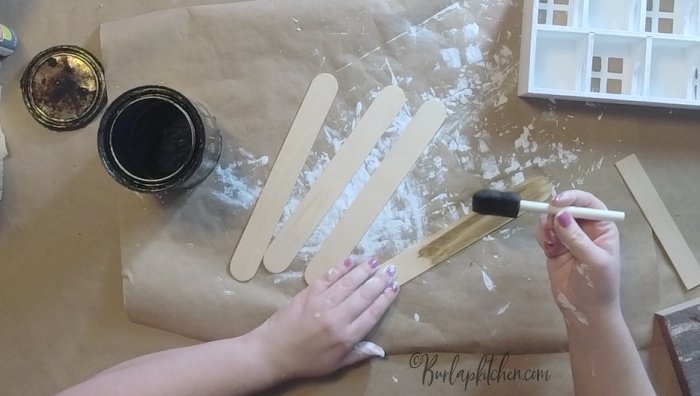
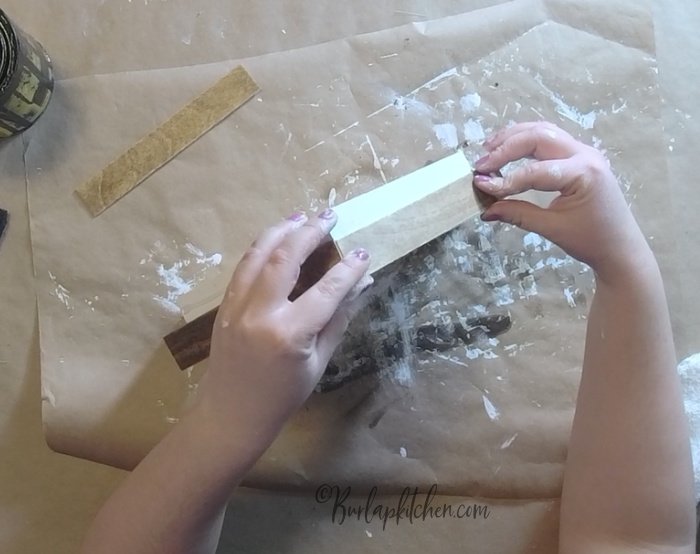
Step 5. Take 4 jumbo popsicle sticks, stain them using Minwax stain in the color “dark walnut” with a foam brush, and then wipe away the stain using an old cloth. Be sure to stain both sides of the popsicle sticks. Allow to dry.
Step 6. Take the stained jumbo popsicle sticks and lay them across the one side of the roof of your mini house to see how much of the ends you will need to cut off, then use scissors to trim away the rounded edges at each side of the popsicle sticks. Your popsicle sticks should now be the same size, fit over the one side of the roof of your mini house, and be straight as the rounded edges at each side of the popsicle stick should be trimmed off.
Step 7. Use hot glue to glue down the popsicle sticks to each side of the roof of the mini house. Two popsicle sticks should be hot glued down on each side of the roof. Be sure to place them snuggly up against each other when gluing down, but do not overlap them. We will adjust any overhang later. Allow to dry.
Step 8. Take some Spanish Moss and add some to the very top corner of the roof of the mini house. Use hot glue to glue the Spanish Moss into place. Allow to dry. Trim away any excess.

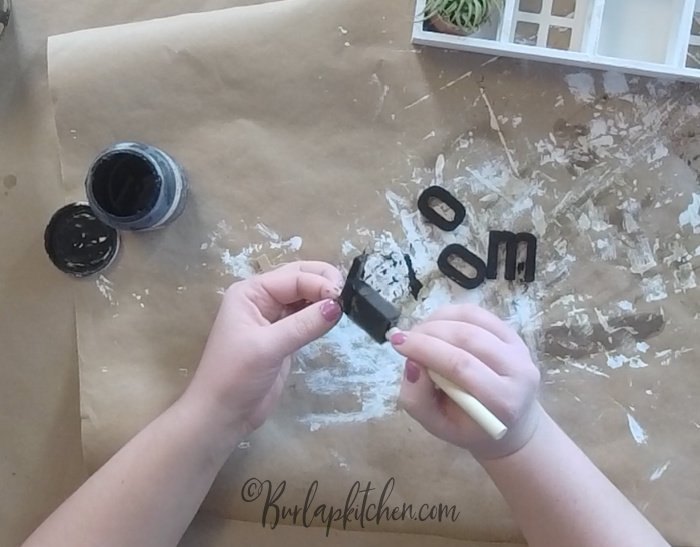
Step 9. I purchased some small wood cutout letters from Hobby Lobby that spelled out the word “bloom,” but you could purchase letters to spell out any word of your choice, such as “grow.” Then, use black chalk paint to paint the letters. Allow to dry.
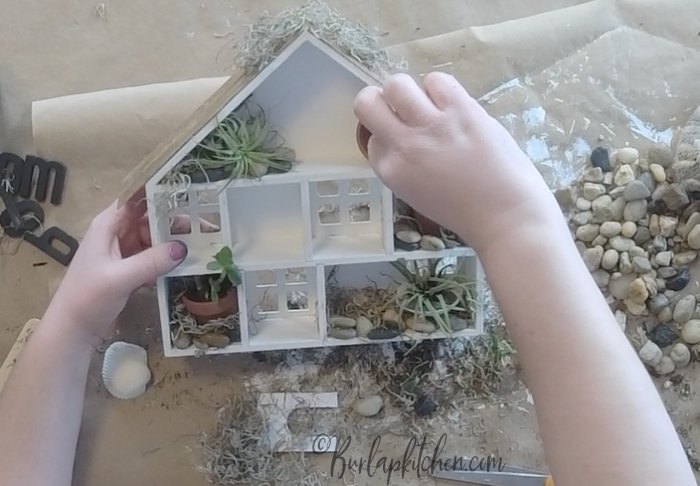
Step 10. Now it is time to play around with where you would like your mini plants and rocks placed inside of your mini house. Spend some time organizing your plants on the “shelves” of the mini house to see what you like. Once you have your first mini succulent clay pot plant in the place where you want it, hot glue it down onto the “shelf” of your mini house. Next, use E6000 to glue down some small rocks around the perimeter of the clay pot to hold everything into place. I tried using hot glue for the rocks, but it did not work, so I suggest using some E6000 to glue the rocks down. Then, add some touches of Spanish Moss throughout the mini house to make it look even more like a mini garden. You will continue this process until you have secured all of your mini clay pot plants onto your mini house, adding the rocks around each to secure in place, and then adding touches of Spanish Moss where you like. Be sure to add a little water to your plants. Allow everything to dry. *You could make this mini garden with almost anything of your liking, I even added a seashell to mine. Feel free to get creative with this, and if anything is struggling to stick into place, try using some of the E6000.
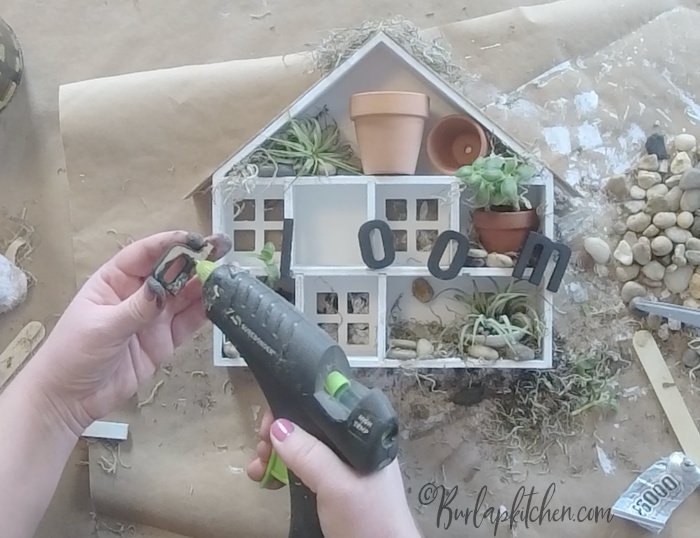
Step 11. Hot glue the black chalk painted letters onto your mini garden house going across the front mid – section so the letters spell out the word. Allow to dry.
Step 12. Thread some warm white battery – operated fairy lights through the back of your mini house garden and weave them in and out around the mini garden to your liking. Hot glue the battery pack to the back of the mini house so it is not visible. Enjoy your cute mini garden!

If you decide to make this DIY I’d love to hear from ya! You can drop a comment below or message me on any of my social media pages. Hope you have a blessed weekend and as always remember to keep it simple. Catch ya next week my friends! Facebook, Twitter, Pinterest, Instagram, youtube
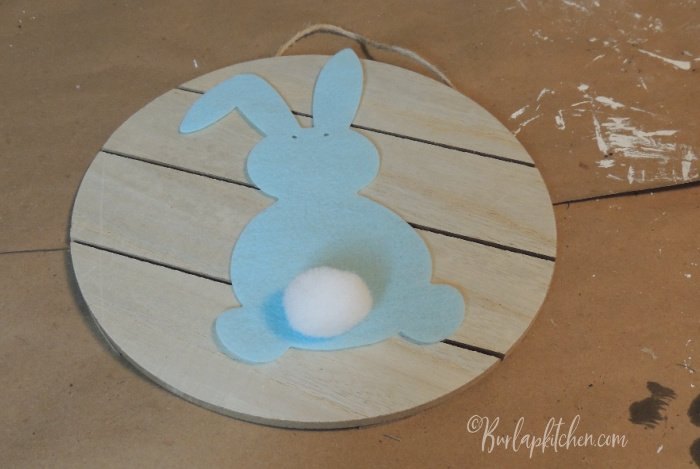
Looking for another fun Target dollar spot idea? Give this one a try!
How to make a simple spring door hanger from Dollar Tree bunny garland
.


Comments
Join the conversation
-
So cute! I plan to create 9ne with "Spring" for me classroom. Thanks for sharing this idea 💡😊.
-
There is a difference between air plants and succulents, I personally like air plants more than succulents but the idea is really cute.


Frequently asked questions
Have a question about this project?