


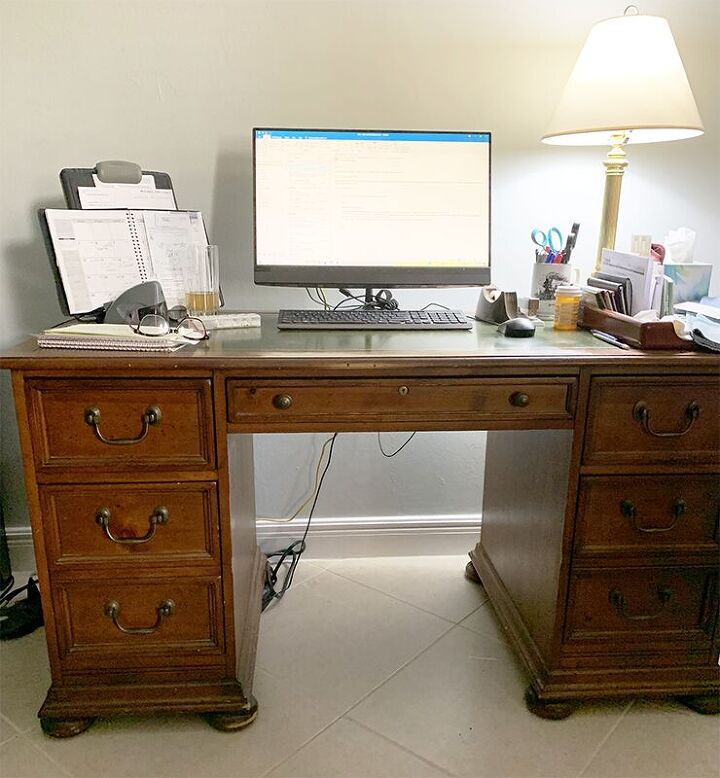
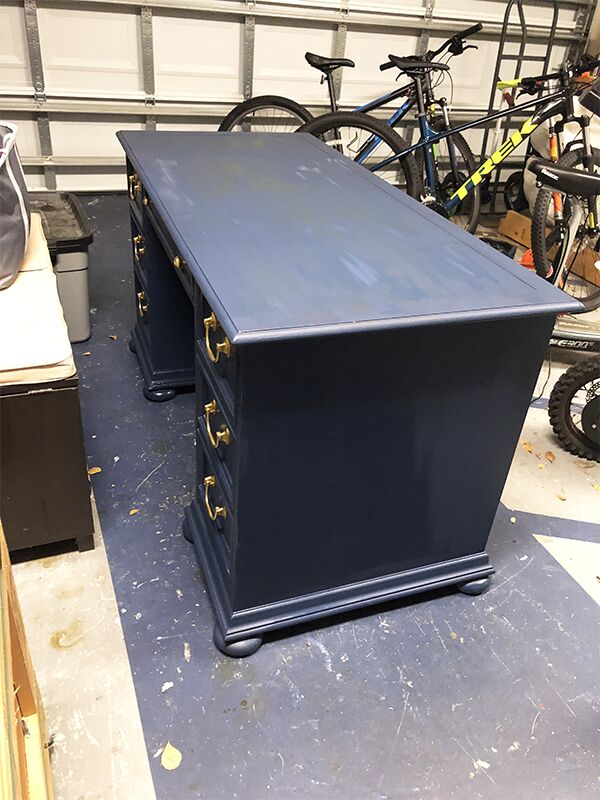
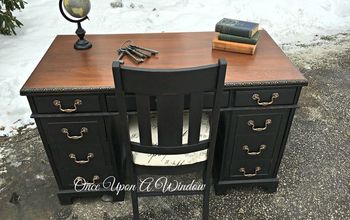
Desk Makeover
Would you believe someone gave me this desk for Free? I love that my friends always think of me when they see a nice piece of furniture on the side of the road waiting for the garbage trucks, or when they are looking to get rid of something. You can see more of my trash to treasure projects here.
Here is how I fixed this piece up...
Step 1 in my Desk Makeover, Clean and Prepare for Paint…
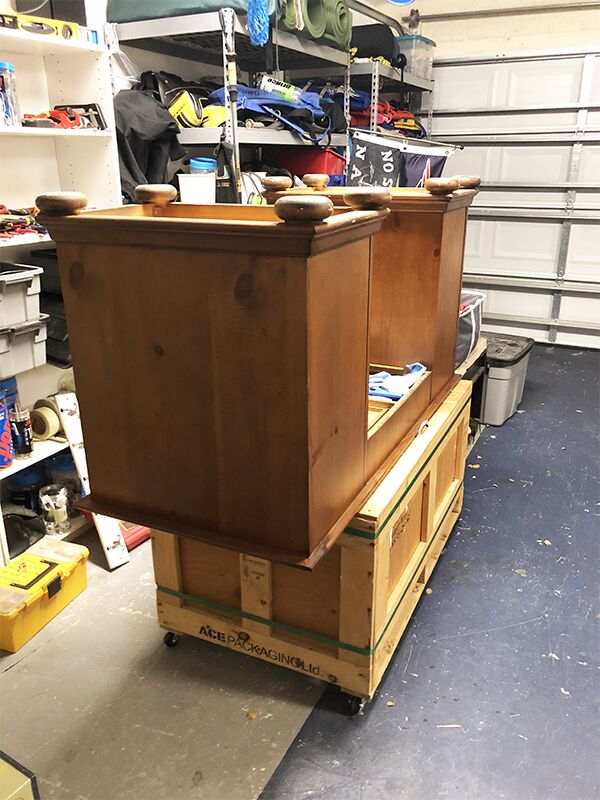
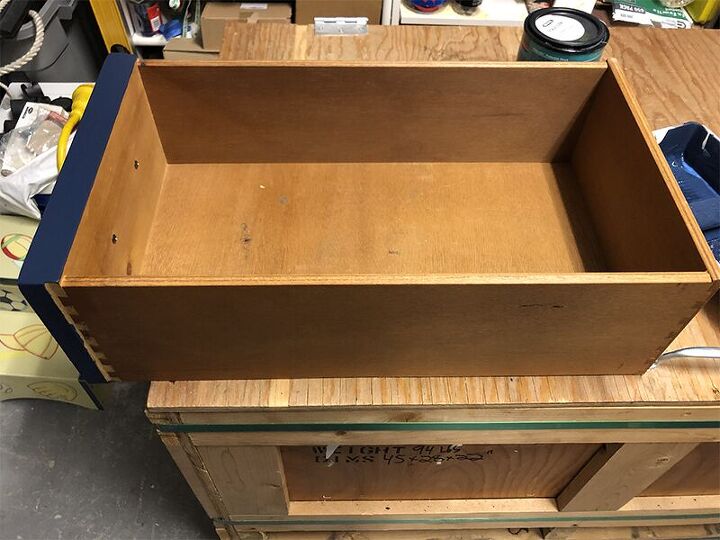
The first step in any makeover is to clean the piece as best as you can. This piece also needed some repairing. The bottom pieces of it were loose and falling off. My husband helped me flip it over and repair it. We just used some new, longer screws to secure it. While it was upside down, I decided it would be a good time to paint. I thought it would make it easier to paint those bottom feet and any other crevices too.
Step 2, Sand…
I gave this piece a very light sanding before I applied the paint.
Step 3, Paint…
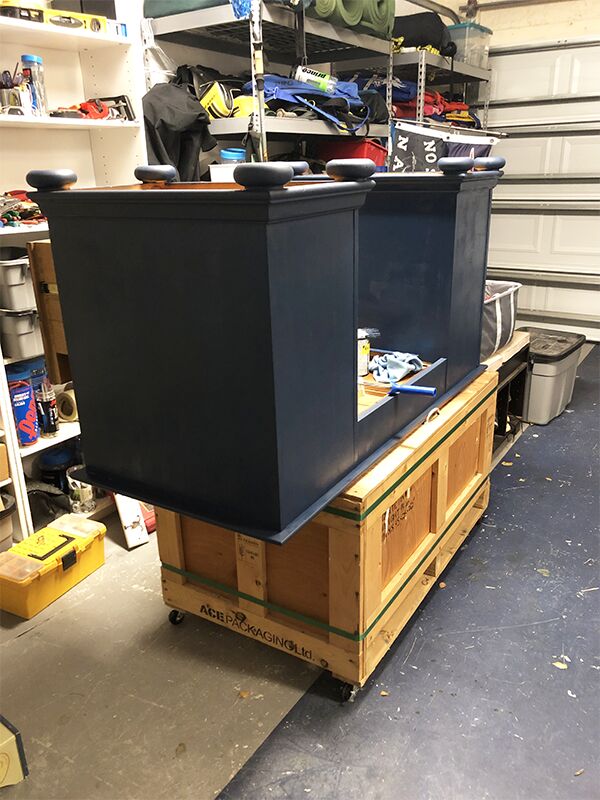
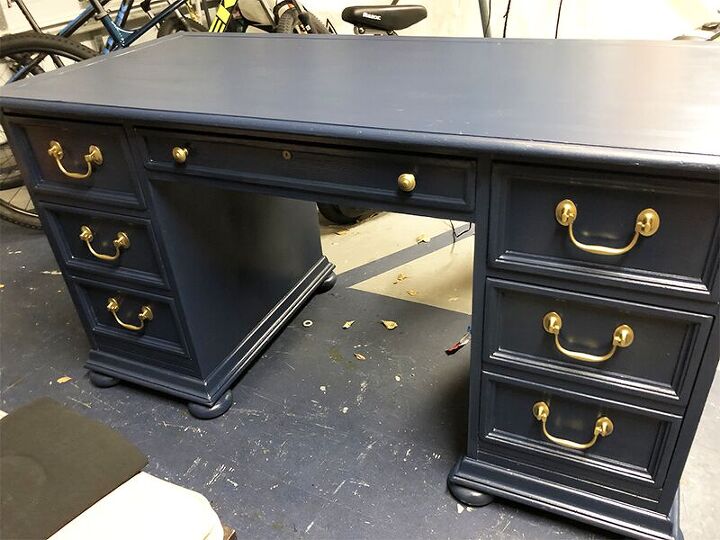
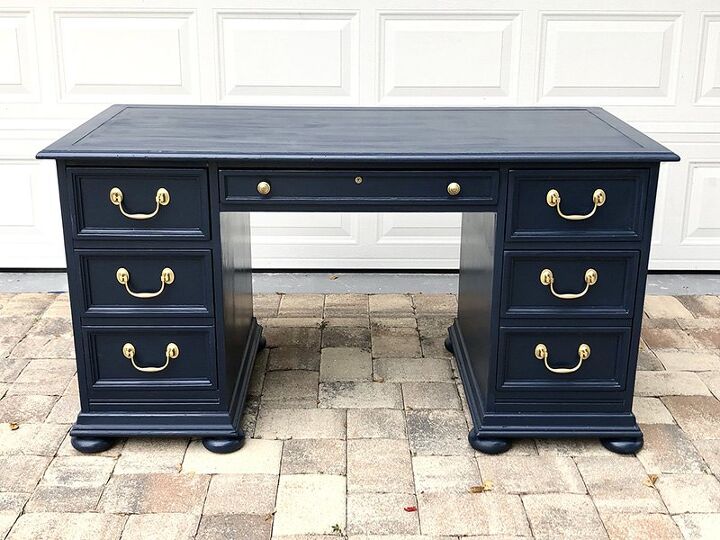
The last time I was at Lowes I found a quart of paint in the Oops section for $5. It was my favorite color, Naval! (If you don’t already know, I am a tad obsessed with the color blue, especially navy.) I bought it knowing I would use it for something, and this desk was the perfect piece to use it on.
Do you ever check the Oops paint area at the hardware stores? It is mistake paint or paint that has been returned. Sometimes you luck out and find a good color. Bonus, they are usually super cheap!
Anyway, while this piece was upside down I figured I’d start painting.
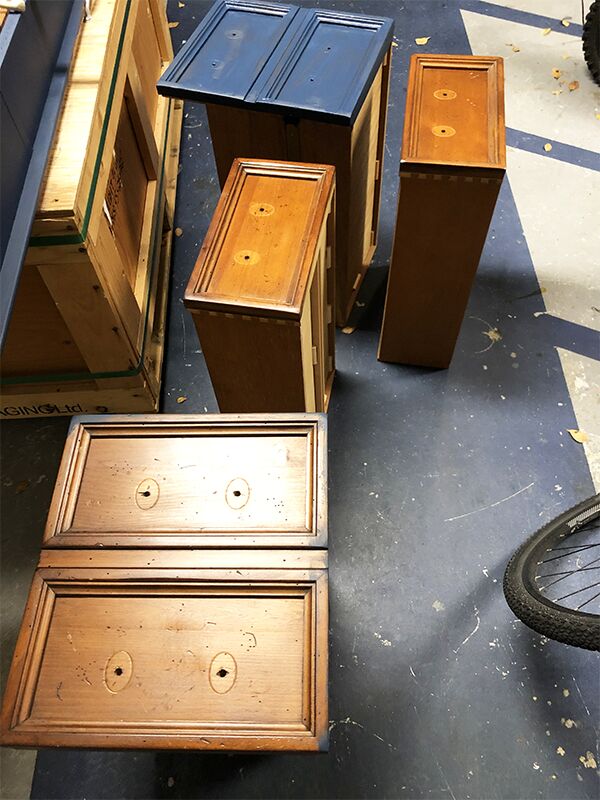
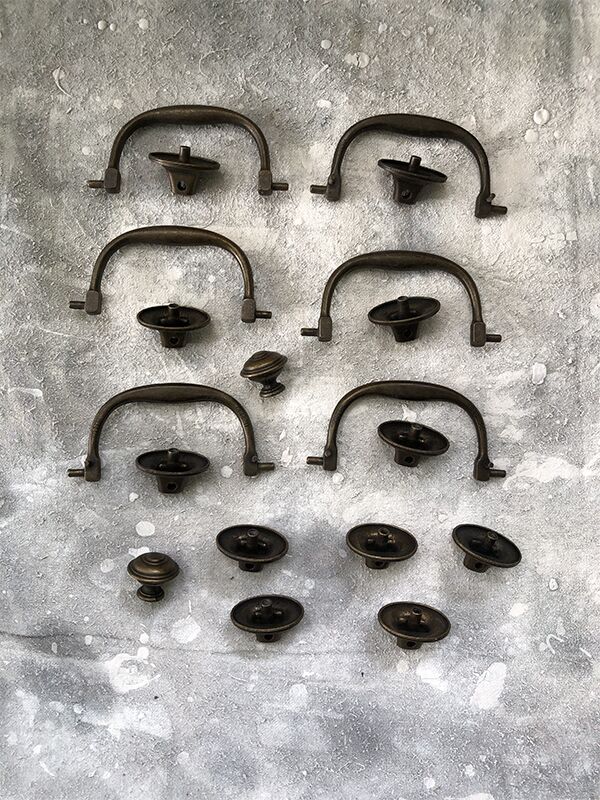
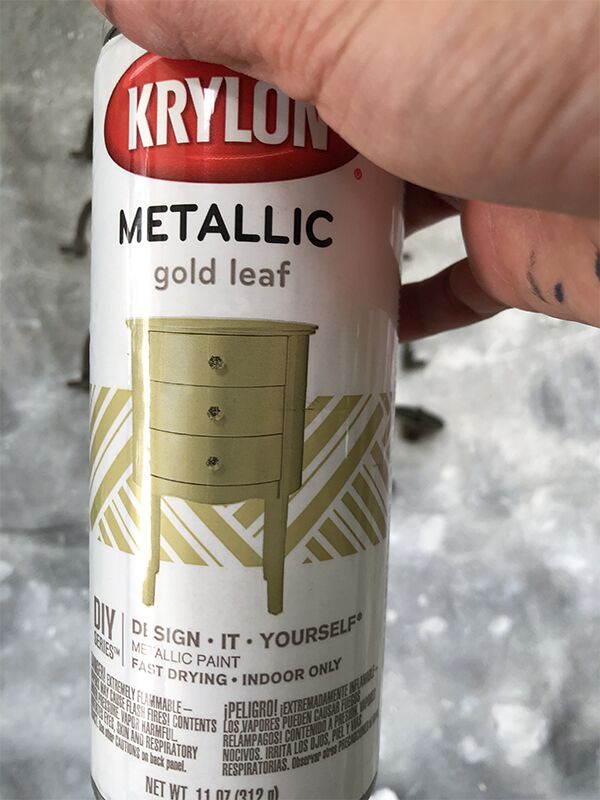
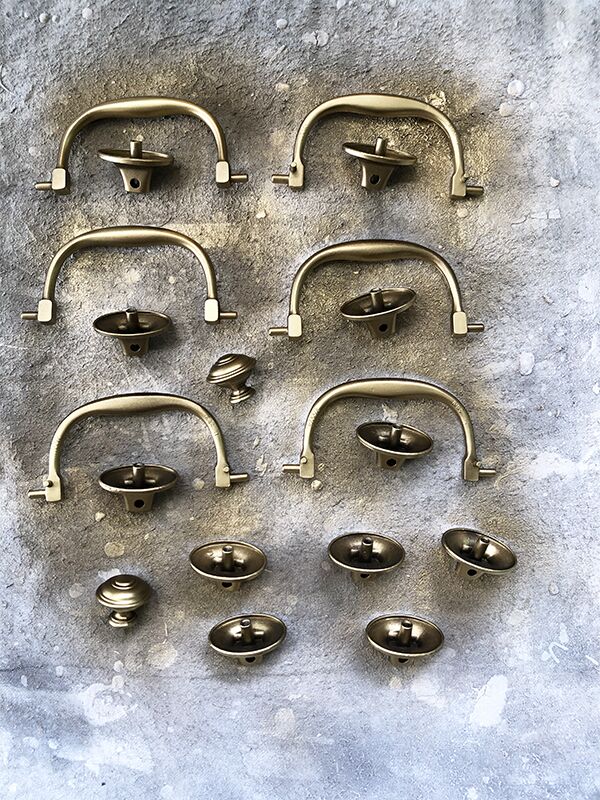
I took out the drawers, and took off the handles so I could paint those as well. I thought about purchasing new handles, but these were nice and in good shape so, why bother? I used Gold Leaf spray paint for the handles.
After I painted the bottom using several coats of paint, I flipped it over and painted the top and any areas that I missed.
Step 4, Polycrylic…
I love to use MinWax Polycrylic as a top coat. For this piece I used 3 coats. It dries very fast and leaves a nice hard protective surface.
Step 5, Finishing Touches…
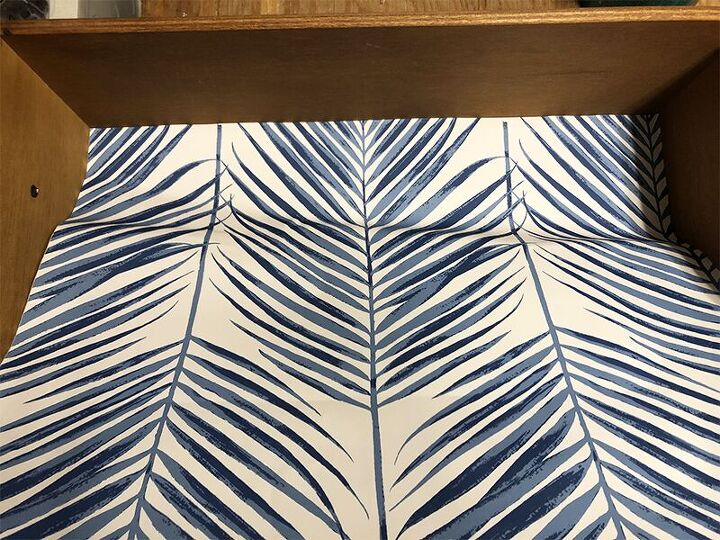
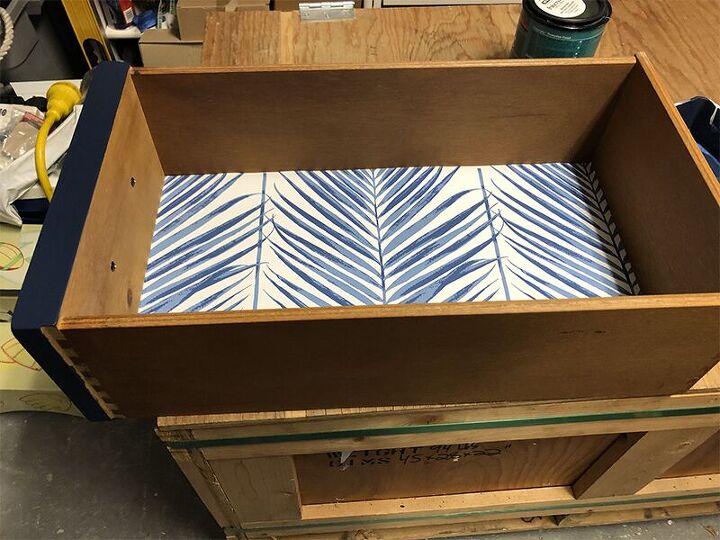
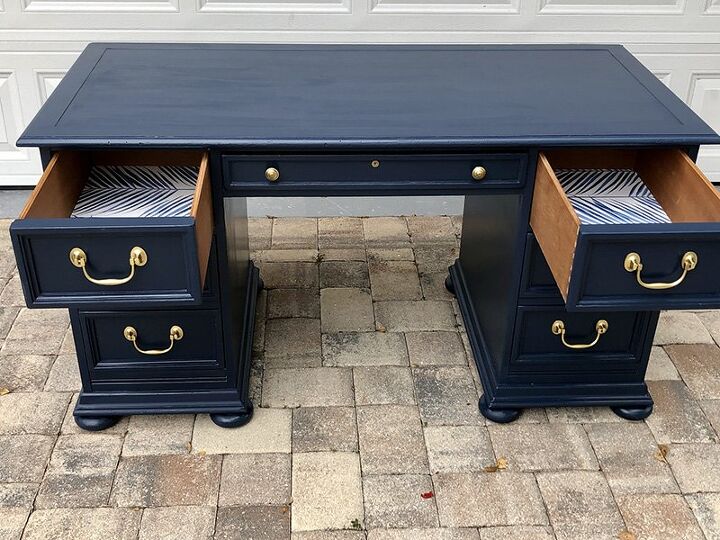
I had a little of this wallpaper left over from my Guest Bathroom Project. Just enough for 2 drawers so I figured why not add it.
I added the handles back to the drawers and that was that!
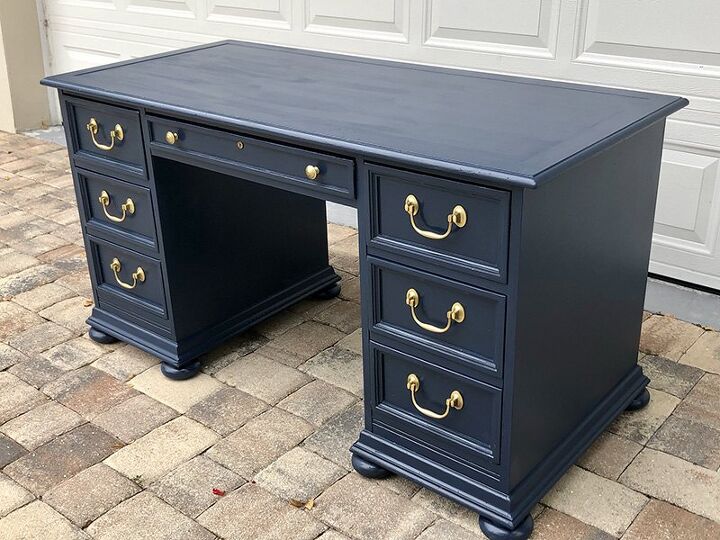
The Final Look…
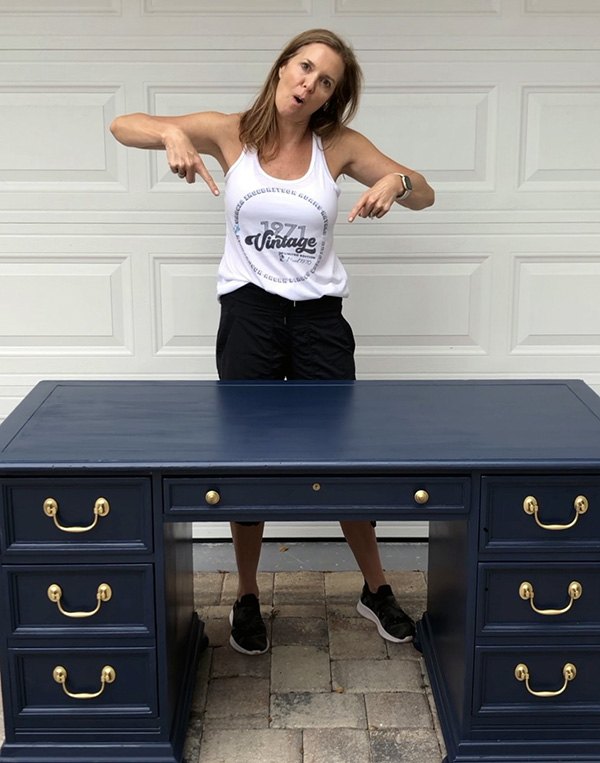
I will be listing this on Facebook Marketplace. Hopefully it sells quickly.


Comments
Join the conversation
-
Beautiful!
-
Shirley, Brass, when polished, IS a gold color! Paint will wear off of metal from just plain use opening and closing the drawers.


Frequently asked questions
Have a question about this project?
I really like how this came together and it is now a very handsome piece of furniture! What guidelines do you follow, to insure the end result, is flawless? Because I have a laundry list, of furniture pieces, that I plan to refinish, because many pieces were passed down through the various generations, I have set the expectations for myself, pretty high! What principles, or guidelines, do you follow (yourself,) when restoring a piece of furniture and what products would you recommend, for furniture restoration? So many new products, are available now, that I need some guidance! If you some wisdom, to offer? I welcome it. Thank you, Cassandra 🙏🏻 😀
Love the luscious blue! I was wondering why the top of the desk looks streaked; was this on purpose?