


How To Refresh A Kitchen Without Renovating - The Antiqued Journey
How To Refresh A Kitchen Without Renovating
Share this post. Share the Journey!
Welcome friends! Today I’m sharing tips on how to refresh a kitchen without renovating!

My husband and I have lived in our small town home for a little over 5 years now. We started out as renter’s of this unit and when the owner wanted to sell two years later, we put in an offer before it even went on the market! It was built in the 1980’s and was in need of so much love.

We’ve slowly been updating it since being it’s loving owner’s over the past 3 years. This is not our forever home yet we still want to do inexpensive changes to it while we search for a farmhouse in the country. Our kitchen desperately needed some attention so we gave it a facelift for just a tad over $100. Join me today as I walk you through how to refresh a kitchen without renovating!
This post contains affiliate links. That simply means I earn a small commission on any clicked links at no cost to you. As an Amazon Associate I earn on qualifying purchases. Thank you for supporting my small business!
This kitchen refresh is broken down into 3 separate projects so that it’s easier to follow. It starts with updating the countertop, then moves to the backsplash, and lastly wallpaper. I will list the materials that we used for each project and links to similar items within the individual project itself. Here we go!
Project 1: Countertop
Materials Used
- 3 rolls of butcher block contact paper
- exacto knife
- super glue
- hairdryer
- scissors
- measuring tape
- Polyutherane clear coat
- 3/4 inch paint roller and brush
- paint tray
- caulk
- painters tape
- smooth edge tool
- a caulk remover
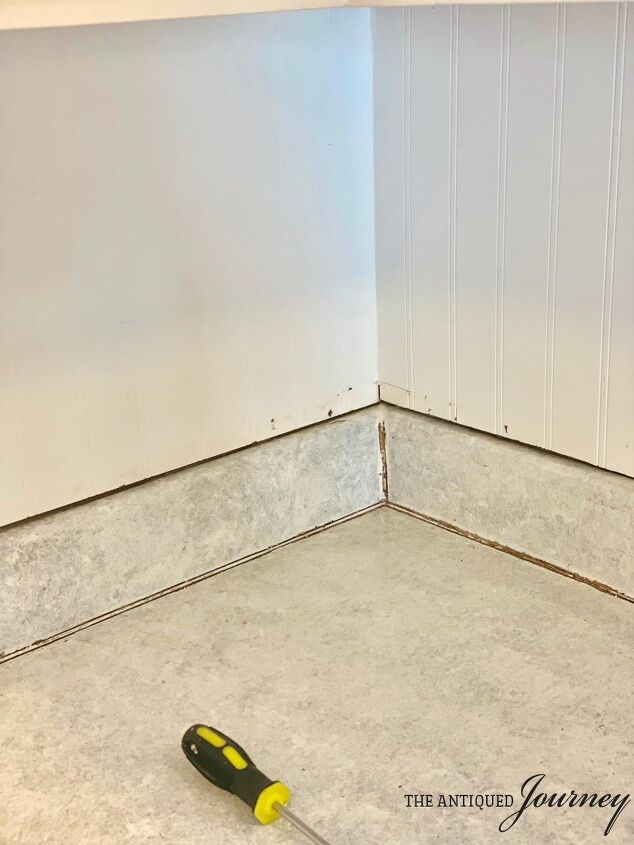
Here is what the countertop looked like before.

We had painted it a few years ago and that was starting to wear off and become blotchy. I also really wanted to add more warmth to the kitchen as opposed to it being so white.
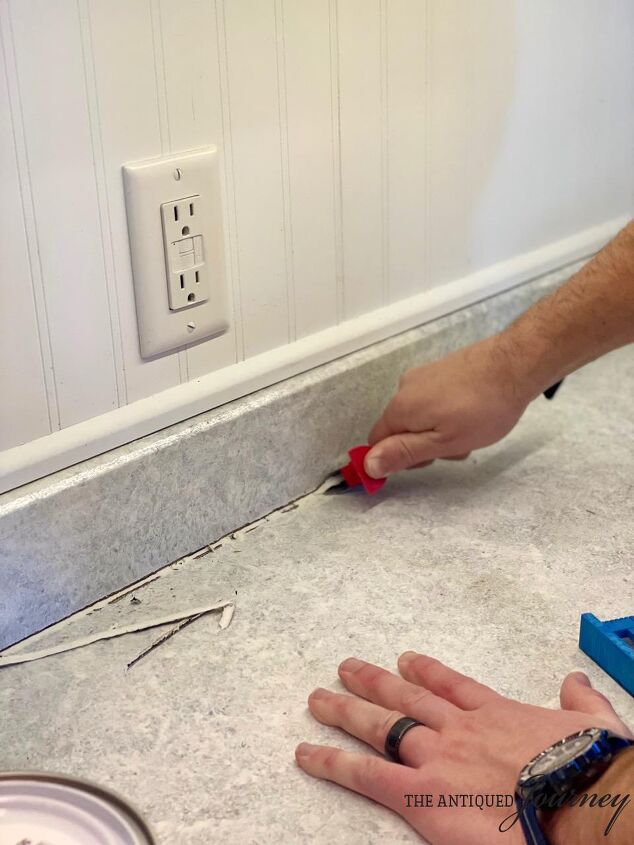
Step 1
The first thing to do is remove all of the existing caulk. You will need a caulk remover to do this, which is a handy tool to have.
Step 2
Then, clean the countertop really well with a degreaser, then again with warm, soapy water. This helps to remove any debris and grease that has built up.
Step 3
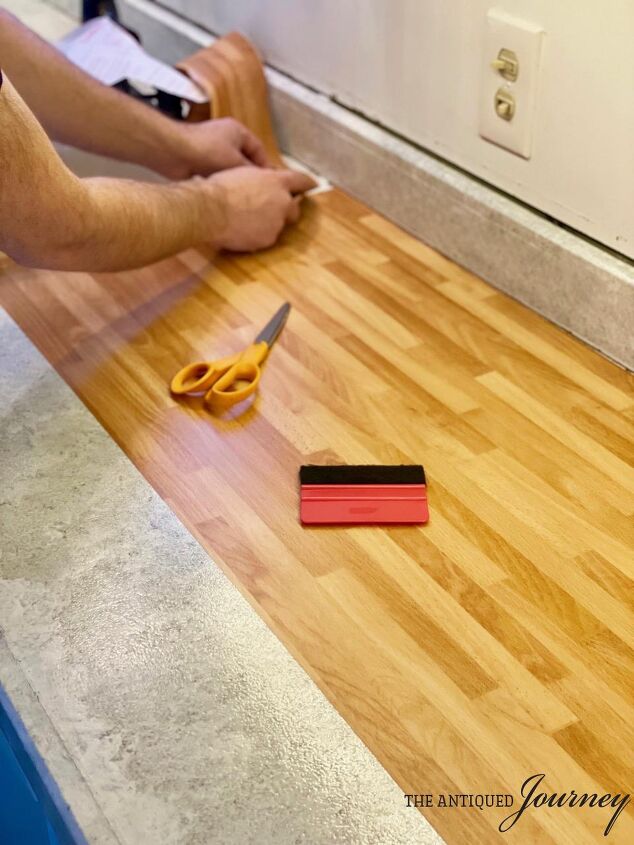
Measure how long you need your first piece of paper to be. Cut it accordingly.
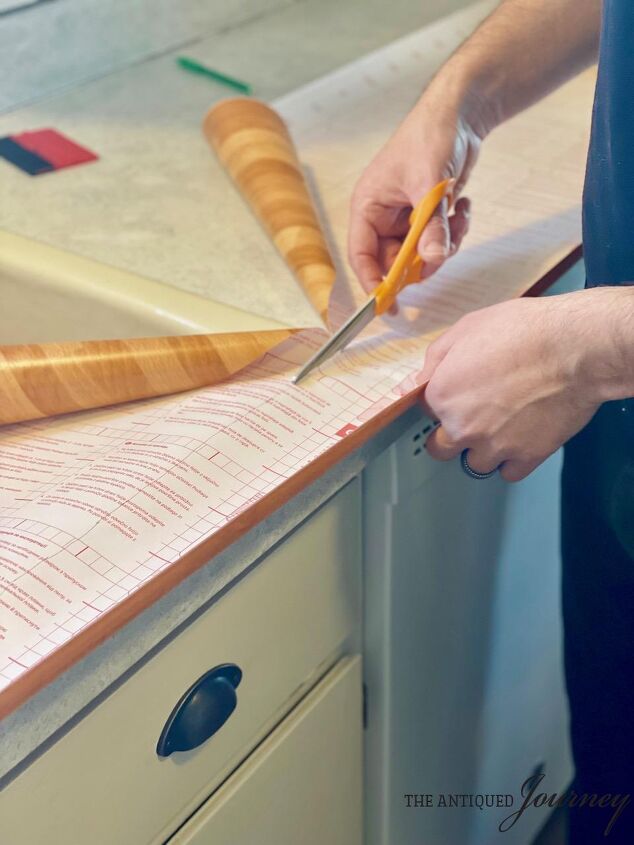
Step 4
Starting in a corner, slowly peel back the white paper. If you have ever lined a drawer with contact paper, this is very similar only this butcher block paper is thicker. GO SLOWLY…there is not a rush!
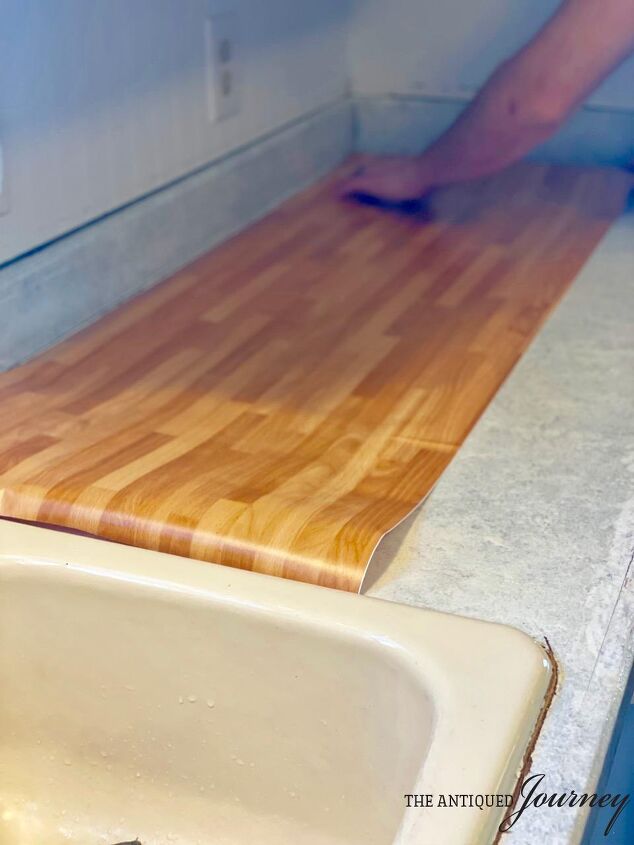
This kit comes with what I call a ‘smoothener’…it’s a piece of plastic that has felt on one side to help smooth out the paper as you are unrolling it.
Continue this process until you have one section of the countertop covered with the paper. Tip: It makes this process feel less overwhelming if you break your counter into manageable sections for adhering the paper.

Step 5
To get out any air bubbles, you can use a hairdryer and the ‘smoothener’ tool.
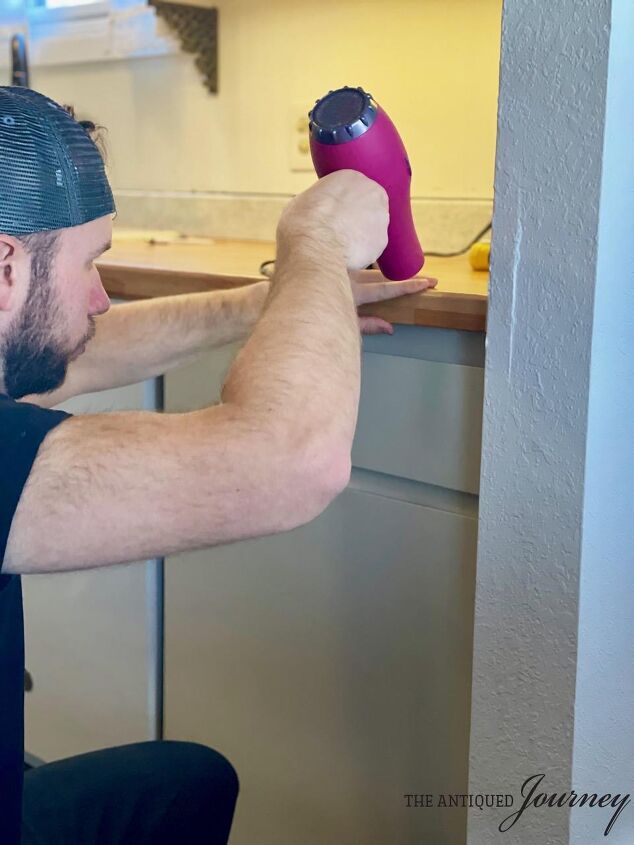
The heat from the hairdryer helps to remove the air pockets underneath. All you do is point the heat at the air bubbles and work them out with the tool or your hand. Again, this is a tedious process so just put on some fun music and take your time!
Continue the above steps until you have covered your entire countertop!
Step 6
Add new caulk around the sink and edges of the countertop.
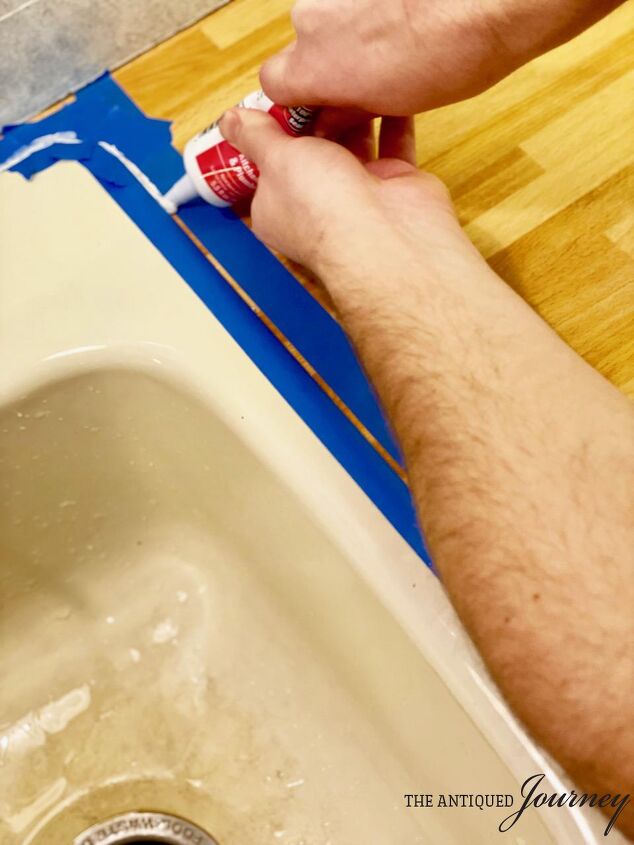
The easiest way to do this is to use painter’s tape to form a straight line to bead the caulk, then use your finger to smooth it out.
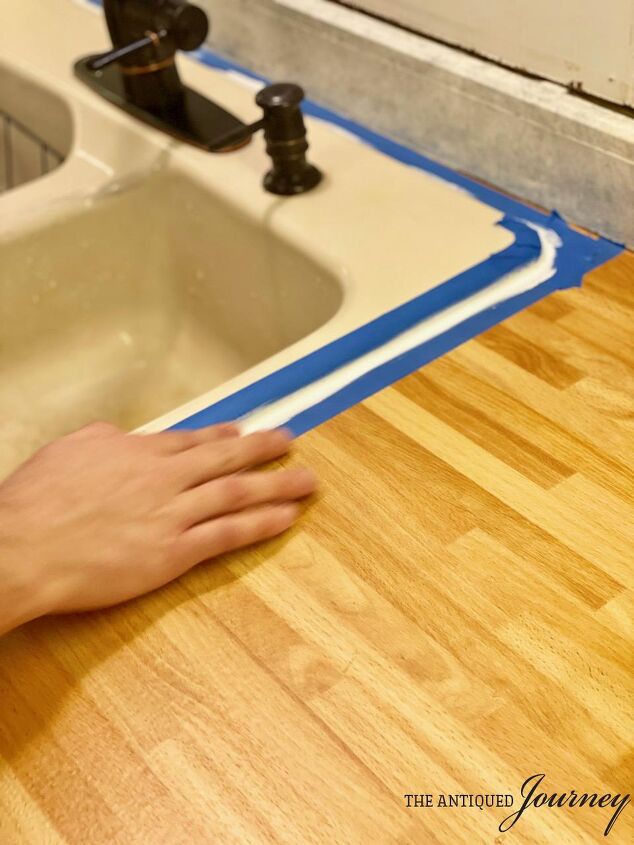
Do that same process for any edge or area on the countertop that needs new caulk. You can remove the tape right after the caulk is smooth, but allow the caulk to dry for 24 hours before touching it.
Step 7
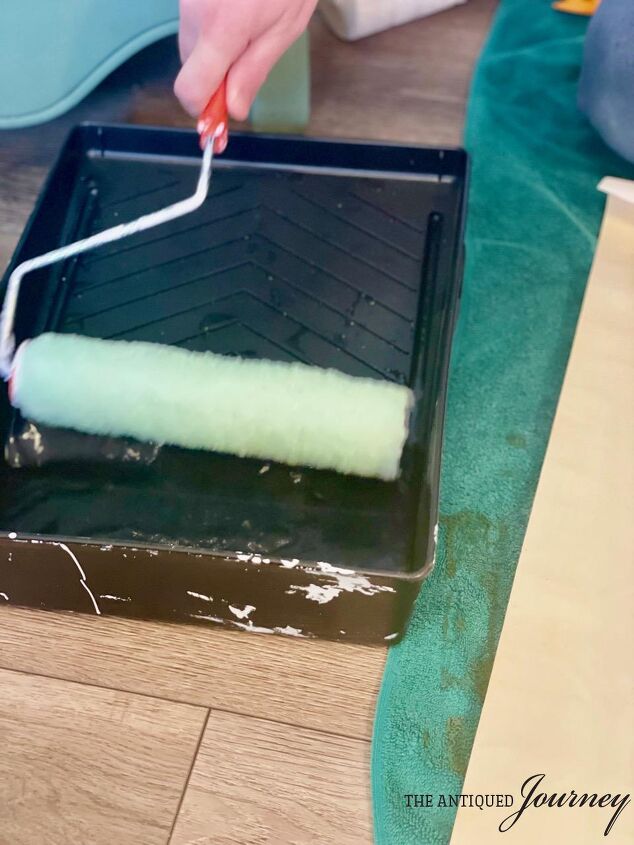
The last step on the countertop is to go over it with a clear coat. This helps to seal and protect the paper from any potential rips, tears, or stains. I’m sorry I didn’t get any pictures of this process but it’s really simple.
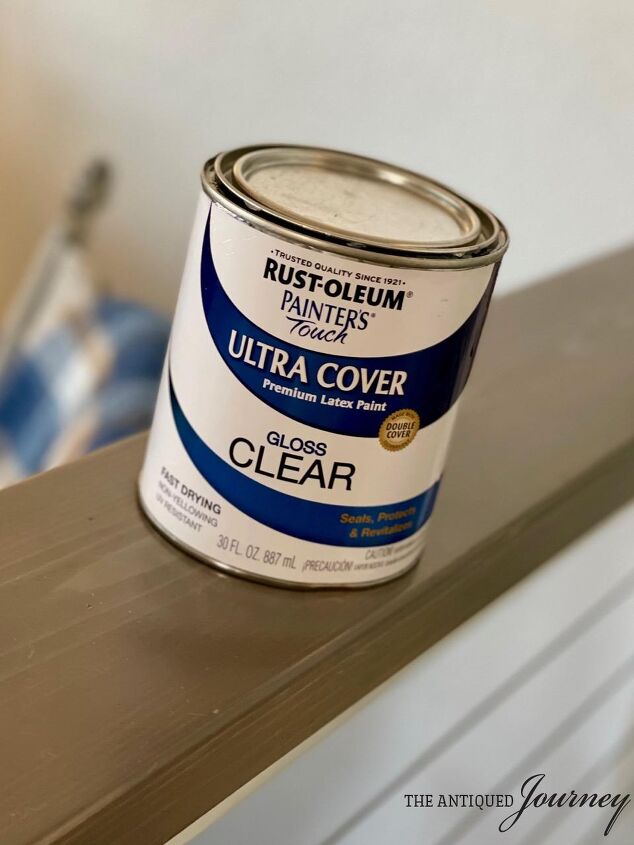
This is what we used from Home Depot. To start, pour some clear coat into a small paint tray. Use a 3/4 inch paint roller and apply it just like you are painting a wall. Do one coat, let that dry, and then analyze it to see if you want to do another coat. We ended up doing 3 coats because some areas weren’t quite thick enough.
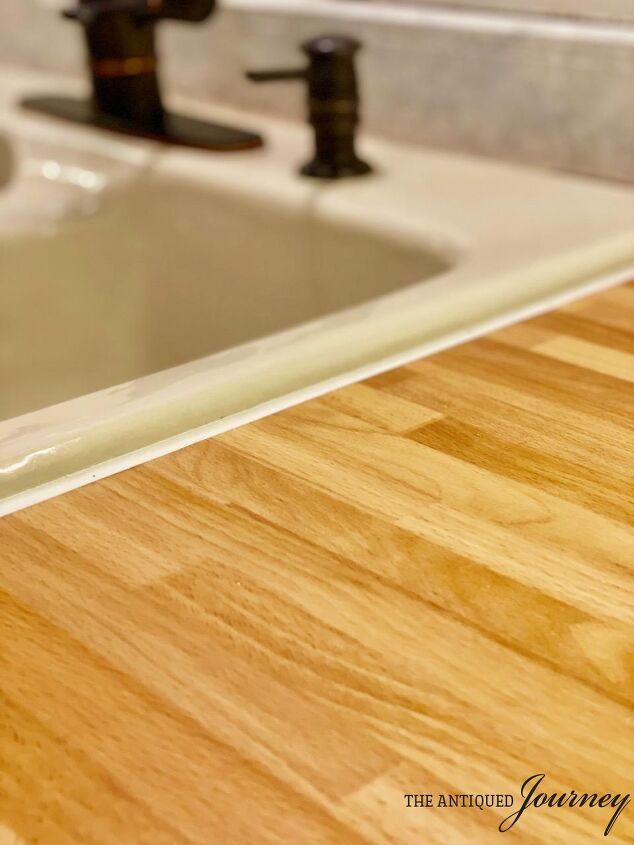
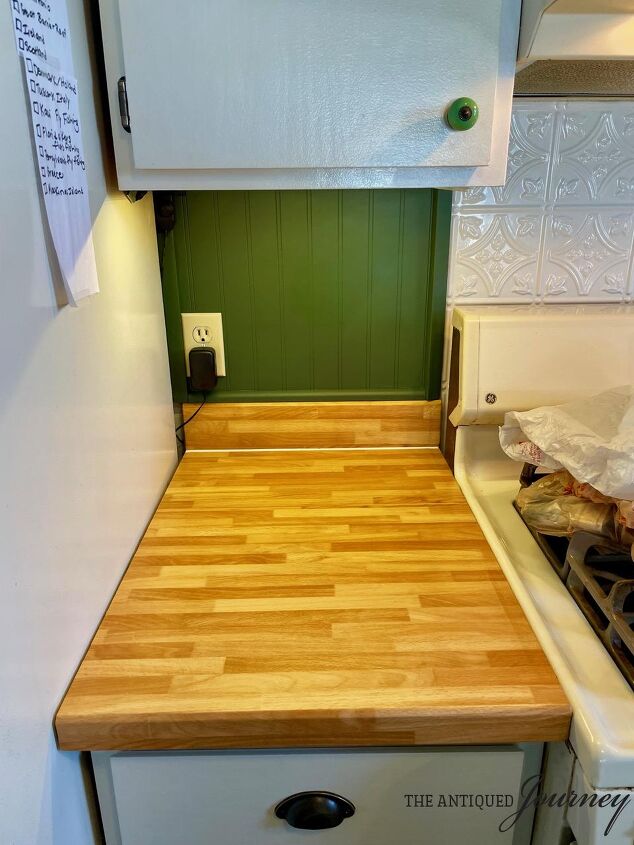
That’s the countertop! You can start and finish this in a weekend and have yourself a brand new counter. I really do love it and it adds such warmth to the kitchen. So far it’s working out beautifully and is so easy to clean!
Okay! Moving on to the next project.
Project 2: Painting the Backsplash
Materials Used
- a quart of green paint
- paint tray
- 3/4 inch paint roller and brush
- painter’s tape
- paper towels
- paintbrush
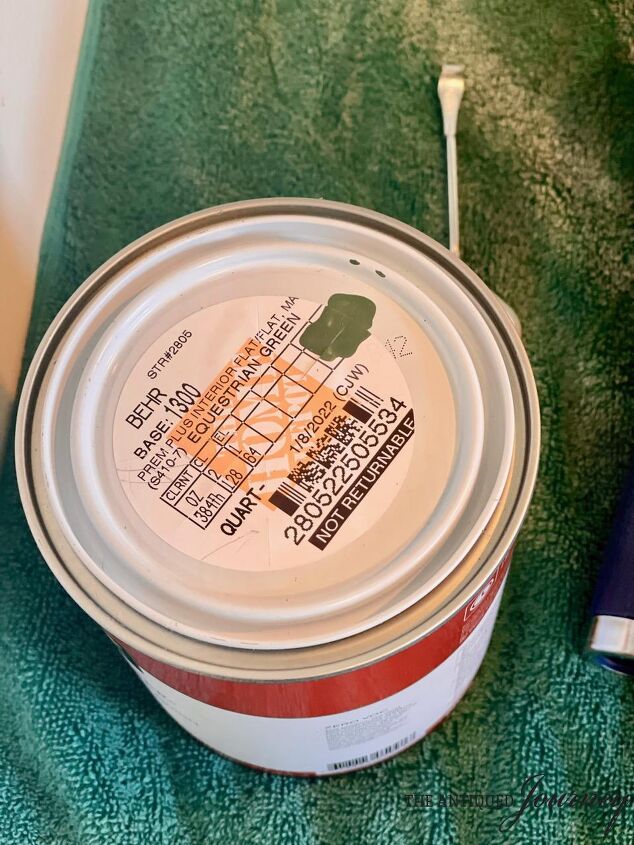
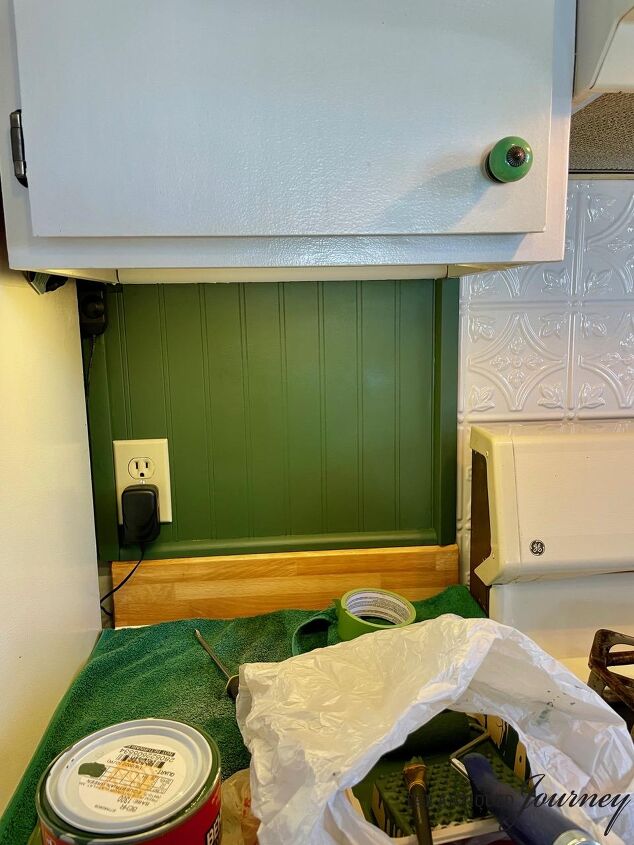
We had installed a beadboard backsplash a few years ago and painted it white. All we did to update it was paint it this beautiful, rich green color. It’s a bold color for a small kitchen but we decided to go for it and I’m so happy with that decision! This green color from Behr, called ‘Equestrian Green’, gives the kitchen so much more depth and contrast.
Step 1
Prepare the area for painting. Using painter’s tape, tape off any edges that you don’t want to be painted.
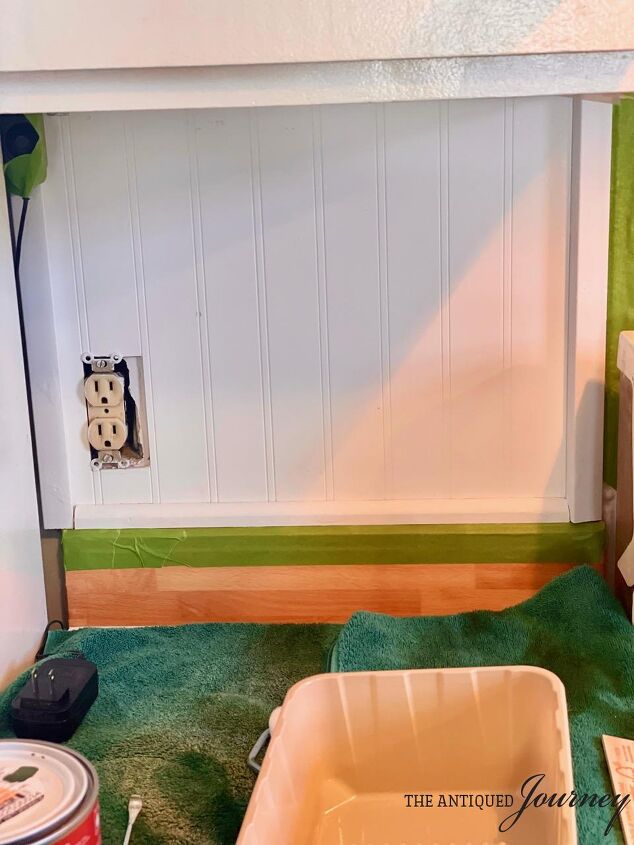
Remove outlet covers and any chords that may be in the way.
Step 2
Paint! Paint your heart out…this process of just rolling paint on a wall is so relaxing. I ended up painting 3 coats of green paint to get full coverage.
Many of the trends these days are so into neutral colors, but if you love a certain color and want to try it in your home, go for it! If you don’t like it, you can paint over it…but life is too short for white walls!
That’s a wrap on project 2. I hope this inspires you to take a risk and go bold!
Now we move on to the last project of this kitchen refresh which is wallpaper!
Project 3: Wallpaper
Materials Used
- 2 rolls of textured wallpaper
- water
- water tub
- sponge
- scissors
- tape measure
- straight edge
- pencil
- all-purpose cleaner
- rag
- old towels
- nail gun and nails
- wood ceiling trim
- Mitre saw
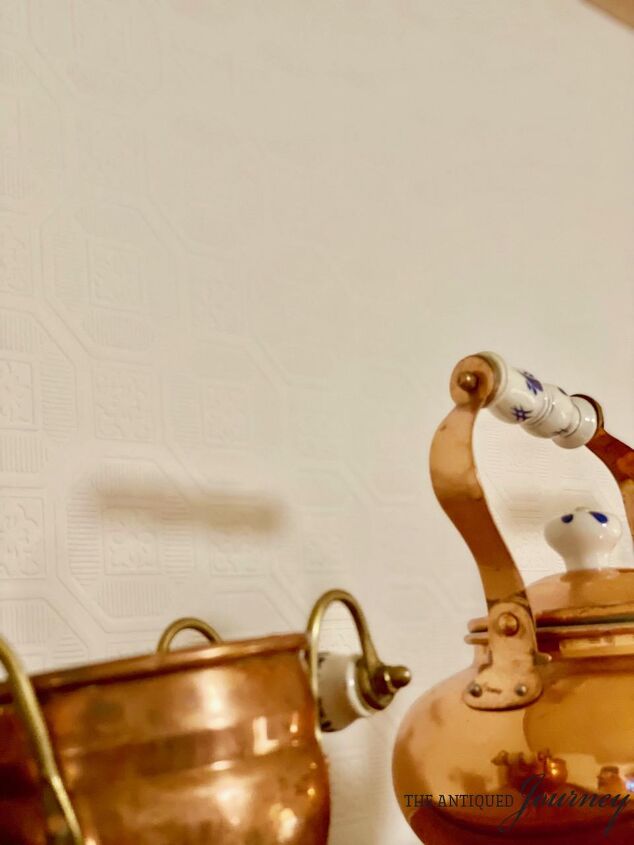
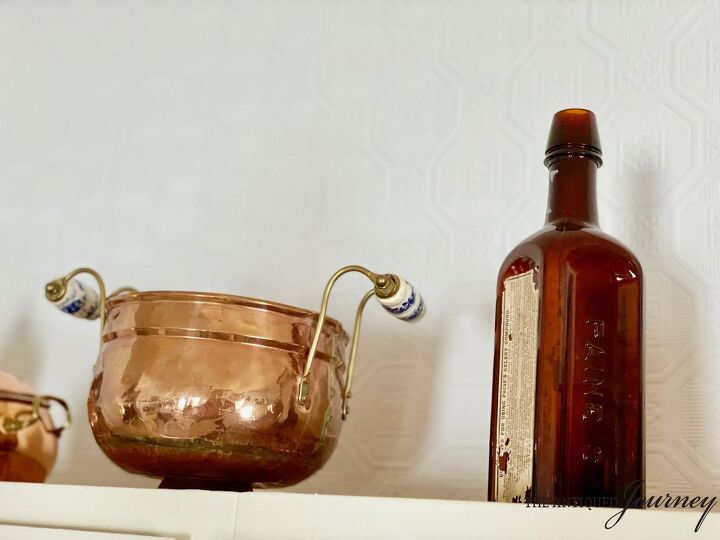
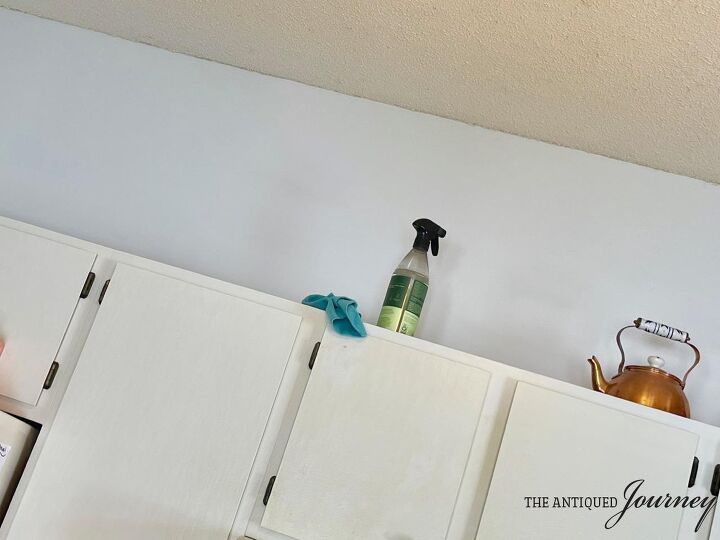
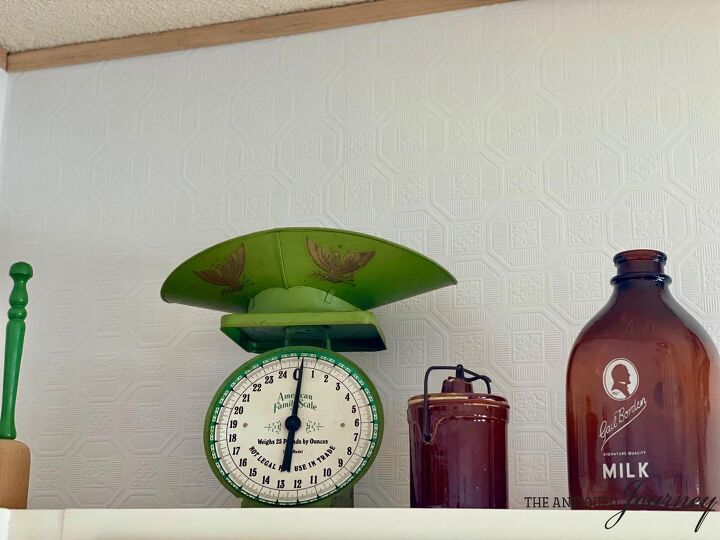
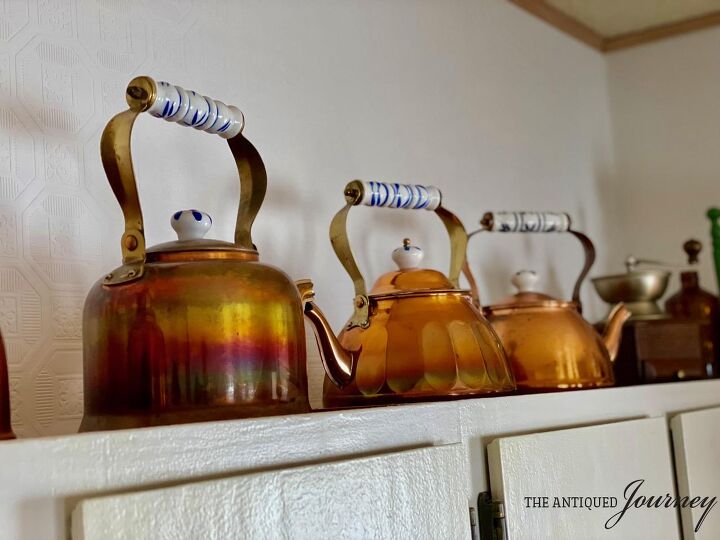
There is a small of area of wall above the kitchen cabinets that needed something. I display many of my vintage pieces on top of the cabinets and have always wanted something on the wall behind them to make it look more cohesive. It just so happened that my mother-in-law had 6 rolls of this beautiful textured wallpaper that she gifted me!
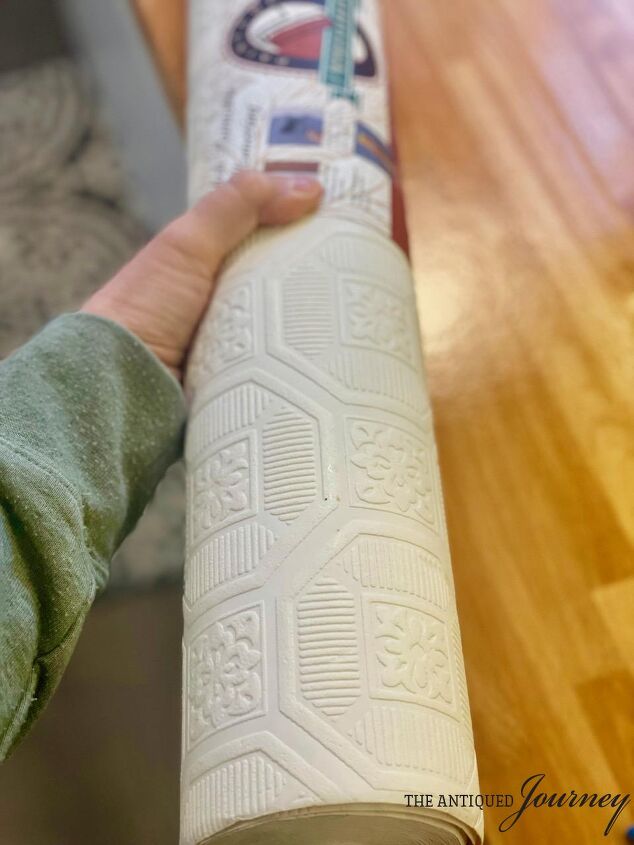
Look how pretty! It reminds me of a tin ceiling that you would find in an old diner or country store. This wallpaper comes ready to hang and is paintable!
Step 1
Clean the wall that you are putting wallpaper on to remove any grease. You can use any household cleaner and a rag. Scrub it really well and allow it to dry.
Step 2
Using a straight edge tool and a pencil, draw a straight line down the wall where the end of the first piece of wallpaper will stop.
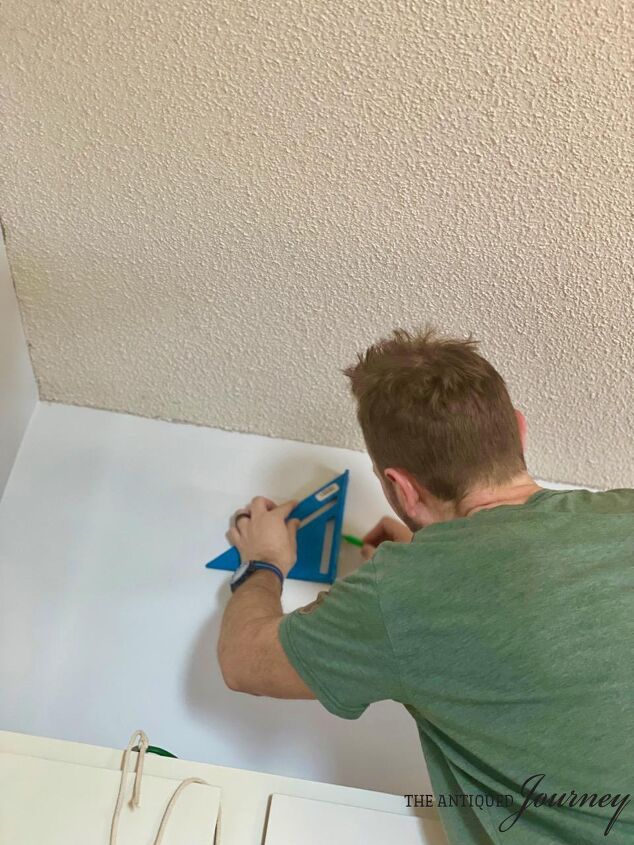
This line only needs to be drawn once but is super helpful for ensuring that the first piece of paper goes on straight, therefore ensuring the rest of the wallpaper goes on straight.
Step 3
Using a measuring tape, measure how long you need the first piece of wallpaper to be. We measured out an extra 2 inches on each piece to have a little wiggle room.
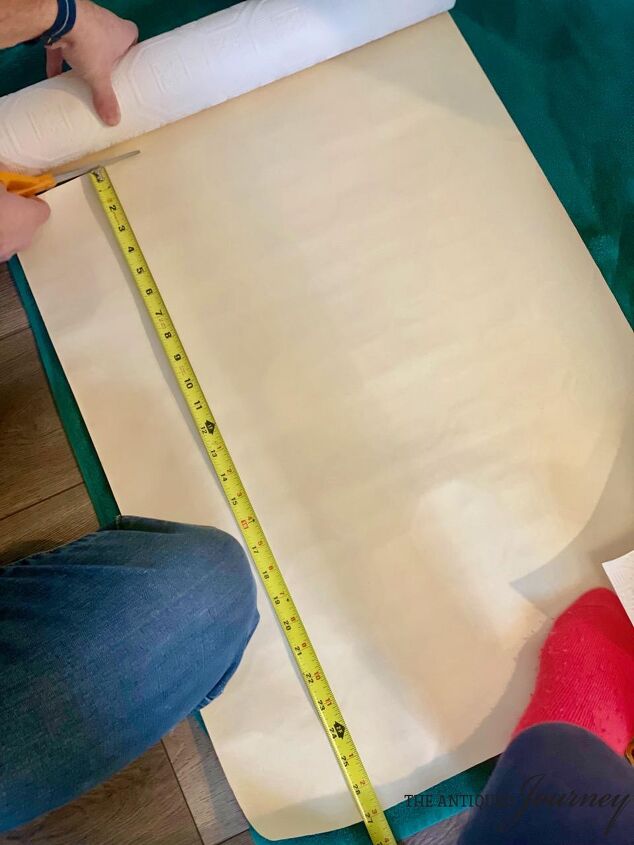
Cut it to size with scissors.
Step 4
Wet the wallpaper. Typically you use a big tub and just dunk the paper in it, but we didn’t have one and didn’t want to go buy one.
So, we came up with a solution! We used a large empty paint tray and a new 8 inch paint roller and just rolled the water onto the wallpaper. I just soaked the roller in water and rolled it one direction, making sure every spot was covered with water.

Then roll each end of the paper onto itself, bringing the ends together so that they are just touching. Let that sit for about 3 minutes to activate the glue.
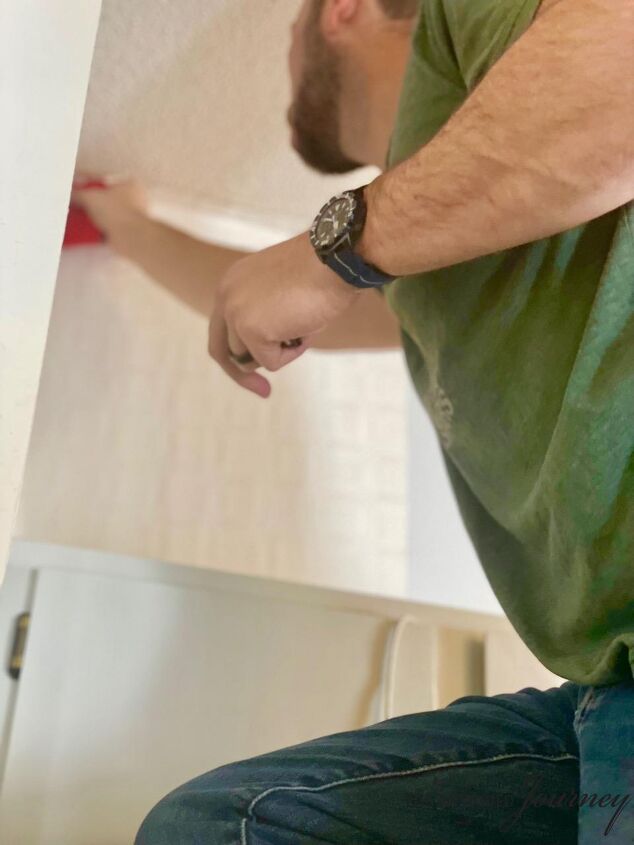
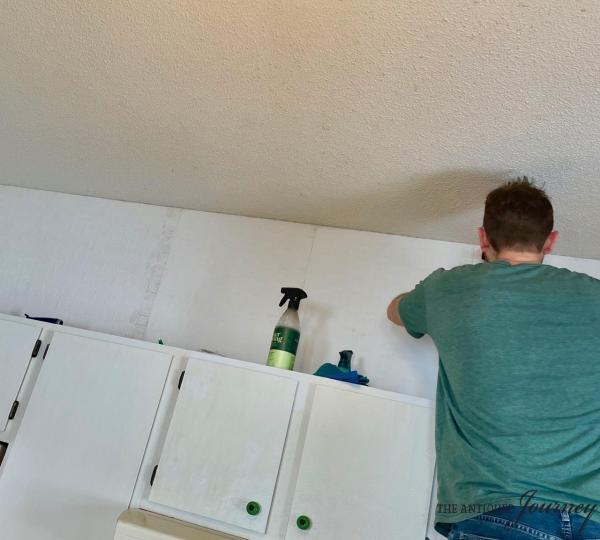
Step 5
Adhere the paper to the wall. The smoothener tool that was used on the countertop is a handy tool for smoothing the wallpaper onto the wall!
Continue the above steps for each piece of wallpaper until you have the wall covered!
Step 6
Let the wallpaper dry for 3 days. Then, I painted the wallpaper white because it was a little too cream looking for my taste. I didn’t get any photos of this process but it’s pretty self-explanatory.
Step 7
The last thing we did was install trim just above the wallpaper section.
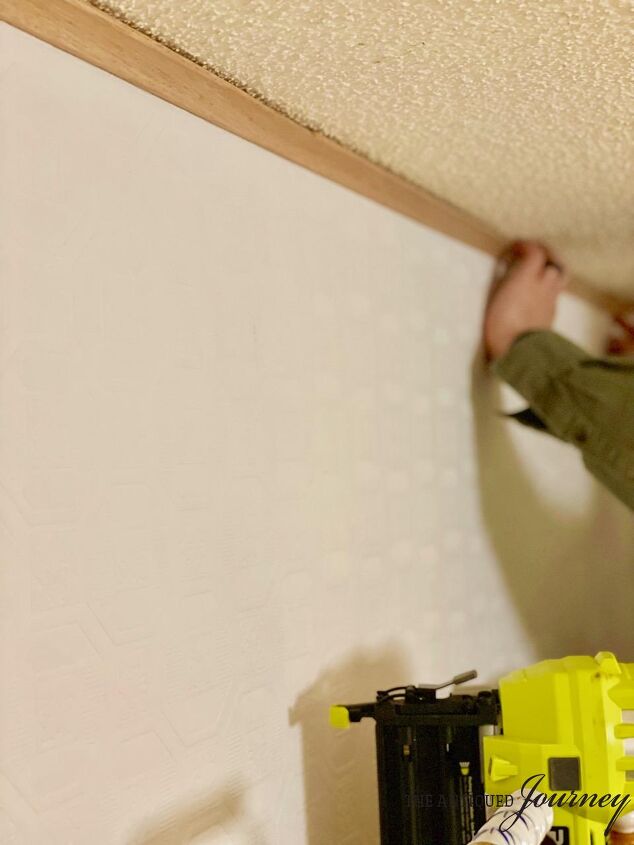
Initially I wanted to use white crown moulding but then I saw this raw wood trim at Home Depot and loved it. It’s Oak and ties in with the countertop as well as some other decorative accents in my kitchen, making the whole space feel cohesive.
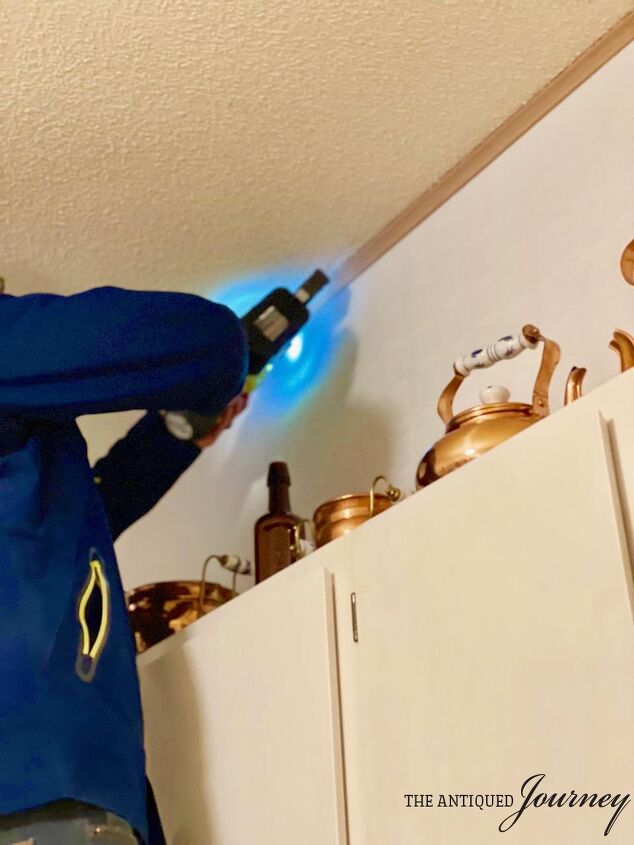
All we did was measure how long each trim piece needed to be, used a mitre saw to cut the trim, and installed it using a nail gun. This whole process took about 30 minutes total. It really cleans up the ceiling edges and finishes everything…like a bow on a present!
That’s the end of how to refresh a kitchen without renovating! We worked on each of these projects within the span of about a month but you could finish it in a week if you did a little bit each day.
I hope this inspires you to refresh a space in your home. You don’t need to spend thousands of dollars to make your home look refreshed and updated!
To me, inexpensive updates that you can do on your own make me feel empowered. A design vision that was in my head came to life and I am so happy with how my kitchen turned out. It’s the perfect mix of cottage and modern ideals with a vintage aesthetic.
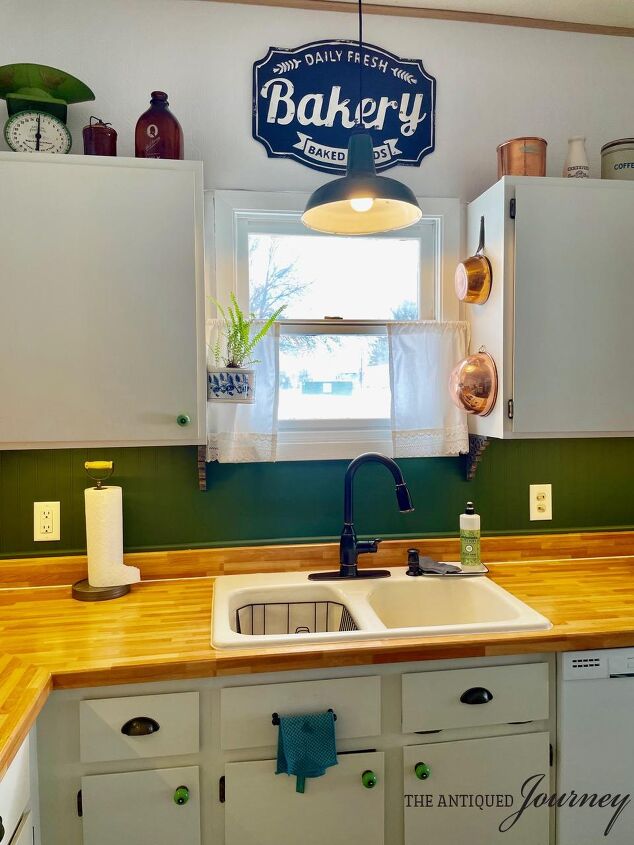
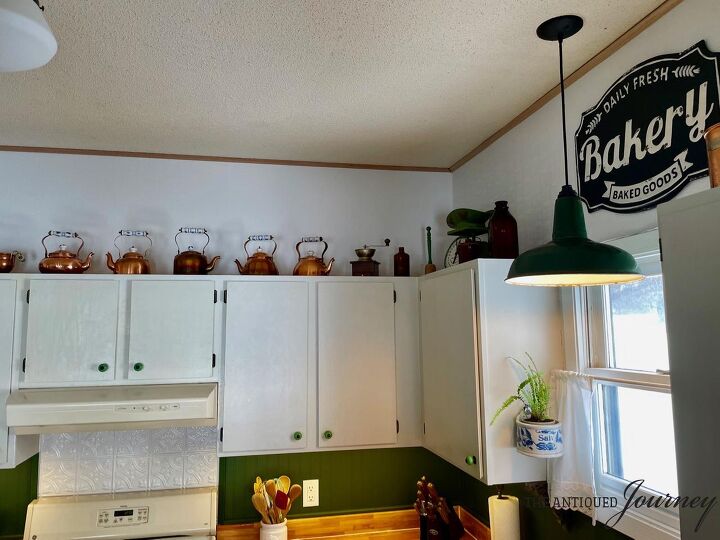
Before this refresh the kitchen kind of felt like a mish-mash of styles with no real direction. Now, all my vintage decor feels like it’s part of the kitchen, not just in the kitchen. My vintage copper pairs beautifully with the green walls and the green enamel pendant light over the sink doesn’t feel so random.
Take an idea that you have and run with it! Be bold and creative! Play with color! Life is too short to do anything but that.Thanks for sticking with me on this very long post…I’m grateful.
Let me know in the comments what your favorite part of this kitchen refresh is! Have you ever done anything similar? I would love to know!
For for home inspiration, go over and say hello to Carol at Blue Sky At Home and CoCo at The Crowned Goat. Both of these talented bloggers have amazing content and excellent ideas!
Find more Antique and Vintage Inspiration.
Create simple DIY Projects.
Go shopping in The Antiqued Journey shop!
If you are loving my content, please consider subscribing to my weekly email. In return, you will receive a free digital download! I would love for you to be a part of The Antiqued Journey community.


Comments
Join the conversation
-
Yes, it does look great but Contact paper is not meant for daily use. It fades, chips, tears and shrinks. Above the cabinets it looks great and will last longer.
-
Hi Lilith,
We put a few coats of clear coat sealant over the top to help with that. This is meant to be a temporary solution, as in under two years, until we can replace the actual countertop. Thanks for reading!


Frequently asked questions
Have a question about this project?
My experience with contact paper is that it shrinks. So, even though you line the edges up perfectly, the paper shrinks, after a while, and leaves the edges showing. Did your top coats solve this problem? How long ago did you do this to your counters?
Thank you for all the wonderful ideas! I have a home built in the 40’s and the kitchen needs a lot of help.
You’ve made a beautiful kitchen on a shoestring budget, I love it!
I love the copper kettles; I wonder what it would look like if you dry rubbed copper paint on some of the raised portions of the wallpaper. Maybe like weathered tin?
Wow! I can’t get over how great the countertop looks. When you did the miter cut in the corner, did you do a slight overlap or have the edges line up next to one another? Fantastic job!!