


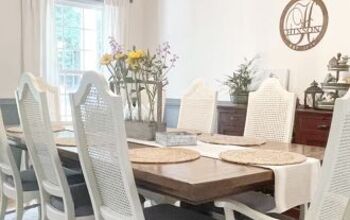
Recover Dining Chairs the EASY Way
Hey friends, I'm Cindy and creating a beautiful home on a budget is my favorite thing! I love padded dining chairs and switching out the fabric to get a whole new look is so simple!
You don't need to have any mad DIY skills to do this...I'll break down the steps and show you how easy it is!
A couple years ago I redid the seats on my dining chairs from black and white chevron to black and white houndstooth. I absolutely loved the look, until recently when I was craving a lighter feeling in my dining room.
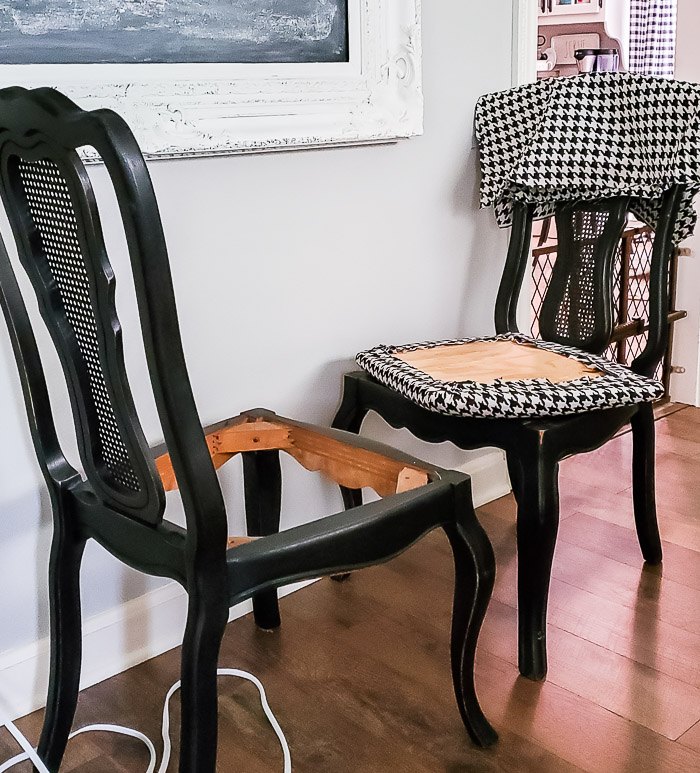
Step One
Flip chairs over and remove the screws that are holding the chair seats in place. You can use a drill or screwdriver.
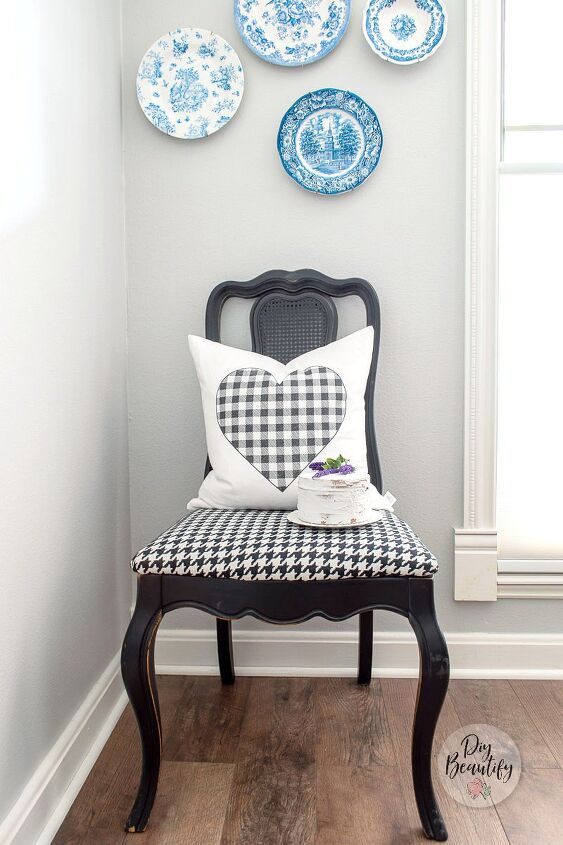
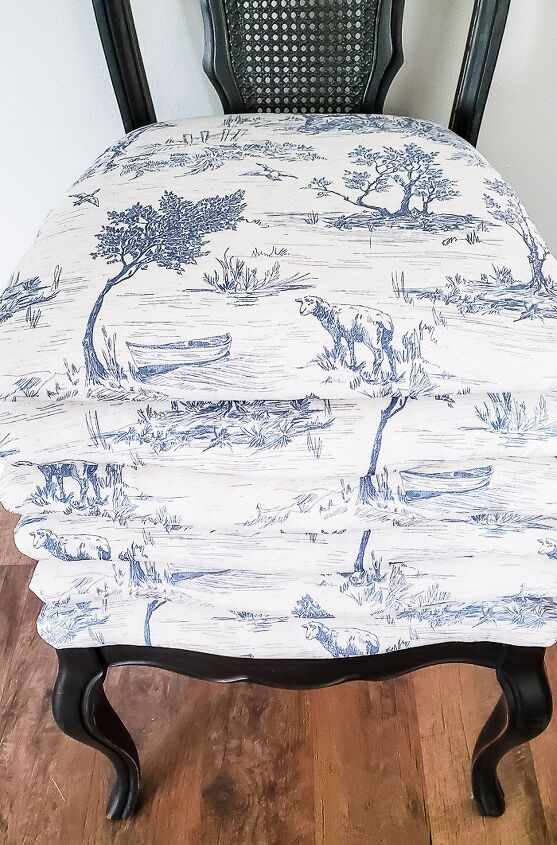
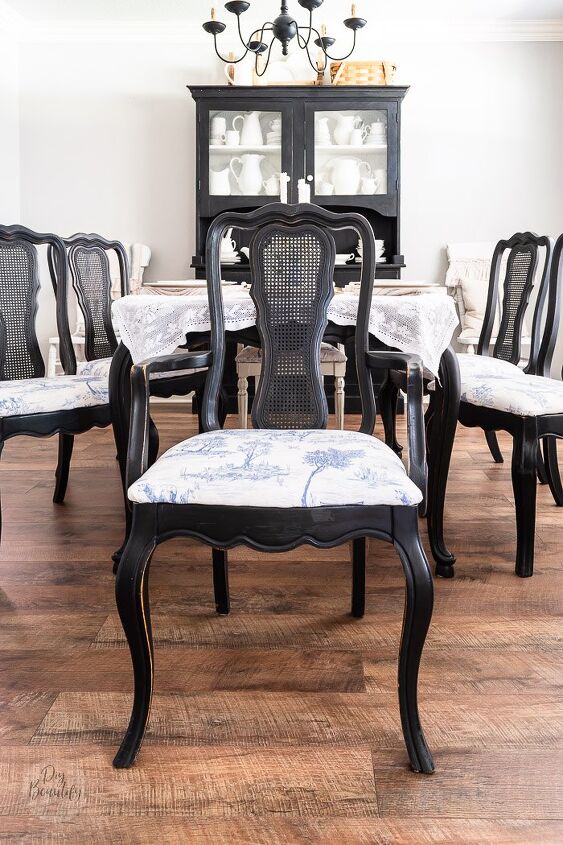
I had purchased a blue and white toile tablecloth from Amazon for under $20 and intended to use it to cover the table. But in the end, I decided it was the perfect fabric to recover my chair seats! I had enough to do all six chairs and they turned out so beautiful.
Here's how I did it.
Supplies
- screwdriver or drill
- about 1/2 yard of fabric per seat (upholstery fabric is a better choice because it's wider, and heavier weight)
- sharp scissors
- pliers
- iron
- heavy duty staple gun
- flat head screwdriver
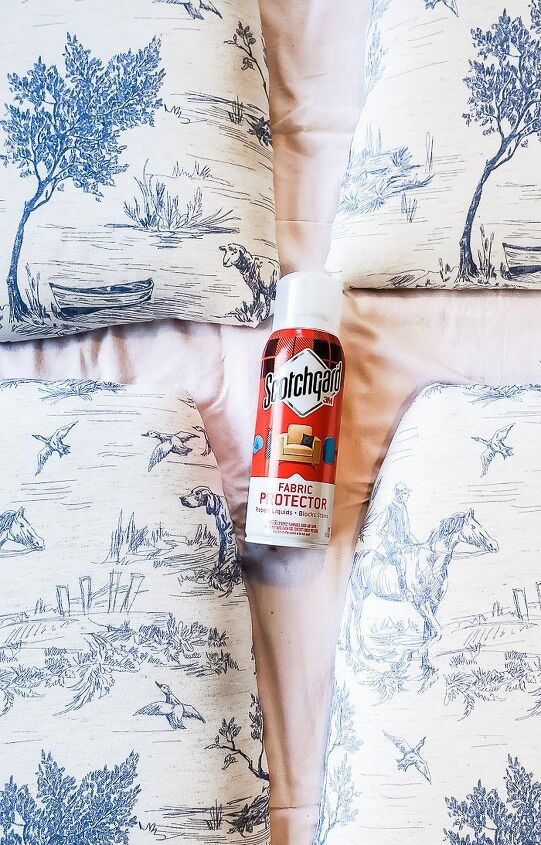
- ScotchGard fabric protector

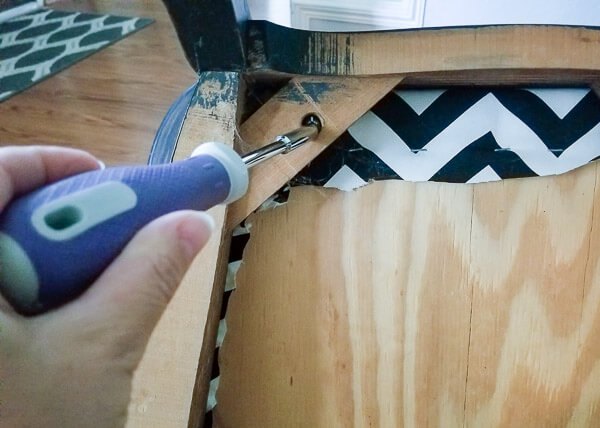
Step Two
If you have multiple layers of fabric, you'll need to remove one or two so it doesn't get too bulky. Use a flat head screwdriver and pliers to loosen and remove all the staples holding the old fabric in place.
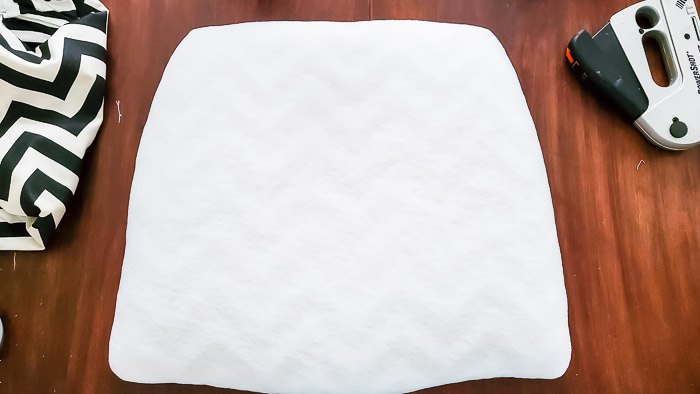
I removed two layers of old fabric until I was down to the batting. Look at the chevron marks that were left on the batting!
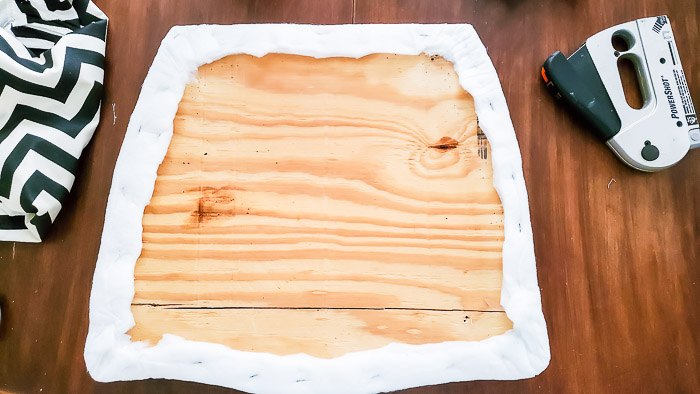
Step Three
Cut out your new fabric to fit the seats, allowing about 3" of overage. Lay fabric on table, right side down, and center seat on top. Staple the new fabric in place along the bottom of the chair's seat. I like to staple in the middle of the top, then the bottom, then one side, followed by the last. Flip your piece over to make sure all looks good...that way if you do need to remove the cover, you only have 4 staples to remove! Once all looks good, continue to staple fabric around the chair seat. Keep fabric taught while stapling.
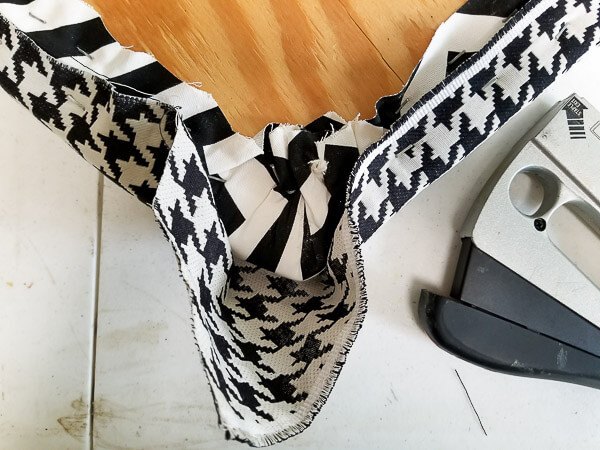
To get perfect corners, Staple the sides up to about 2-3" from the corner. Smooth fabric and pull the corner fabric to the middle of the seat, then overlap each side, one at a time, with a fold and staple in place.
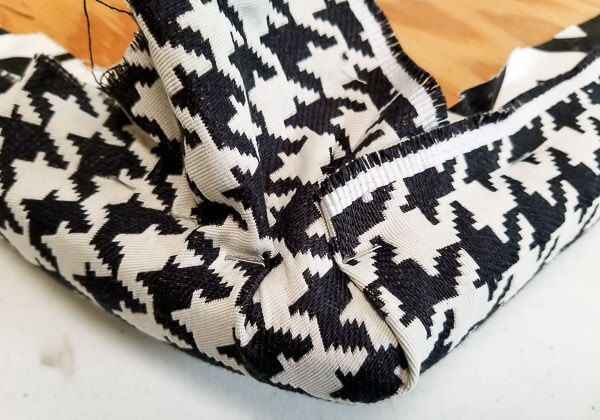
I'm showing you a close up here with the old fabric.
Finally, trim the excess fabric around the edge of the chair seat so the holes in the seat are not covered...you'll need those to be able to reattach the seats to the chairs!
If you're concerned about stains, take the recovered seats outside and spray them with 3-4 coats of ScotchGard, allowing each coat to dry before respraying.
Finally, reattach the newly recovered seats to the chairs and admire your hard work and new look!
I hope you'll try this project in your own home!


Comments
Join the conversation
-
So pretty ❤
-
Wow, I liked the fabric that was on them as well!


Frequently asked questions
Have a question about this project?