


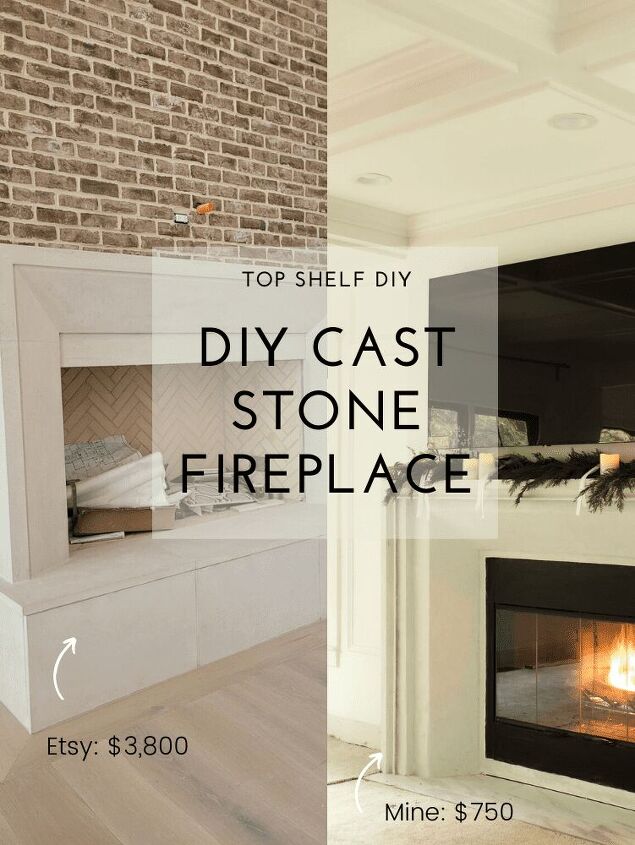
DIY Faux Cast Stone Fireplace
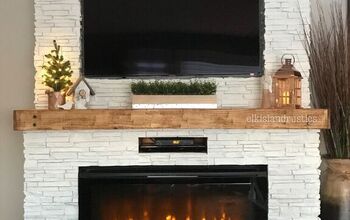
I love the look of modern cast stone fireplaces (think Shea McGee's living room) but I'm not in love with the price tag. These babies will run you upwards of $3k.
Here's how I recreated the look of a cast stone fireplace on a budget.
This part entailed a lot of trial and error, but where there's a will, there's a way!
The Fireplace: Tools and Materials
- (6) 1x12 pine boards
- Miter saw
- Kreg jig
- 1 1/4" pocket screws
- Wood glue
- Right angle clamps
- Galvanized steel framing studs
- Galvanized Steel High-Hat Furring Channel (optional)
- Metal Schluter edging
- Tin snips
- Safety gloves
- Self-tapping metal screws
- Durock cement board
- Circular saw with a diamond blade
- Rock-on cement board screws
- Henry's Pre-mixed leveling compound
- Henry's feather finish
- Titanium dioxide cement pigment (white)
- Trowels + bucket
- 220-grit sanding wedges
- Cement sealer
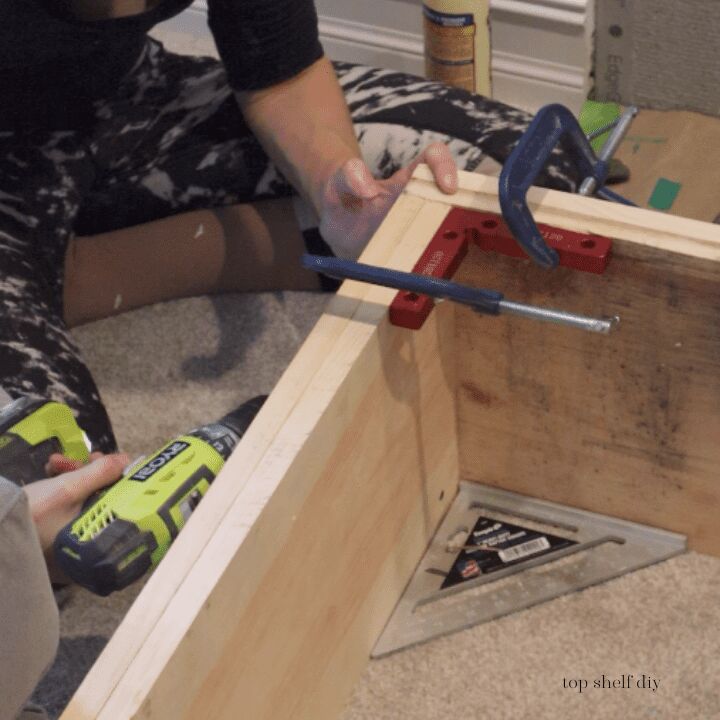
Mantel construction
I started by joining 1x12 pine boards together via pocket hole joinery. Each side consisted of two boards glued and screwed together (be sure to countersink your screws for a nice flush surface). I assembled the mantel right in the living room.
Clamps are your best friend!
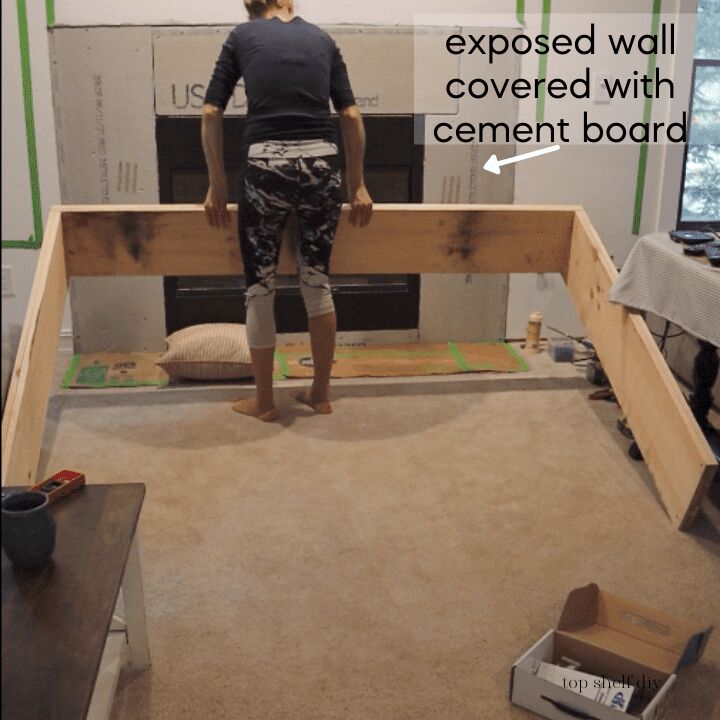
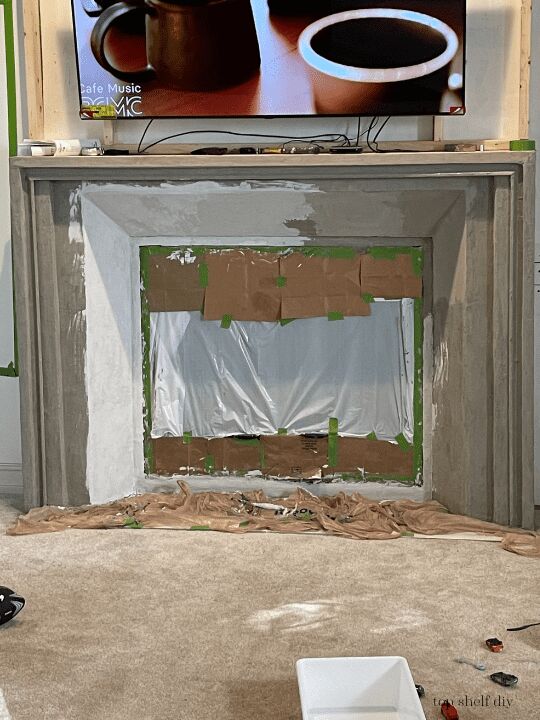
Set your mantel in place. I also taped down some grocery paper to protect my newly placed hearth tile.
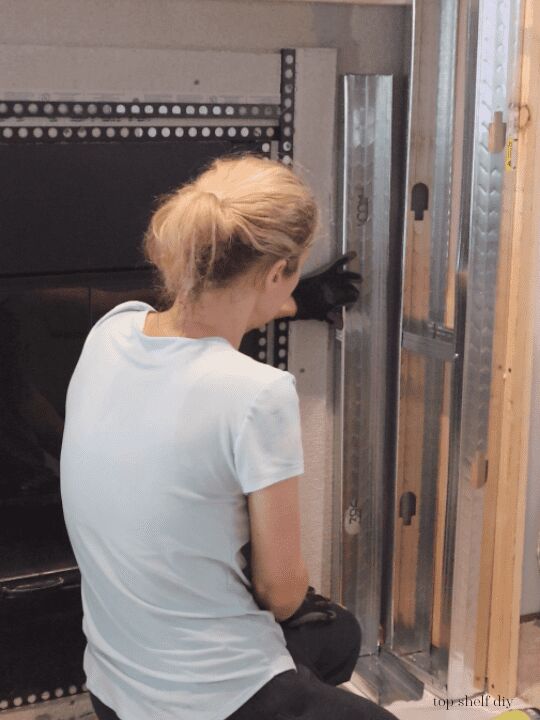
The rest of the mantel was made of non-combustibles: metal studs and cement board. I began by placing my metal studs inside the mantel so that there would be a layered effect once it was all covered with cement board.
Metal studs are super lightweight and can be cut with tin snips (just be sure to wear gloves!). Start with the top and bottom pieces, then slide the sides in to build your box. Secure the studs to each other with metal screws, then secure them to the wall via cement board screws.
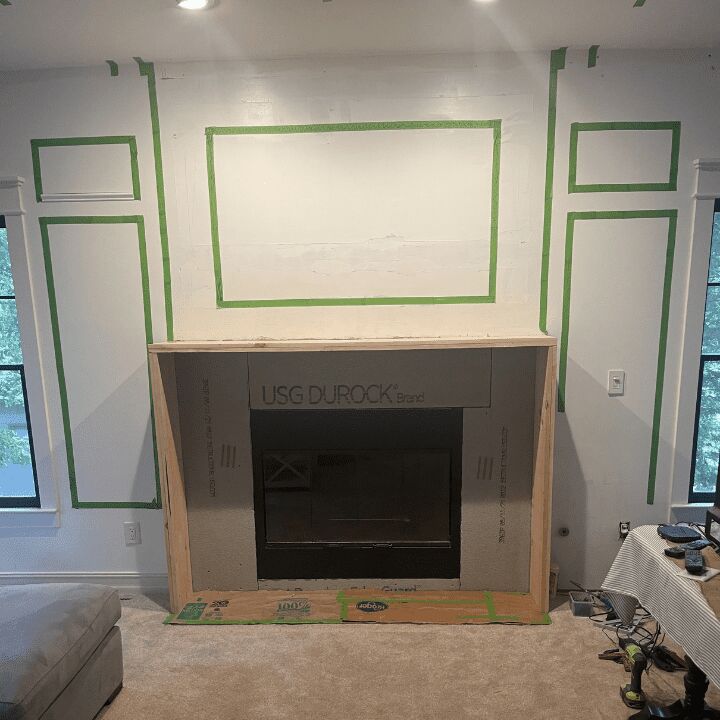
Below is what the framework looked like once it was assembled. For added architectural detail, I secured a metal furring channel to the wood frame using metal screws.
A few more small details: I added metal Schluter trim around the fireplace opening. I also doubled up the cement board in this area to create the layered effect I wanted.
I wasn't working with any kind of plans here...I just winged it and hoped for the best.
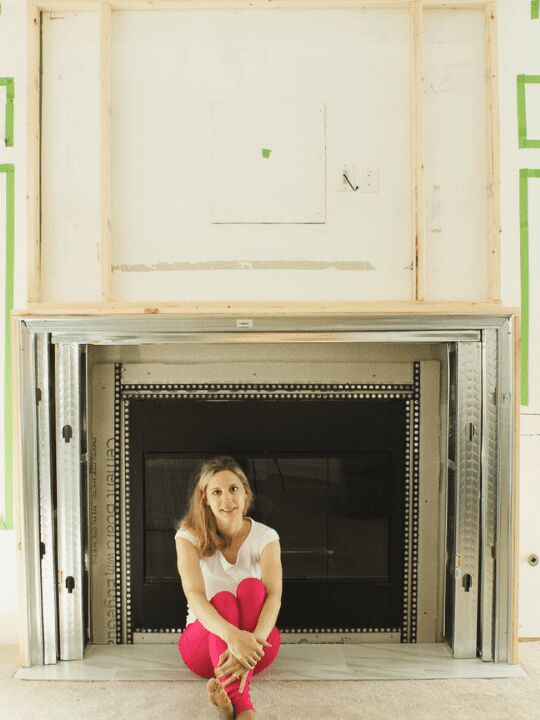
Can you see it coming together now? 😁
At this stage our electrician had just added an electrical box and ethernet port above the fireplace! I was so freaking excited.
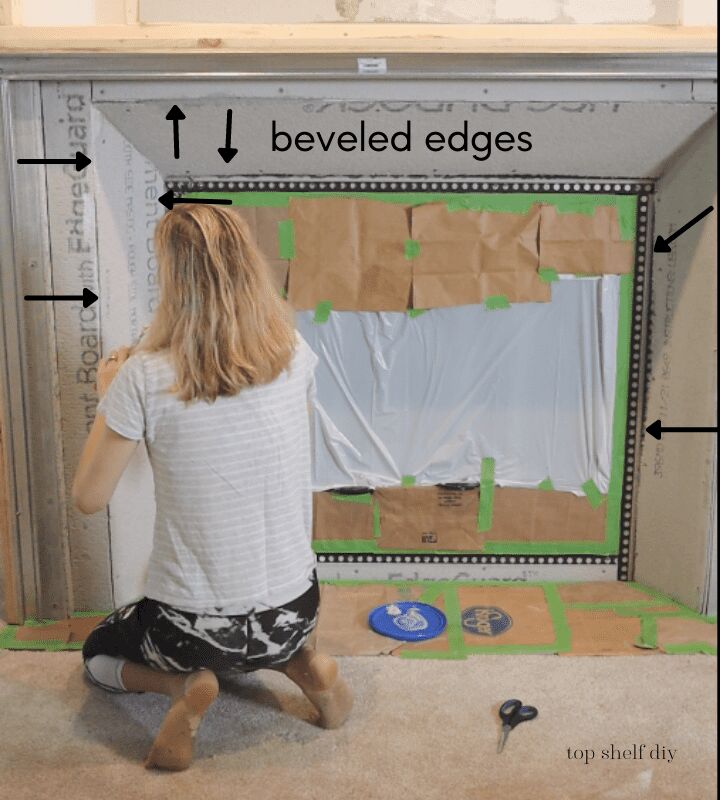
The final step of construction was adding cement board to the outside of the mantel. As before, you'll want to use a diamond blade on a circular saw or angle grinder. For some of the cuts you'll have to use a circular saw in order to achieve a beveled edge.
Three inner pieces will need to be cut at a 45-degree bevel on their ripped edges (see photo). The rest can be just cut at the regular 90 degrees.
Getting the stone "look"
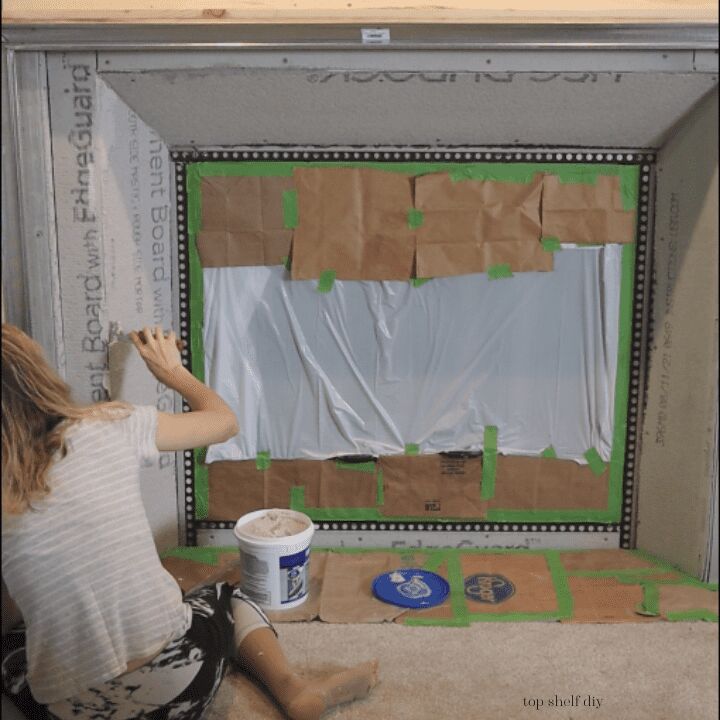
The last step in this process is a bit tedious and time consuming, but well worth the effort. First, I filled in all the seams with Henry's leveling Patch n'Level.
Next, I covered the entire mantel and fireplace surround in Henry's cement feather finish. Because the mixture is naturally a dark gray, I reconstituted the mix in a 1:1 ratio with titanium dioxide (white pigment). I sanded with a 220-grit in between each coat. Three coats was enough for me to get a uniform finish.
I love all the movement and texture of a cement feather finish! You'd never know the inside of this fireplace is as hollow as a drum.
The last step was to seal the cement with 511 sealer (linked above). It didn't affect the final color of the fireplace, thankfully!

That's it for this step in the renovation process!
Questions? Hit me up in the comment box below! Hopefully the photos help.
Cheers,
Erin
Resources for this project:
See all materials


Comments
Join the conversation
-
Wow!! So impressive! Thank you for sharing.
-
Absolutely. Impressive!


Frequently asked questions
Have a question about this project?
Outstanding! Professional, sophisticated, Architectural Digest worthy.
Now can you come over and do mine?😊
Absolutely gorgeous!! Love it!