


Fireplace Makeover With Slate-ish
This project was sponsored by Slate-ish Wall Armor. All opinions are my own.
Hi! It's Jess from Jessica Welling Interiors.
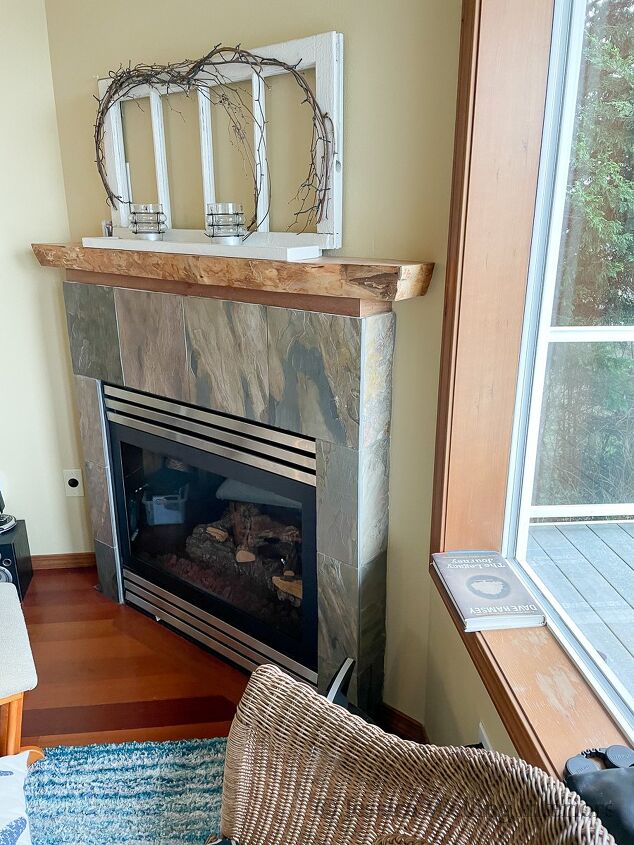
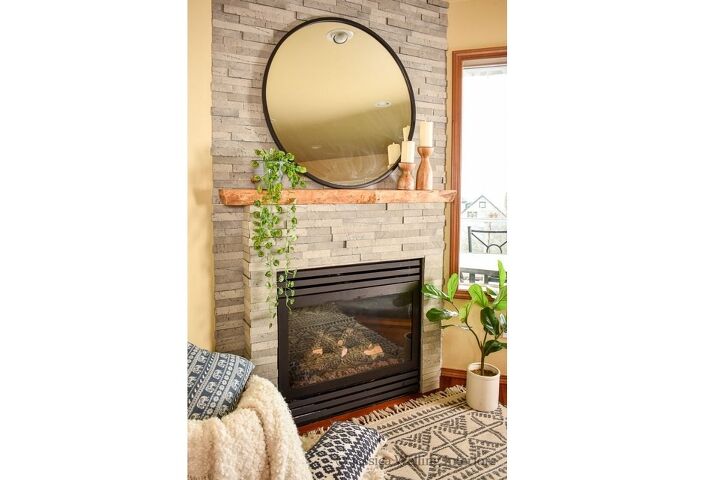
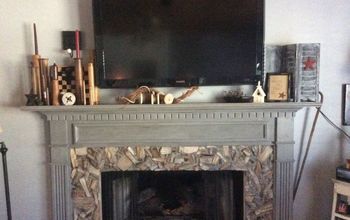
We’ve been eyeing this old fireplace at my parent’s beach house for several years now, brainstorming ways to give it a bit more presence and make it feel more modern. So when I learned about Slate-ish I knew it would be perfect for this project.
Hometalk Recommends!
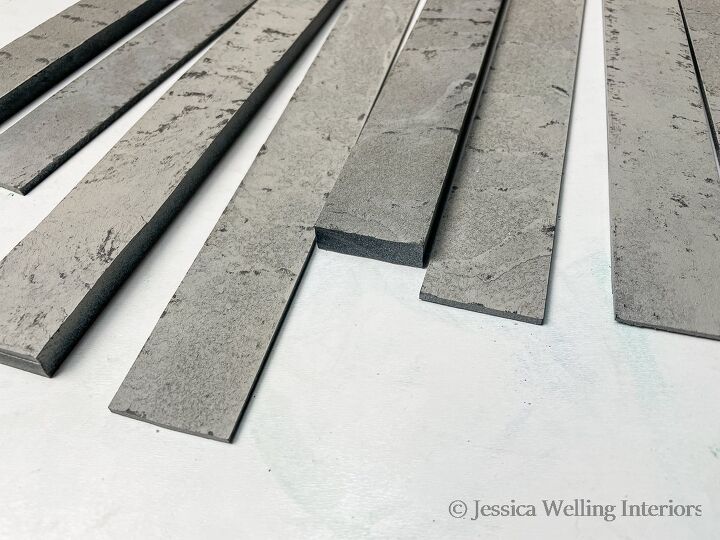
What is Slate-ish, you ask? It’s a faux slate tile made entirely from recycled scrap laminate countertop material. And in addition to being Earth-friendly, it’s really easy to work with. You can cut it with any saw you would use to cut wood.
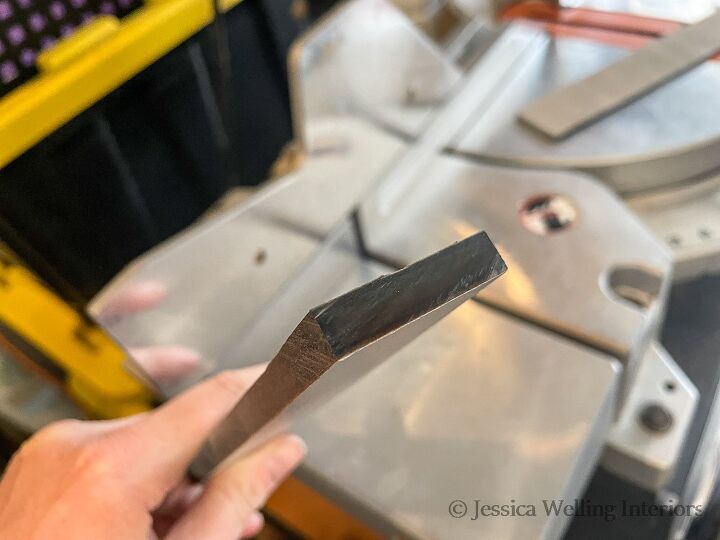
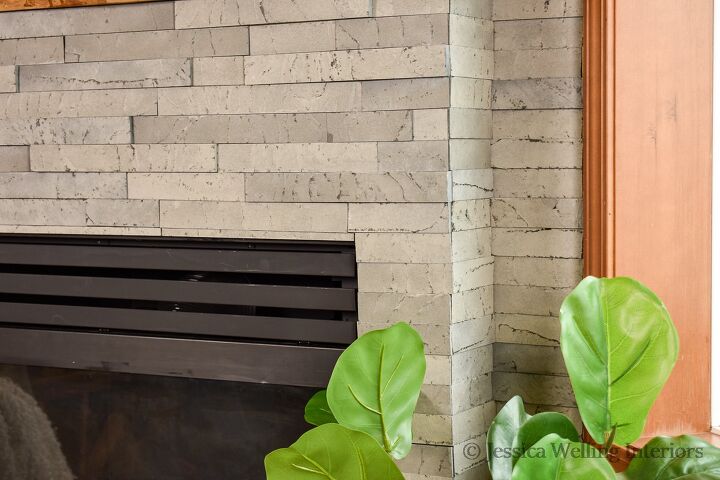
It comes in 20 different colors. We chose “bone” for this project. And as you can see, the tiles come in a variety of thicknesses to create a really legit stone look.
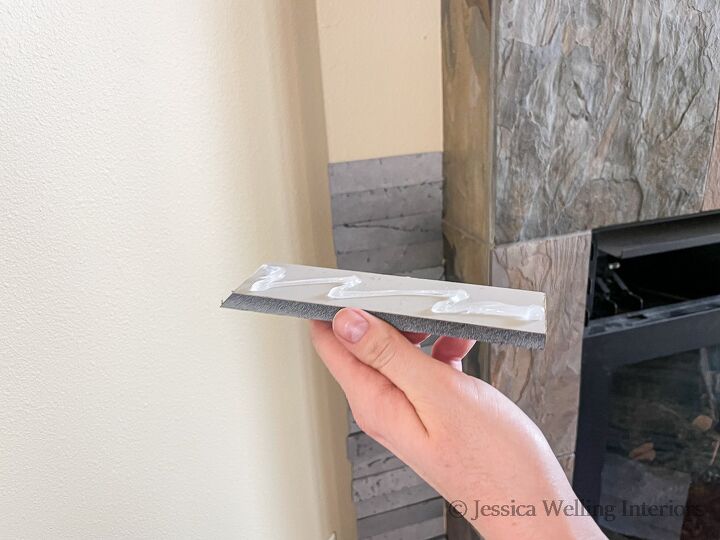
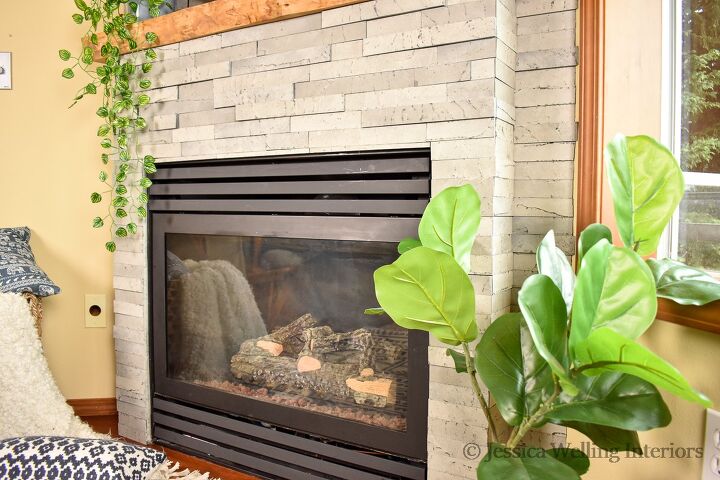
We used the “squeeze-and-stick” tiles (above) on the fireplace surround, since the old tiles were a bit uneven and we needed a lot of short individual pieces. These tiles are attached with clear silicone caulk.
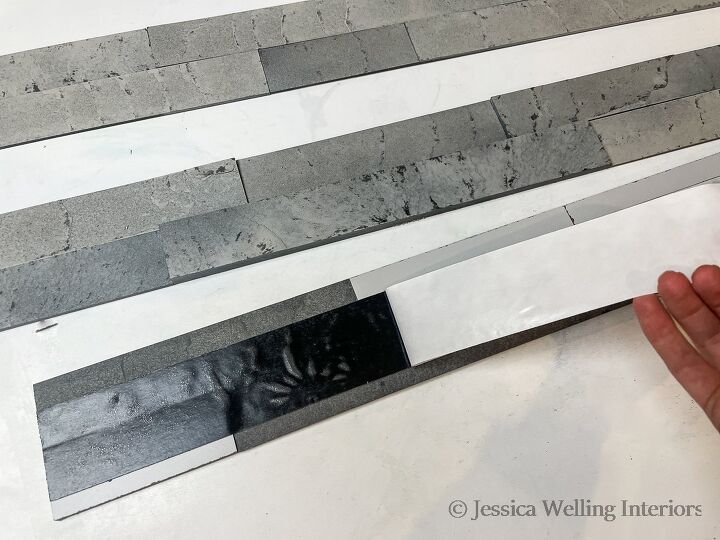
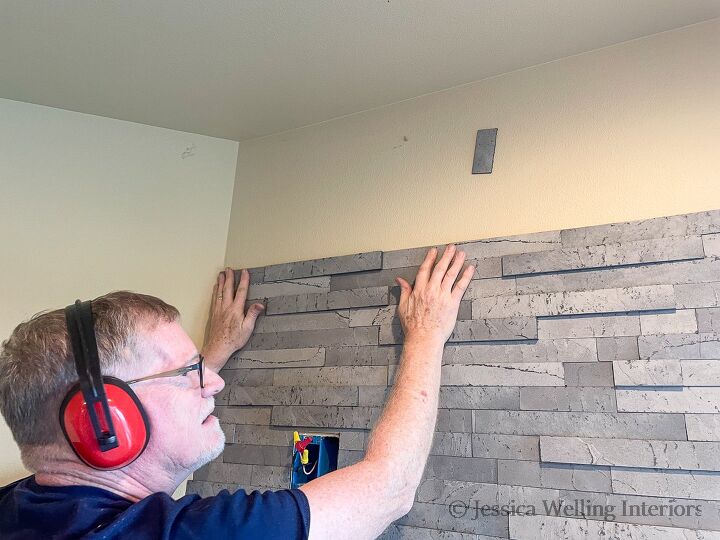
Then, once we got to the top of the fireplace, we were able to switch to the “peel-and-stick” panels. These went on really fast. And who doesn’t love quick and easy?
1. Clean the Fireplace and Wall Surfaces. Start by wiping everything down with a damp cloth. You may be surprised at how much dust and gunk has accumulated!
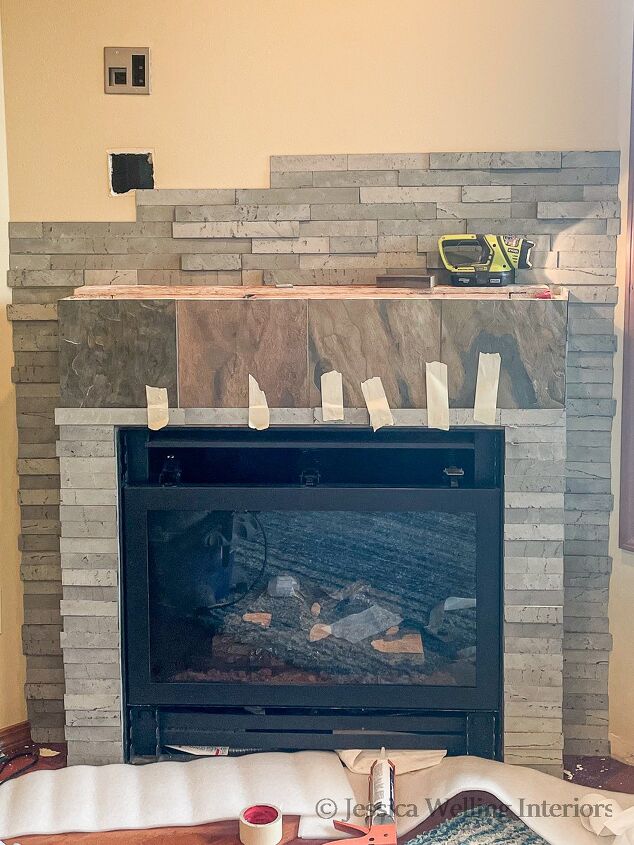
2. Measure. We started at the floor and worked our way up the fireplace and wall. The most time-consuming portion of the project was measuring, marking, and cutting each individual tile to go on either side of the fireplace insert. Since this fireplace is on a diagonal wall, we had to cut all the outside edge pieces on a 45 degree angle. Most projects will be less complex.
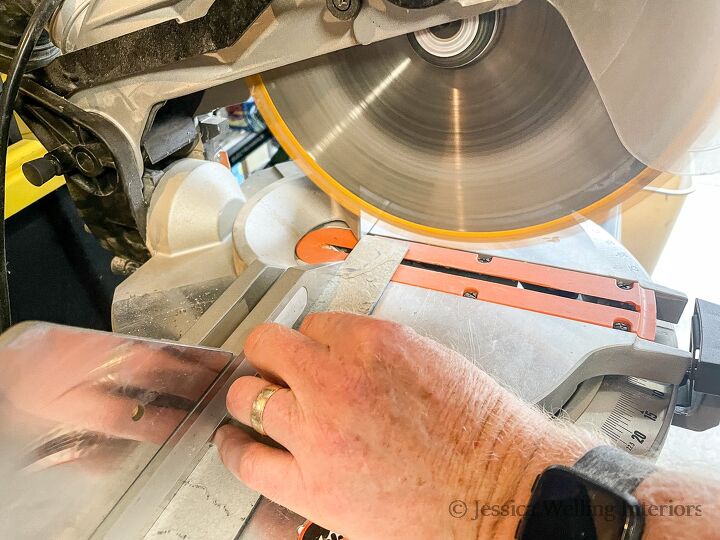
3. Cut Pieces. Use a miter saw to cut each piece to the correct length. A carbide blade works best. Be sure to wear ear protection, because cutting this material is even louder than cutting wood.
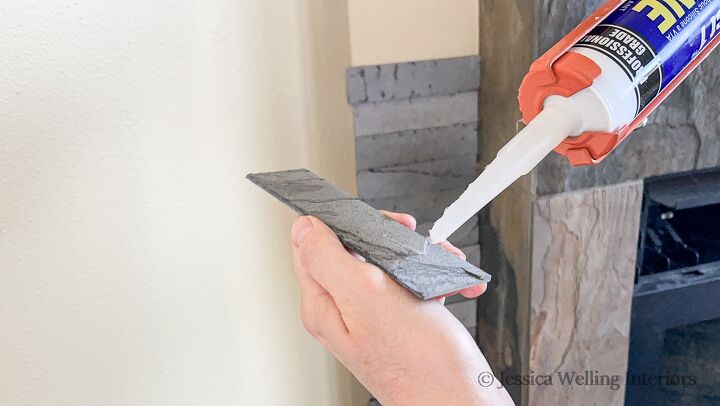
4. Apply Silicone Adhesive. Run a line of the silicone caulk along the back of each tile before placing it on the wall. I recommend keeping a roll of paper towels nearby to wipe off any excess caulk that gets on your hands.

5. Set Tiles In Place.
A Few Helpful Tips:
Start at the bottom and work your way up. This is especially important when installing the squeeze-and-stick pieces that are attached with silicone caulk. They have a tendency to slide down if they don’t have something to support them. If you don’t have anything for them to sit on, secure them with masking tape while the silicone dries. We did this along the top edge of the fireplace insert.
Don’t Create a Pattern.
It’s important to take a few steps back and look at your work every once in a while, to make sure you’re interspersing the extra-thick pieces with the thinner ones and the darker and lighter pieces too. When using the larger peel-and-stick panels, you’ll want to be sure the double-cut ends aren’t lining up vertically.
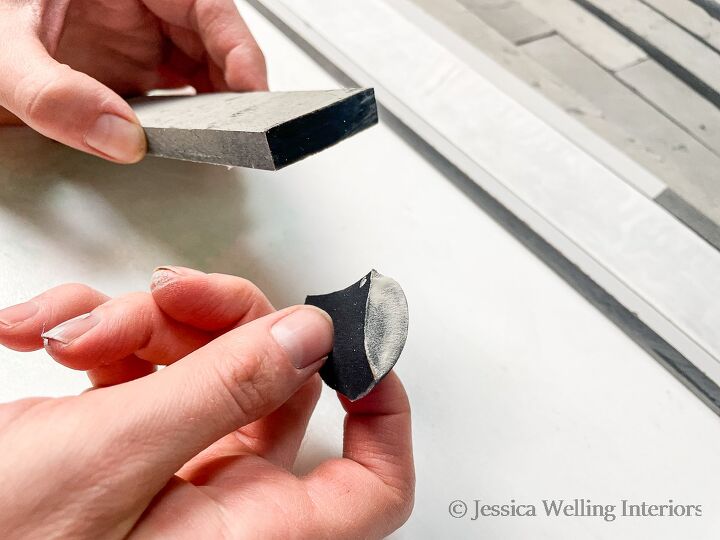
Touching Up.
Some of the cut edges were black. In order to make the faux slate more convincing, I used a sliver cut from a makeup sponge to apply light grey paint to these edges with a dabbing motion. It made a big difference, especially on the exposed edges around the fireplace insert.
I did the touch up painting after the tiles were installed, but you could also do it before.

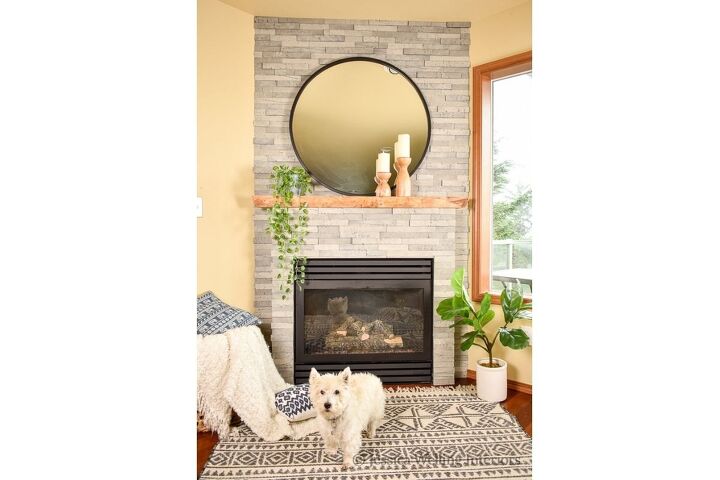
And it’s done! We couldn’t be more pleased with how this turned out. And we’re looking forward to many evenings by the fire this Winter!
Resources for this project:
See all materials


Comments
Join the conversation
-
Wow--that is an incredible difference! I really like the way it looks.
-
Looks fabulous!!!


Frequently asked questions
Have a question about this project?
How did you change and/or paint the chrome slats on the old fireplace?
Can you apply this over a brick fireplace?
Maybe some kind of trim around the edges? If you ever paint your wall that tiny irregular strip by the window will be a real pain. The faux slate looks very nice.