


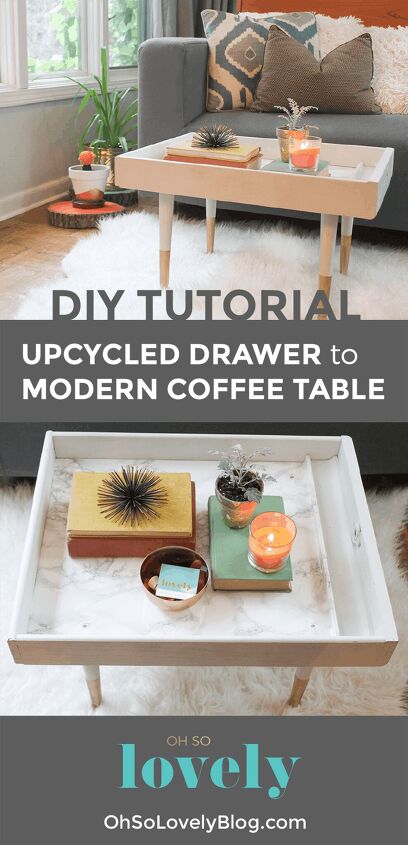
DIY Upcycled Drawer to Modern Side Table
*** Original blog post with links***
As you probably already know, we’ve been in the middle of a mostly DIY kitchen reno, but are finally making progress, yay (more on all of that later)! We flip-flopped the dining room and upstairs living room to make the kitchen function in an open way (again, more on that later).
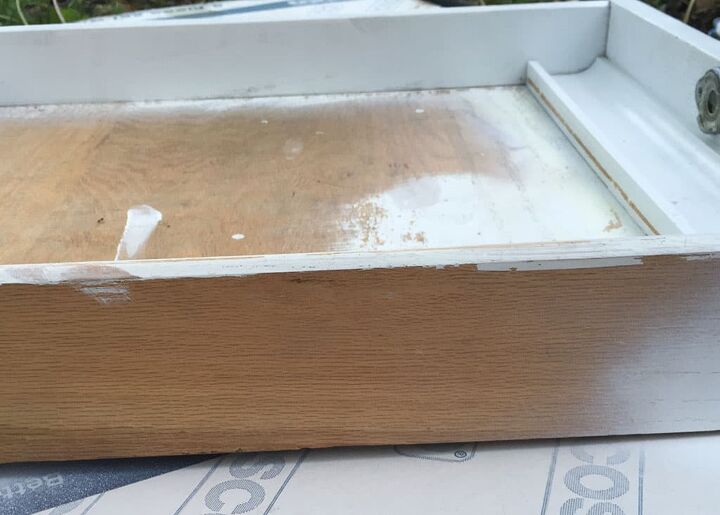
This room change left us with a completely different living layout area to work with, which is always a nice challenge. Every piece of furniture found a home, but we were in need of a smaller coffee table. I searched the house looking for something that I could use when I saw some drawers from an unused desk. I knew immediately that I would upcycle this drawer into a cool modern side table.
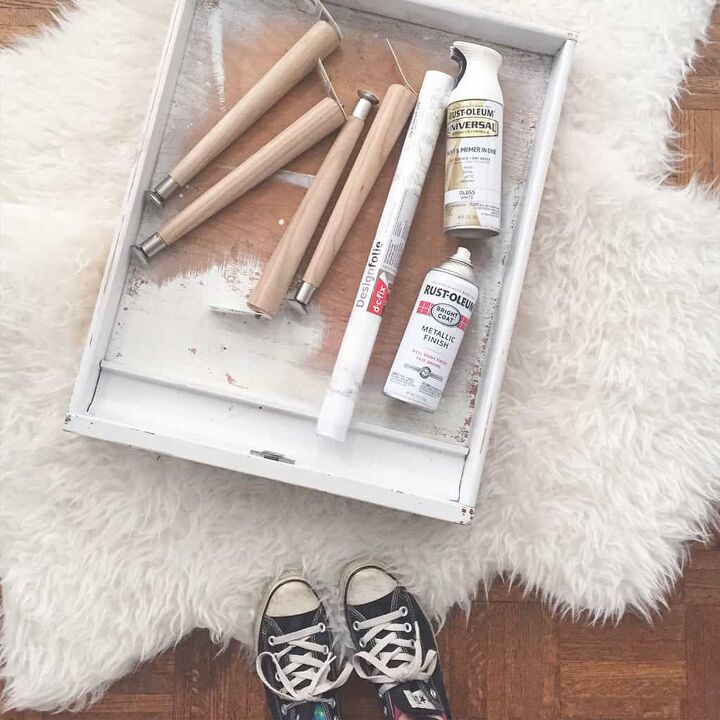
Ok, let’s gather our supplies, and get to work!
*** Original blog post with links***
One desk or dresser drawer
Painters Tape
Metallic gold spray paint
White spray paint
Marble look contact paper
4 Taper Table Legs
Scissors
Drill
4 nuts and 4 washers (optional to attach legs)
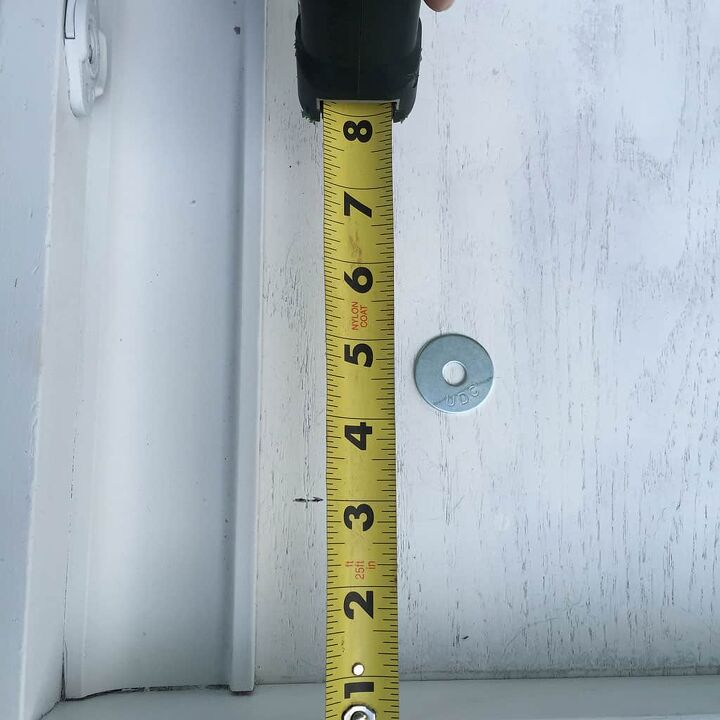
Tape measure
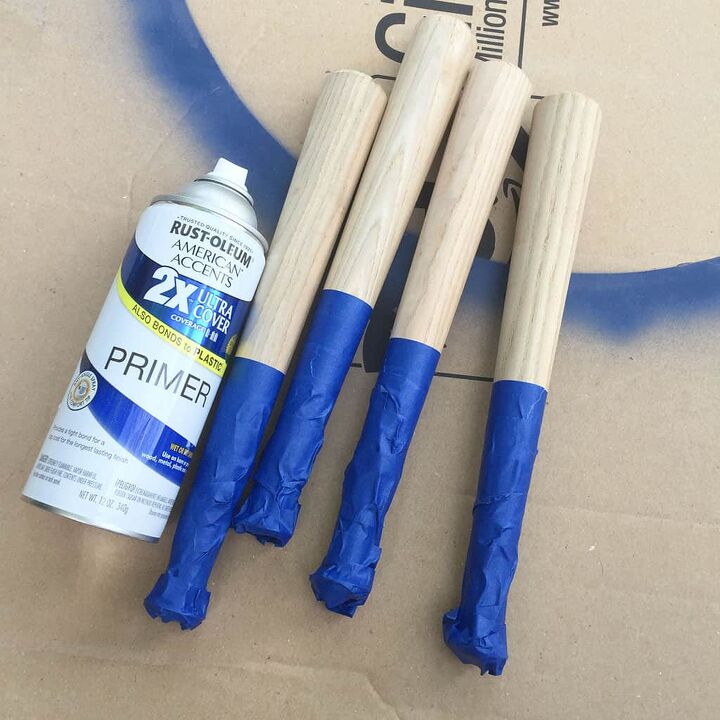
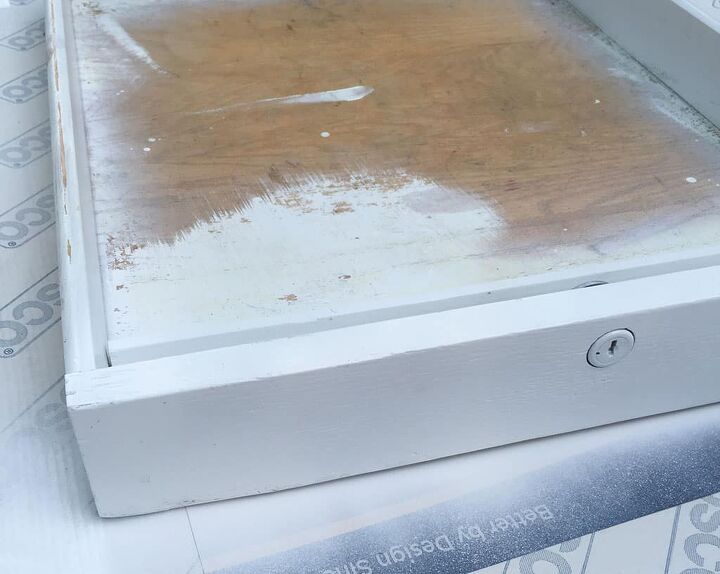
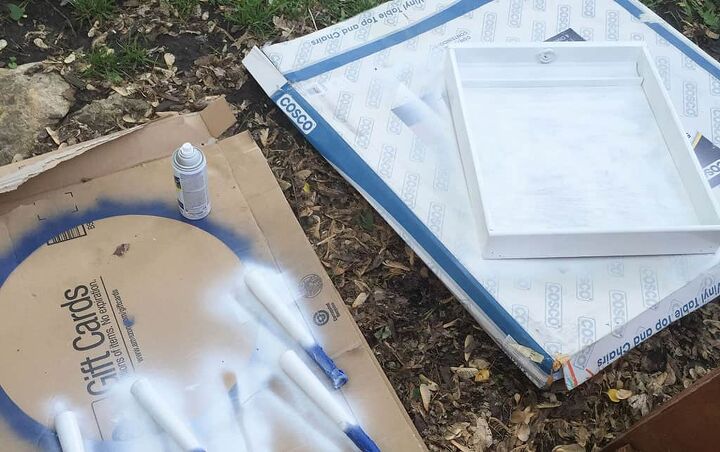
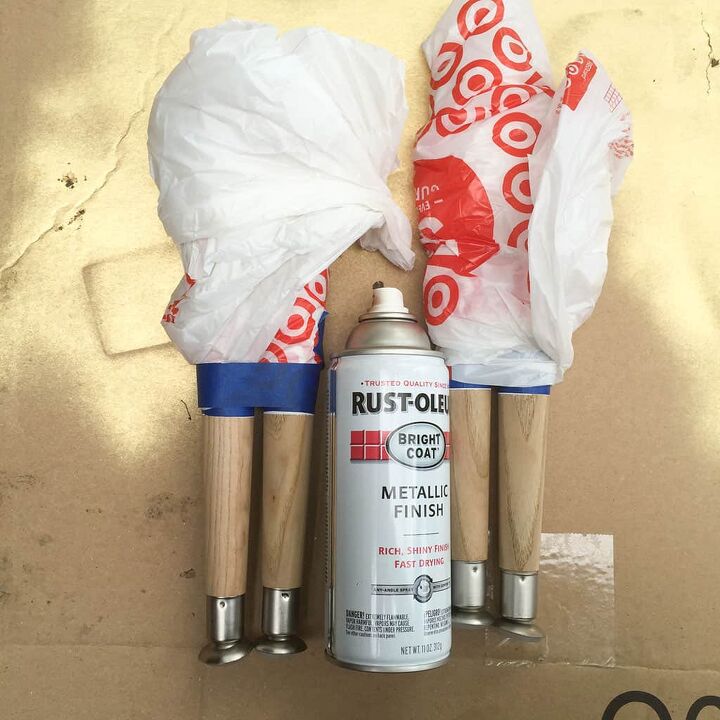
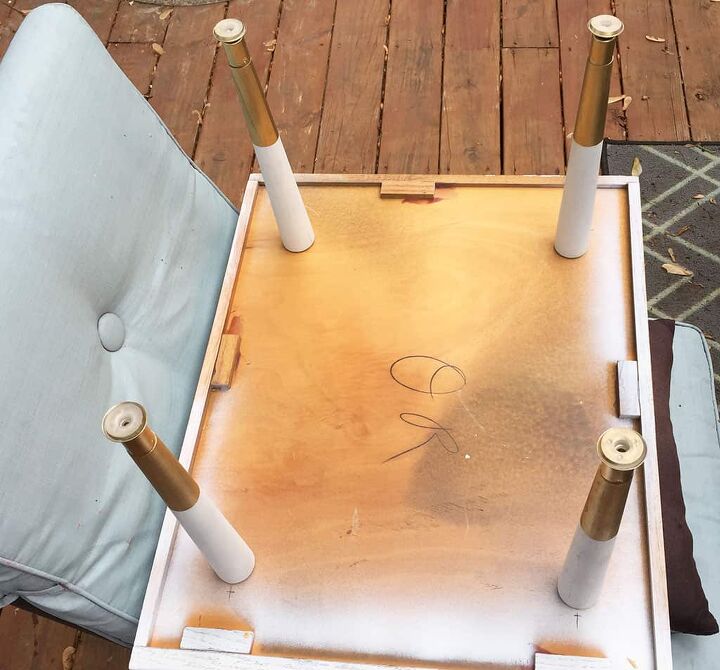
I used my painters tape to tape off the areas of the legs that I wanted to be white, then sprayed them and the drawer with two coats of white spray paint.
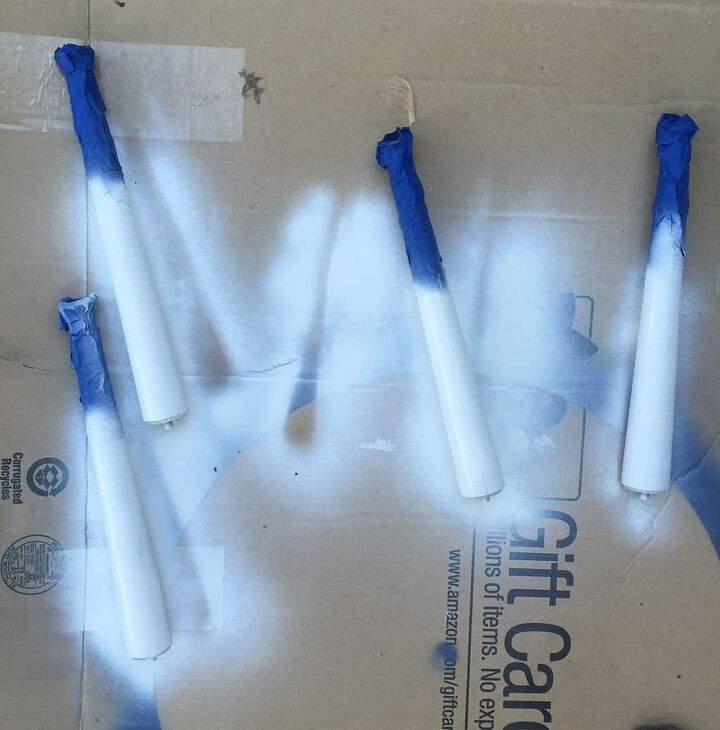
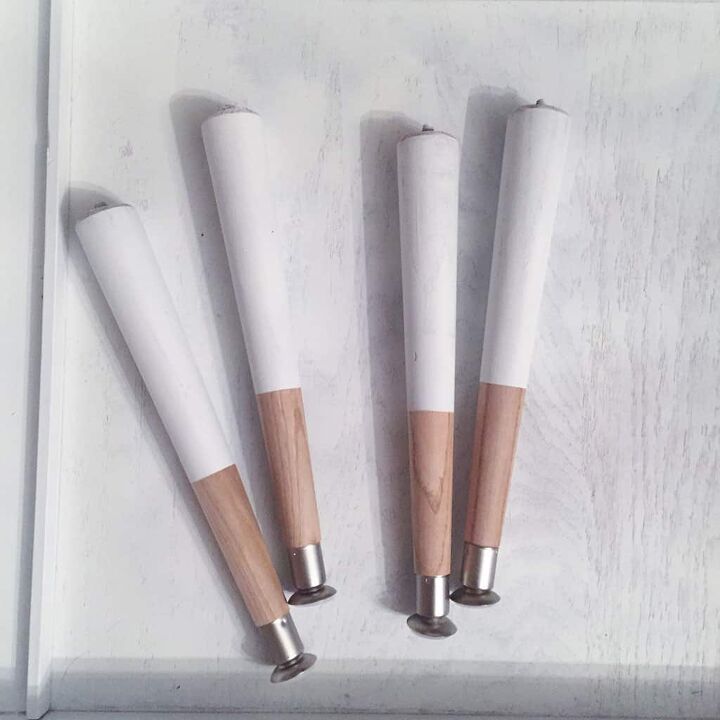
Once the legs were dry, I removed the painters tape, which exposed the non-sprayed areas. I like this white and natural look on its own, but decided to go for a metallic gold dipped look.
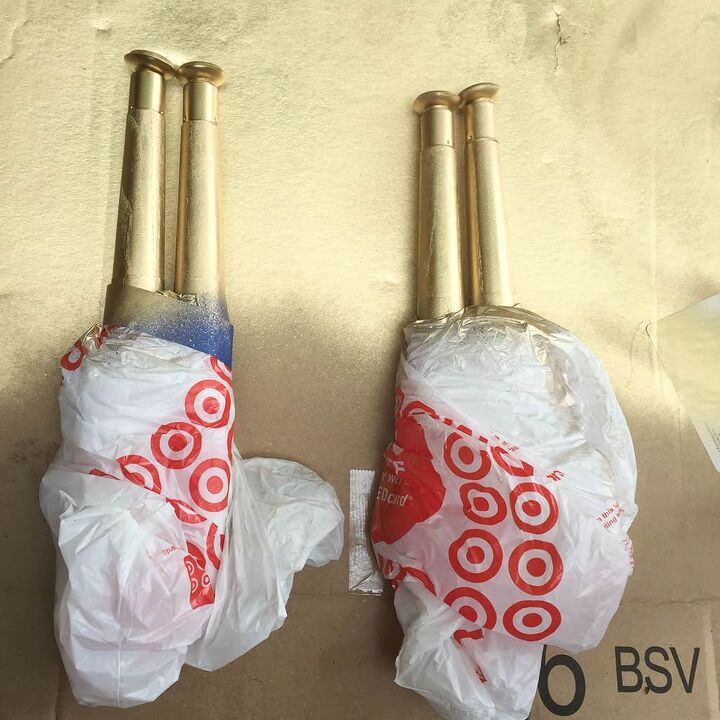
To achieve the dipped look I taped the white parts of the leg with painters tape, and covered them with some plastic shopping bags.
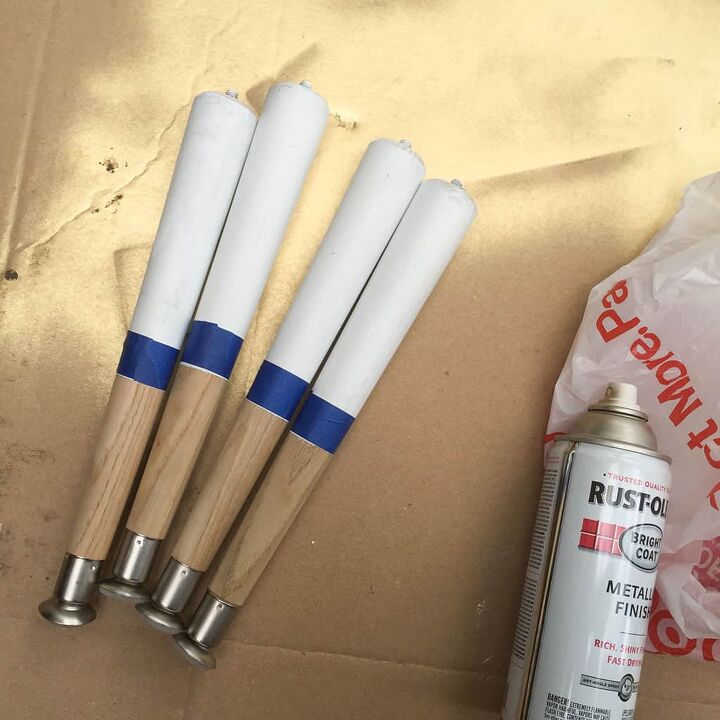
I sprayed the exposed legs with two coats of metallic gold spray paint, and once dry, I removed the bags and tape.
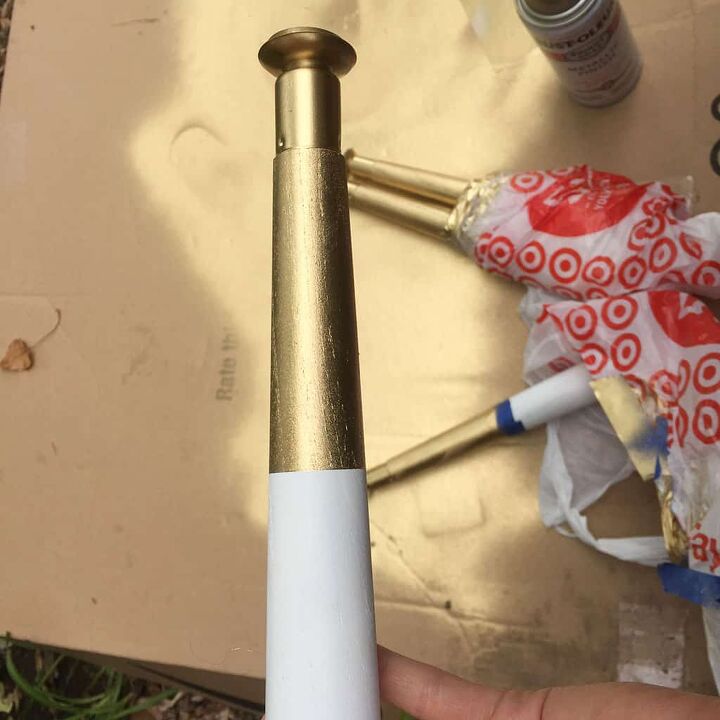
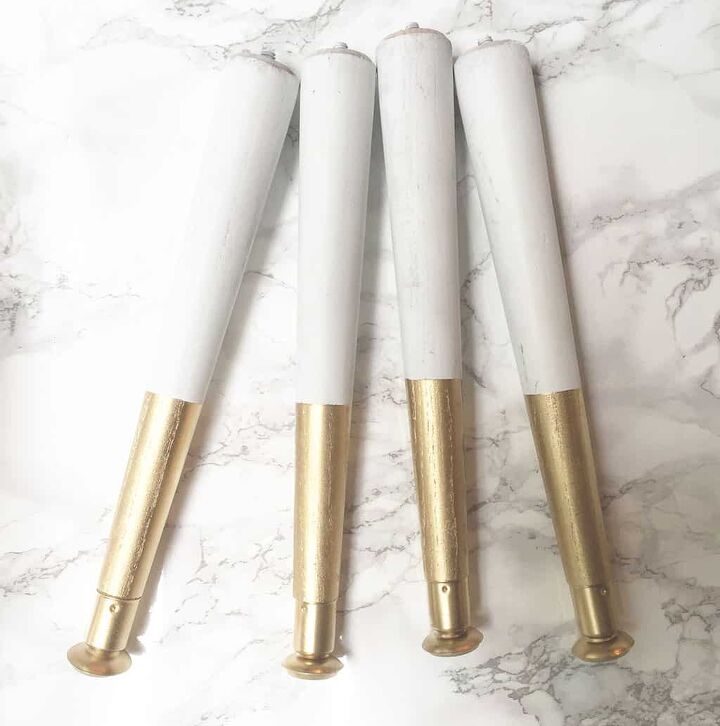
I think this is my very favorite part of the coffee table. Aren’t they pretty? 🙂
The hubs offered to help me attach the legs, and I gladly accepted. He took the drawer outside and measured and marked where the four legs were to be attached. He’s much more patient than me…I would have probably eyeballed it, ha.
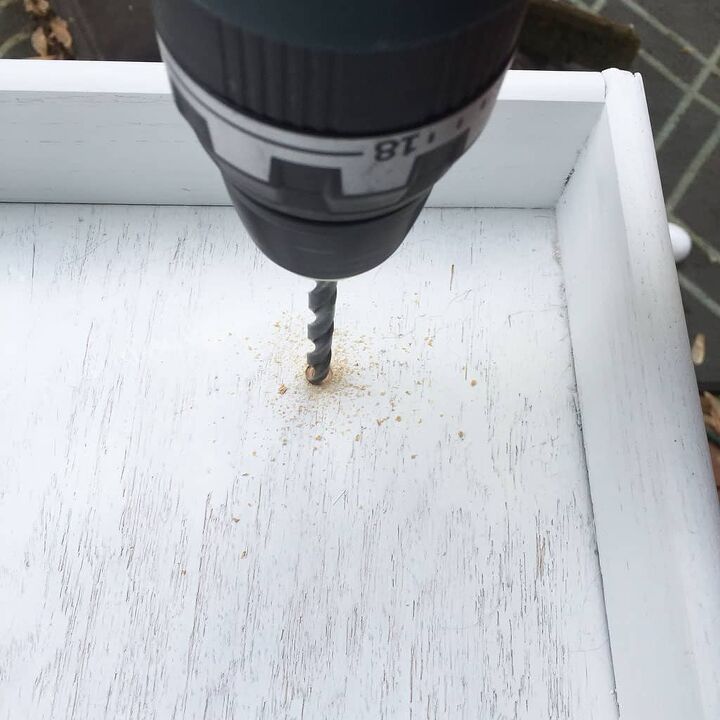
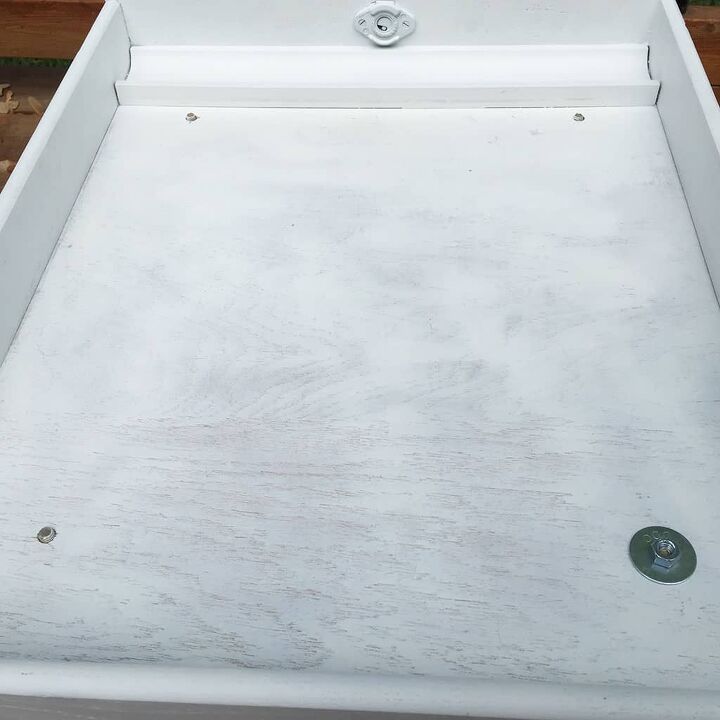
Then he drilled pilot holes into the drawer for the legs to easily screw into.
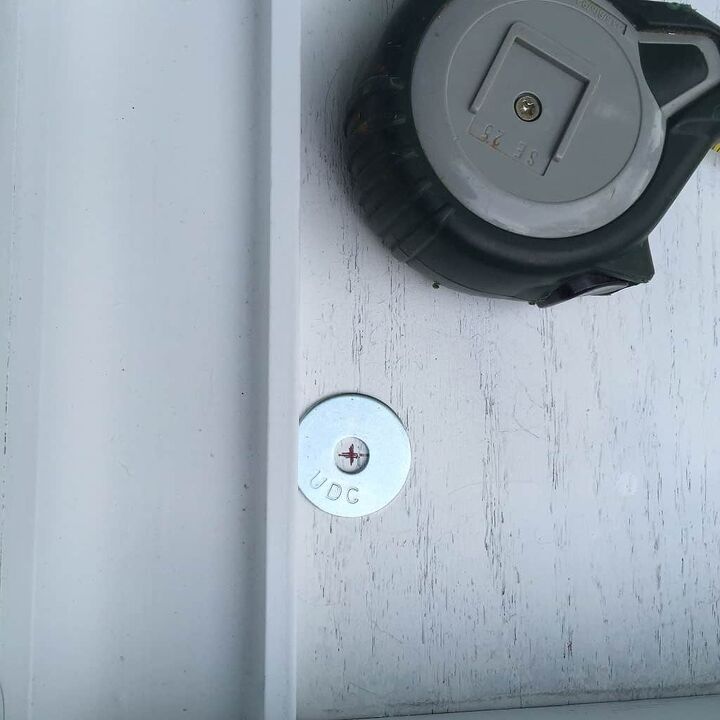
Note: We had to use washers and bolts to attach the leg because the base of the drawer was so thin. If you have a thicker drawer base, you can try another solution. I bet the legs would screw directly into pilot holes and attach strongly enough on their own. You could even adhere thicker pieces of wood to the underside corners of your drawer if you wanted to thicken it up. There are lots of options. We chose to keep it simple.
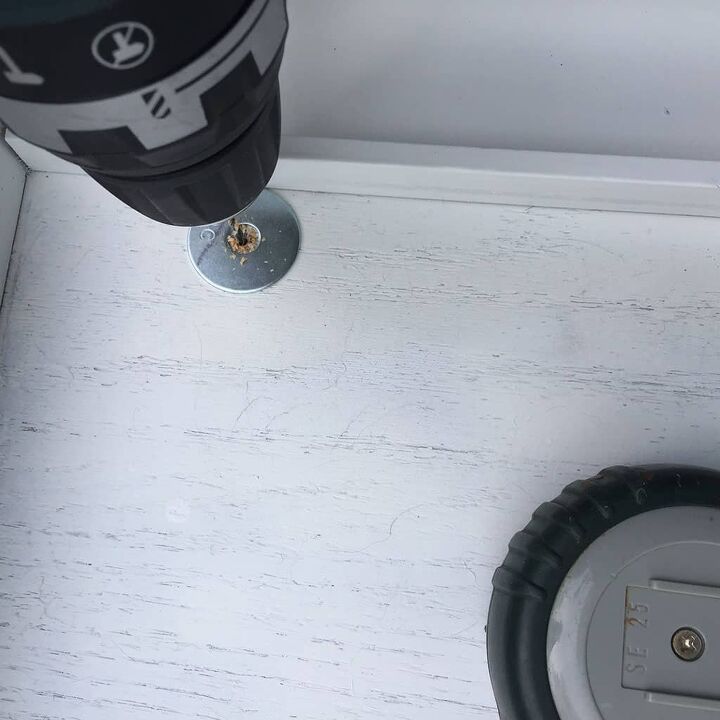
Next screw the legs into the bottom of the drawer.
Once screwed in, out your washers into place and screw on the nuts.
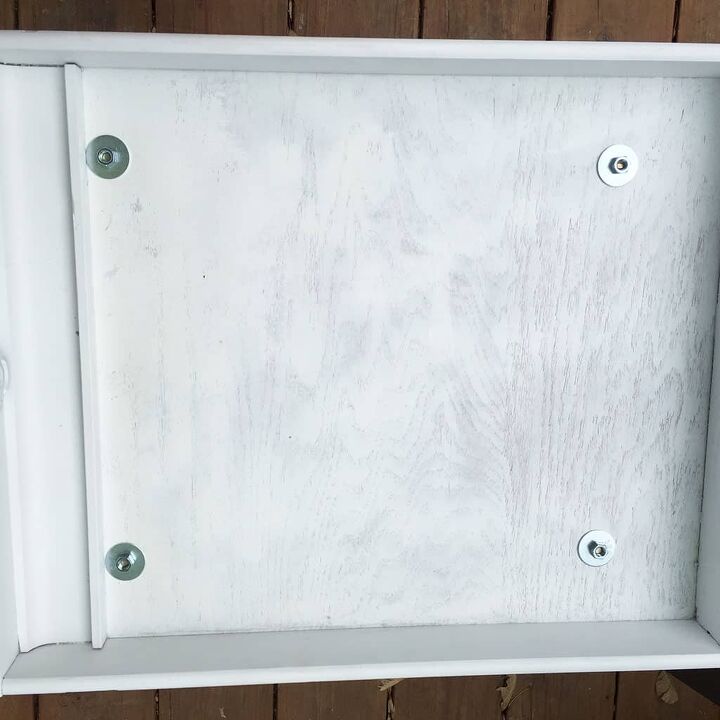
Spray the silver bolts white at this point if you wish. I did this, but it’s not pictured.
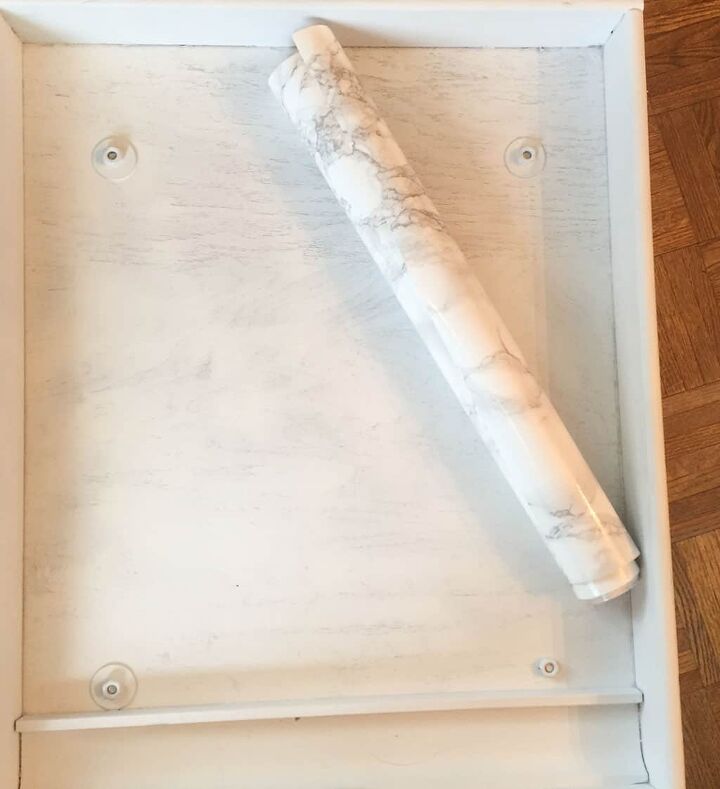
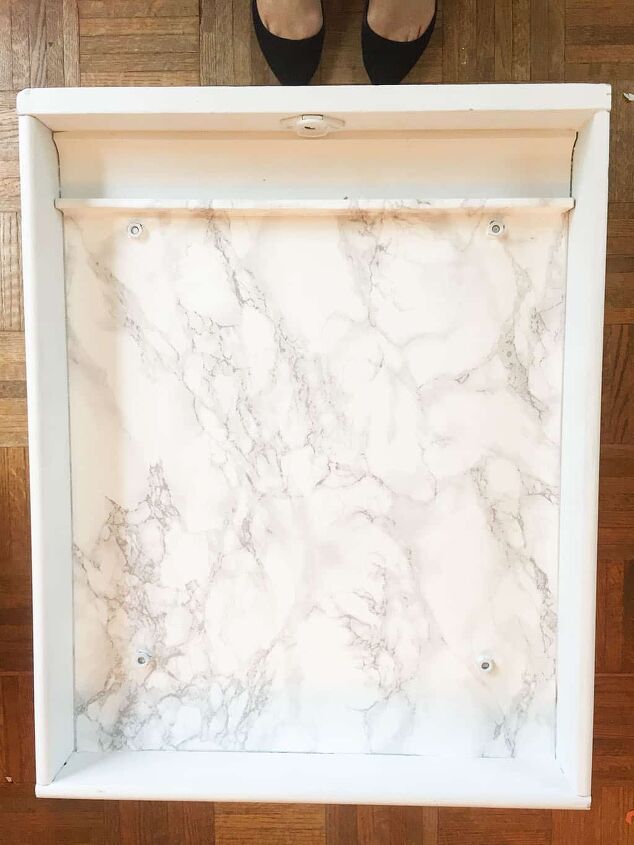
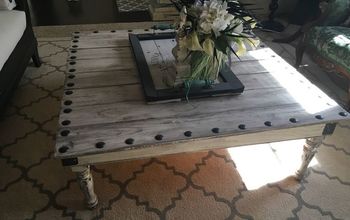
Lastly, if you chose to add the marble contact paper for an unexpected pop and easier cleanup you can.
I cut the contact paper to size and carefully adhered it to the table. I used an Exact-o knife to cut around the nuts (I so wish we didn’t have to use the nuts, but oh well).
And there you have it—your very own upcycled modern drawer coffee table.
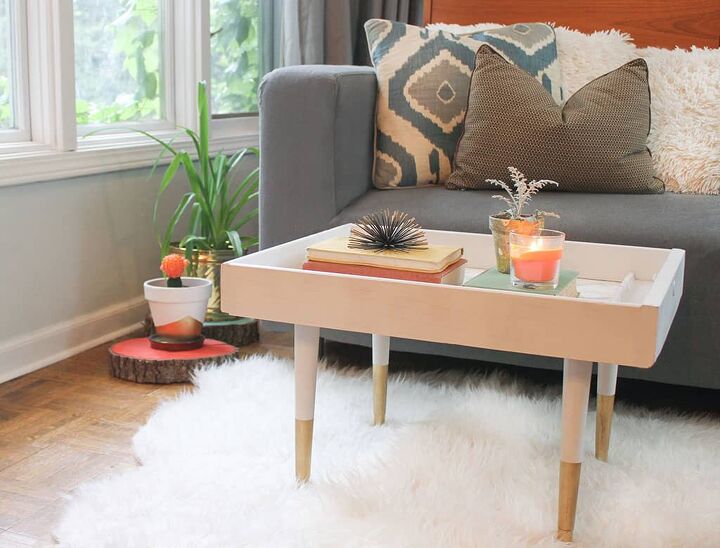
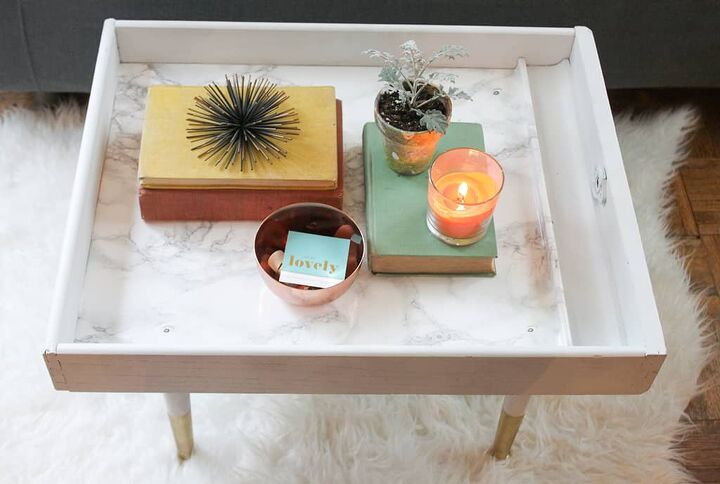
We use the coffee table a ton, and it brings in a touch of the unexpected to the room (which I’ll be taking you on a tour of once the kitchen is finished). 🙂
What have you upcycled lately? I’d love to see your creations!
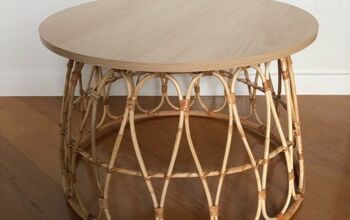
PS. I also bought these modern tapered legs
. I can’t wait to use them on my next DIY project. 🙂
PPS. Check out the latest issue of Vintage KC Magazine (out today) to see the table in print.
xoxo
Audrey
PS. You might also like this comprehensive article on 15+ Beautiful Cheap DIY Coffee Table Ideas
Resources for this project:
See all materials


Comments
Join the conversation
-
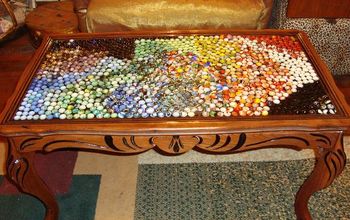
Wonderful idea & looks great....to carry it a step further cut a piece of plexiglass and set it into the top of the table resting on the inside lip of the trough with four small white blocks holding glued into each corner to hold up the plexiglass. You could then put small items into the trough or under the plexiglass and still put other things on top of the plexiglass. A two layer effect.
-
Looks good! How about some cute headboard ideas :)


Frequently asked questions
Have a question about this project?