


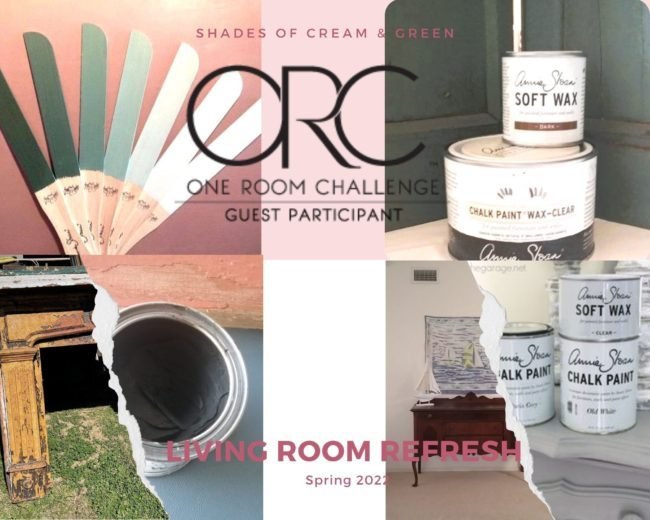
How to Transform a Bookcase With Chalk Paint
Have you ever wondered how easy it is to transform furniture with chalk paint? Let me share my experience with you!
I have been wanting to try painting with chalk paint for quite a while but I was always scared it wouldn't turn out correctly. I finally decided to tackle my fear this past weekend.
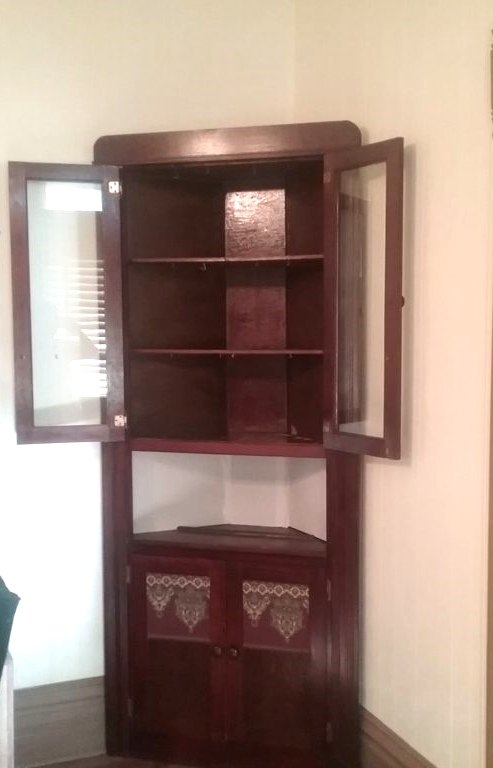
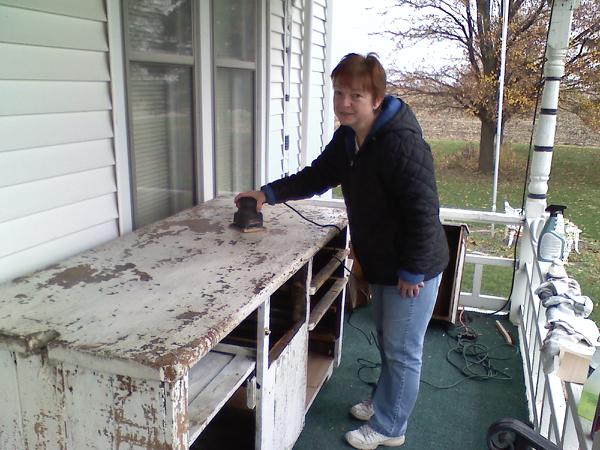
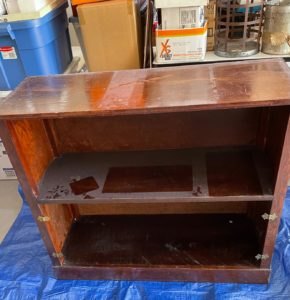
I am sharing my experience using Annie Sloan Chalk paint to transform furniture with chalk paint. The piece I have chosen to start with is a bookcase my grandfather made for my Mom.
I decided to use this piece as my practice piece before tackling the large pieces that are part of my rustic inspired living room refresh!

Let’s Get Ready to Transform Furniture with Chalk Paint
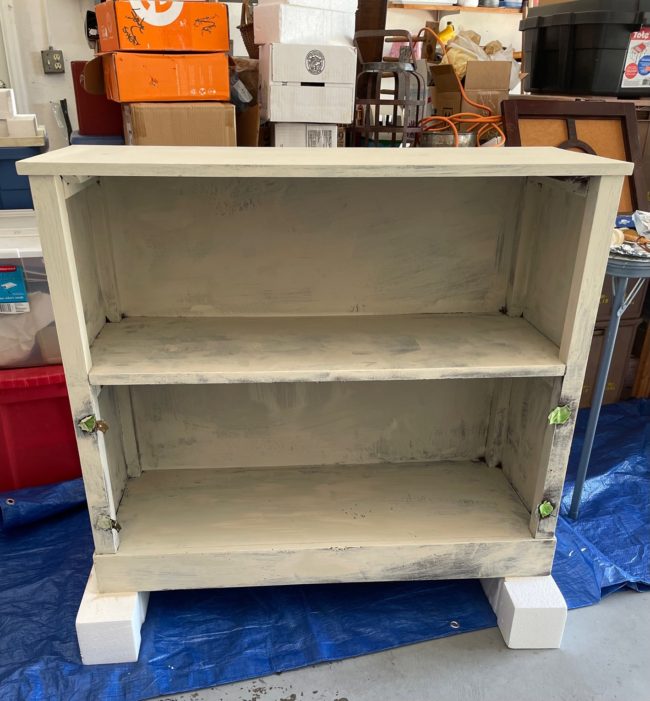
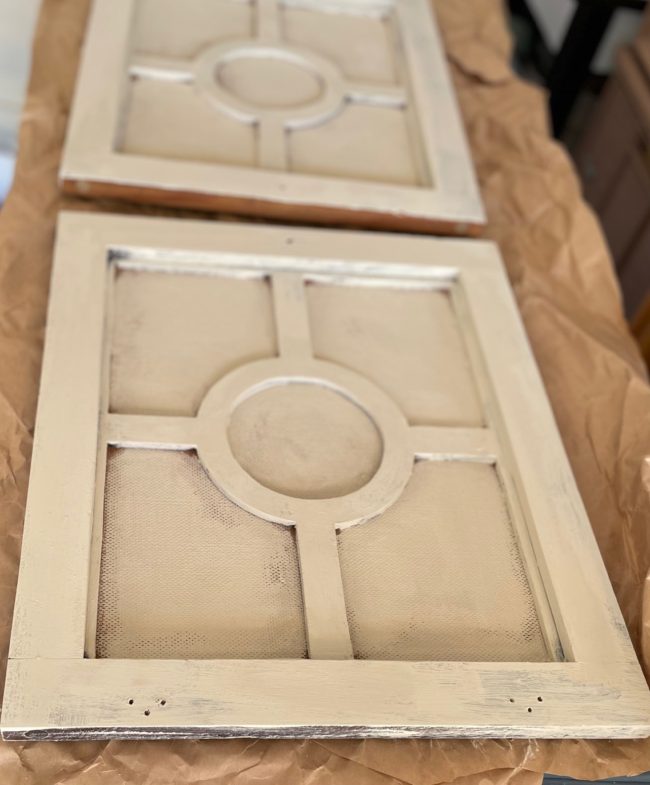
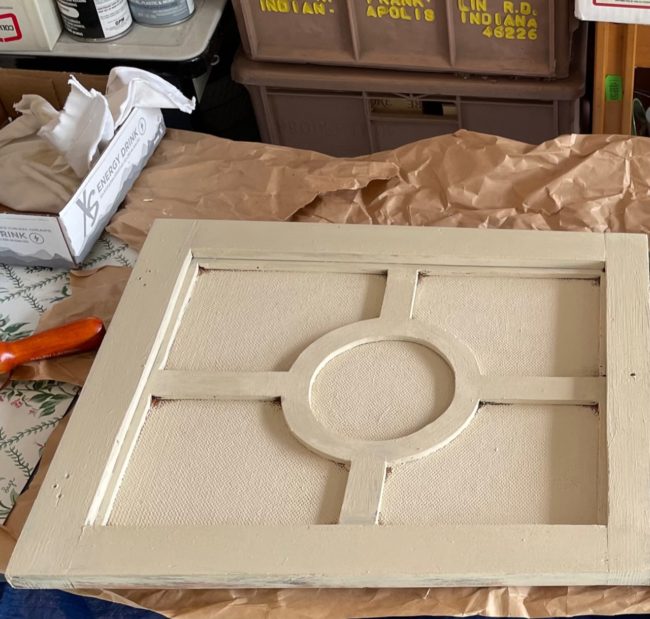
The bookcase has two doors which my husband removed for me. When my grandfather first made this book shelf for my Mom, the doors had shiny mauve colored fabric in the center. I had previously removed the fabric.
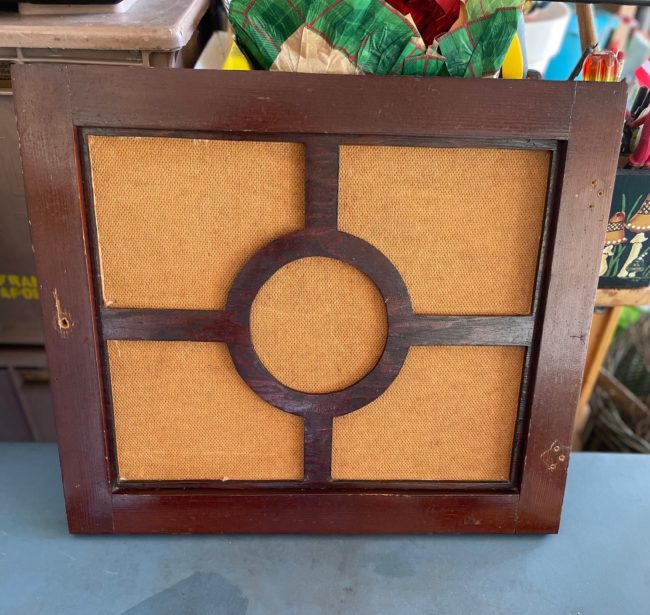
At some point, my Mom had added contact paper to the top of the cabinet. My Mom was a big fan of contact paper and wall paper border! There is even wall paper border on the doors of the corner cabinet that I am also redoing for the room refresh! The picture shows white contact paper lining the display area. I did remove that as well as the contact paper on top of the bookcase before we moved the pieces to Florida.
Back to the bookcase!
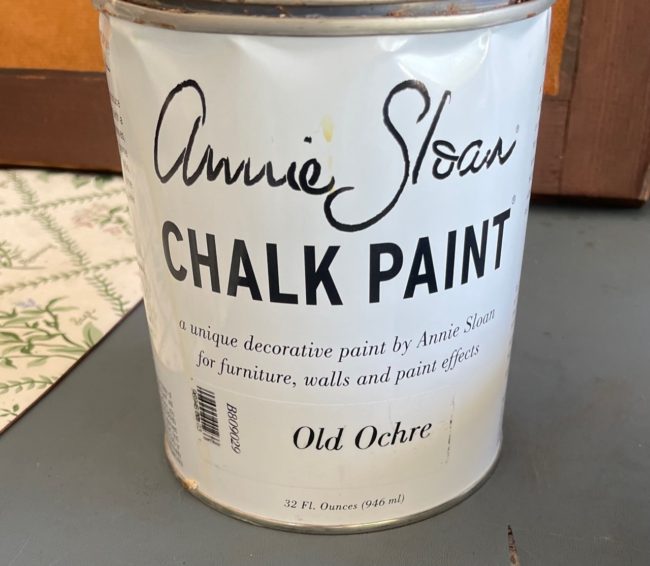
After the doors were removed, I washed the cabinet and the doors with a mild oil based soap. Once the bookcase was dry, I started painting it. I decided to use Annie Sloan Old Ochre. The beauty of chalk paint is that you don’t have to sand or prime the pieces that you want to paint. I was a little worried about the dark color of the bookcase bleeding through but it didn’t.
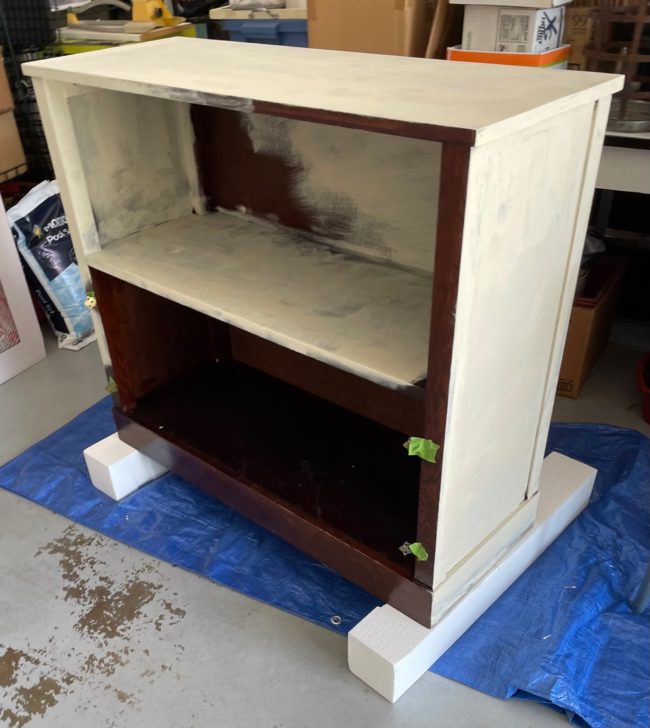
I tried using a small paint roller to paint the top but I soon switched to a brush. I felt I had more control with the brush and it went on a lot smoother. Maybe I had the wrong kind of roller. We didn’t take the hinges off so I used Frog Tape to protect them from the paint.
After I got the bookcase painted with the first coat, I started working on the doors.
I let everything dry for several hours and then added a second coat to both the bookcase and the doors.
Thyme to Wax!
Chalk paint does need some type of top coat on it to protect it. I decided to use Annie Sloan clear wax. I have used this product before on some things I have used chalked spray paint on.
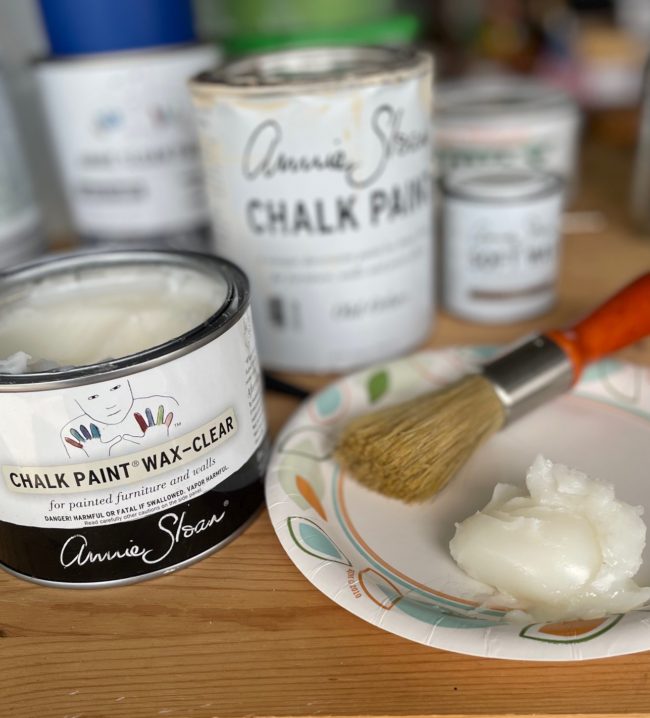
Wax is easier to apply if you use a brush rather than a lint free cloth. Simply scoop out some wax onto a paper plate, grab your brush and you are ready to get started! Wax needs to be applied evenly. It is best to work on small areas and then wipe off any excess wax with a lint free cloth. You can apply the wax in any direction. I was trying to do a circular motion when the picture was taken.

Even though the wax is clear (colorless), it does make the paint look a little darker. The photo below show where I had stopped waxing for a bit to take a short break!
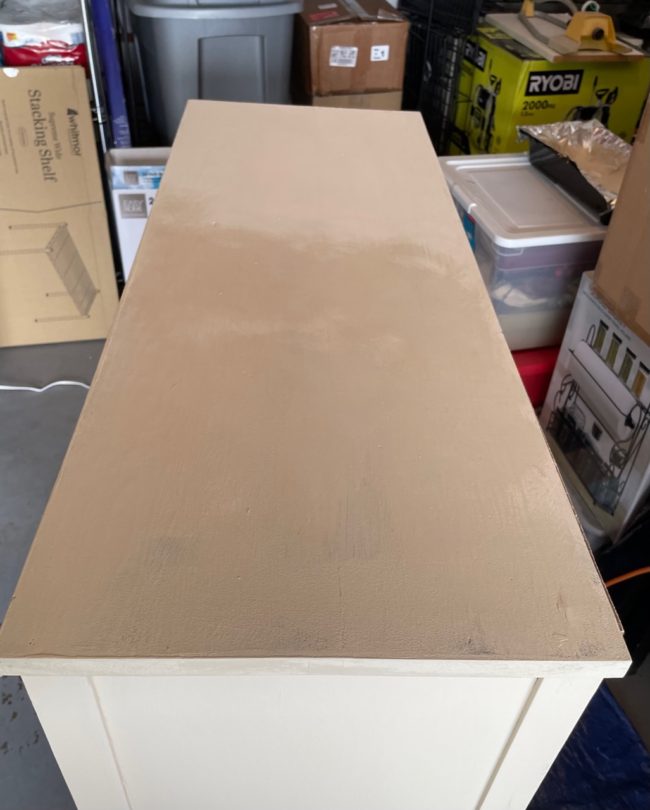
Once I got the entire piece waxed, I went back over it with a lint free cloth to remove any excess wax. I let it dry overnight.
I did the same wax, wipe and let dry process with the two doors.
The directions say it can take several weeks for the wax to cure. Use caution if planning on placing your freshly painted and waxed piece in a high traffic area of your home. I plan to put this in our bedroom so it won't get a lot of wear and tear.
Final Steps
After the bookcase was no longer tacky to the touch, I asked my husband to put the doors back on.
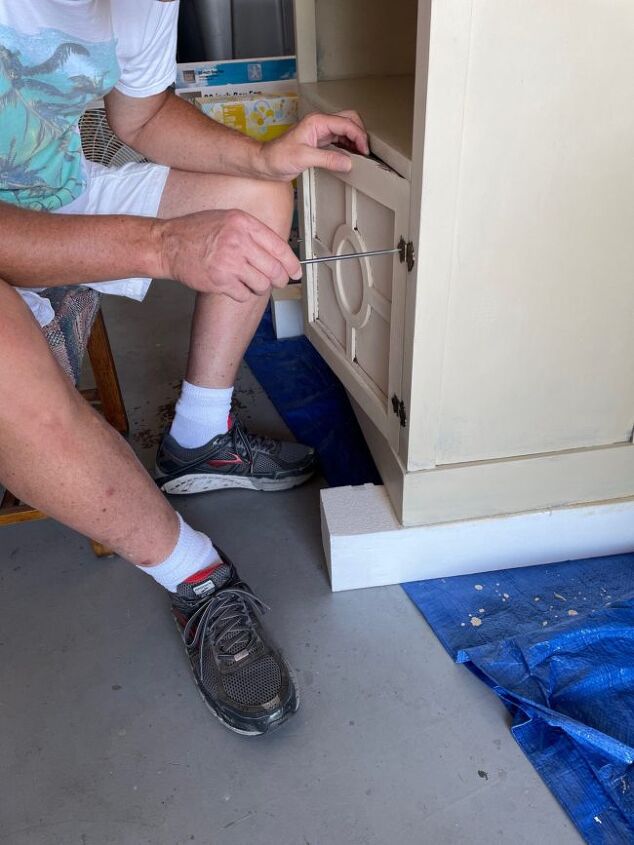
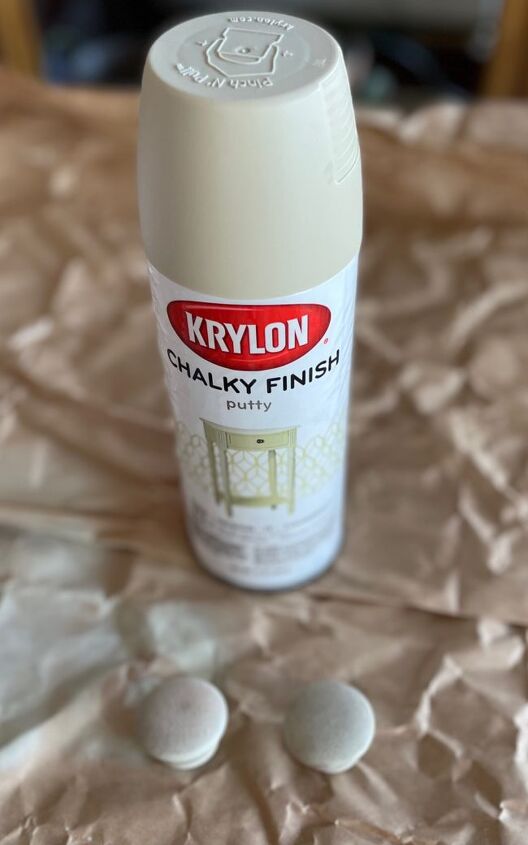
I really want to replace the knobs with crystal knobs but I couldn’t find the screws that went with them. I am hoping they show up before I am done with the rustic living room refresh! In the meantime, I simply used regular spray paint on the wooden cabinet knobs. I will attach them before we take the piece back into the house!
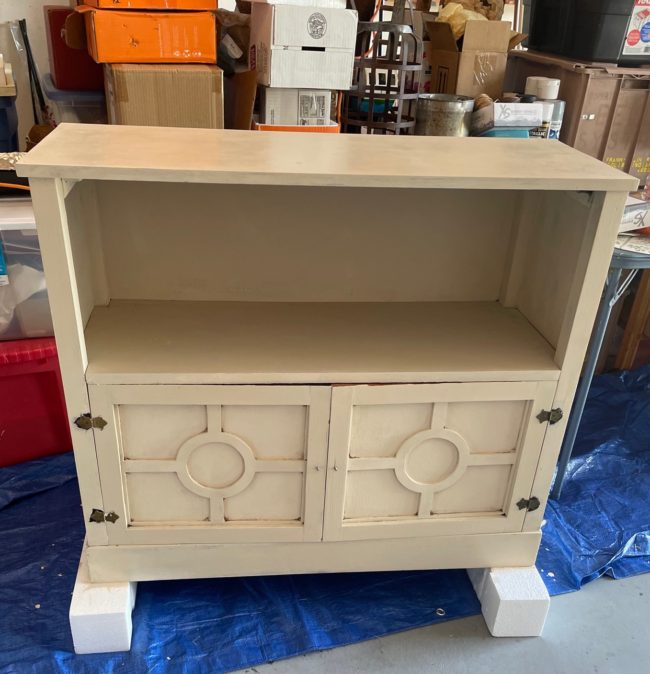
The results
I was really surprised at how easy it was to paint a piece of furniture with chalk paint. I have always been more of a “scrub it and leave it” kind of girl. I never thought I had the patience for painting with a brush.
This project taught me that I was wrong! It was easier and less stressful than I thought! It was actually kind of relaxing!
Side by Side Comparison – Did I Transform Furniture with Chalk Paint?

I already had the paint on hand. The estimated cost was if a person had to order the paint and the wax.
the time estimate includes drying time for the paint and the wax.
You can see all of my plans for the rustic living room refresh here: Rustic Inspired Living Room Refresh


Frequently asked questions
Have a question about this project?