Asked on May 29, 2017
How can I attach a marble top to an iron table base?
by
Liz
+4
I have a great table base made of iron and I want to add a new top- I was thinking of granite or marble because I can get a scrap piece for a good price- but does any one have an idea of how i can attach the marble top to the base?
Related Discussions
Suggested Project Book

Try Liquid Nail.
construction adhesive
I've done the same thing. I asked the guys who install stone counter tops how to do it the best way. I followed their directions and have had no problems so I will share it.
I took the Singer Treadle Sewing machine base to a welding shop. They removed the wheels and welded a round foot to each post. I wish now that I had listened and selected what the guy had suggested instead. He suggested a flat plate extension between the front and back legs but just a bit wider than the legs. I refused and have been limited to placing the table only on porcelain of ceramic tiles. The weight damages wood and vinyl flooring.
You will need two 1-inch x 1/2-inch pieces of wood just long enough to extend between 3-6 inches beyond the top rests of the iron base. I did this the simple way, I bought some poster board, taped it together to make it as large as I thought I wanted the table top to be. Then I laid it on the garage floor. I turned over the iron base and set it, centered on the posterboard template. This will enable you to envision more clearly how it will look when it is finished and will give you a chance to make adjustments to the dimensions if needed. Turns out, the top I wanted was too big for the amount of weight the base would hold. Right now, it takes two men to move the table I ended up making. I can't move it and I placed gliders on the feet. My table measures 24-inches x 40-inches and the marble is 3/4-inch thick. It was kitchen table for 14 years. Now it holds my 12 orchid plants when I am not making pastries. I suggest you go for the 1/2-inch thickness. The pieces of wood I used are oak scraps found at the local equivalent of Home Depot. They measure 1-inch wide x 1/2-inch thick x 18-inches in length. I tapered the edges using a bunch of sandpaper. I didn't have a plainer or a saw. I then primed and painted it the same shiny black lacquer paint I planned for the base.
While the base was centered upside down on the posterboard template I drew the silhouette of the attachment points including the screw holes.
Clean the base, making sure to get ride of any rust. Prime it with a Rust-oleum primer and also the wood braces on the exposed sides. The long flat sides don't need it so don't prime that portion of the wood. Then I used Rust-oleum lacquer black.
Then I sat the wood on top of the template and on top of that placed the base again, up-side down. I marked the drill holes with a white chalk pencil. I drilled pilot holes only, smaller than the screws I would be using. Next I screwed the base to the wood braces. I placed a bit of wood glue into the pilot holes before inserting the screws.
Now comes the hard part. Find two men who will gently lay the marble face-side-down on a waist-high padded working surface for you and then make them leave. If you don't make them leave they will interfere with all the next steps.
Lay the base top-side-down on to the rough side of the marble (underside of the table top). When you are happy with the placement outline the wood where it meets the tabletop. The move the base to the side of the lines
Get the men back. UseGorilla Glue Construction Adhesive in a sort of zigzag line inside those lines you drew. Be quick because it the glue sets up fast. have the men place the base in place where the glue is. Wait 24 hours and then have them come back and move the table to where you want it place.
Oh, don't forget to put gliders on the feet or you will have rust stops on your flooring.
Thank you so much for the great plans! I am going to give it a shot!!
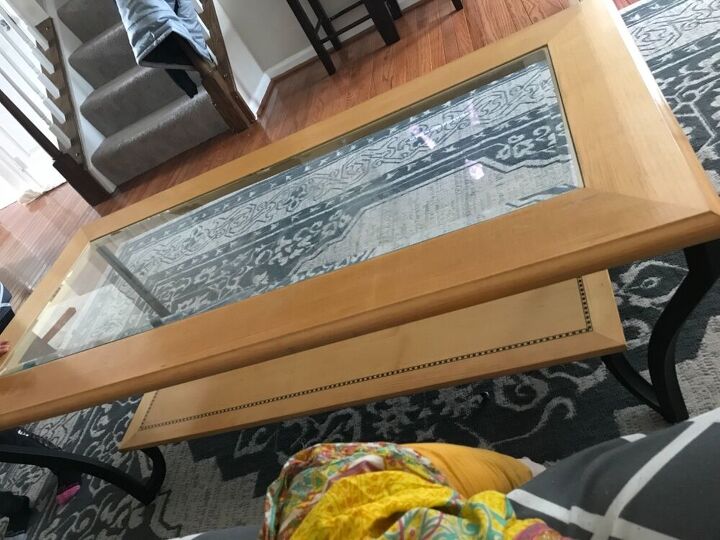
i just laid it on top of the table just like my glass top table never moved it just sat there