


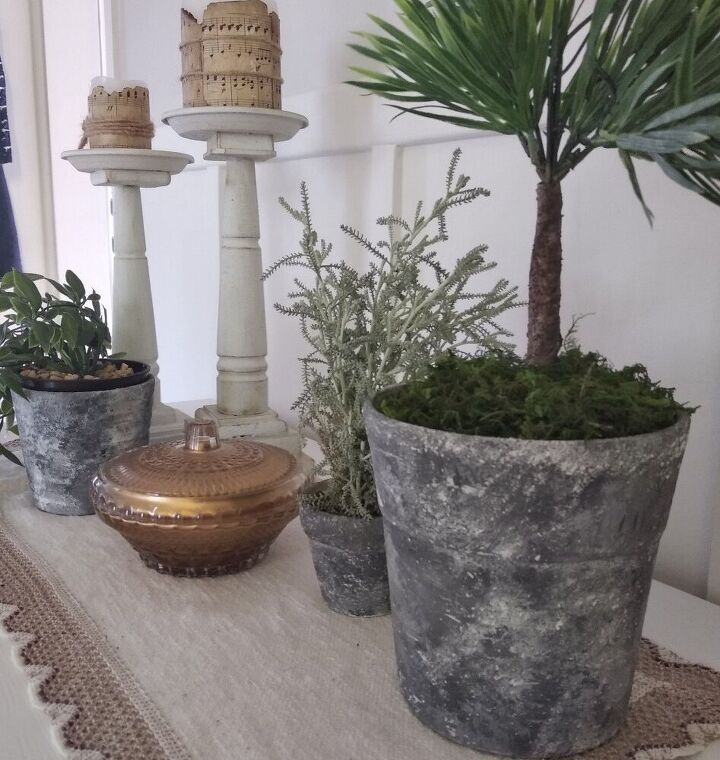
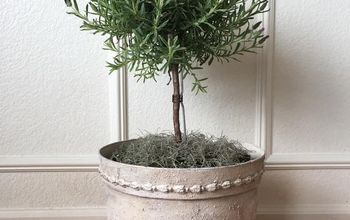
Aged Flower Pots

Summer is finally here! The season of gardening and enjoying nature. I decided to play with my pots, to try and make them more interesting. I saw a tutorial similar to this and decided to try it, but I added a little twist. I really liked how they turned out, so I' m sharing it with you, guys. If you like that old, chippy look on your pots, here's what you should do.
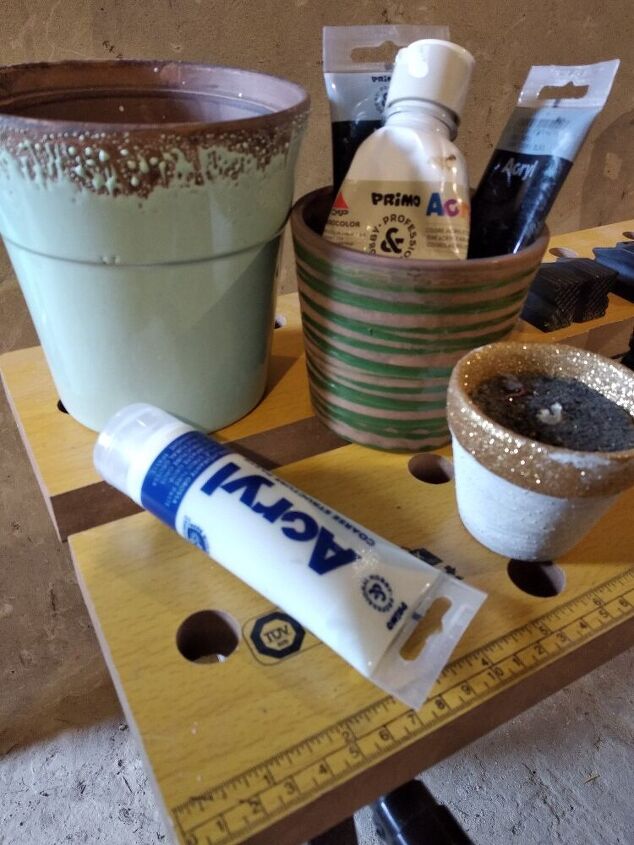
This is a very budget friendly project. All the materials you need are inexpencive, or if you are like me, most of them you already have in the house all the time. So...
- Flower pots ( i used ceramic pots, but I think this could work with any kind )
- Wood filler or structure paste ( tried both and either works great)
- Crafts paint
- Sand paper
- Spatula ( or even a knife would work )
- Paint brush
- Pair of gloves
Soo..here is what we do.
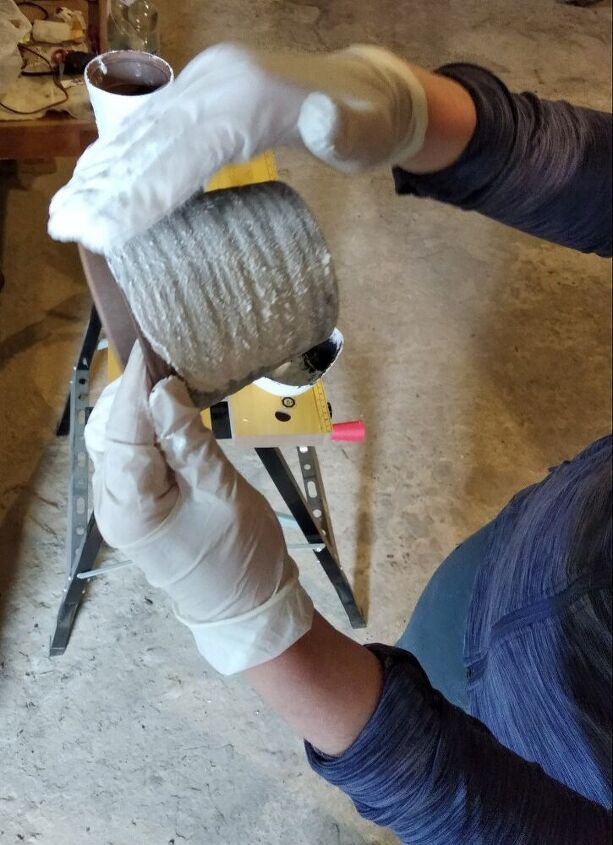
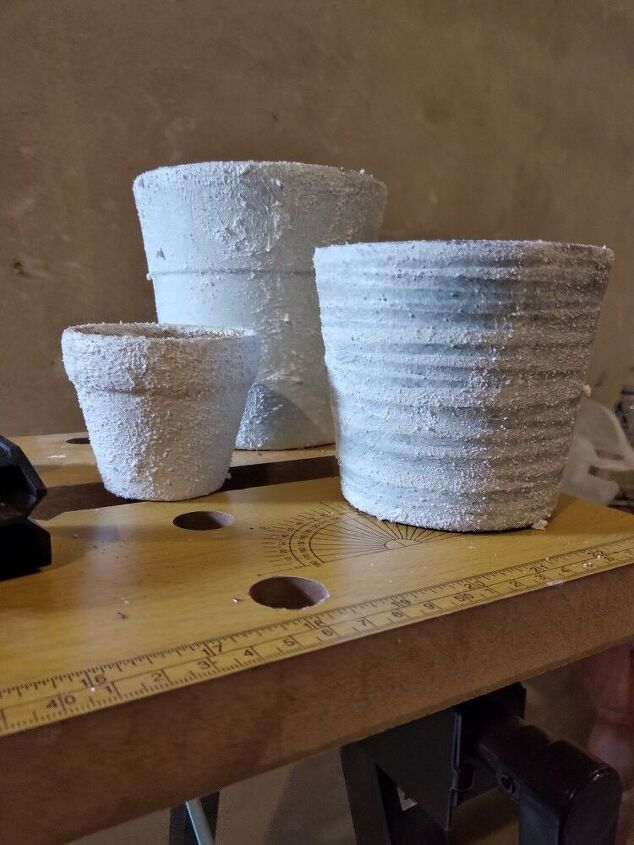
Take your wood filler or the structure paste, dip your hand in it ( this is where you need the gloves) and smear it around the pot. Work it around, in circular motions, cover up the entire surfice. It doesn't have to be very thick... but thick enough to leave a structured look. This dries very fast, so you won't have to wait long to continue...
When it's dry, it's really hard. Now we are ready to paint.. Use as many colours as you like..there's no rule. All you do is: dip your brush in the paint, just the very tip of it and just push the tip around the pot in small fast moves, leaving dots of paint on the pot. Just tap around with your brush. And use random colours, tap over, mix them..you can' t go wrong. If you think it's too dark, add a lighter colour. If it's too light, add dark. Just follow your gut... If you put too much paint, just wipe it off with some paper towel. It's very easy and simple and you're gonna feel like an artist 🙂
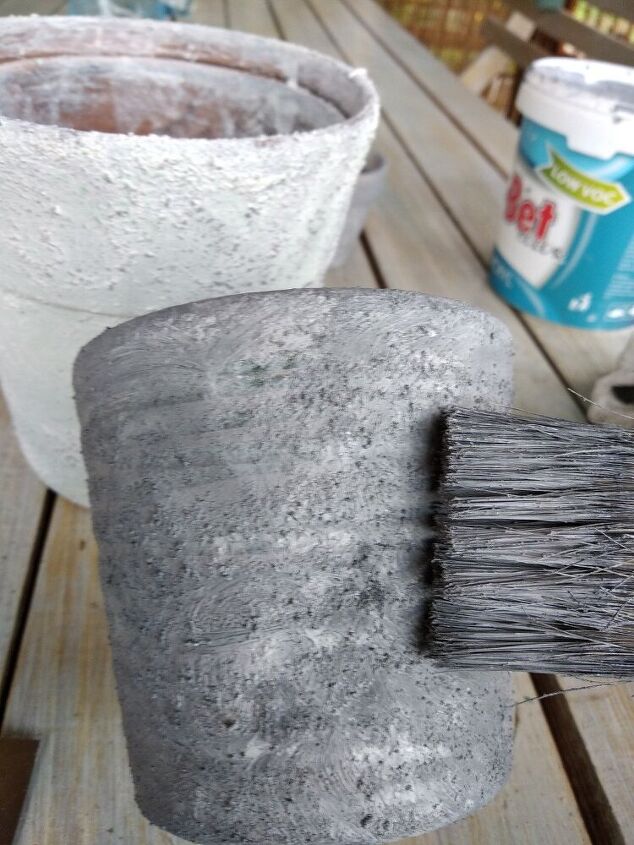
I used only three colours. Black, white and light gray. Just look how pretty those details are..
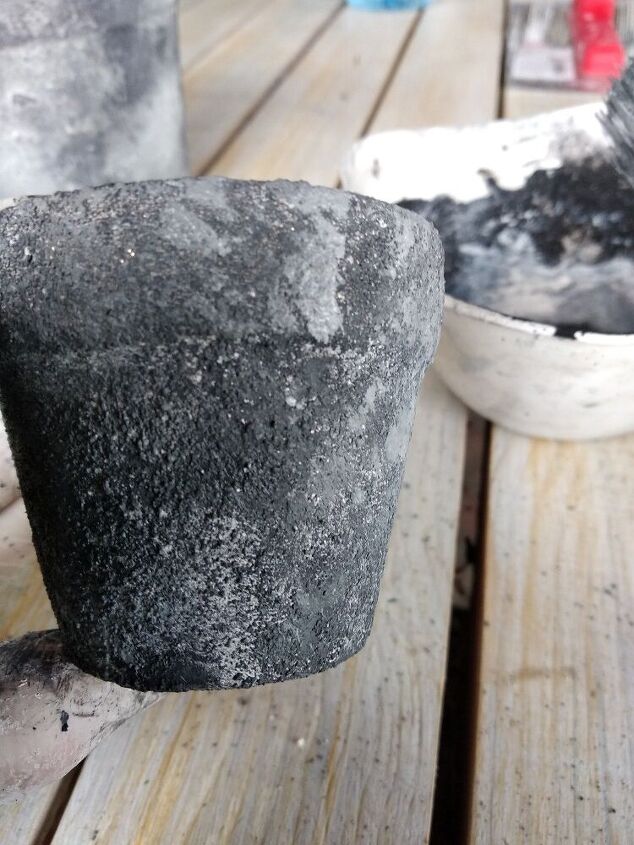

Now, when you think you are done, leave it to dry. It won' t take long, since you are not using much colour on the brush, so it's not very wet.
The next step is sanding. Just do it lightly...to smooth it out.
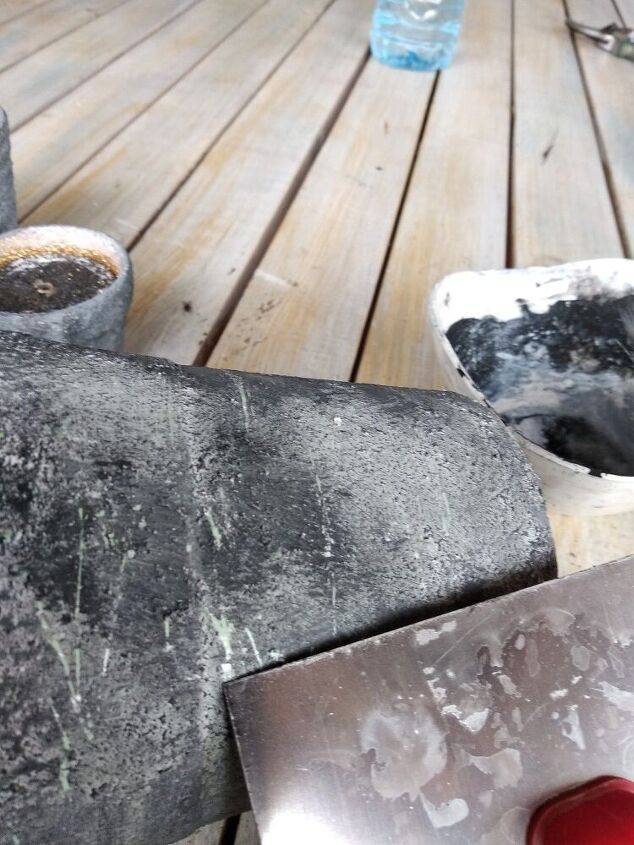
In the end, the very last step is to take your spatula ( or a knife ) and make some fine scratches. This will complete the very old look.
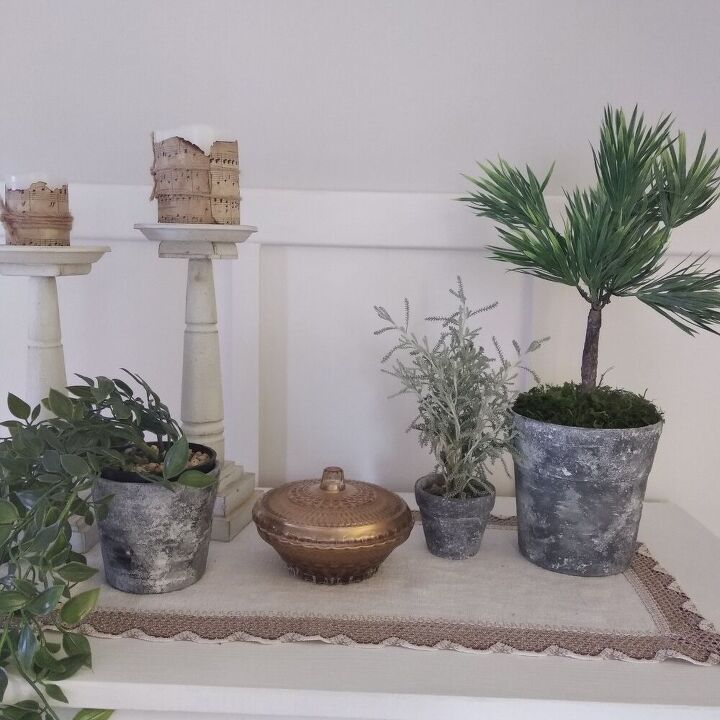

Fill your pots and enjoy the view 🙂
Thank you for reading this. Hope this little project makes your day 🙂


Comments
Join the conversation
-
Great results.must.try.this
-
I liked them white better but different taste


Frequently asked questions
Have a question about this project?
I wonder could you use these outside
Are you referring to dry brushing? Or using a heavier layer of paint than that?
Will this work on plastic pots?