


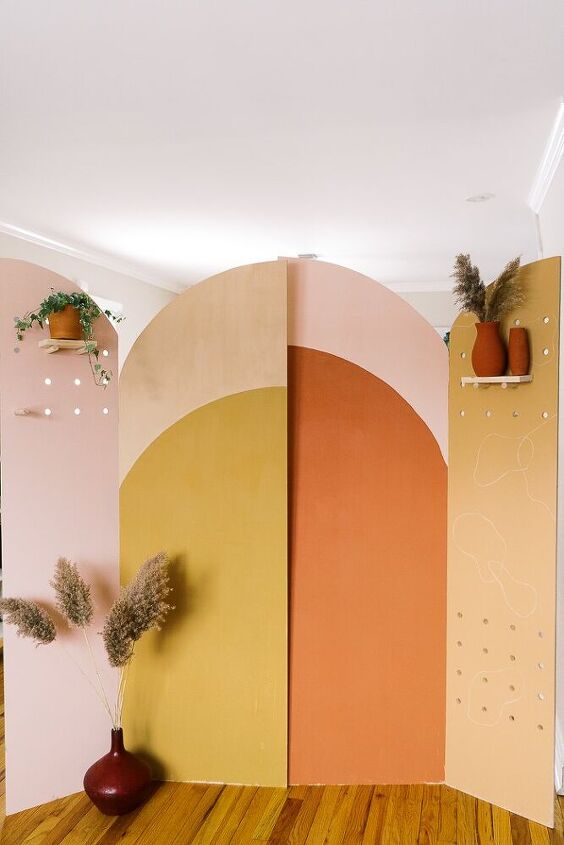
DIY Wooden Pegboard Room Divider

Making videos for YouTube is so much fun but when you have kids can be quite challenging. When I record an intro video, I need a nice clean background and with kids, the word “clean house” takes a different meaning 😄 To make my life easier and always have a place that I could use as my shooting location, I came up with this idea of DIY wooden pegboard room divider with arches that also serves me as a backdrop.
To start this project, I turned to Pinterest for inspiration. I found a few cool ones and added them to the board “ office makeover inspo” in case you want to check it out.
1. Set on design. How many arches do you want? How wide do you want them to be? It’s so customizable, you should see what would look good in your space.
2. Determine the height of your panels. Mine is 6′ tall.

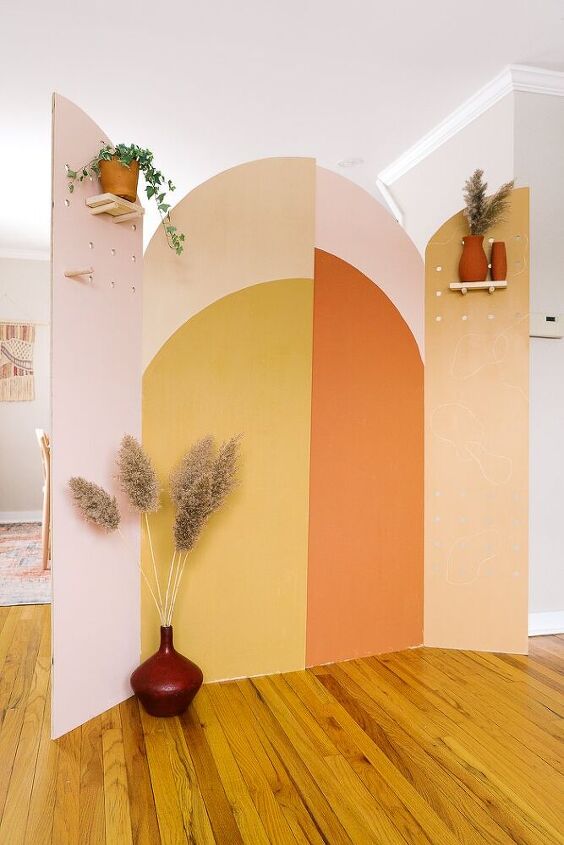
3. Draw your arches on plywood. Use a piece of rope to make a half-circle.
4. Using a jigsaw, carefully cut the arches. It might splinter. To avoid it, use a sacrificial board on top.
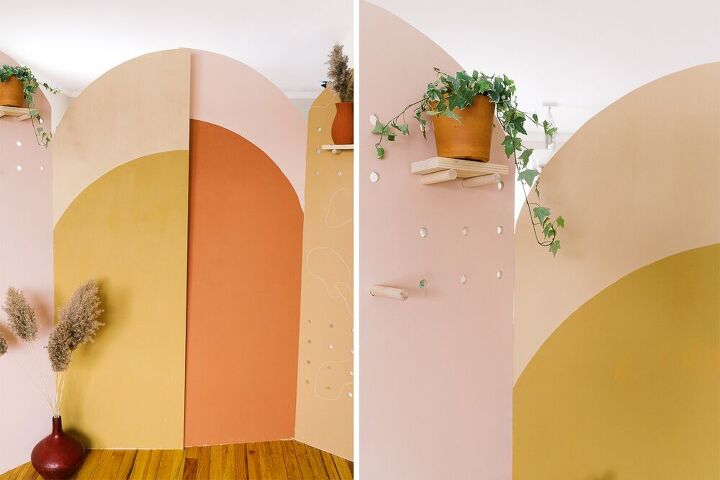
5. When arches are ready, lay them next to each other to get the overall feel. And then decide where you want the holes to go.
How to make pegboard holes
If you have a regular pegboard, it will make your life so much easier! You wouldn’t have to measure every side to get to the perfect positioning of the holes. Just put a pegboard on top of the arch and trace where you want holes to be.
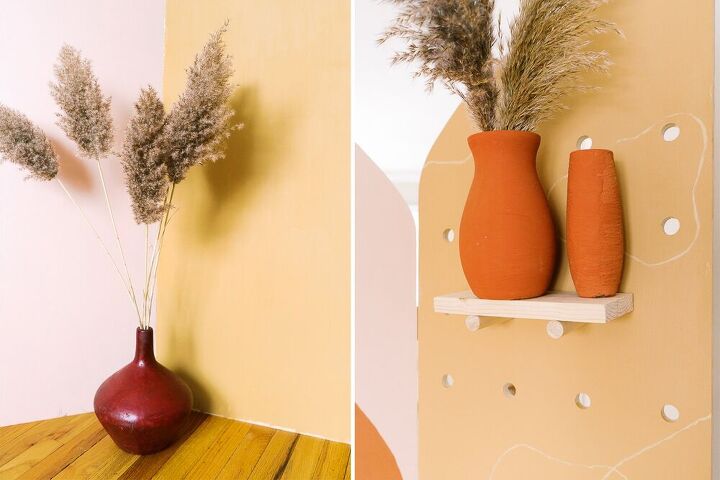
7. When holes are ready, give it nice sand. Use Dremel to sand inside the holes, even though, mine were in a decent shape.
I used regular hinges to attach these arches together.
If you would like to know the exact colors that I used to paint this room divider, you can find it on my blog.
Resources for this project:
See all materials


Comments
Join the conversation
-
This idea is absolutely GENIUS!!!! You should seriously be proud of yourself because this could be used in so many homes, great job!
-
Great idea! Any problems with tipping over? (children, dogs, klutzes)


Frequently asked questions
Have a question about this project?