3.4M Views
Early 1800's Antique Dresser

by
Patricia
(IC: blogger)
4 Materials
$10
1 Hour
Easy
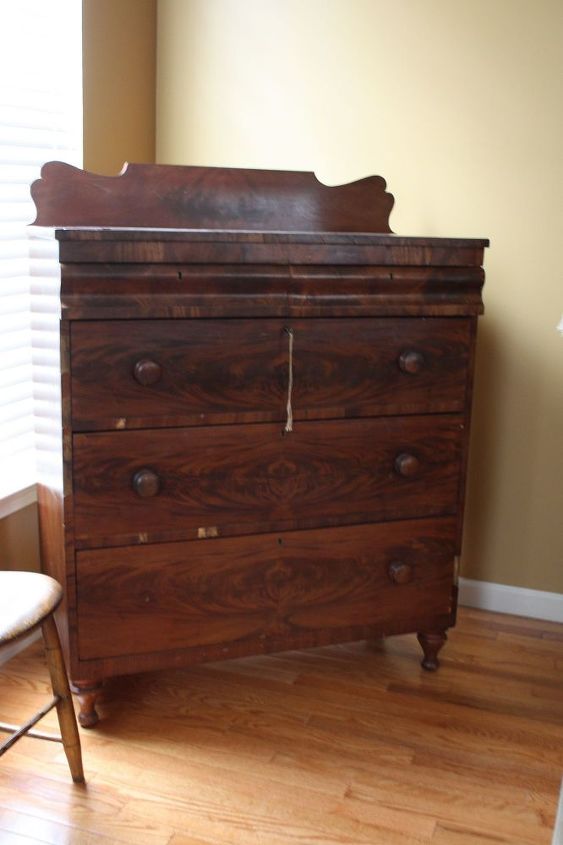
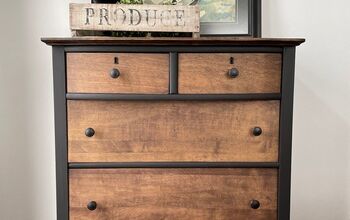
I bought this dresser at an online auction. Based on the condition of the veneer that I saw in the photos, I thought it would be a perfect candidate for painting. But it turns out it was about 100 years older than I initially thought. Based on the materials, hardware, and handcrafted construction I estimate the dresser was made in the early 1800’s.
The majority of the wood veneer was in good condition considering its age.
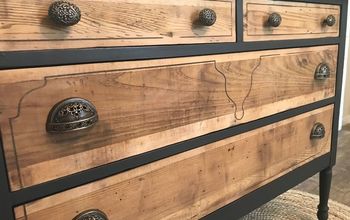
The main area of concern was unsightly loose and missing pieces of veneer that surrounds the drawers. Antique veneer is much thicker than modern day veneer and was difficult for me to source.
So I removed the remaining veneer around the drawers and replaced it with iron on veneer banding (link to actual product I used). I know, I know, I know . . . it's not authentic, but my goal was to get it ready to sell for everyday use (if a true restoration is desired an expert restorer can easily remove the new veneer and replace it with something more authentic).
I positioned the veneer banding in place. The veneer is easy to trim to fit with scissors or a utility blade.
Next I applied the banding using a hot iron wrapped in foil. I used the foil to protect the iron's surface from potentially getting adhesive on it or getting scratched.
Afterwards I stained the new veneer. There's a lot of color variation in the original veneer, so I tried to match my stain to the darker variant. I used 3 different stain colors that I had on hand.
The drawers required some minor repairs and cleaning which I explain more on my blog, so stop on by if you have a few minutes! (Link at bottom of this post.)
Enjoyed the project?
Resources for this project:
See all materials
Any price and availability information displayed on [relevant Amazon Site(s), as applicable] at the time of purchase will apply to the purchase of this product.
Hometalk may collect a small share of sales from the links on this page.More info

Want more details about this and other DIY projects? Check out my blog post!
Published April 20th, 2016 7:53 AM
Comments
Join the conversation
4 of 707 comments
-
 Shi103905667
on May 11, 2024
Could not see the complete finished project,????
-
-
 Cin105960880
on May 29, 2024
Thank you for preserving the integrity of a true antique! It is a beautiful piece.
-












Frequently asked questions
Have a question about this project?
Is there anyway possible to achieve a wood stained finish on furniture that has laminate finish? If I sand it too much to get rid of sheen I'll take fake wood look right off. Probably pressboard underneath.
Do you know how to get veneer off an antique piece when it’s loose in some areas but then stuck and can’t get it loose at all? Any help would be appreciated.
So you were going to Paint But decided against it because it was much much older than you expected so that's why you didn't paint it because I think I have the matching piece to your I don't know if that's a dresser or whatever it is but it looks identical to the one my great grandfather had that's in my grandmother's house right now and I might have painted it but I think I can take it off I just wanted to know I shouldn't have painted it should I????