


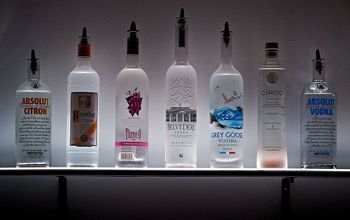
How to Make Winter Bottle Lights
Let's add some cosy warmth with these super easy winter bottle lights.

Remove any of the packaging from around the bottle of the neck using a sharp craft knife.
Divide the bottle into different sections with wavy lines drawn with the sharpie pen. The beauty of working with sharpie pens is they dry very quickly which reduces the chances of the odd smudge.

Now for the fun part, doodling different designs in each section of your bottle. Think about the proportion of clear glass to Sharpie in relation to the white lights shining through.
Consider shapes formed from circles, triangles, diamonds, dots, or any combination of them. I have deliberately chosen to think about color the negative space in between shapes for some of my designs.

To finish the craft project insert the lights through the neck of the bottle. I have chosen white lights for wine bottles to reflect through the glass. Add the cork and turn the lights on, step back and enjoy your handiwork.

If it will help inspire you further check out my youtube how-to video demonstrating some of the doodle designs I have used.


Frequently asked questions
Have a question about this project?