


Luck Sign - St. Patrick's Day
2 Materials
$5
20 Minutes
Easy
This sign can be used all year or just for St. Patrick's Day. I have done this project 2 different ways. There is an easy version, and the other version is takes more time but isn't too hard.
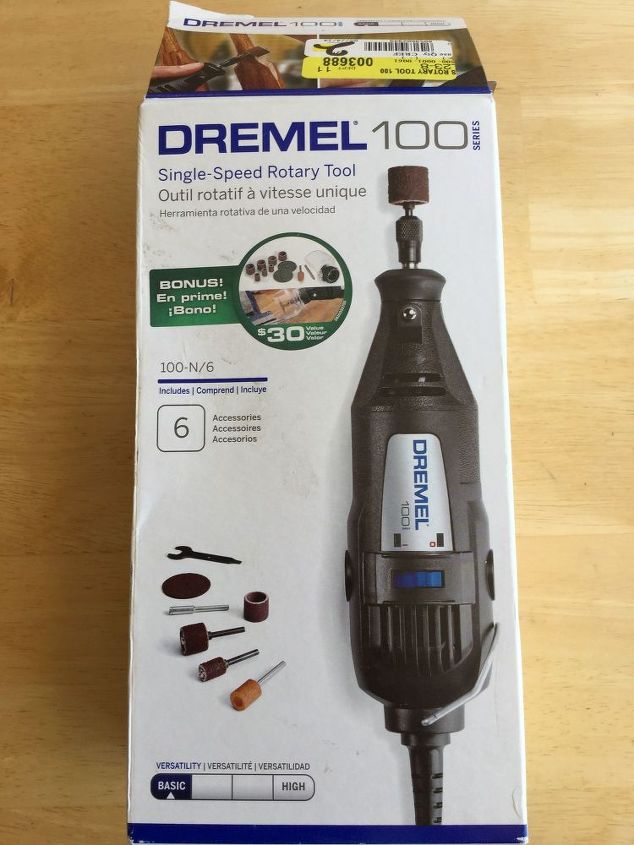
Materials Needed: *Shamrock Sign (mine came from Target in the dollar section), or other board/sign of your choice. *Horseshoe - mine came from Hobby Lobby *Stencils - optional *Sharpie Marker - color of your choice, or if you'd rather use paint go for it. *****Longer version will need these additional things: *Dremel *Safety Goggles *Soldering Iron *Paintbrush - optional *Polyurethane - optional
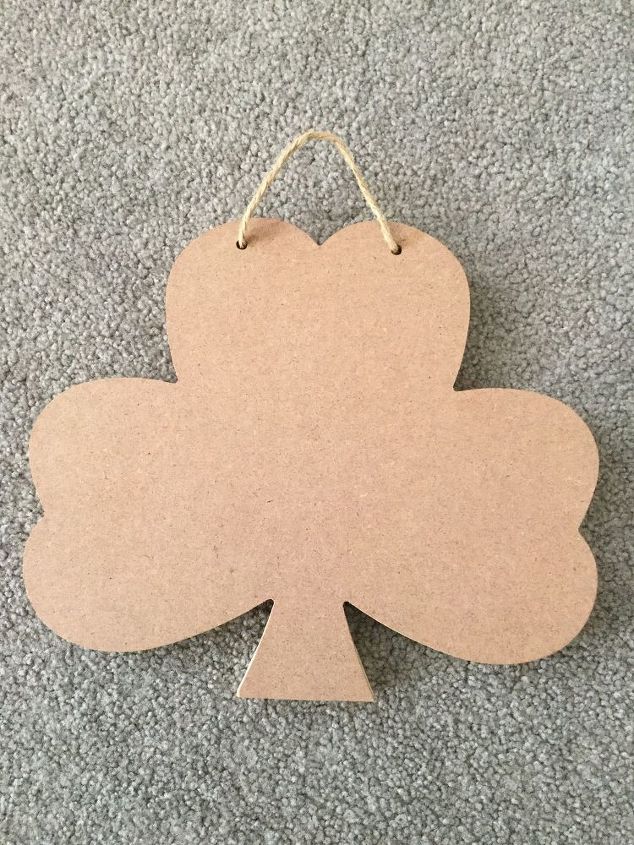
This is the back of the shamrock I bought at Target in the dollar isle. The front is planked wood - you'll see it in future pictures. If I wouldn't have found this I probably would have bought a board I liked at Hobby Lobby to use for this project.
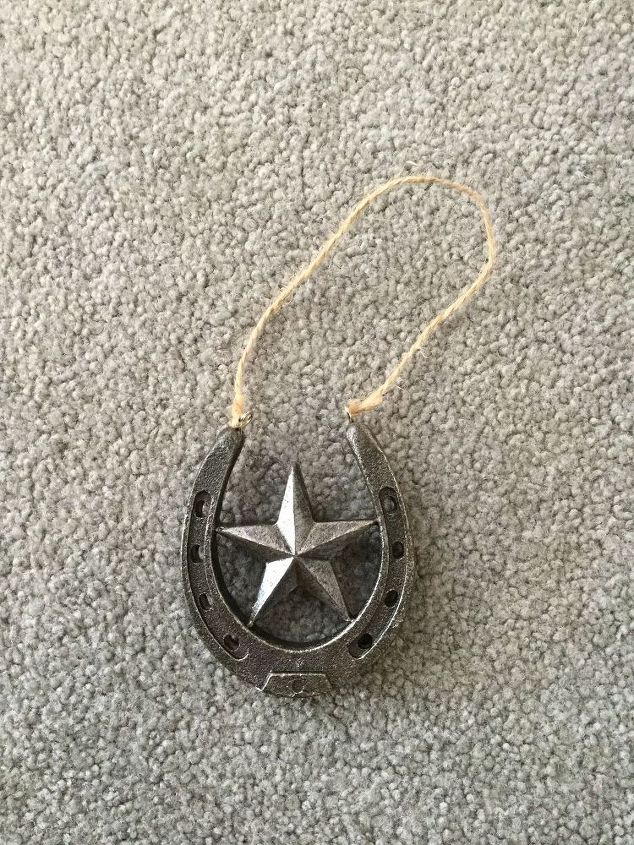
This is the horseshoe I used. It's from Hobby Lobby and cost $2.50 during a 50% off resin sale. If I wouldn't have found this, I would have picked up a horseshoe from a flea market in town for $2 and nailed it in place.
For the easy version - 1. Set your horseshoe in place where you want it to be. 2. Decide where you want your letters to be. 3. Color in your stencils or freehand your letters. 4. Attach your horseshoe. 5. That's it for the easy version. You're done. *Continue on if you'd like to go further...
6. Next I used my dremel and sand down the letters to make an indent in my wood.
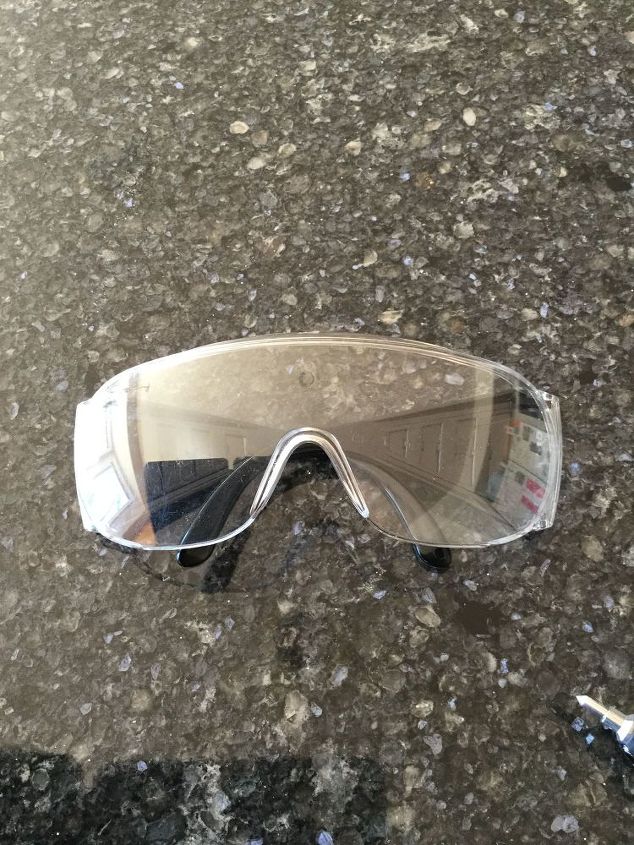
Don't forget your safety goggles please.
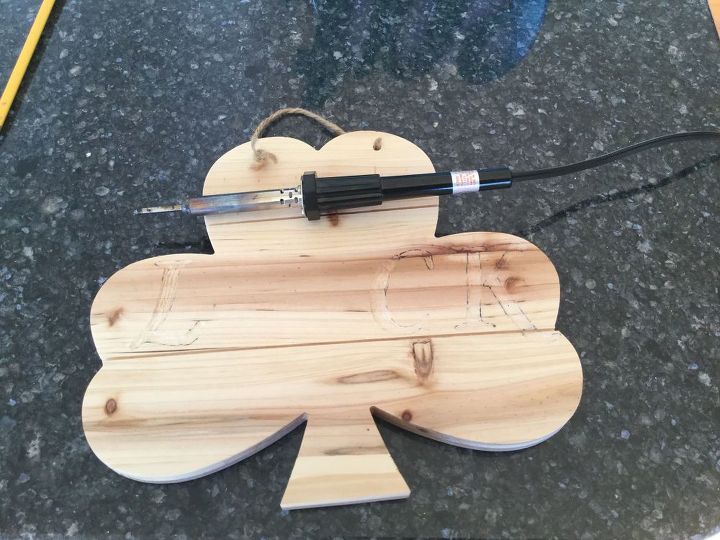
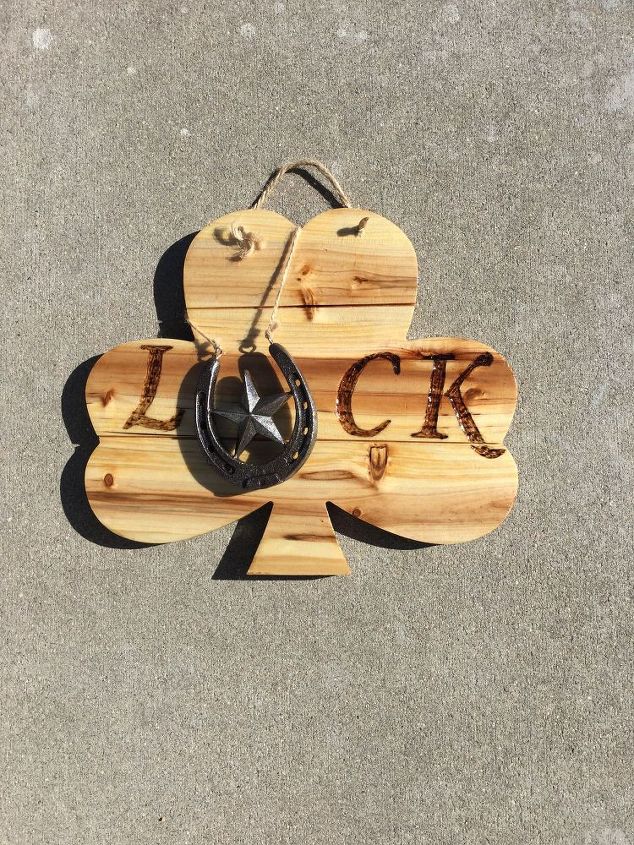
7. You can see the sanded out letters here. I didn't need to go very deep. 8. Warm up your soldering iron. 9. Use your soldering iron to burn the letter indentions. This will take "a lot" of time and patience. Keep going until you get the look you want.
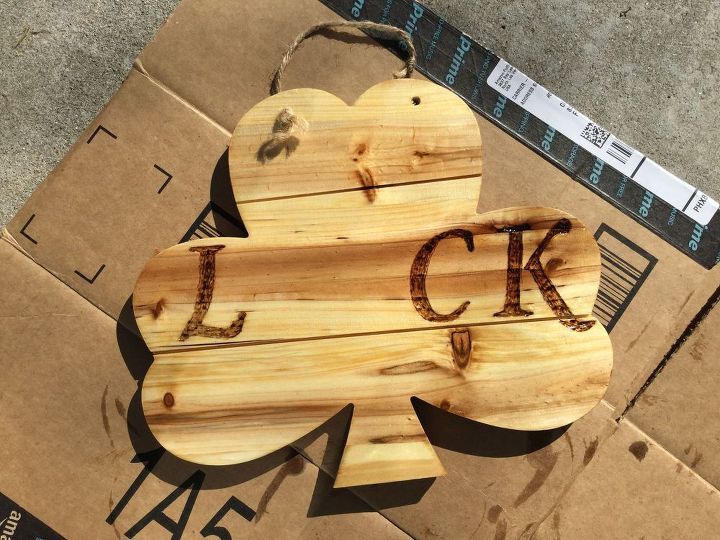
Here is a picture of the soldered letters.
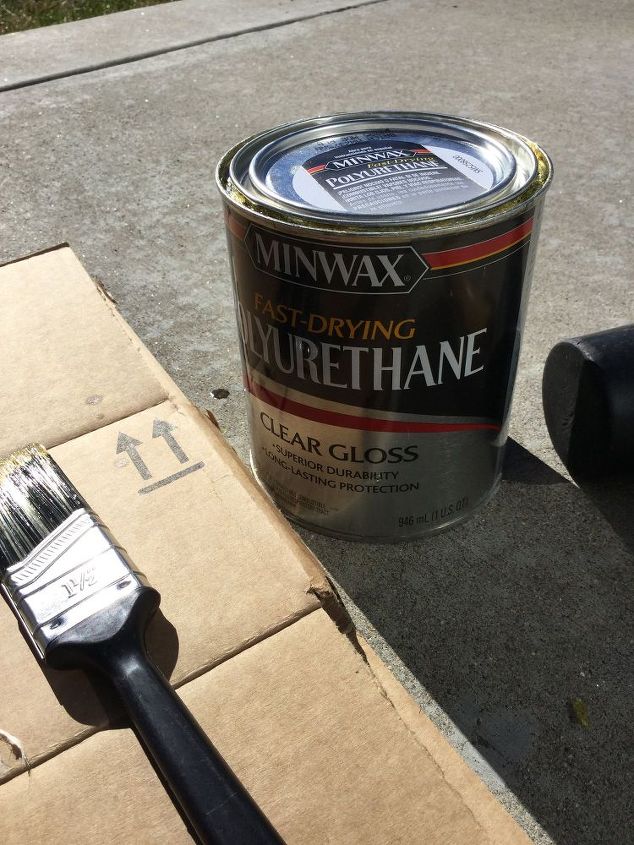
I decided I wanted to put polyurethane on my picture to protect it. I used Miniwax Fast-Drying Polyurethane Clear Gloss. *I wouldn't recommend this if you just used marker - it might cause the marker to bleed depending on the wood. If you painted your letters instead of using a sharpie you should be able to polyurethane it.
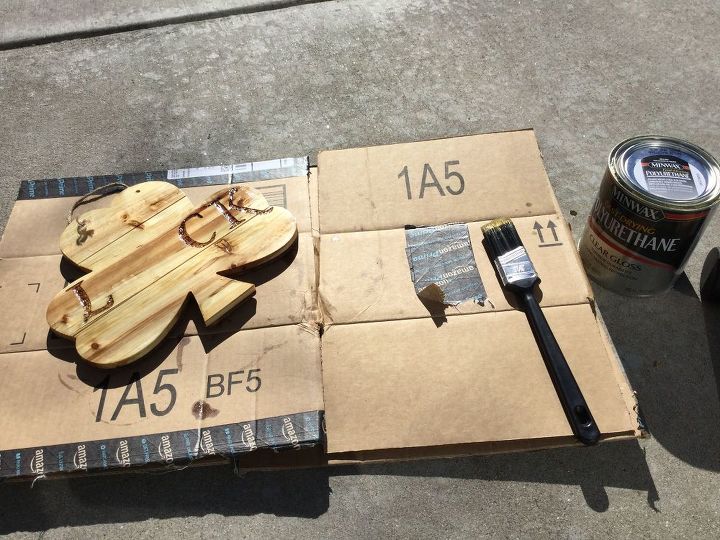
10. Put one coat of polyurethane on and let it dry. 11. Continue to put coats on and let dry until you get your desired look.

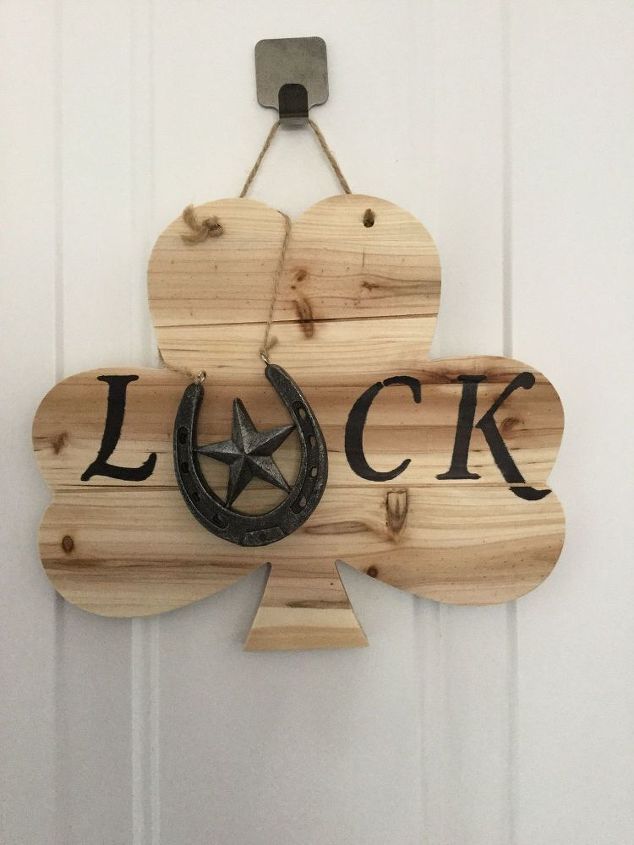
12. Put your horseshoe on and you are done.
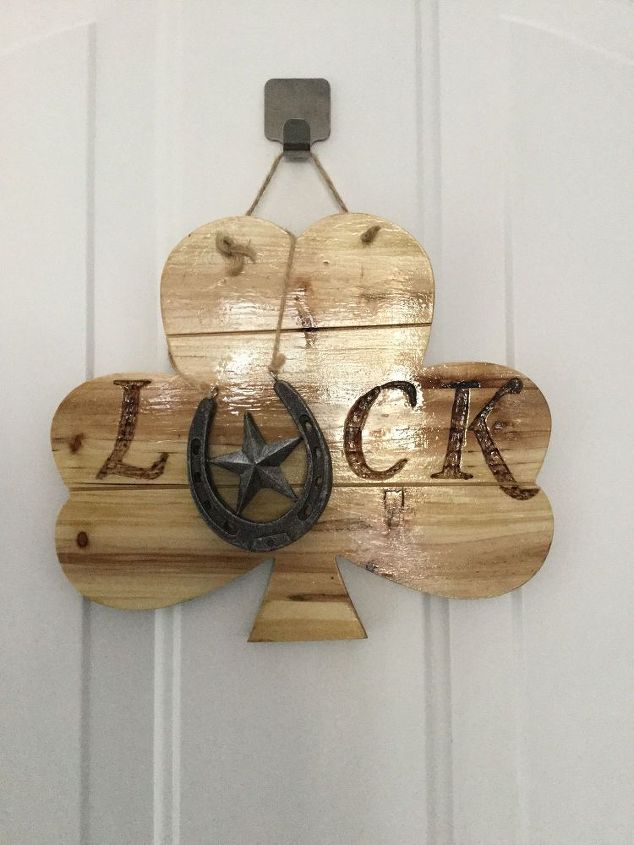
I have mine hanging on my front door. You could just use it for St. Patrick's Day or leave it up year around.
I would love to have you stop by my blog Chas' Crazy Creations for the full tutorial as well as sign up for my latest creations, posts, recipes, exclusives, and more...
I would love for you to subscribe to my YouTube channel to see more of my crazy creations - https://www.youtube.com/channel/UCIOsMN7hycVRco-MROXwmXg

Want more details about this and other DIY projects? Check out my blog post!
Comments
Join the conversation
3 comments
-
This is awesome! My family is Irish and I can think of SO many people who would love this!
-
Nice job!


Frequently asked questions
Have a question about this project?