


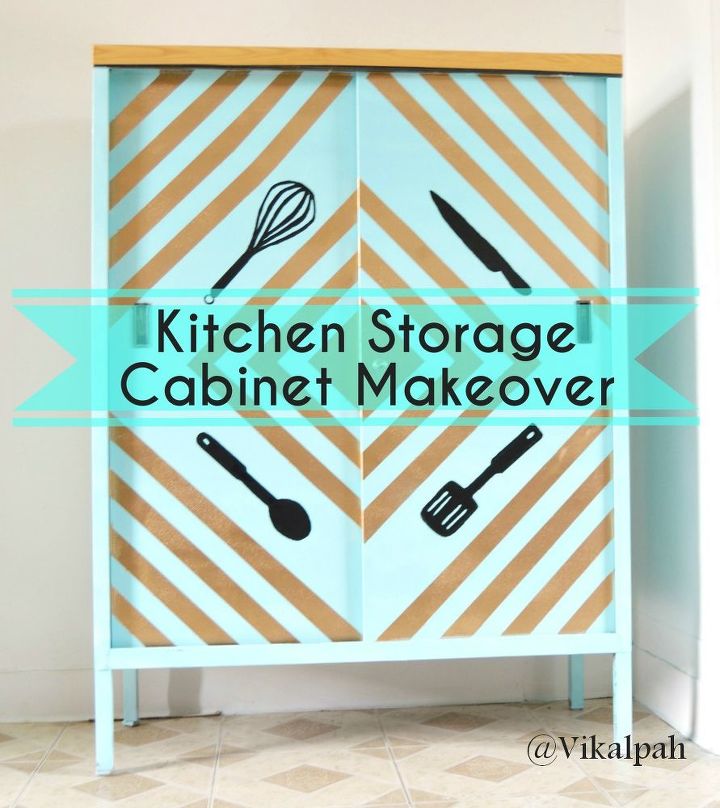
Kitchen Storage Cabinet Makeover

by
Sahana
4 Materials
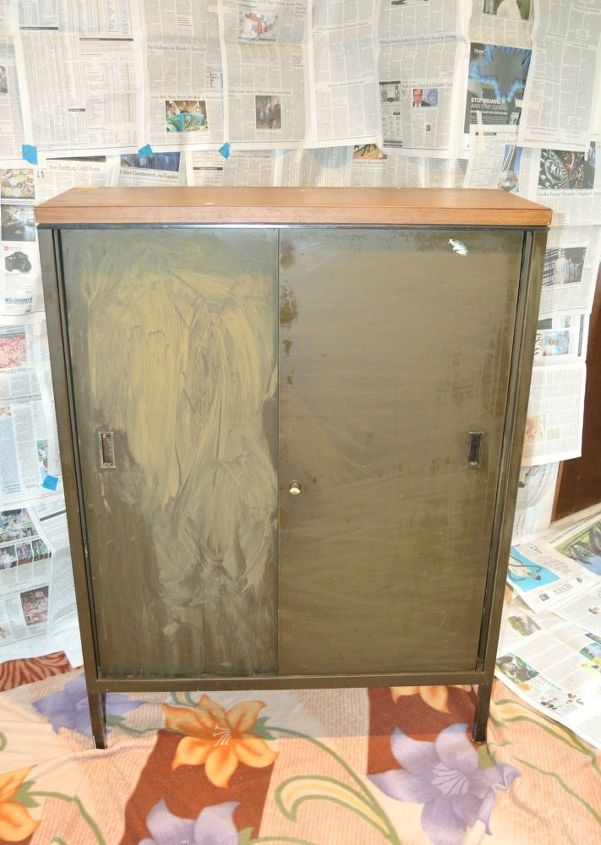
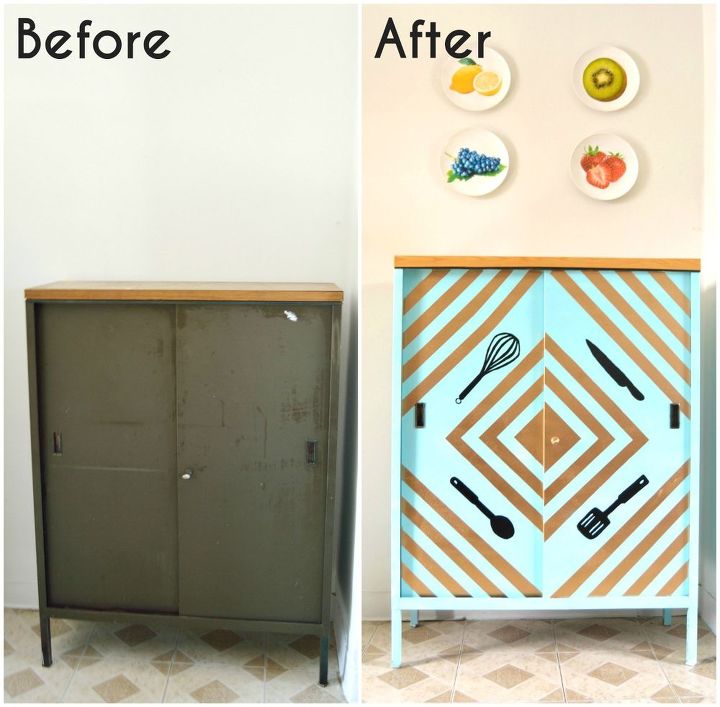
This was an extra storage cabinet given by my previous landlord.It was an old steel cabinet with an overlapping door which is so out of style and screamed for a makeover. Let's see how I tackled this situation.
Covered the entire area with drop cloth. Wiped the cabinet with the damp cloth to remove any dirt, rust or dust and allowed it to dry. Taped off the handle and top wooden part with painter's tape. Wore gloves and mask.Wet sanded the whole cabinet with sandpaper. (I am mentioning wet sanding as dry sanding may release lead which is toxic , refer the back of paint for instructions.)
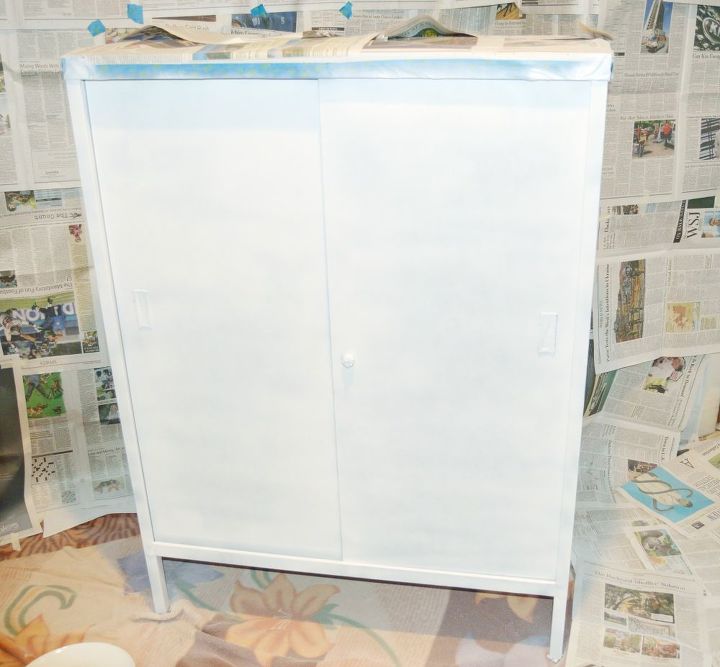
Sprayed light coats (Don't spray in the same area for long time, do it in side to side motion or you will end up in dripping --> I experienced!!)of primer until the cabinet is fully covered and allowed it to dry.It took 2 to 3 coating to cover the cabinet completely and allowed it to dry in between the coats .You can actually skip this step if your paint already has primer in it. I personally felt priming the surface is good to prevent the surface from rust ,it helps the paint adhere well to the surface and also gives a pop of main color you are going to use.
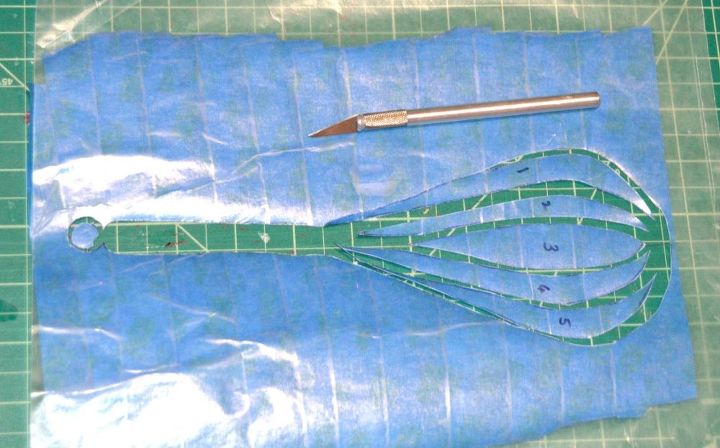
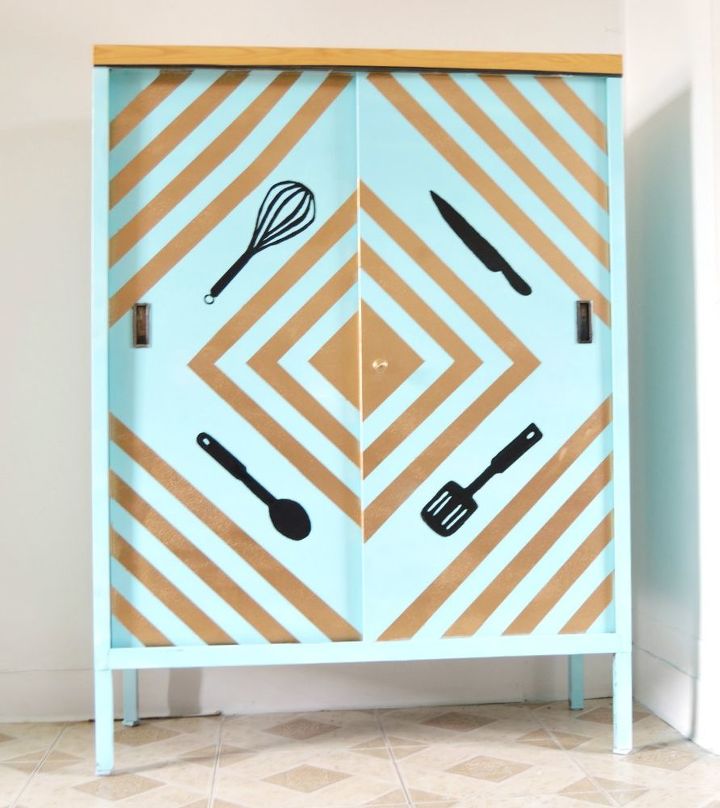
I thought it will be cute to add some designs of kitchen utensils in the cabinet as I am using it as a extra storage in my kitchen .If you are like me ,then go ahead and search for the right template online. I couldn't get it and also there was no time for shipping to reach me . So, I decided to make my own.
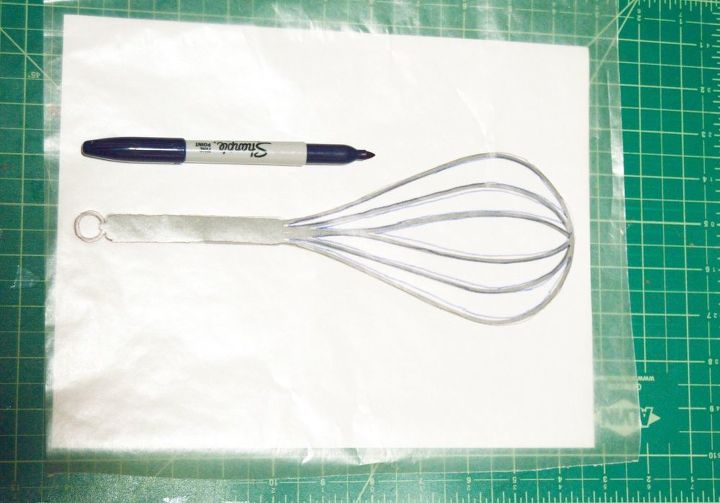
Cover one side of the waxpaper with strips of painter's tape overlapping each other. Use Xacto knife to cut the stencil.
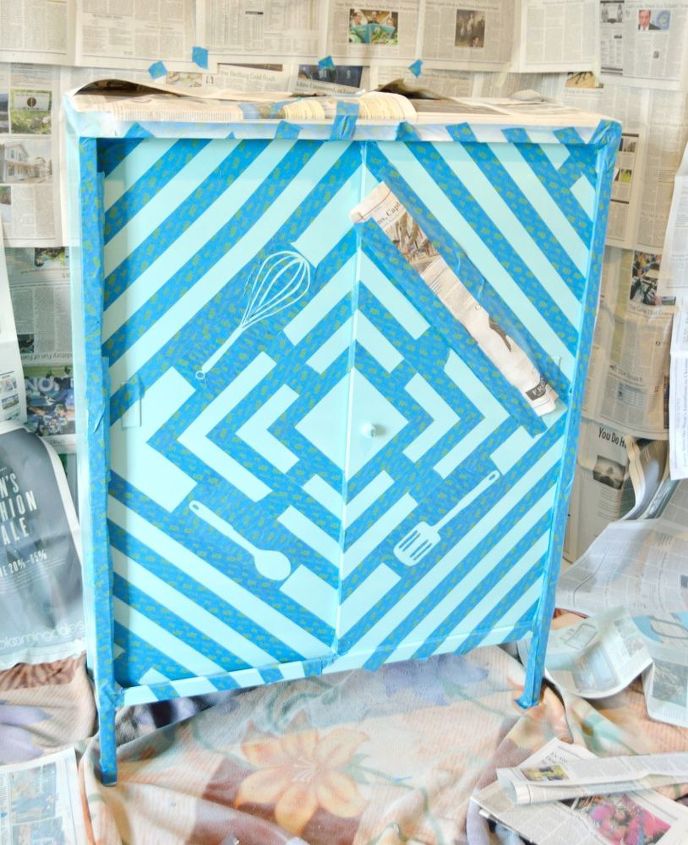
I decided to go with gold color for stripes and black for utensils.So,paint the areas of gold first.For this,I covered the areas of utensils design with newspaper and taped it to paint black later.. Applied 2 to 3 coats to cover the entire area and allowed it to dry.
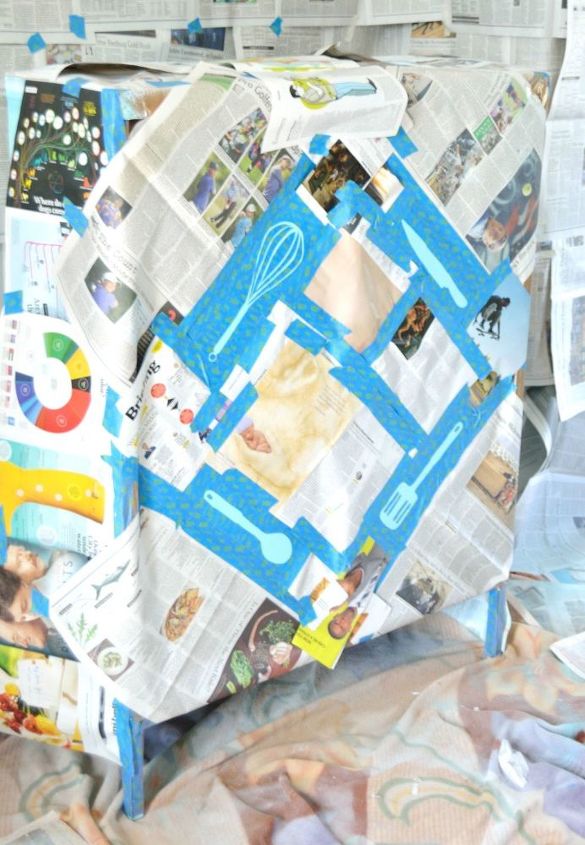
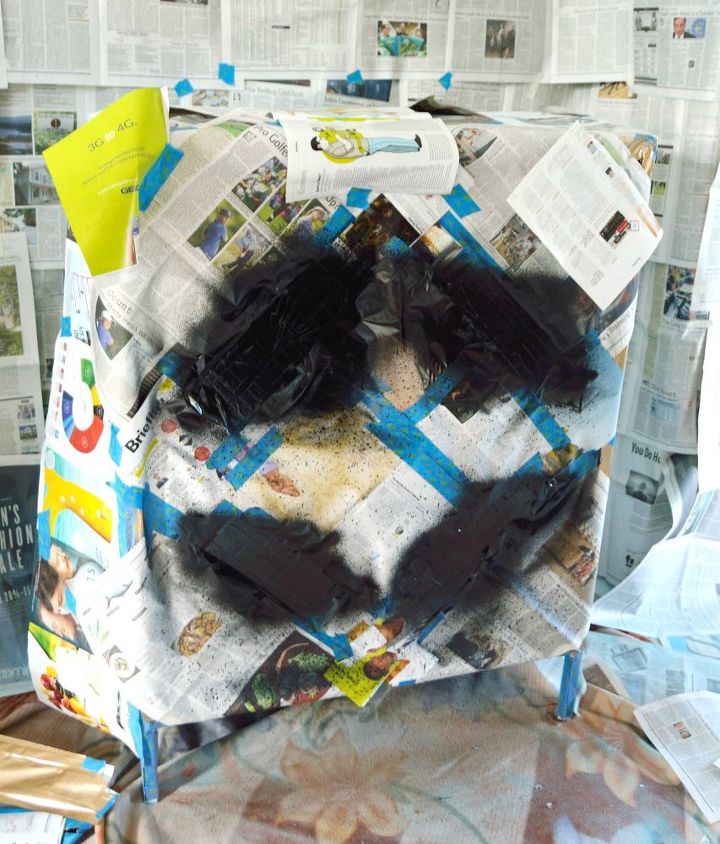
Cover edthe entire cabinet with newspaper leaving the areas to be painted black and sprayed light coats of black for the utensils design.Allowed it to dry.Now comes the interesting part.Removed all the tape and newspaper covered to admire my work. Gave a little bit of touch up with multi surface paint and paint brush in the areas where seeped.And that's it.How cool ??
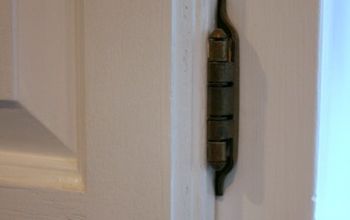
To know how I tackled the broken wood situation on the top of the cabinet and how I made the decor plates click the blog link below.
Want more details about this and other DIY projects? Check out my blog post!
Comments
Join the conversation
2 of 17 comments
-
I did a black on white mural on the wall in my garage. Simple leaf and branch design. The opposite wall is end to end black bookcases. Your post has me thinking about how to stencil my leaf and Vine design onto the face and sides of my bookcases, this time using white on black. Thank you for the inspiration. Love what you chose to do.
-
Cool!


Frequently asked questions
Have a question about this project?