


DIY Pantry Makeover
Medium
Our old pantry was functional enough but had a lot of wasted space. When I started this remodel I planned on replacing thAe wire shelving with white shelves, wanted a counter for a coffee pot and a space for our keg orator.
For more detail make sure to check out the full blog post at Ginger & The Huth
For more detail make sure to check out the full blog post at Ginger & The Huth
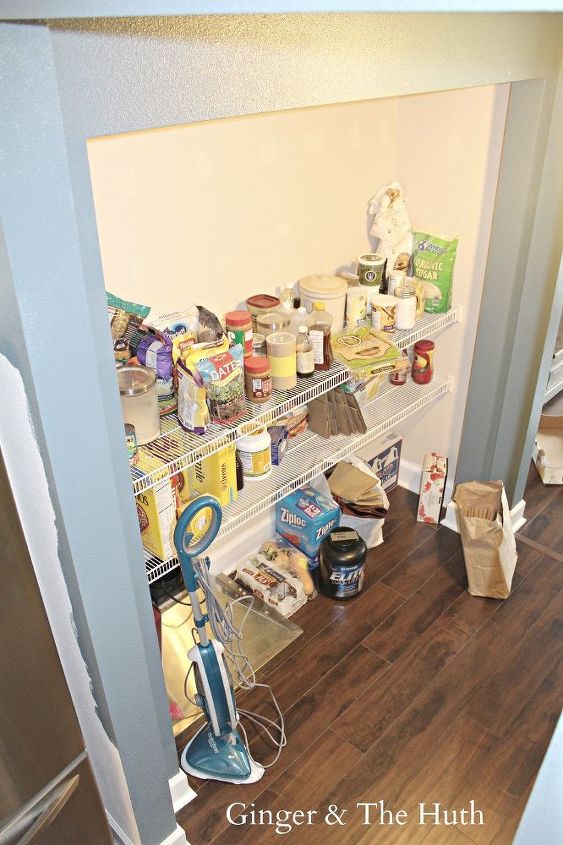
Here is a before picture:
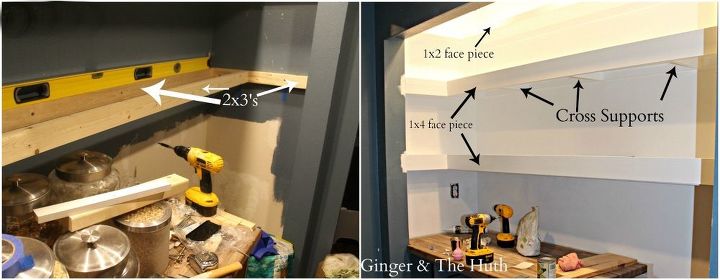
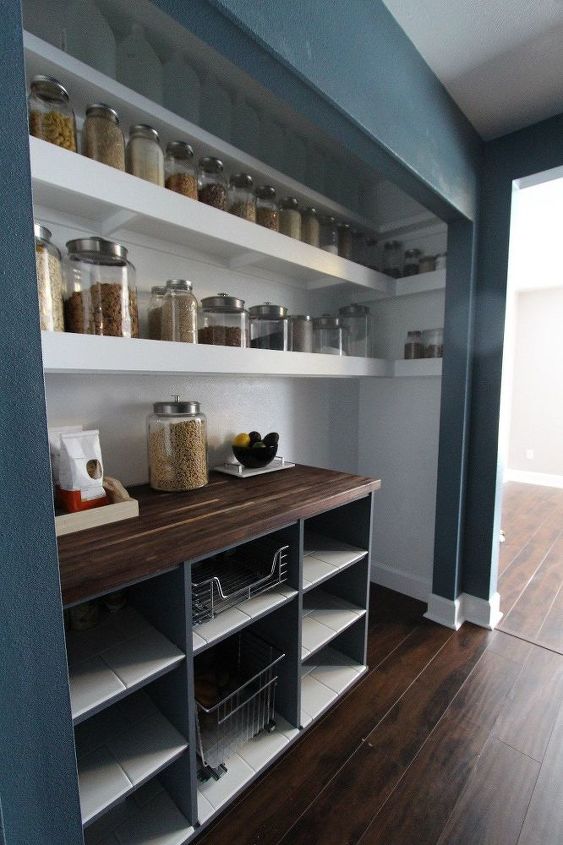
After taking down the wire shelving, we used two 2x3's to support the bottom shelf and one 2x3 for the middle shelf (along with a wall support). We also used 2x3's as cross supports for the bottom two shelves. The top shelf only needed a 1x2 wall support. To hide the 2x3 supports on the bottom two shelves we used a 1x4 face piece that also keeps stuff from sliding off the shelves. For the top shelf we used a 1x2 for the face piece.
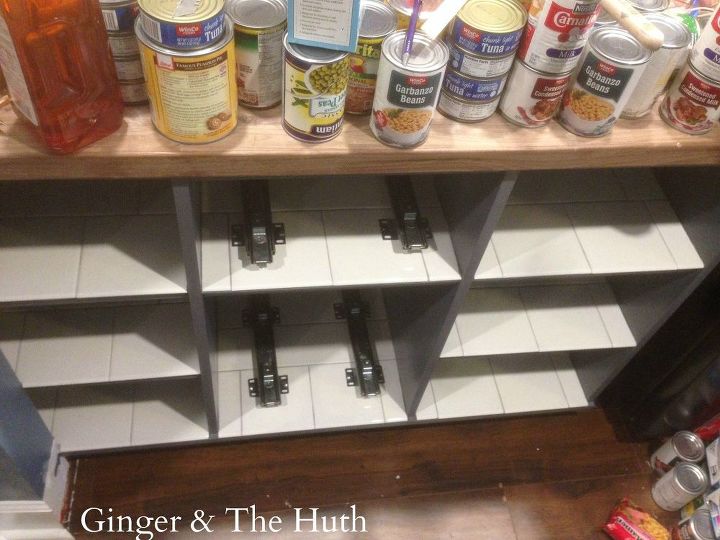
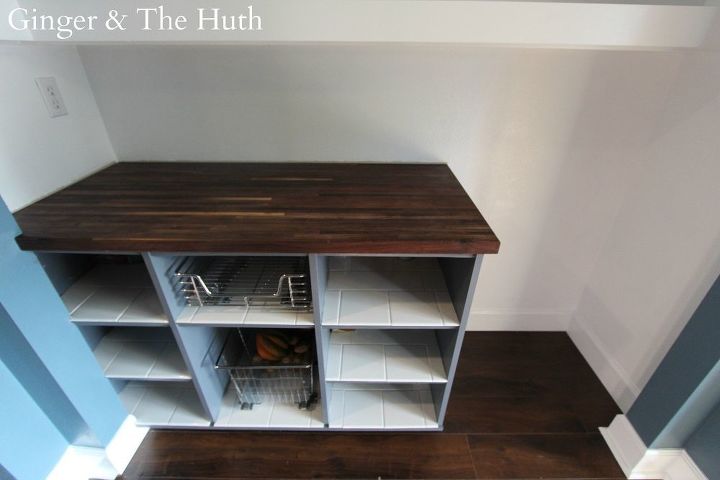
We used modified Ana White / Killer B Design plans for the lower cabinets. I didn't make cabinets for the whole lower space because I wanted room for our Kegorator. My plan for these was to store canned food in the side cabinets and root vegetables in the center.

For durability we tiled the shelves. We also installed sliding wire baskets for root vegetable storage.
We bought a 1-1/2 thick slab of American Walnut butcher block for the counter. Using a jig saw and router we smoothed the edges/cut it to fit and sealed it with Waterlox.
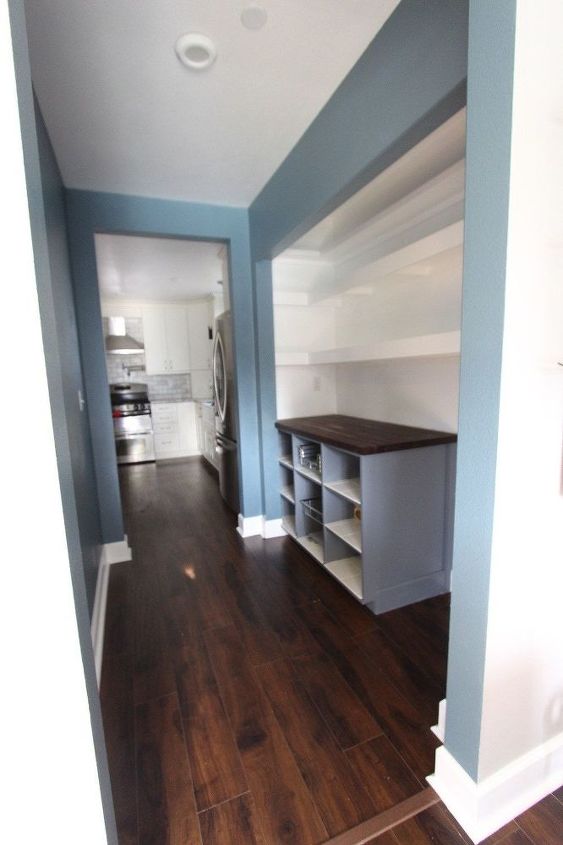
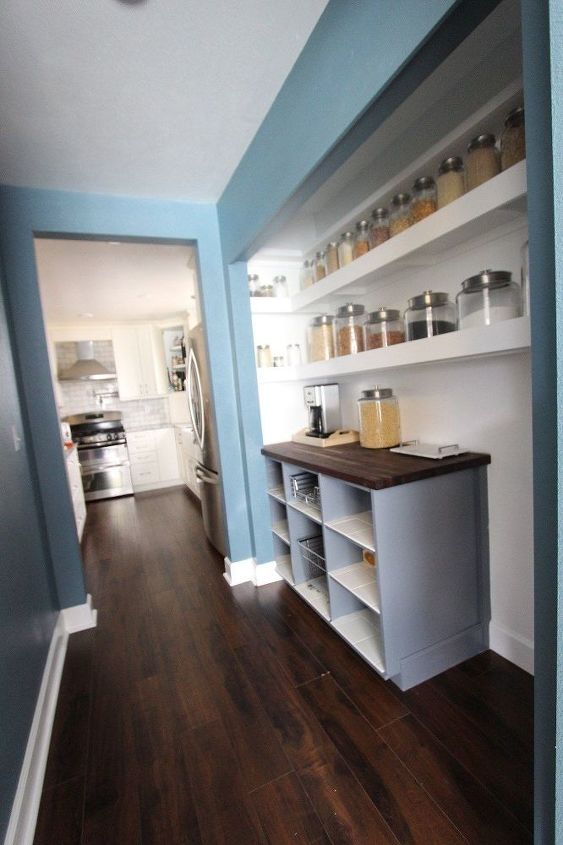
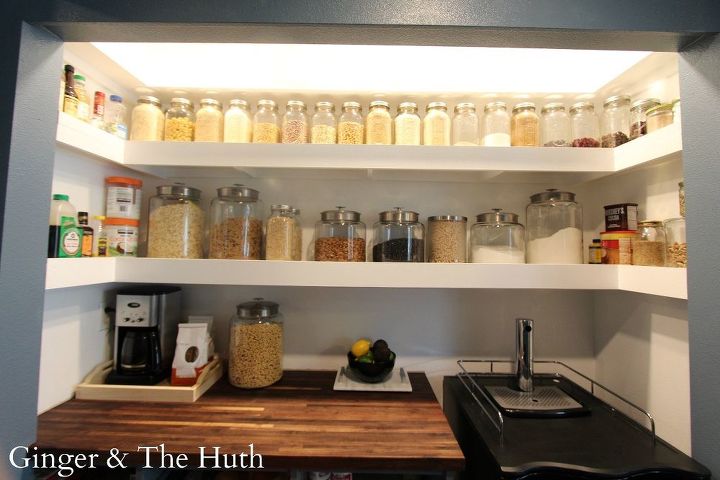
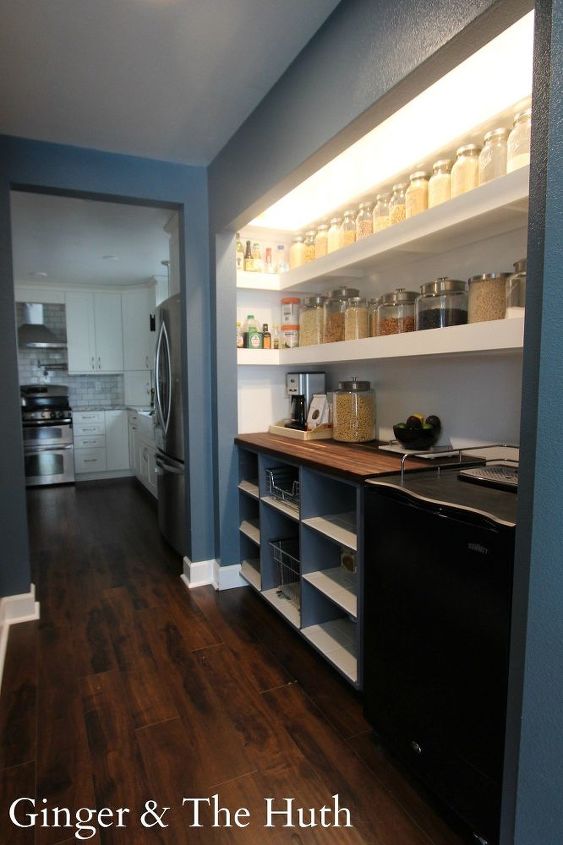
And.. Ta Daahh! Finished pantry :-)
For more details make sure to check out the full blog post at Ginger & The Huth

Want more details about this and other DIY projects? Check out my blog post!
Comments
Join the conversation
2 of 20 comments
-
Beautiful what about vintage cotton cafe curtains to cover bottom cabinet use a tension rod on each side
-
Very Nice and organized!! I love it completely..........
 My kinda gal!!


Frequently asked questions
Have a question about this project?
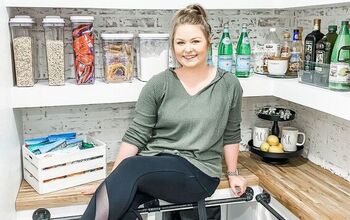
In the second "after" picture, I'm seeing jugs of water or vinegar or something similar on the topmost shelf. They aren't visible in the other pictures. Is your lighting behind them, or above them?