


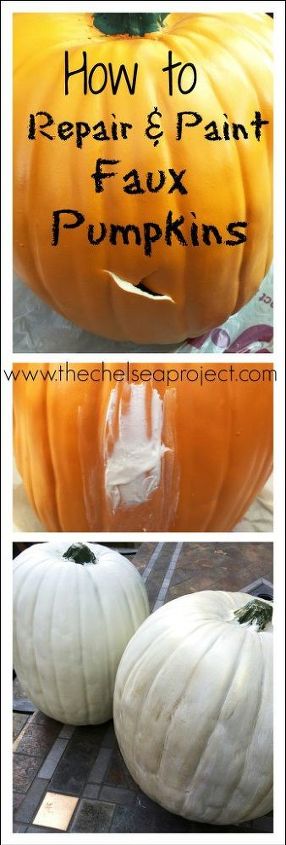
How to Repair and Paint Faux Pumpkins
$0.10
20 Minutes
Easy
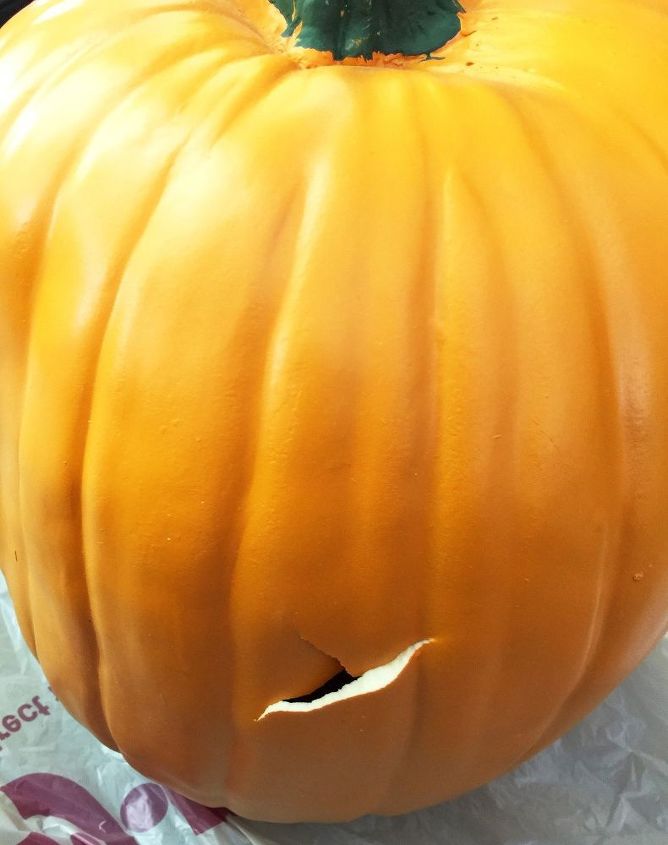
A few weeks ago, I pulled out my fall decorations to get the ball rolling on a fall home tour. And much to my chagrin, one of my big faux pumpkins had a gaping hole in its side. Now, if I was a homeowner with unlimited funds, I’d simply trash this pumpkin and pick up another one. But at $25 to $30 bucks for one this size, the DIYer WITH limited funds took over.
And here’s the quick and easy fix.
And here’s the quick and easy fix.
The simple fix starts by grabbing the same spackling paste that is used to repair wounds to drywall. Fill the hole and then smooth the spackle as much as possible. If you don’t have one of these little application gizmos, then just apply the paste with a plastic knife and smooth it down with a damp finger.
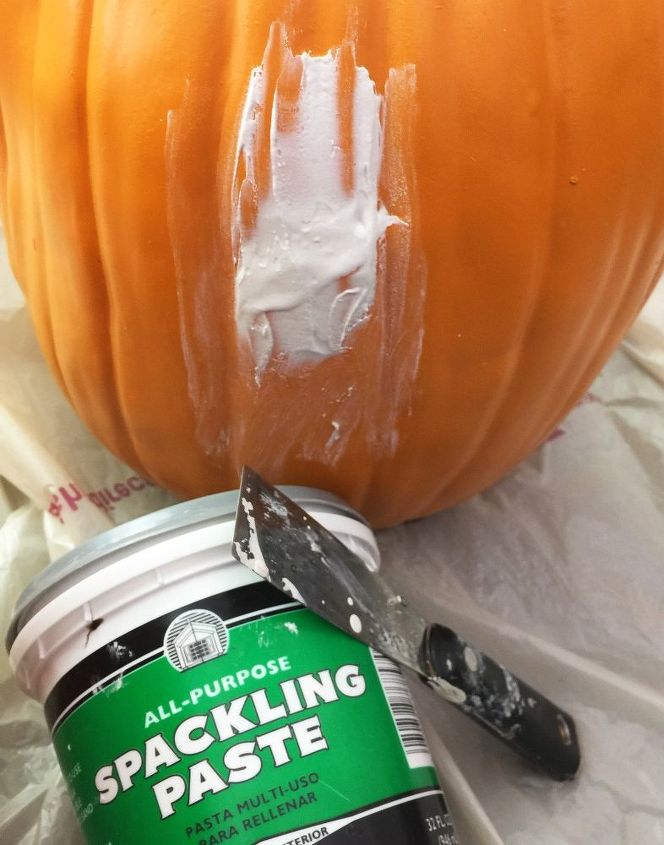
Step 2: Apply Spackling Paste
Now, time for a quiz?
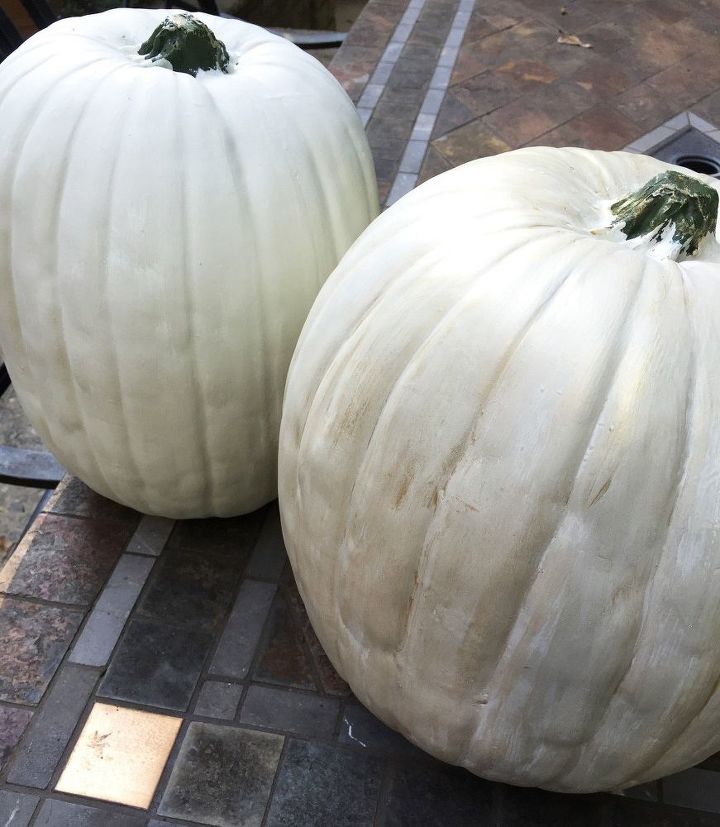
See these pumpkins in an outdoor fall setting: http://thechelseaproject.com/fall-tablescape-fire/

Want more details about this and other DIY projects? Check out my blog post!
Comments
Join the conversation
2 comments
-
I get paid 85 bucks hourly for freelancing. I never thought I can manage to do it but my good friend is making 10000 dollars each month by doing this job and she recommended me to check it out. Try it out on following website, you have nothing to lose..www.14earnpath.comᴵᴵᴵᴵᴵᴵᴵᴵᴵᴵᴵᴵᴵᴵᴵ
-
Ingenious DIY idea to repair your pumpkin. I don't know which one was fixed either.


Frequently asked questions
Have a question about this project?