


Pallet Kitchen Island
2 Materials
$00
5 Hours
Easy
Its time for evening marshmallow roasts so my daughter filled her truck with some free pallets so I took one and thought I would love to build a kitchen island , I gathered my jigsaw, screwdriver, paints and stencils and got busy!
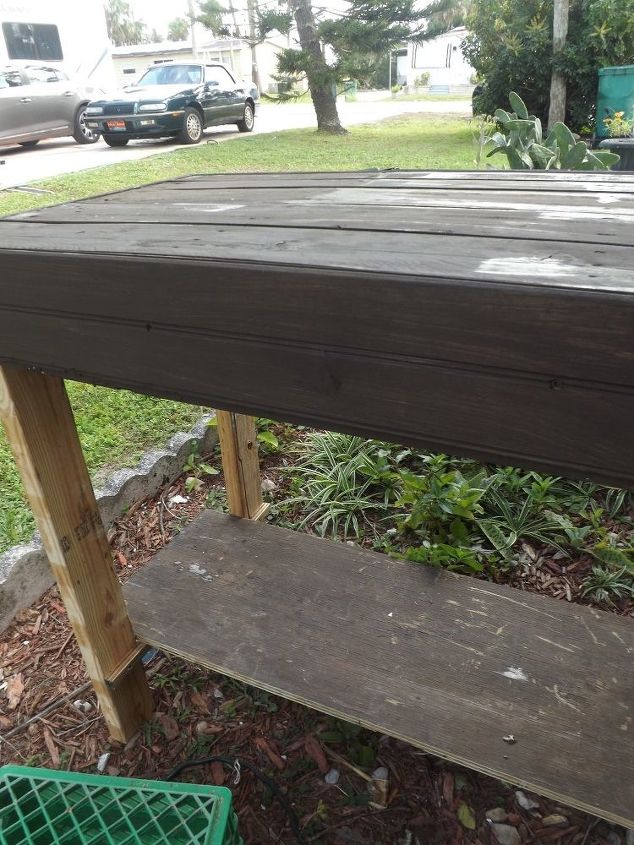
The first step was to take the pallet apart this pallet was perfect meaning I could use the top part without taking it apart , the legs are also made from the pallet, the only parts that are not pallet is a couple of pieces I had in my wood pile one for the bottom shelf and a tongue and grove piece that I used on each side. So at this point I am giving it a bit of a wash with dark paint.
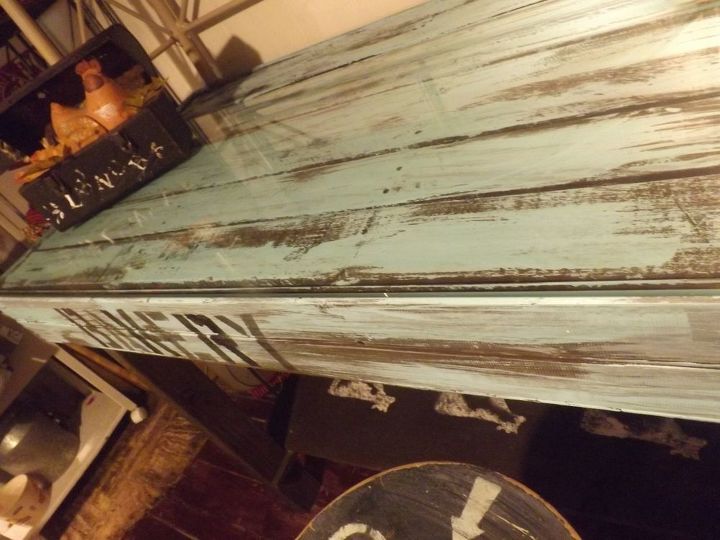
I then gave only the top a dry brushing of my favorite sea foam color. And also stenciled some kitchen words such as bakery, cake and I did cows on the bottom shelf.
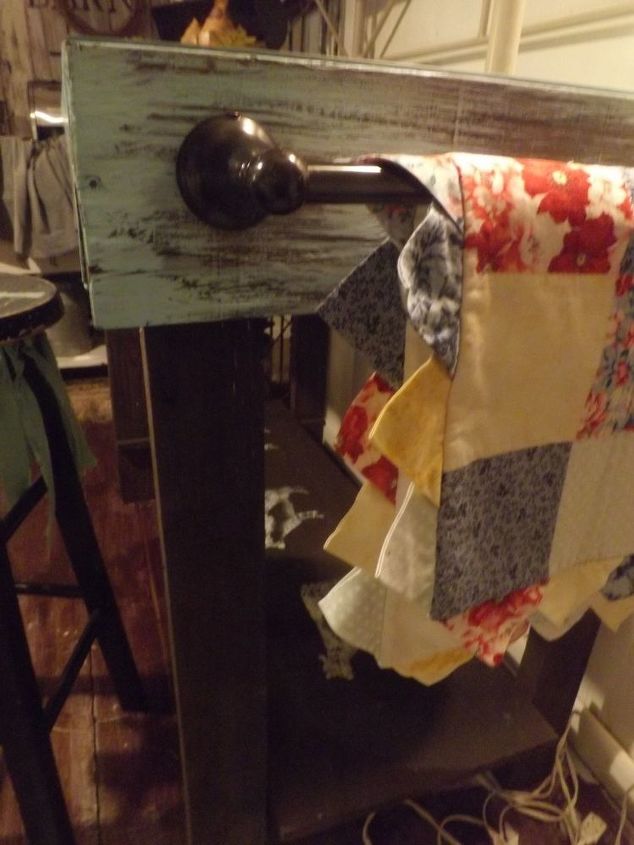
I also added a towel bar that I had been waiting to use somewhere!
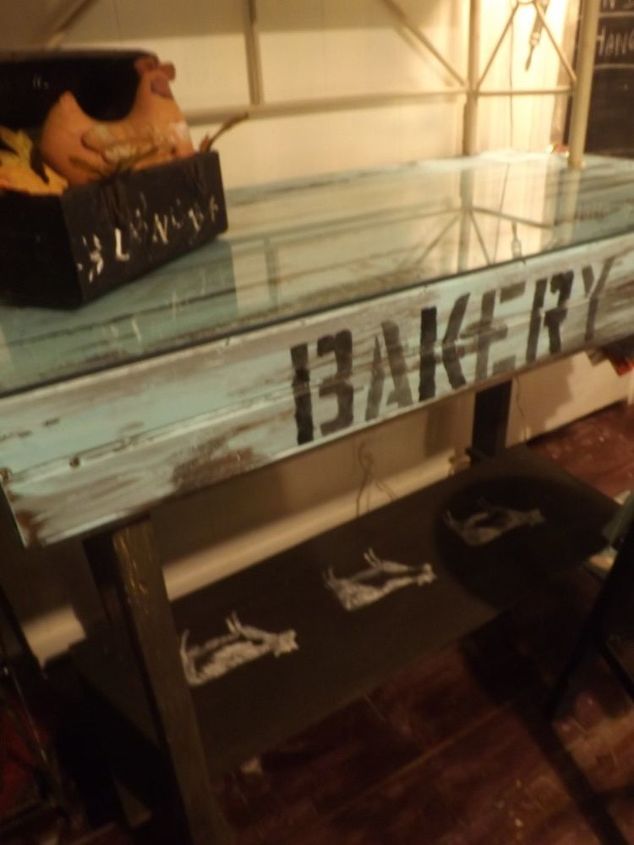
I had a piece of glass from another project leftover so I added it to the top making it a bit more sanitary .
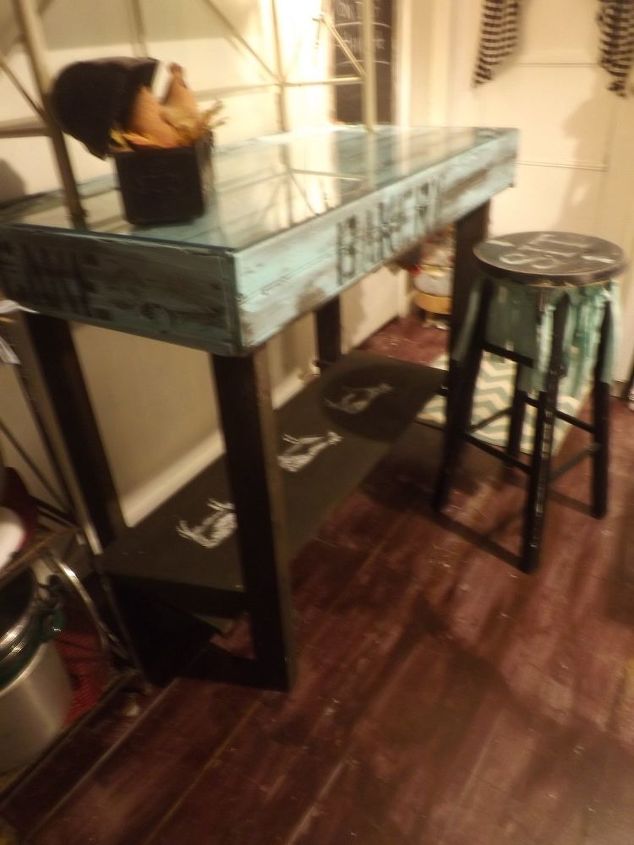
There you have it! A kitchen island for no $. If you are going to attempt this project build the top first and be sure to get long enough screws and as always taking care when using power tools. And for goodness sake always have your tape measure handy to ensure proper placement. This is a fun project to tackle! Give it a try

Want more details about this and other DIY projects? Check out my blog post!
Comments
Join the conversation
2 comments
-
Thank you for a really cute idea using pallets. The different pallet ideas are a favorite for me. You did a great job. I love the finish.


Frequently asked questions
Have a question about this project?