


Thrift Shop Armchair Makeover

2 Materials
$90
4 Days
Advanced
I found this chair at a garage sale type of group on Facebook and started flirting with going on the crazy DIY adventure and learn how to reupholster a Victorian armchair. The price was great and the condition of the chair was pretty good. I fell in love with the curves and details of the frame. However, I did not like the fabric and colors. Simply not my style. So I decided she needed to undergo a makeover. It took about 4 days because I worked on it a couple of hours each day.
This is how it looked before.
Some people, including some pros, just upholster over the old fabric. YES, it’s a hell lot easier that way. However, in most cases, I get a terrible eeeckkk factor because the fabric simply reeks! So in general, I prefer to remove everything. And that's exactly what I did here.
If you'd like to see a step by step tutorial visit the link you'll find below.
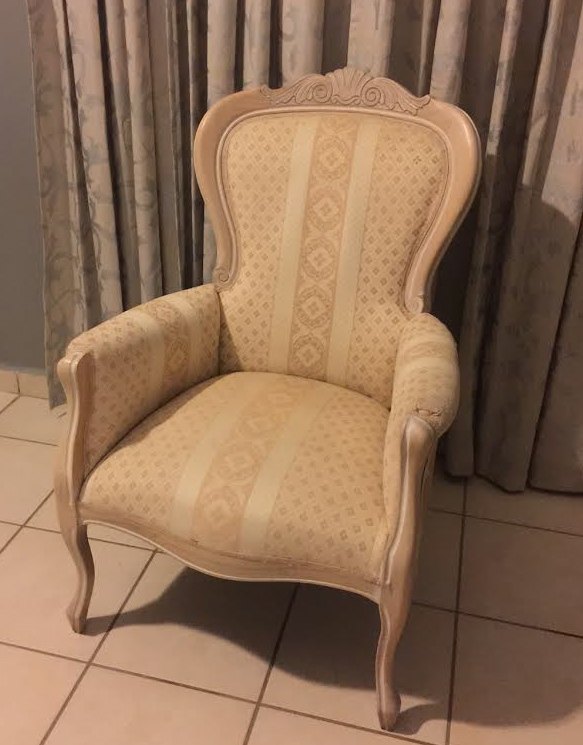
This is how it looked before. I started by removing all of the fabric.
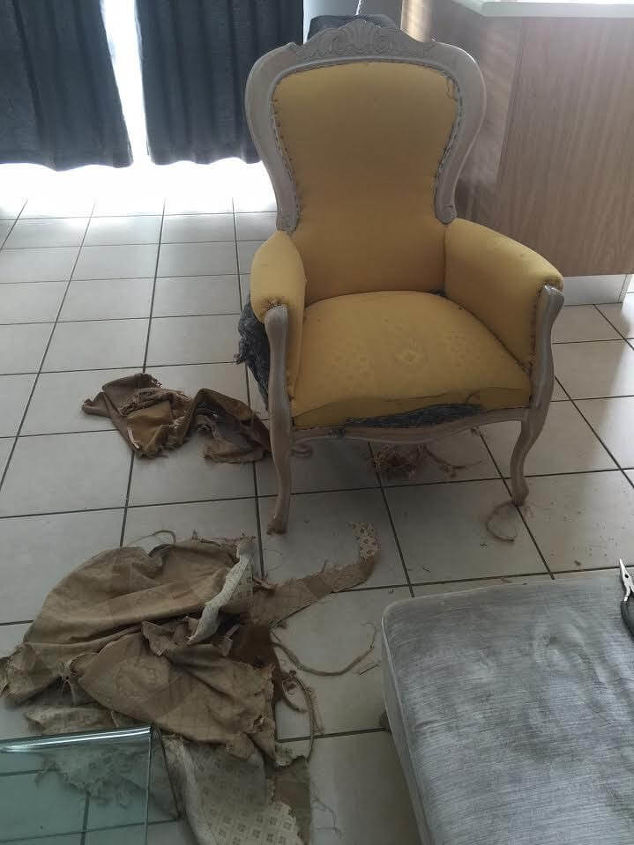
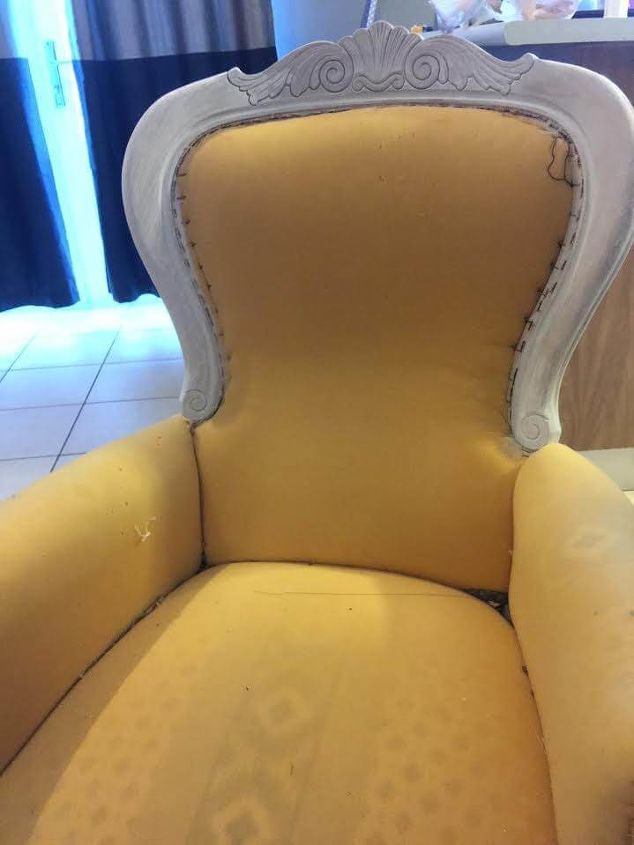
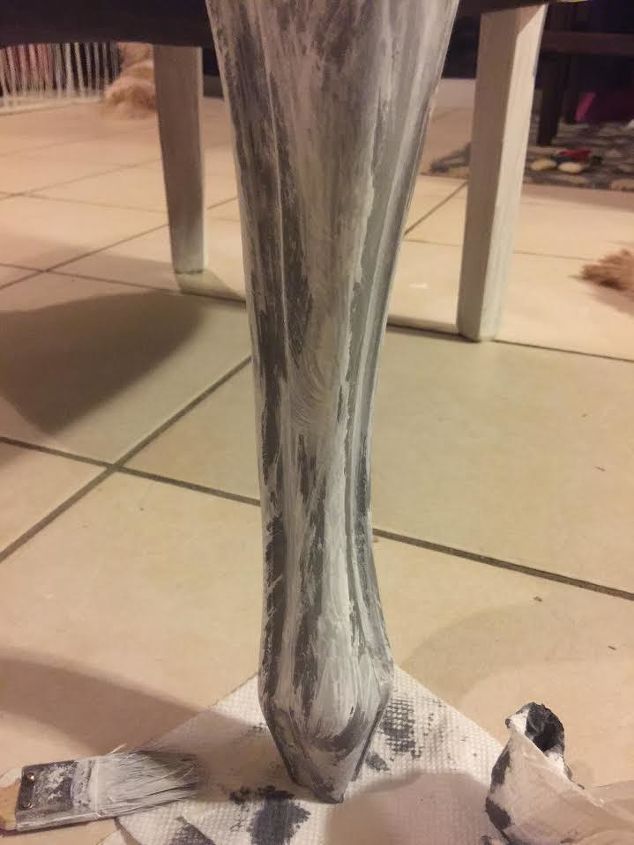
I then removed most of the staples as you need that space for the new staples. Then I primed the frame of the chair with a thin layer of homemade, white chalk paint.
And then I started painting the frame.
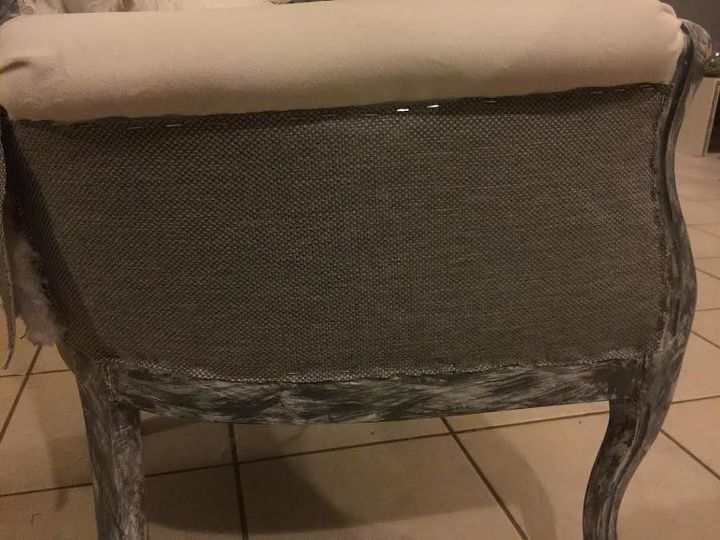
I let it dry overnight and then started upholstering
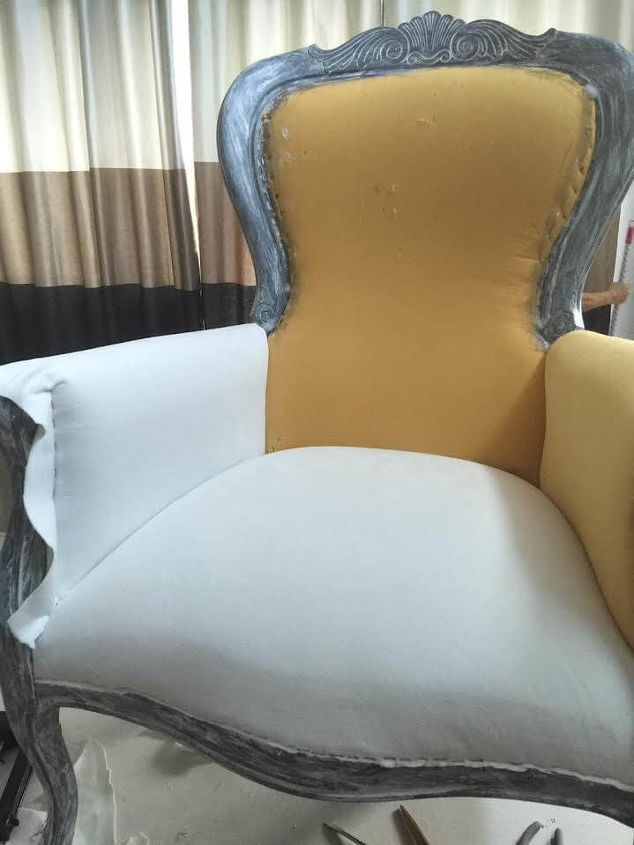
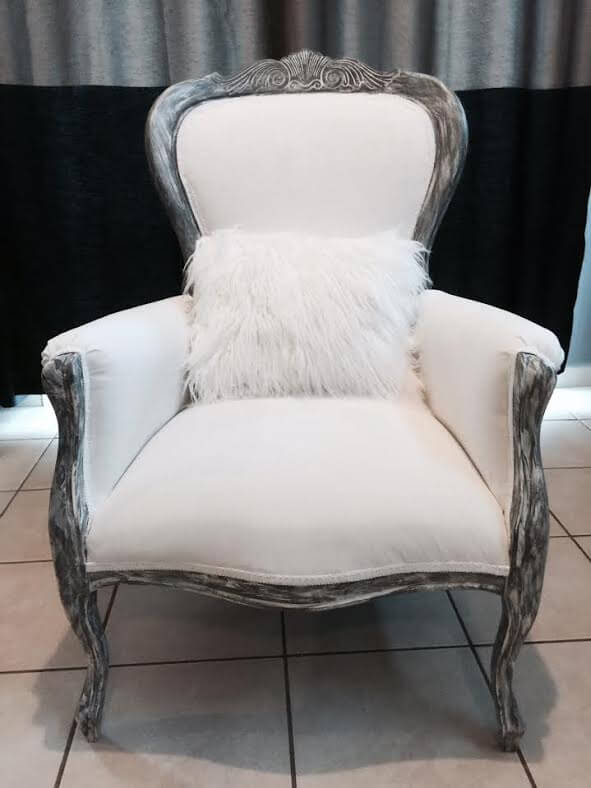
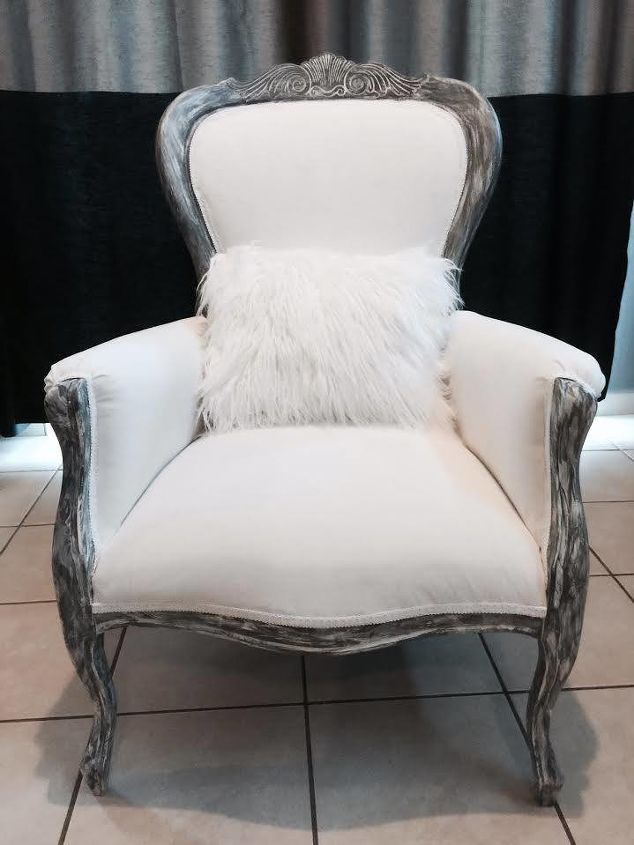
I used a combination of fabrics. A type of white suede in the front and a textured gray fabric on the back. and sides
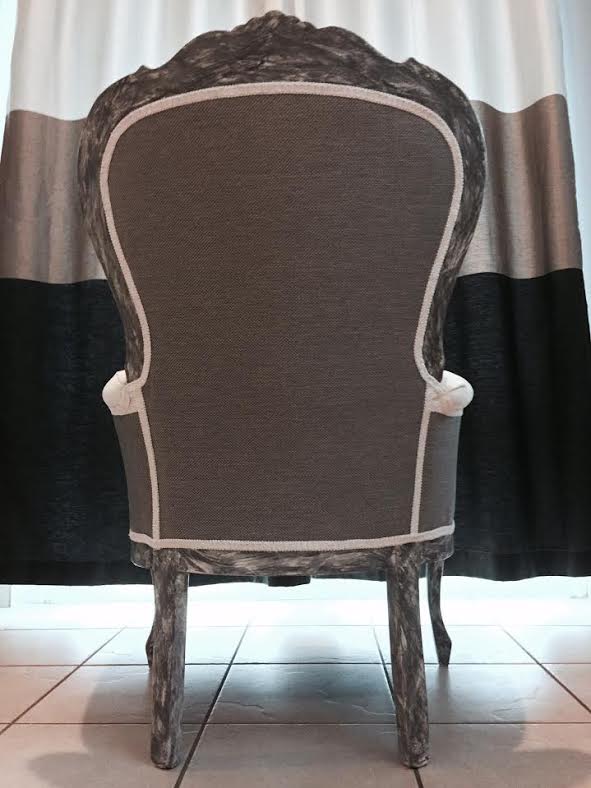
And this is what I ended up with 
If you'd like to see a step by step, very detailed tutorial visit the link you'll find below.


Any price and availability information displayed on [relevant Amazon Site(s), as applicable] at the time of purchase will apply to the purchase of this product.
Hometalk may collect a small share of sales from the links on this page.More info
Comments
Join the conversation
2 of 4 comments
-
Just wow !
-
Absolutely love your transitional interpretation! Magical, inspired!


Frequently asked questions
Have a question about this project?