


DIY Backyard Rope Swing
3 Materials
$75
2 Hours
Easy
We wanted to make our children a simple backyard rope swing so they could enjoy the view of the back field and have a fun place to go play! We used items we had lying around and after only one trip to the hardware store, we had the swing of their dreams!
We made the base of the swing using two pieces of weatherproof decking material that we had on hand after remodeling our deck. This isn't wood, though it looks like it. We simply cut the wood to the length that we wanted our swing, nailed the two pieces together, and then drilled two holes on both sides to keep the slab steady. We originally only drilled one hole on each side but we quickly found that the swing base wanted to tilt heavily when someone sat on it. Two holes helps to balance it out.
After we'd made the base, it was time to measure the length of the rope. We used heavy-duty outdoor rope from our local hardware store and I was careful not to get rope that was too scratchy. My husband pulled his truck down to the back of the property and tied special knots at the top of the limb.
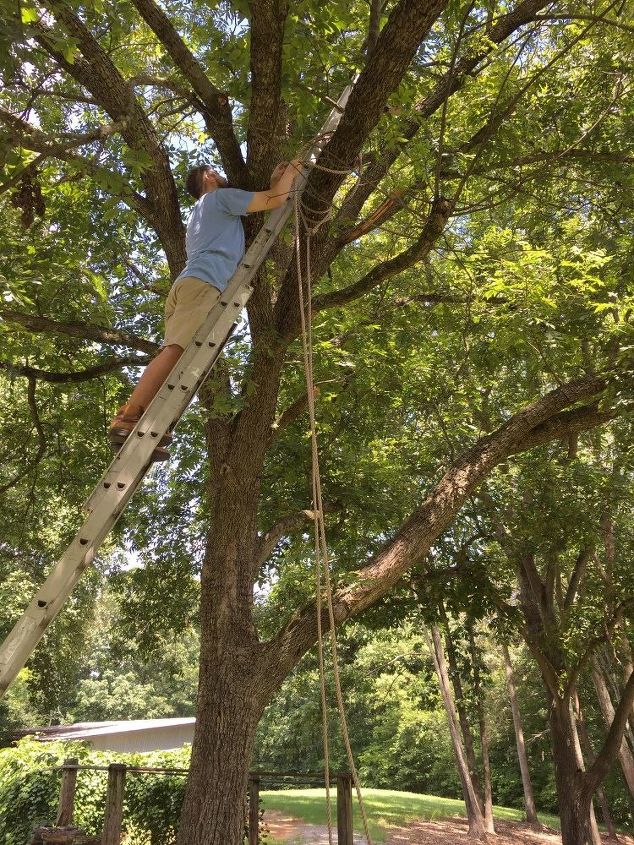
My husband is an Eagle Scout and knew what types of sturdy knots to tie to ensure that as someone swings on the swing, the top of the rope stays in place and doesn't slide around too much. We picked a shady spot for this swing and affixed it to a sturdy pecan tree. We get a ton of sun on our property and it's enough that some homes nearby utilize solar power, so we knew that we had to place the swing strategically to ensure that our kids would actually want to go back there and not sweat profusely while doing so.
Take caution when climbing up that high and absolutely have someone around to spot you.

We made the base of the swing using two pieces of weatherproof decking material that we had on hand after remodeling our deck. This isn't wood, though it looks like it. We simply cut the wood to the length that we wanted our swing, nailed the two pieces together, and then drilled two holes on both sides to keep the slab steady. We originally only drilled one hole on each side but we quickly found that the swing base wanted to tilt heavily when someone sat on it. Two holes helps to balance it out.
After we'd made the base, it was time to measure the length of the rope. We used heavy-duty outdoor rope from our local hardware store and I was careful not to get rope that was too scratchy. My husband pulled his truck down to the back of the property and tied special knots at the top of the limb.
After we had secured the rope at the top, my husband pulled down hard on it to make sure it could hold the weight of an adult. Though we only envision our children swinging here, we wanted to make sure it wouldn't break at all or even fray in the slightest. Since then, we have all taken turns swinging on it, and it is very secure.
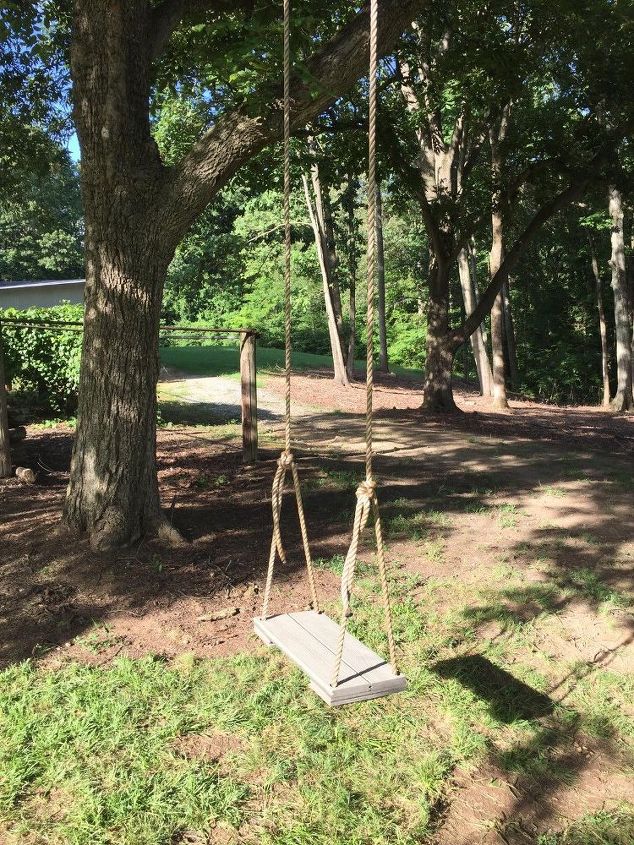
Voila! We tied the rope around each of the two holes, then gathered it back to the main rope with more secure knots. We then used a lighter to burn the edges of the remaining rope so it wouldn't fray or come undone over time. Our daughter was a little concerned about the heat that she felt coming off of those spots at first, so if you do this project, make sure there are no small children too close when you seal those raw edges.
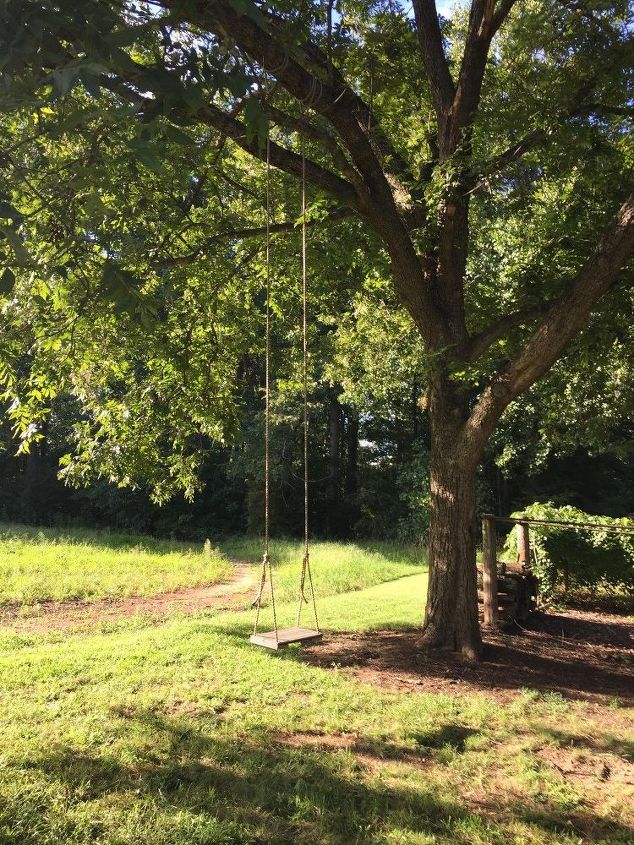
This has become a staple of our backyard and a staple of our children's childhood memories. I have visions of them swinging here when they're grown adults, pushing their own babies in the same swing their papa made them one warm April afternoon.

Want more details about this and other DIY projects? Check out my blog post!


Frequently asked questions
Have a question about this project?