


How to Assemble Intricate Layered Die Cuts With Xyron
Making cards this holiday season? Then learn how to assemble intricately layered die cuts quicker and easier!

You already know I am a HUGE Cricut fan. Their Make It Now projects make it so easy to put together fun and intricate creations with just the click of a button. But what do you do once you've cut out all the pieces? Xyron to the rescue!
So today, I am going to show you how to assemble an intricately layered die-cut card quicker and easier! Now, even though I am using a pattern from Cricut in this project, you can still use this technique with any type of card that you are creating.
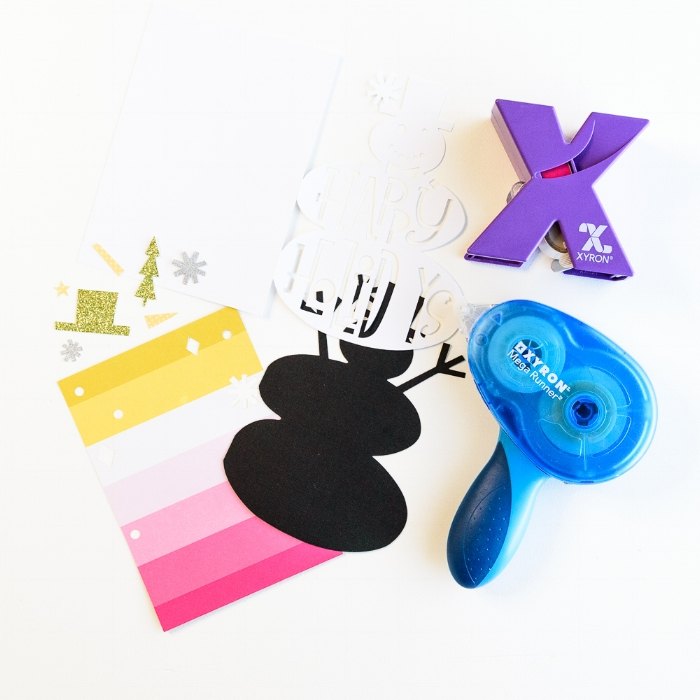
Here are the supplies you will need:
- Cricut Maker or Explore Air
- Happy Holidays Christmas Card Make It Now project
- Assorted patterned papers/cardstock scraps
- Xyron Mega Runner
- Xyron 1.5" Sticker Maker
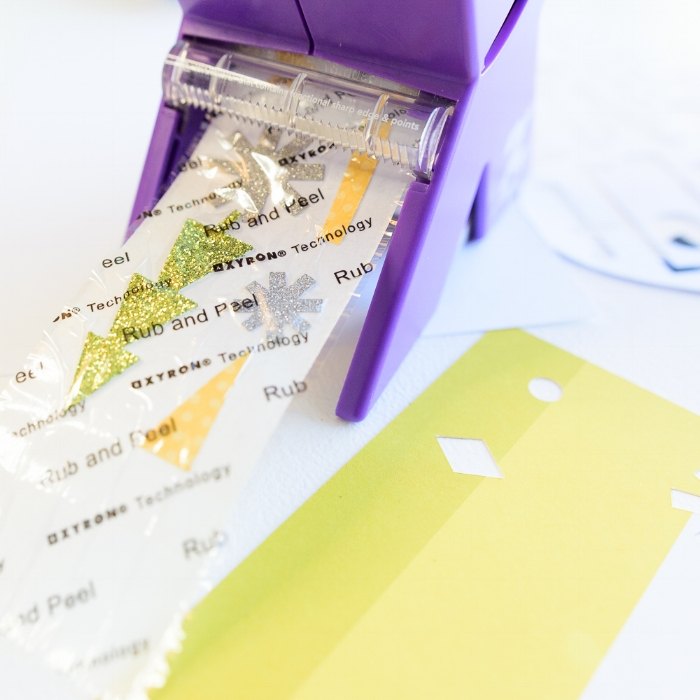
Step 1: Once you've cut your project on your Cricut, select all of your small die cuts and run them through the Xyron Sticker Maker.
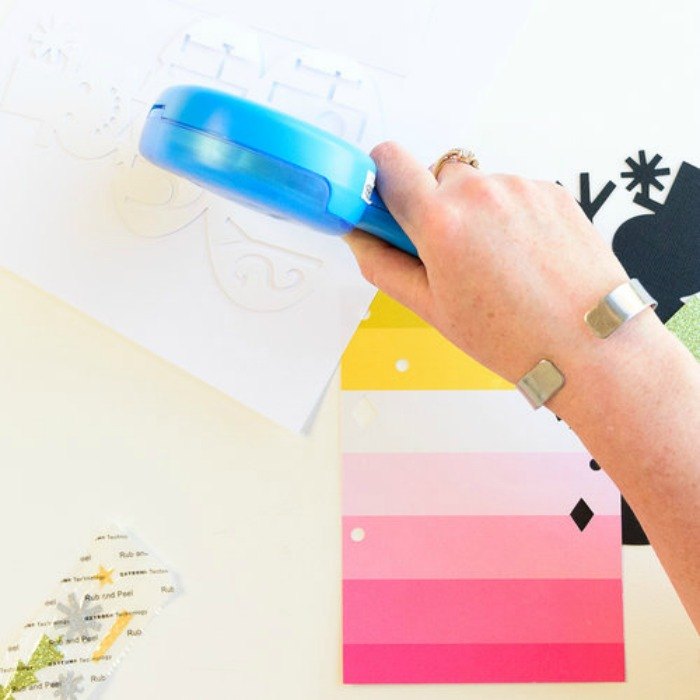
Step 2: Use your Xyron Mega Runner to create the base of the card. The beauty of the Mega Runner is that it uses a dot matrix adhesive which means the adhesive only sticks to the paper. It is PERFECT for intricate die cuts!
Once all your pieces have adhesive on them, you are ready to assemble your card!

And voila! With just a few simple adhesive tools you can easily create tons of intricate cards, in no time, this holiday season!
To get more project inspiration for your home and to learn more about the products used in this project, stop by my blog!
Resources for this project:
See all materials


Frequently asked questions
Have a question about this project?