


Kid's Room Make-over - Paint Project

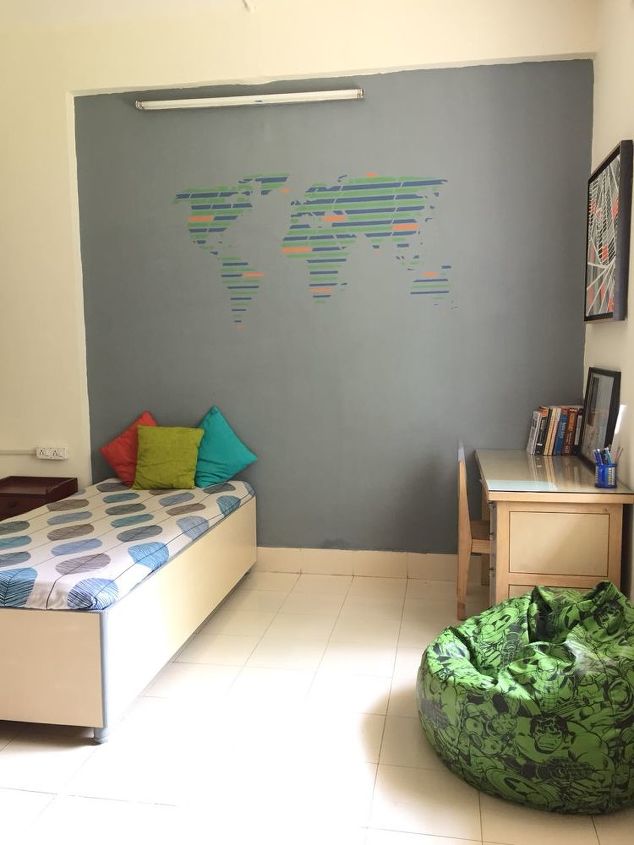
My teenager's room was in a bad shape because of color mis-matches. So thought of giving him a colorful surprise !
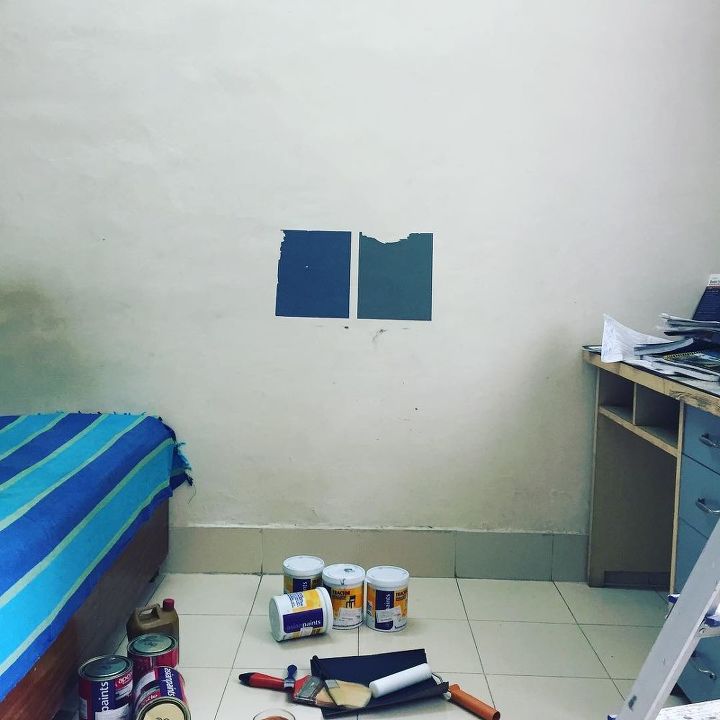
Did some online reiki & found out that Asian Paints have got a very good collection of design patterns & paint colors. Next target was to finalize the color palette. So, after a serious calculations & discussions with my son, zeroed on to the color scheme of his favorite Study Table (visible on right side of the image). Then was the turn of Stencil selection. Again Asian Paints was at the rescue. Went to the Asian Paints Store & found a stencil titled "Modern Mercator", which was liked by my son too. Picked up the colors (Emulsion for walls & Enamel for wood), brushes, painter's tape, emery papers & stencil worth INR 3500/-.
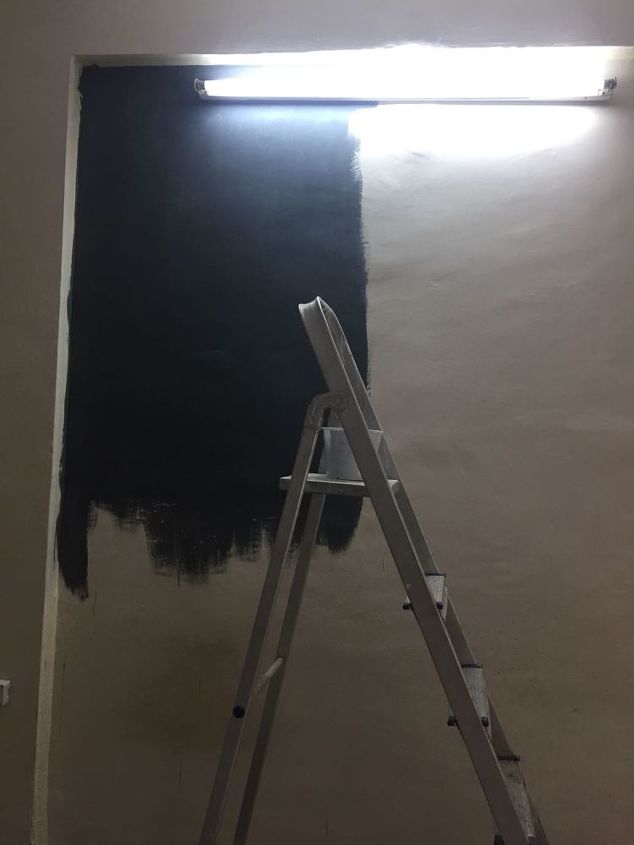
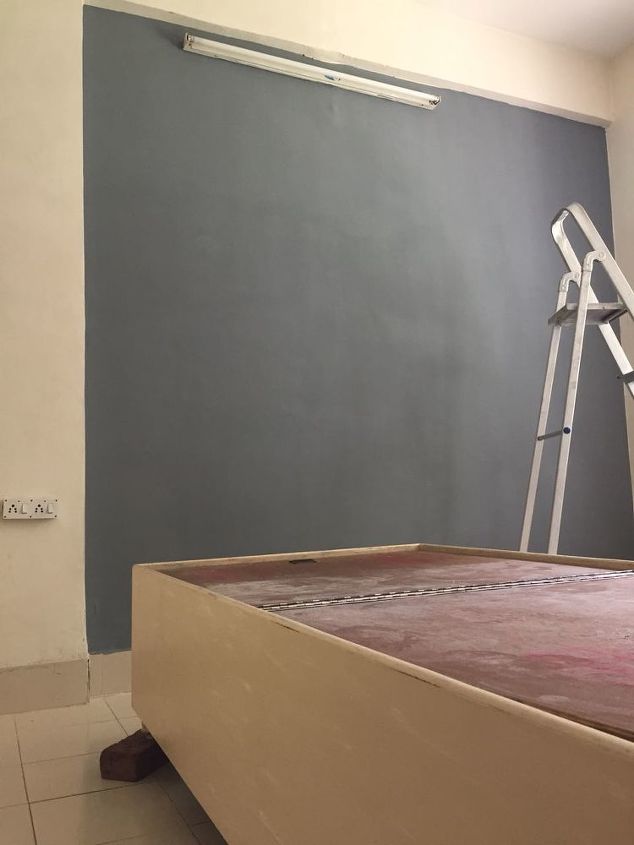
By the time I started the base paint on the wall, it was already late Saturday evening. Not to forget, the walls were sanded with emery paper, vacuum cleaned & hand dusted by me before painting grey  .
.
After applying the 1st coat of Stone Age Grey emulsion, it was time to attack the wooden bed with emery paper. Sanded the bed for grim, loose chips, cracks, etc. On this 1st day, it was a "war-like" situation, running to the store for purchasing, preparing the wall & bed for paint. By the end of the day, I was able to give the first coat of colors to both, that too without any help...phew  !
!
(Niche visible above the bed is my next target project (preferably Mosaic), as my "Salt Lamp" damaged the plaster....lucky me !)
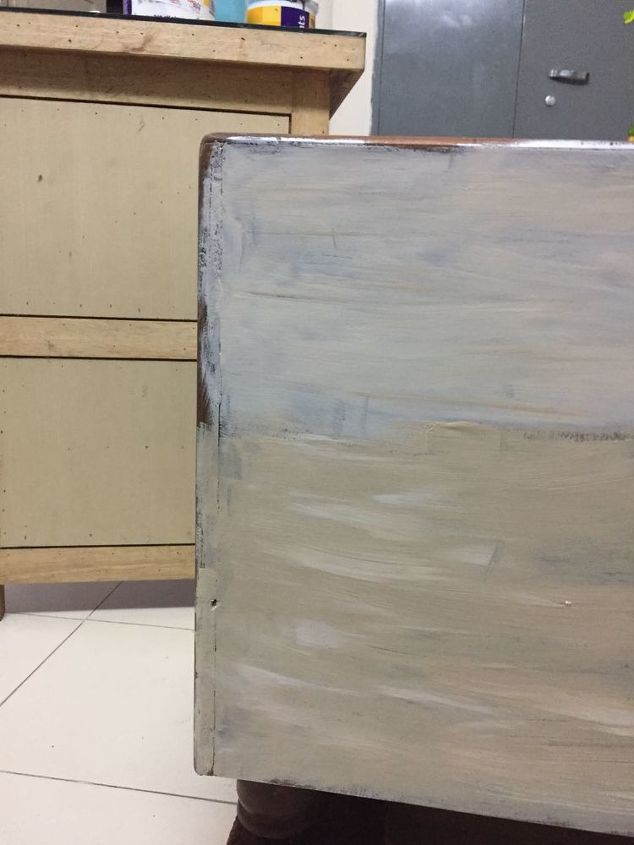
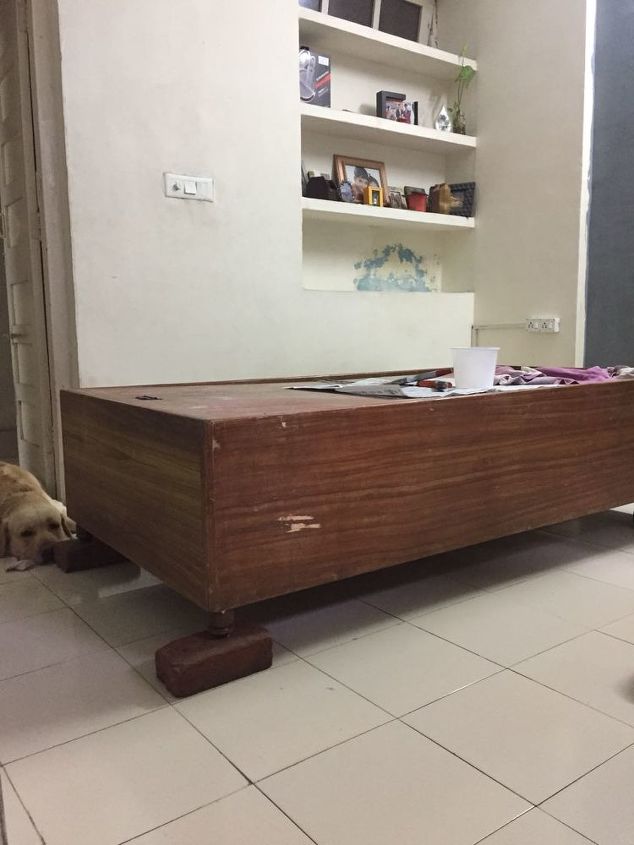
Dark brown colored bed was to be modified to match light creamy color of the study table (on the backdrop). Intelligently, I had purchased 3 shades of off-whites & beige enamel paints. Tested the color patches to match to the closest best possible & viola ... got the required shade on second attempt !.
2nd day (Sunday) was a bit relaxed as things were under color-control... Second coat on the wall, followed by quick 1st coat on the bed.
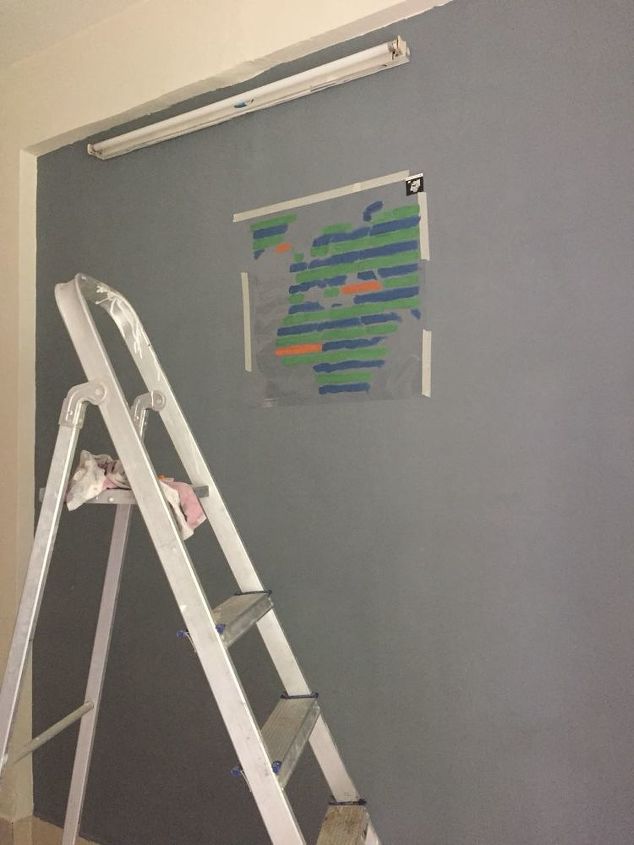
While 1st coat of the enamel on the bed was curing, it was the Stencil Time.... Enjoyed every bit of it. Applied 3 coats of colour to get correct shade. Learnt a stenciling trick while committing a mistake.... initially I was applying a thick layer of emulsion (without dilution), that too, with a 1/2" paint brush. Observed that paint was getting accumulated under the stencil edges. Due to which, EITHER the paint chipped off while removing the stencil OR resulted in thick outlined patches... A piece of Foam was of great help here & the final outcome was evenly spread emulsion & a neat stencil art ! 
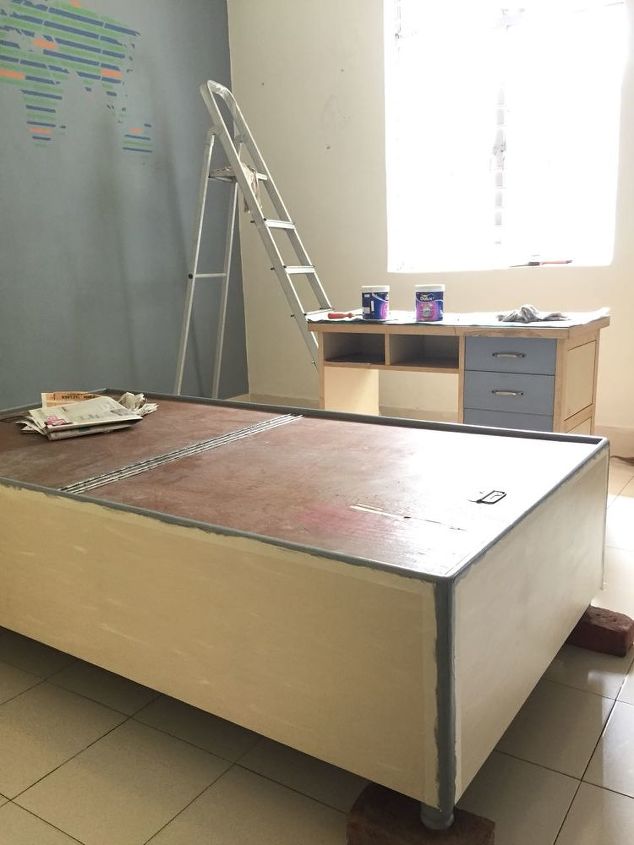
After giving the second hand of enamel on the wood, it was time to give the touch of grey (Stone Age Grey again). Painter's tape gave a definite, straight line to the bed's edges. A touch-up here n there & left the room for over-night drying.... mission accomplished !
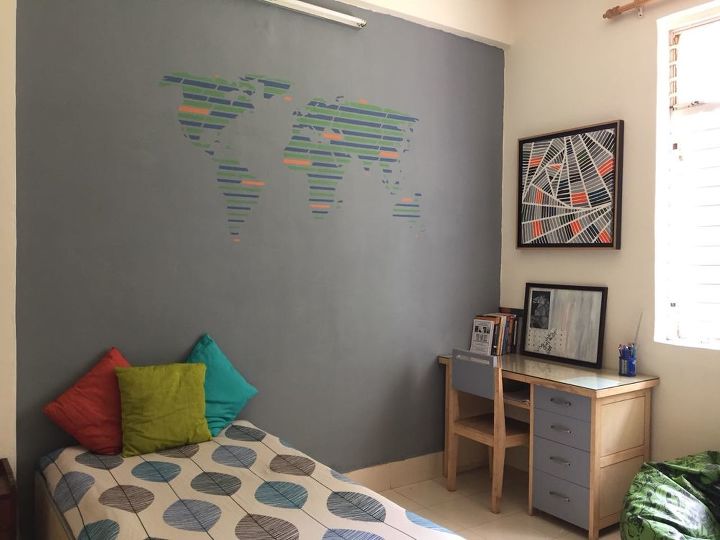
Ta da.... The Final Look next morning (Monday) ! Atleast, everything is complimenting each other in this room now 
Time consumed : roughly 48 hrs, which includes driving, buying, area preparing, painting & final touch-ups.
Budget : Material worth INR 3500/- purchased. Used only 40% of it here.
This is my very first post here. Hope I have done justice to it with my limited technical knowledge. This is NOT The End of this project. Eagerly waiting for some more suggestions to enhance the beauty of this room. Critical analysis will be welcomed with open heart !! 
Namaste for now !!


Frequently asked questions
Have a question about this project?