


SIMPLE Lighting Pendants
It's that time of year when we like to spend evenings outside. The problem is having enough light to see when the sun goes down.
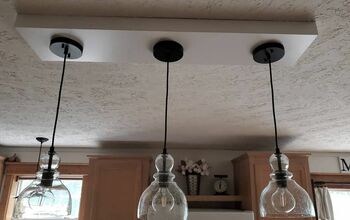
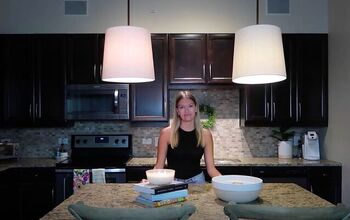
I didn’t want to spend a lot of money, so I came up with this solution…and I LOVE IT! I used 3 baskets I found at HomeGoods and just added light kits.
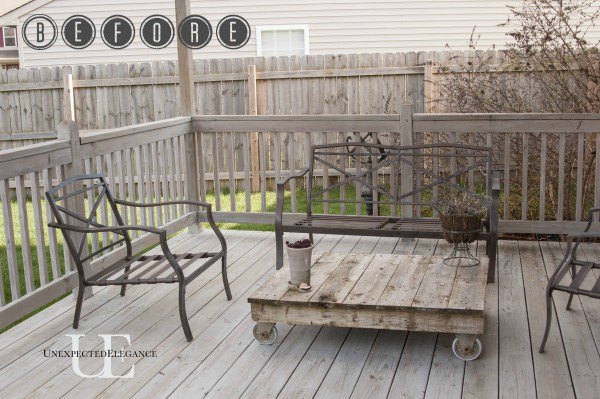
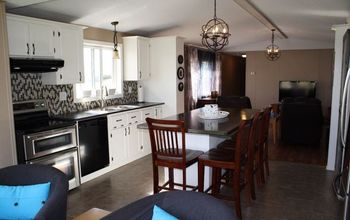
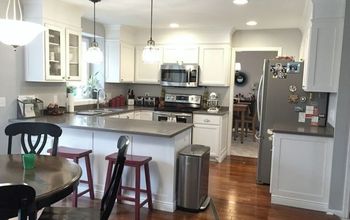
Here is the BEFORE of the space...
Here are the details, in case you want to make your own DIY hanging light fixture!
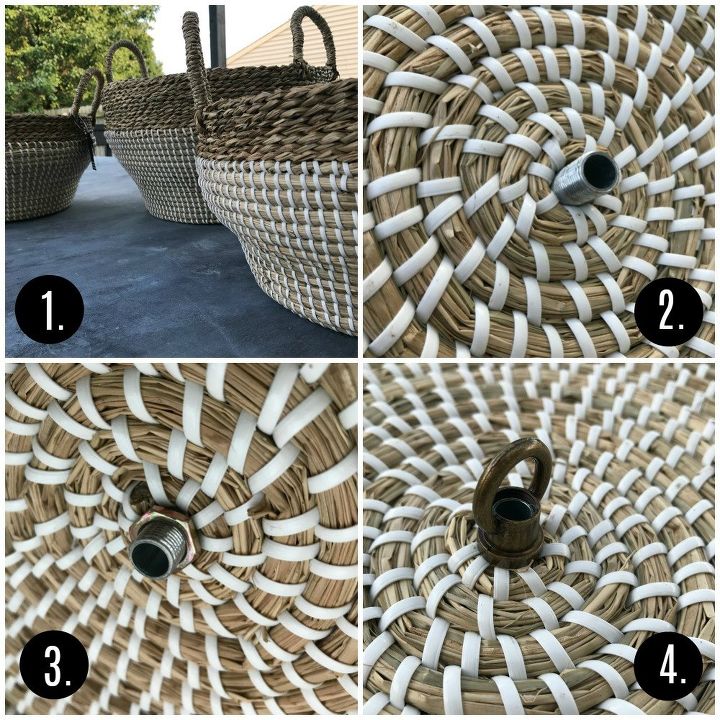
I found baskets that I could easily poke a short "nipple" (what you call the treaded pipe). They are normally part of a lighting kit like THIS.
- Push the metal cylinder (nipple) through the bottom of the of the basket, leaving exposed threads on both sides.
- Attach a washer to the nipple on the inside of the basket.
- Screw on the loop to the nipple on the outside of the basket.
- Thread the lamp wire through the nipple, then follow the instructions on the package for the lighting kit.
- Attach a rope through the loop and secure to your structure with a hook.
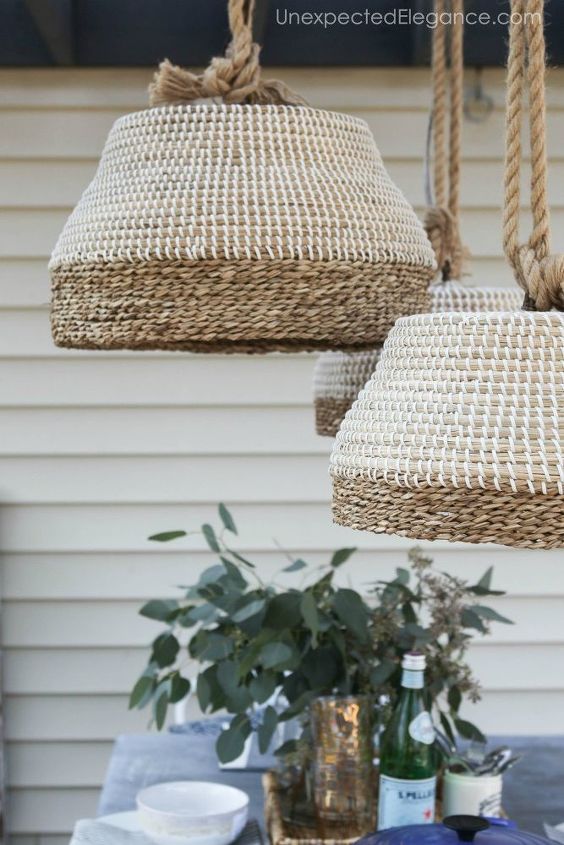
Since these aren't waterproof, I just take them down after each use. the rope makes them very easy to put up and remove.
(I also have a tutorial for my Zinc Table HERE.)
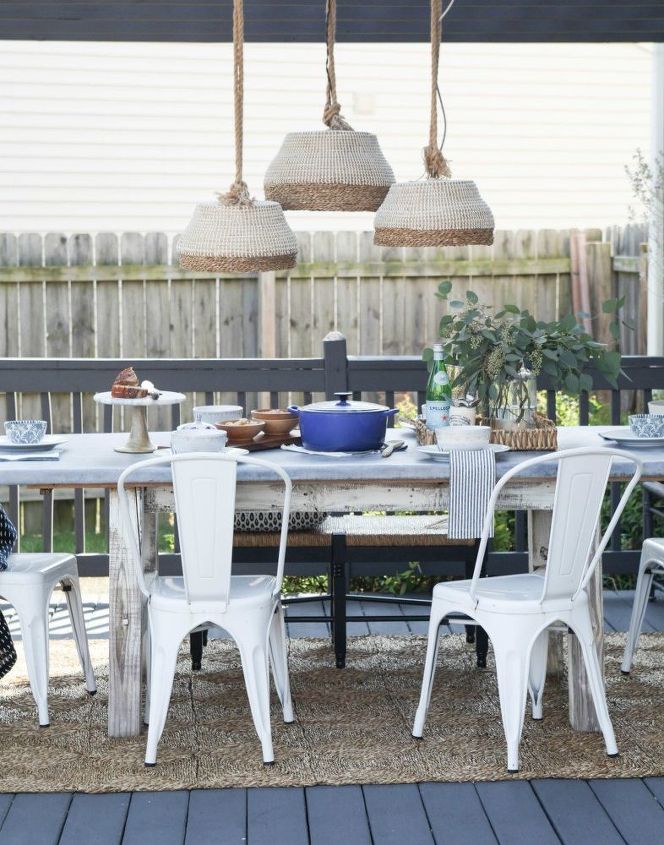
You can see what a difference the lights made! The add texture and interest above the table and allow us to see our food in the evenings! 😉

Comments
Join the conversation
-
Oh look how wonderful this all came together !! From drab to fab !! Great job !!


Frequently asked questions
Have a question about this project?
The lighting kit, does it tell you how to rewire from another lamp? I have a hanging light that has to go but it’s got wiring and I don’t know how to put the new wires in. Do I just put the new wires attached to the old ones?
Are they solar lamps or did you have outside power?