


How To Make a Crate Desk

by
Abbie M
11 Materials
$150
1 Day
Easy
I've been dreaming of the perfect farmhouse desk to finish off my office. One day, I came across some crates at Michael's & a butcher block at IKEA and I had an idea....
{
"id": "5015689",
"alt": "",
"title": "",
"video_library_id": "6414",
"thumbnail": "https://cdn-fastly.hometalk.com/media/2018/08/09/5015689/how-to-make-a-crate-desk.jpg"
}
{
"width": 634,
"height": 357,
"showRelated": true,
"noautoplay": ""
}
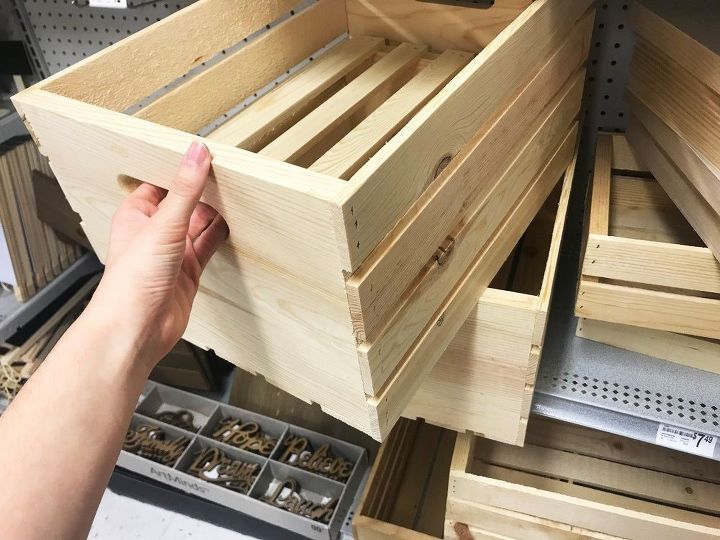
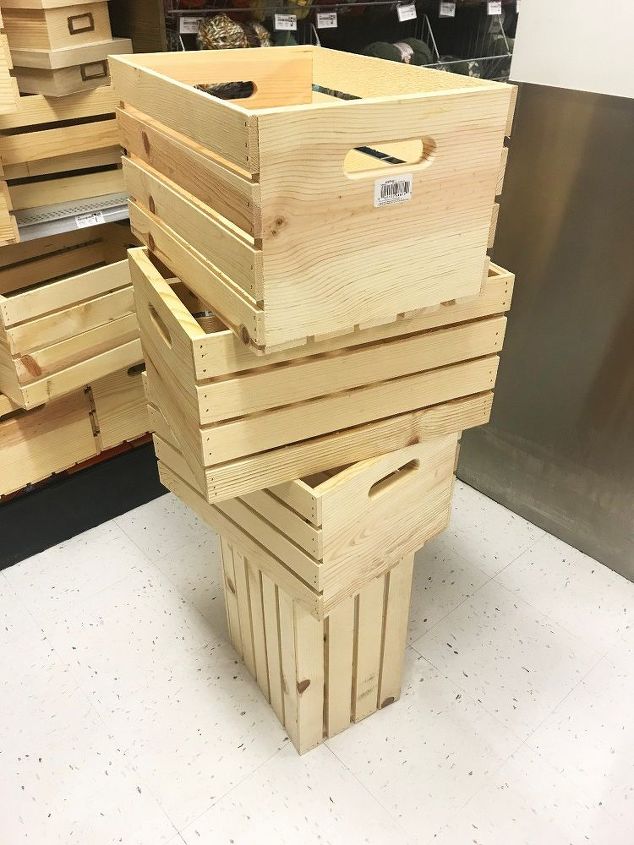
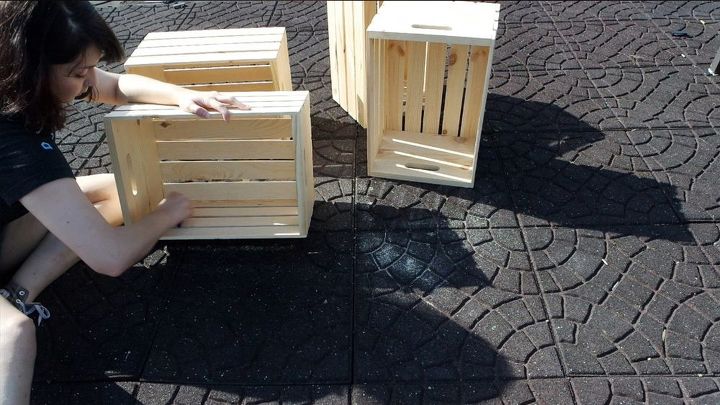
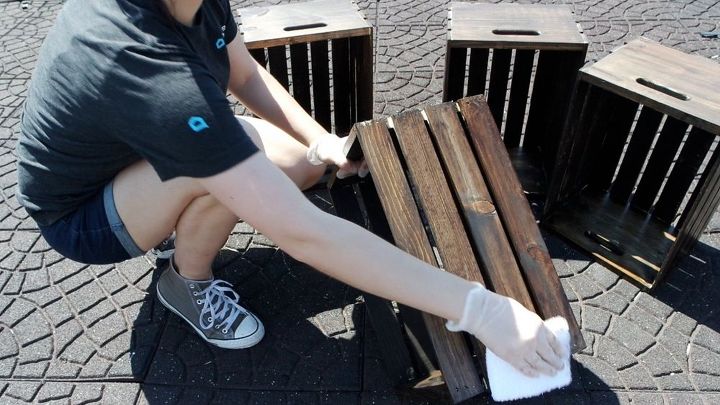
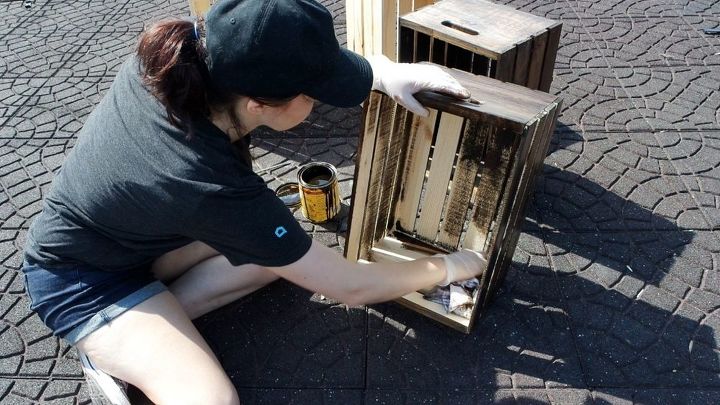
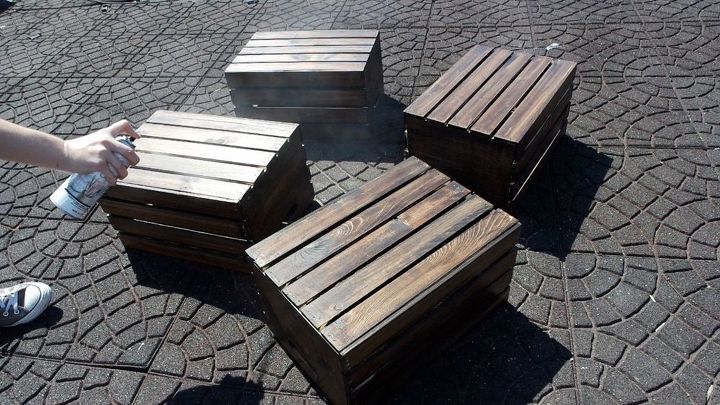
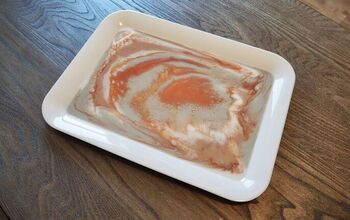
First, start by sanding the crates. I purchased 4 for the legs of the desk. After that, start staining! I ripped up an old T-shirt to use as a rag to rub the stain in. Make sure while staining to cover as many of the grooves as possible. After that, let the stain set for 5-15 minutes. Then, grab a clean rag & wipe away the excess. After that, let your crates dry for at least 6-8 hours, or longer depending on how hot it is outside. Following that, I added a layer of spray varnish to make sure the crates were extra set - but this is an optional step as long as you aren't using them outside. After that, I let the varnish dry. (If you are planning to use these stained crates for outside use I would suggest setting with a polyurethane.)
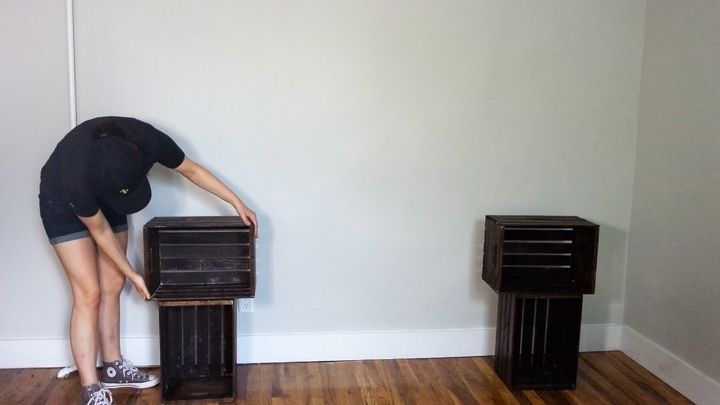
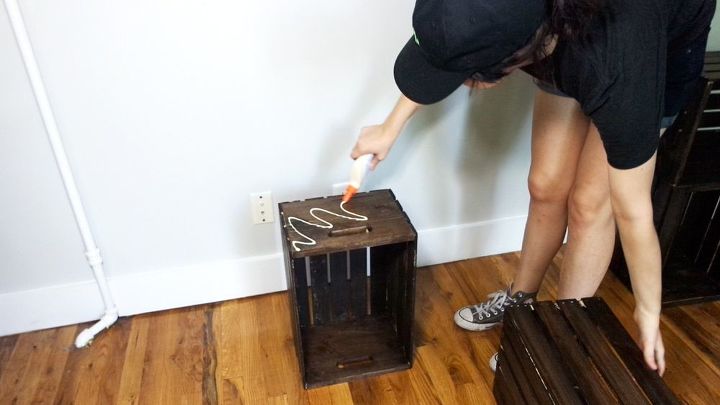
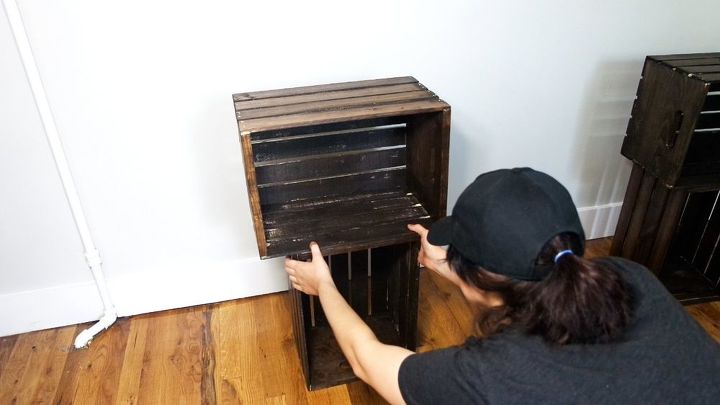
After your crates have dried - bring them inside & begin setting up how you want your desk legs to look. This will vary depending on how tall you want the desk to be. Next, glue the top crate to the bottom crate using wood glue.Make sure your crates are lined up the way you want them to look. Repeat this on the other leg & let dry.
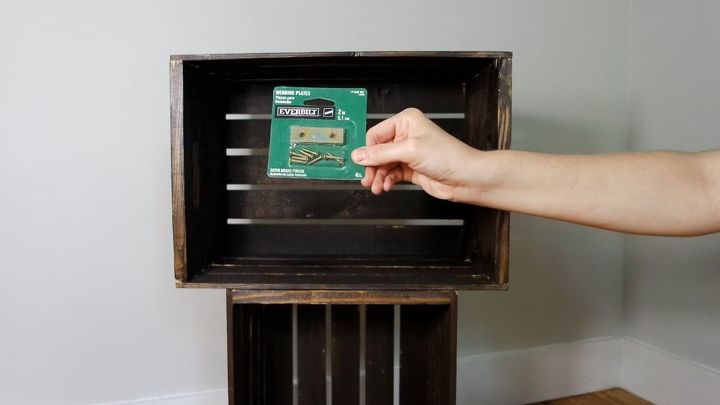
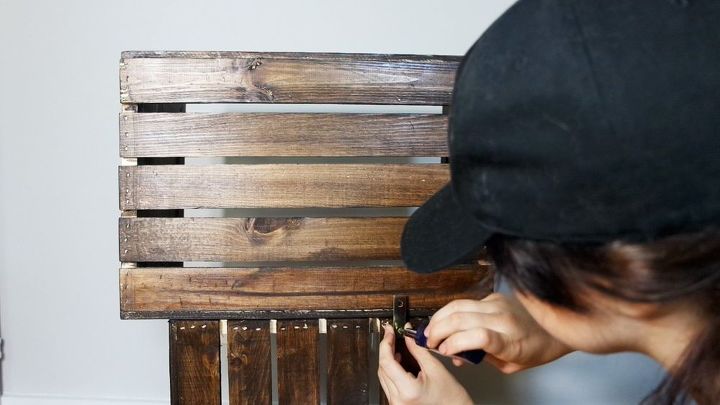
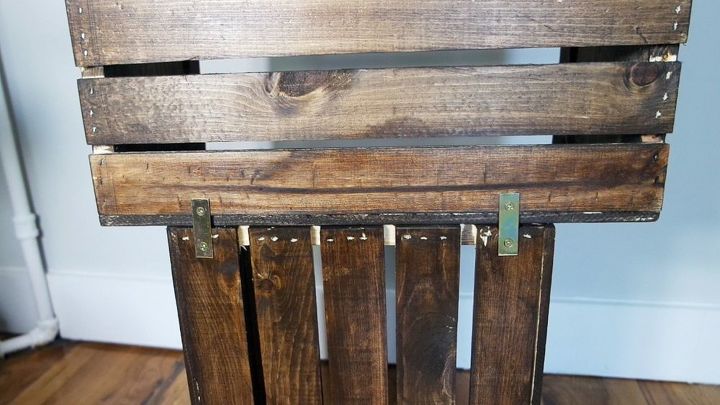
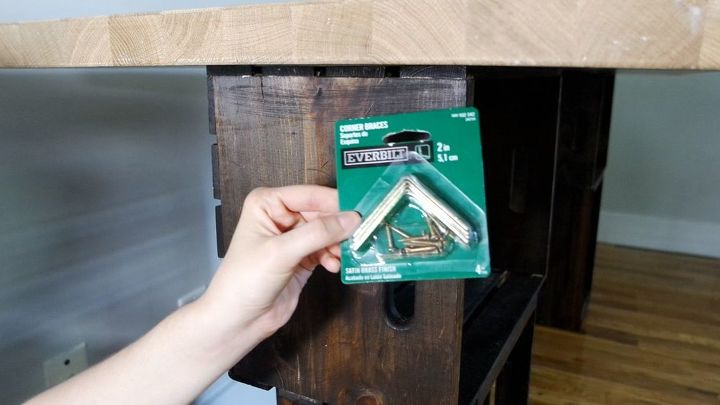
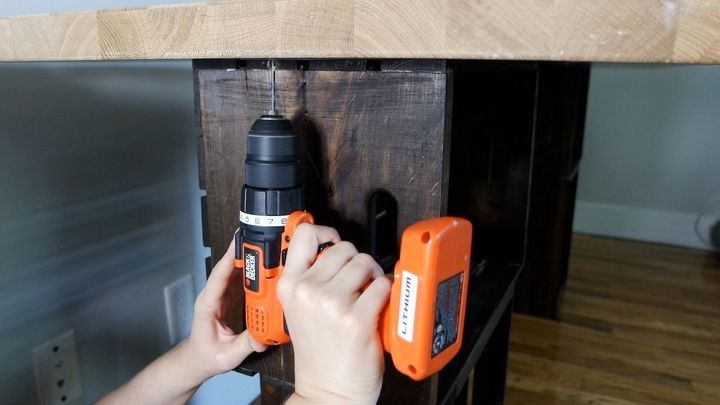
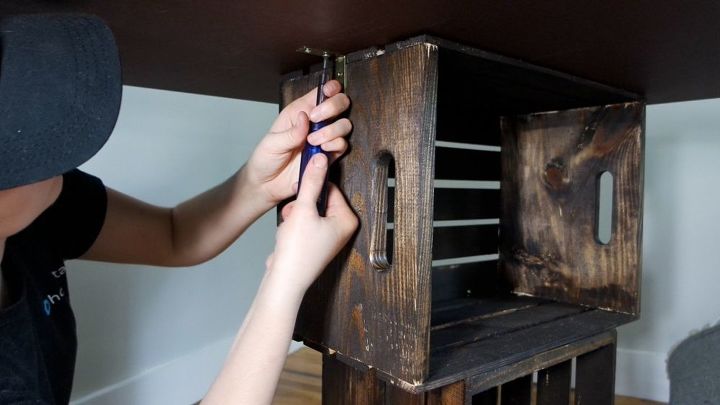
Next, flip the leg over - for extra security grab some metal mending plates & mark where your holes are going to go. Pre-drill your holes to prevent the wood from splitting. After that screw in the screws & repeat on the other side of the crate so there is a total of two mending plates per leg. Repeat this on the other leg.
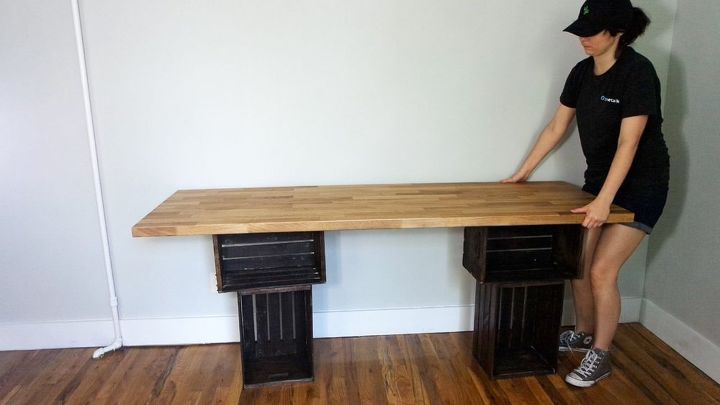
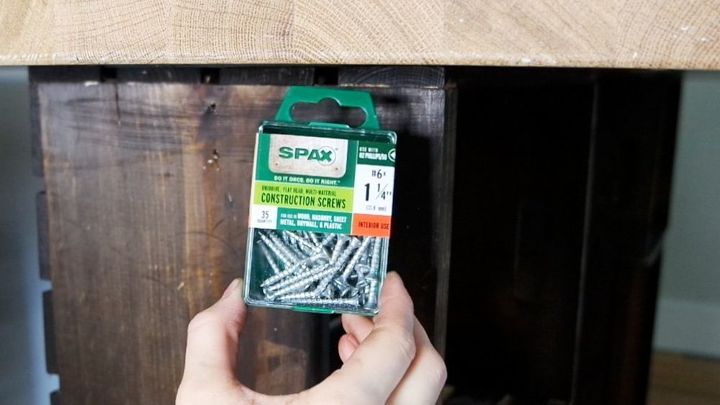
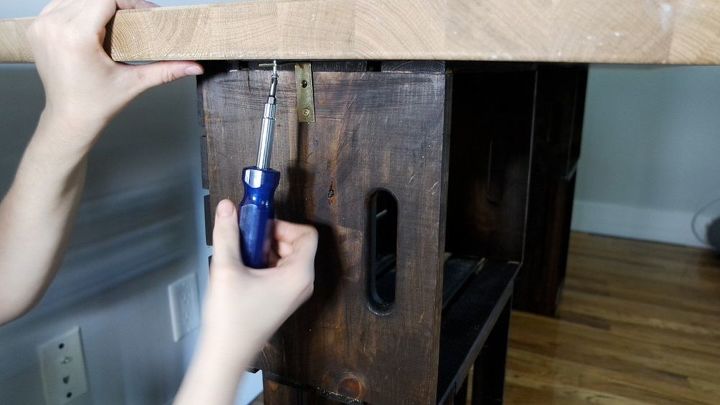
After that, flip the legs back over and add your top! I chose to use a butcher block I purchased at IKEA, but you could use plywood, or any other kind of surface to personalize to the look you want! Make sure your legs are in the place you want them to be. Following that grab a package of L brackets to attach the legs to the top. Mark your holes & drill the same way you added the mending plates. If you are using a heavy wooden top like I was make sure you purchase wood screws that are at least half the size of the thickness of your board. I purchased 1 & 1/4" wood screws because the block was 2 inches thick. Attach the L bracket - repeat this on the outside of the crate legs as well as the inside to secure the top to the legs.
& just like that - you're done! Add some baskets to hold your belongings & that's it!
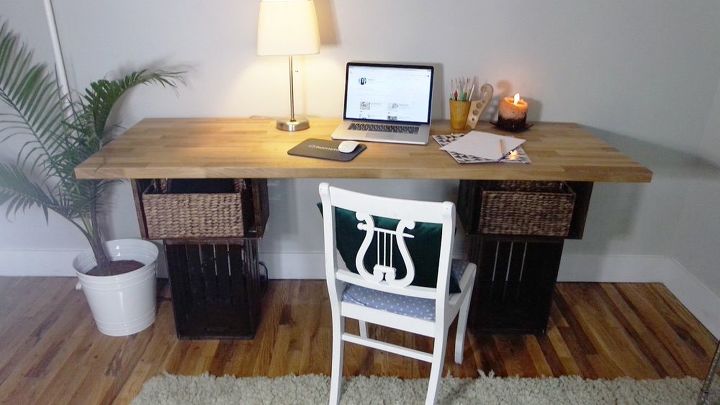
This desk is the perfect edition to my office & was just what I was picturing!
If you're not looking for a desk, depending on what top you choose - this can also be used as a dining table!
I hope this inspires you to create the custom look you've always been dreaming of! 

Check out the video for more how-to's!
Resources for this project:
See all materials


Any price and availability information displayed on [relevant Amazon Site(s), as applicable] at the time of purchase will apply to the purchase of this product.
Hometalk may collect a small share of sales from the links on this page.More info
Comments
Join the conversation
2 of 38 comments
-
My kid dit it. Some changes for stability. But thanks. It was neccesary for him to achieve aomething during this times. Thanks x an awesome project!!!!
-
Conceptually, I like this kind of project.
But, until I read how it was done and saw the photos a little closer... I thought it just looked like a piece of wood, sitting on top of 2 outdoor trash cans.
BTW: I put a piece of scrap plywood on top of 2 outdoor trash cans all the time as a temporary work surface in my driveway, when I'm working on projects. Trash cans are the perfect height to support large pieces of wood, when I'm using my table saw.
Just sayin....😊


Frequently asked questions
Have a question about this project?
I am currently attempting to create this desk and I have stained my crates. I bought Mod Podge Gloss Clear Acrylic Sealer but a friend said it might leave the crates tacky and wet. Has anyone used this sealer on stained wood???
Great job! I was just wondering what the butcher block in your resources list is for since I don't see you using one for this desk?
Try marine paint I do a light sanding in between coats, to give the surface tooth.