


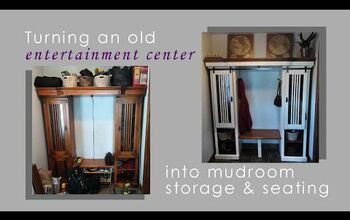
Upcycle A Built In Entertainment Center
10 Materials
$50
2 Days
Medium
When we bought our home, it came with a built in entertainment center. As the years have passed and the shape of TV's have changed, we were left with a huge hole in the center. It was time to give this built in entertainment center a face lift!
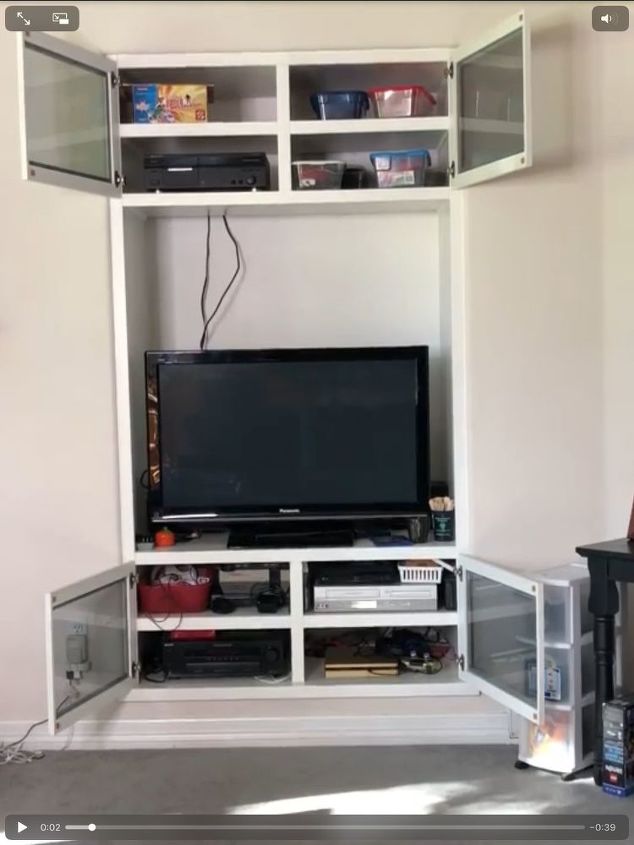
Here is the before picture of our entertainment center - cords hanging, giant space above our TV, way too much stuff in those cabinets... I started by gutting the whole thing, taking it all out, vacuuming the dust, and wiping down the entire space to get it clean.
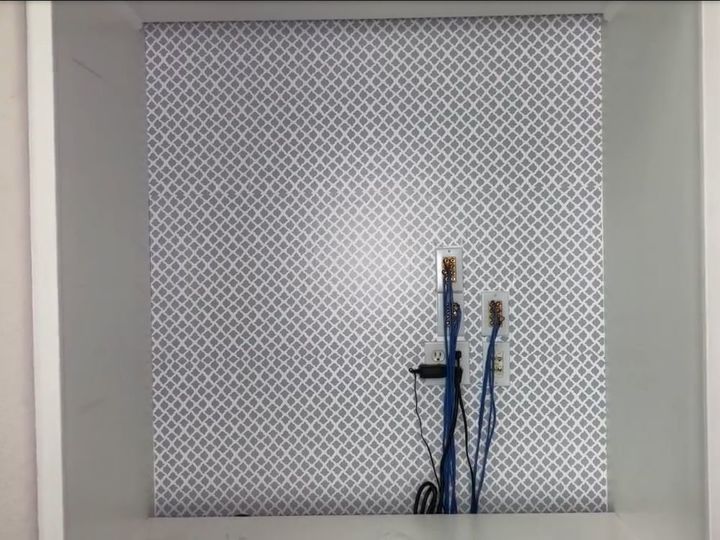
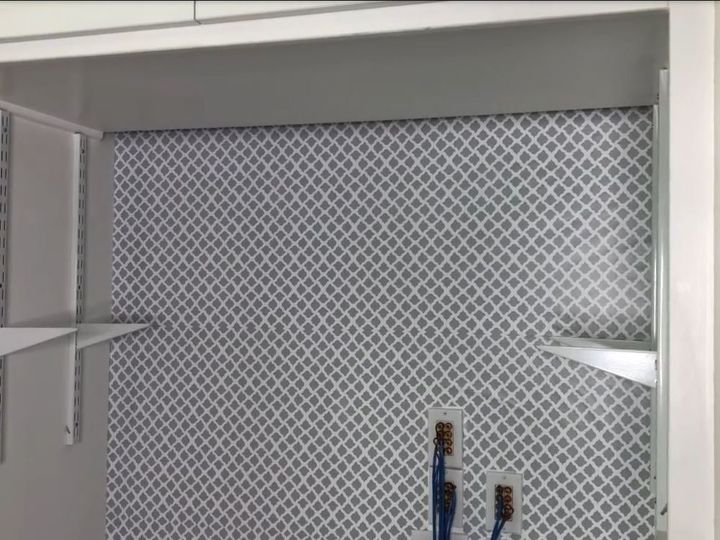
After everything was clean I put contact paper from Dollar Tree in the large space where the TV goes. All of those cords there have to stay as they are for our "full house" sound system that came with our home.
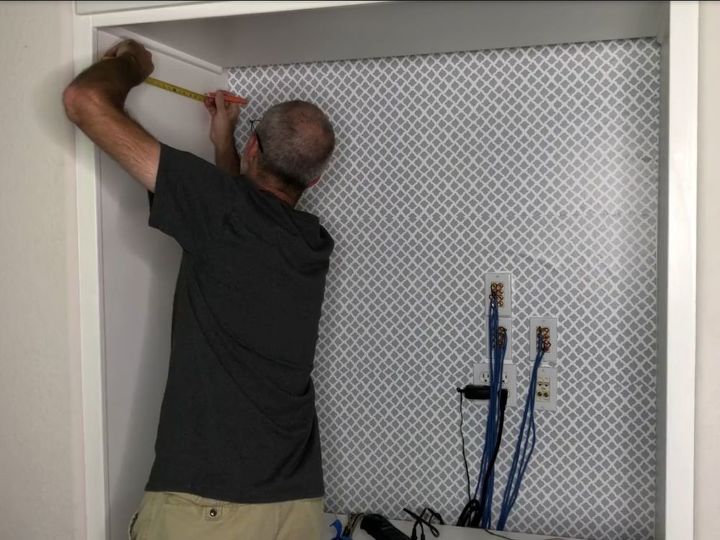
My husband then measured the sides on either side of the entertainment center space and marked where we'd be putting steel wall mounting to hang a shelf to break up the huge space. These came from our local hardware store.
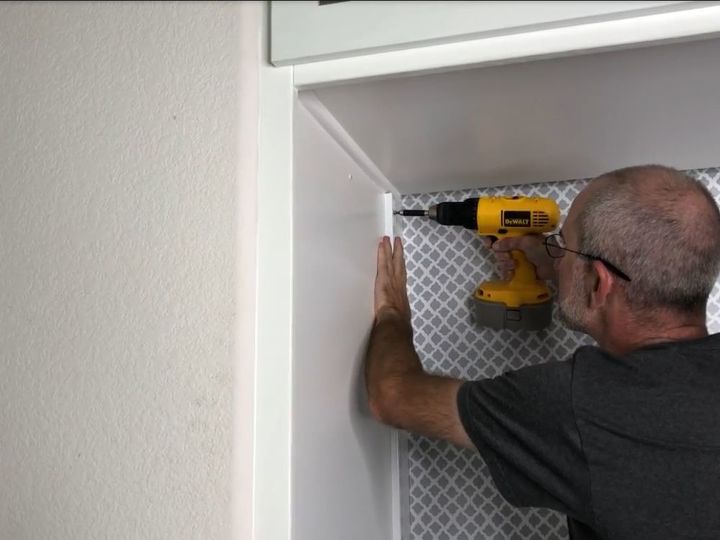
Once he marked them he pre-drilled a hole where the screw would go - this will make it easier to drill in the screw. Once the pre-drilled holes were ready, he drilled in the screw. We hung steel mountings on each side of the entertainment center, and he drilled and screwed the top of each mounting first.
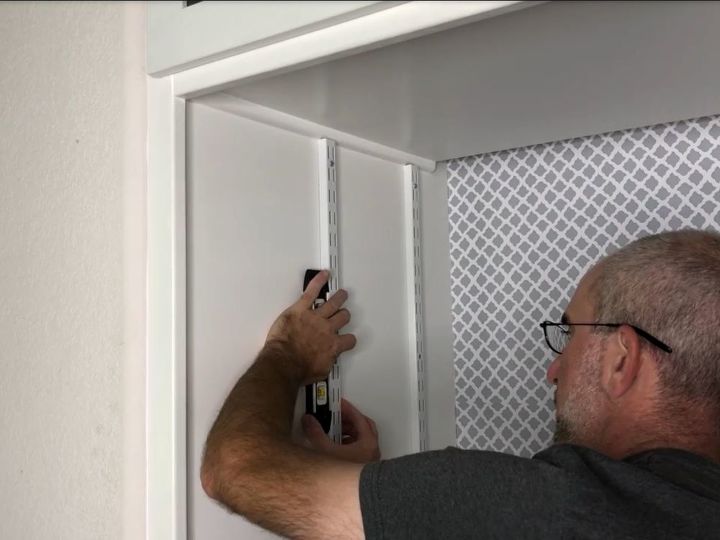
After putting the screws in the top, he then made sure the mountings were level and then pre-drilled holes and added the screws to the bottom of each mounting to secure them in place.

After all 4 mountings were up, he then measured for how long our shelf would need to be.
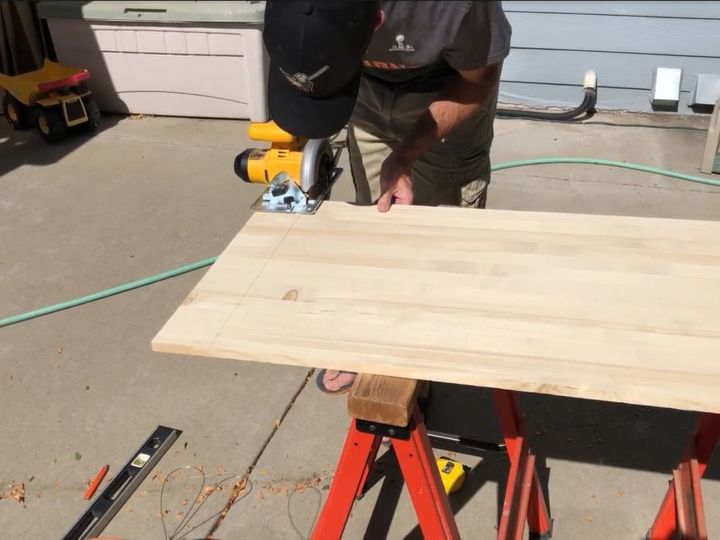
We used a Craft Master's Spruce board that we bought at our local hardware store. He measured and marked where to cut the shelf and then cut it.
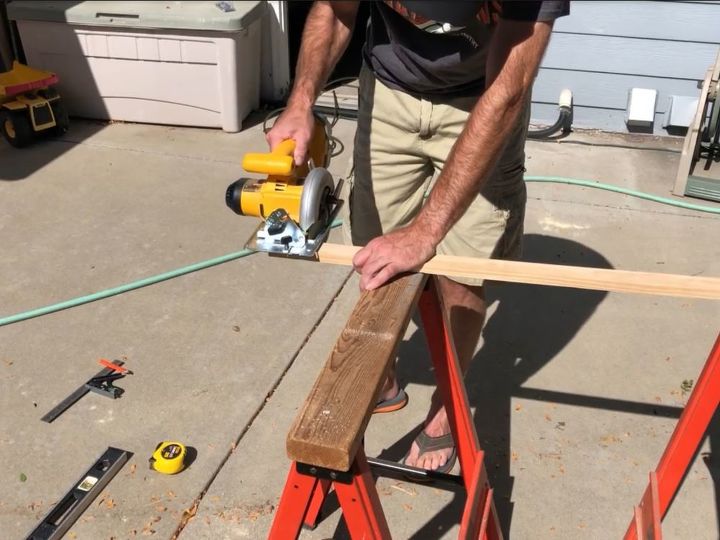
He wanted a nice front edge to the shelf so he cut a small piece of wood to be a little longer to the shelf so that he could go edge to edge. He measured the space, marked the wood and cut it to size.
We hung the brackets where we wanted the shelf to sit in the space.
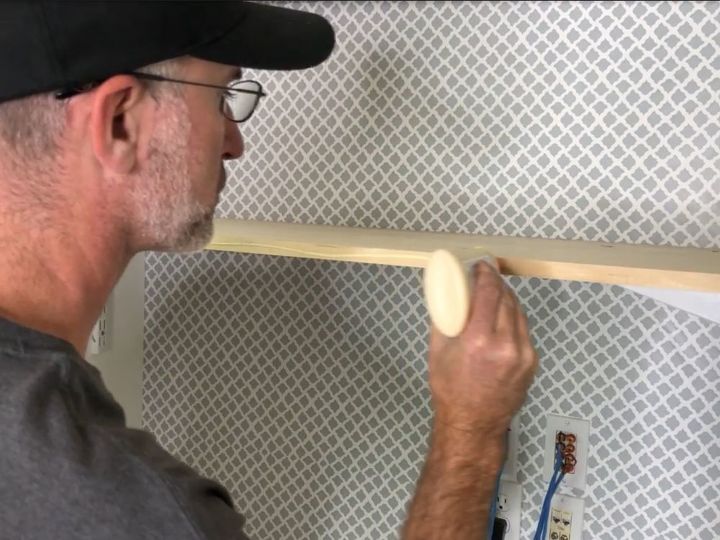
We set the shelf into the space to make sure it fit. My husband then put wood glue onto the front edge of the shelf and placed the smaller piece of wood onto the front to create a nice edge.
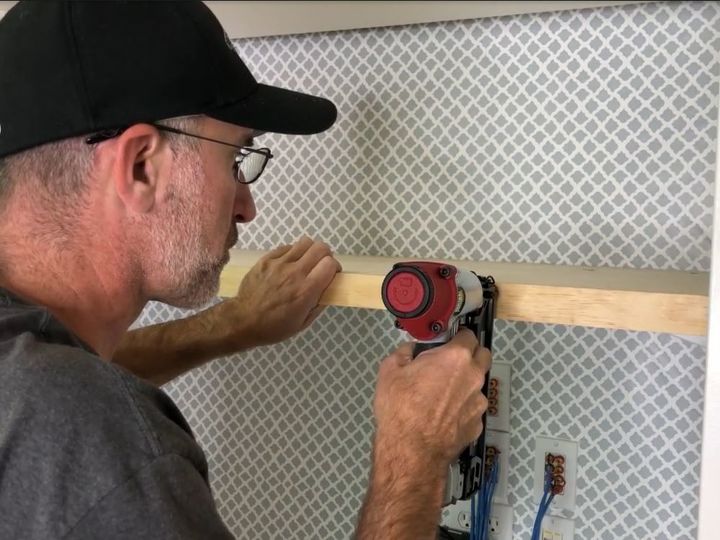
He nailed the small piece of wood onto the large piece of wood to be extra secure.

He took the shelf back outside and sanded it smooth with medium sandpaper and then fine sandpaper. After that I wiped it clean with a damp rag.
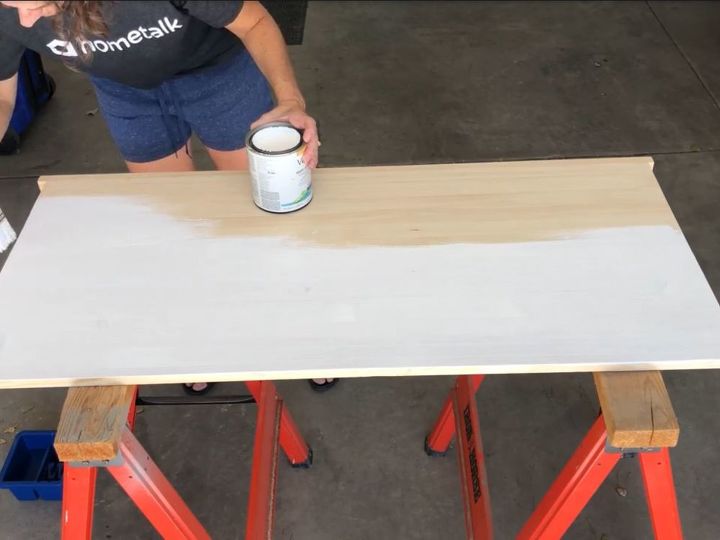
I painted it with Valspar high gloss white paint to match our entertainment center. I did the entire things with 2 coats, letting it dry between each coat.
While the paint was drying I placed things back into our cabinets in a way that made sense and left no cords exposed.
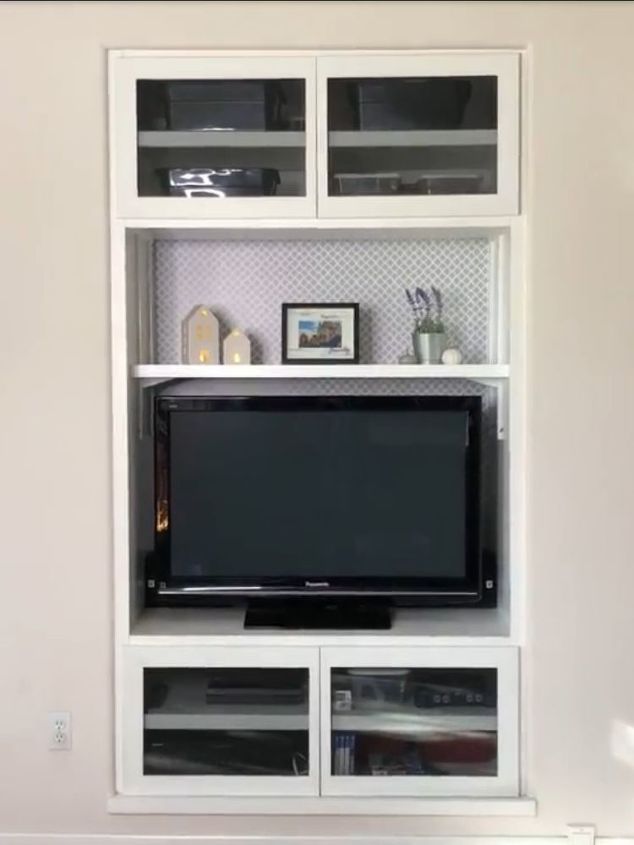
Once the shelf was dry, we placed it in our entertainment center. We think the space looks so much better.
I would love to have you stop by my blog Chas' Crazy Creations for the full tutorial as well as sign up for my latest creations, posts, recipes, exclusives, and more...
I would love for you to subscribe to my YouTube channel to see more of my crazy creations - https://www.youtube.com/channel/UCIOsMN7hycVRco-MROXwmXg
{
"id": "5117031",
"alt": "",
"title": "",
"video_library_id": "6174",
"thumbnail": "https://cdn-fastly.hometalk.com/media/2018/10/09/5117031/upcycle-a-built-in-entertainment-center.jpg"
}
{
"width": 634,
"height": 357,
"showRelated": true,
"noautoplay": ""
}

Want more details about this and other DIY projects? Check out my blog post!


Frequently asked questions
Have a question about this project?